

How to Draw a Brussels Sprout
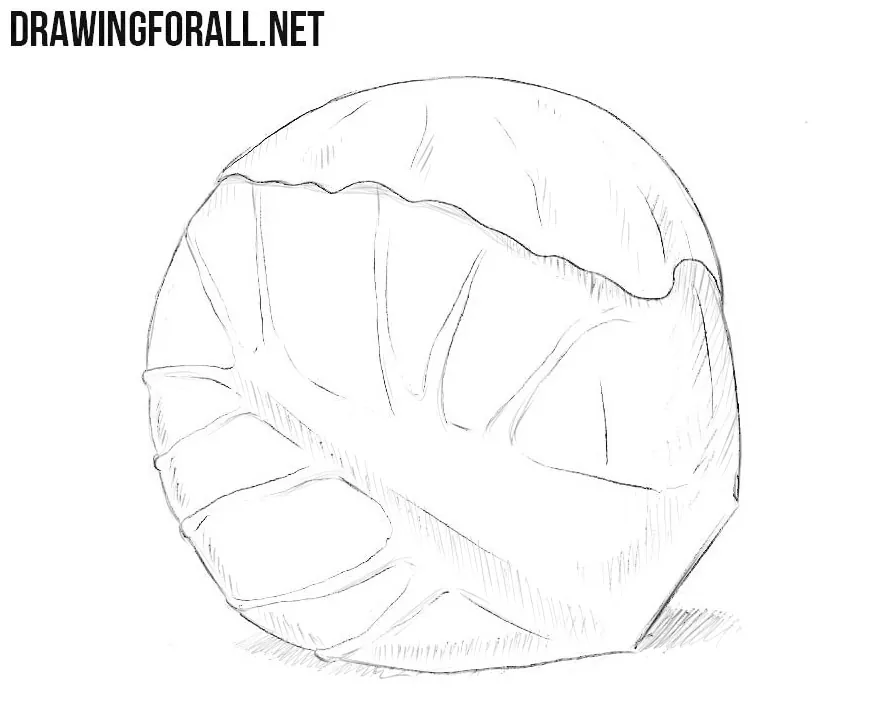
A Brussels sprout consists of many tightly overlapping leaves that together form an almost spherical shape. In this tutorial, we will show you how to draw a Brussels sprout and create this structure on paper.
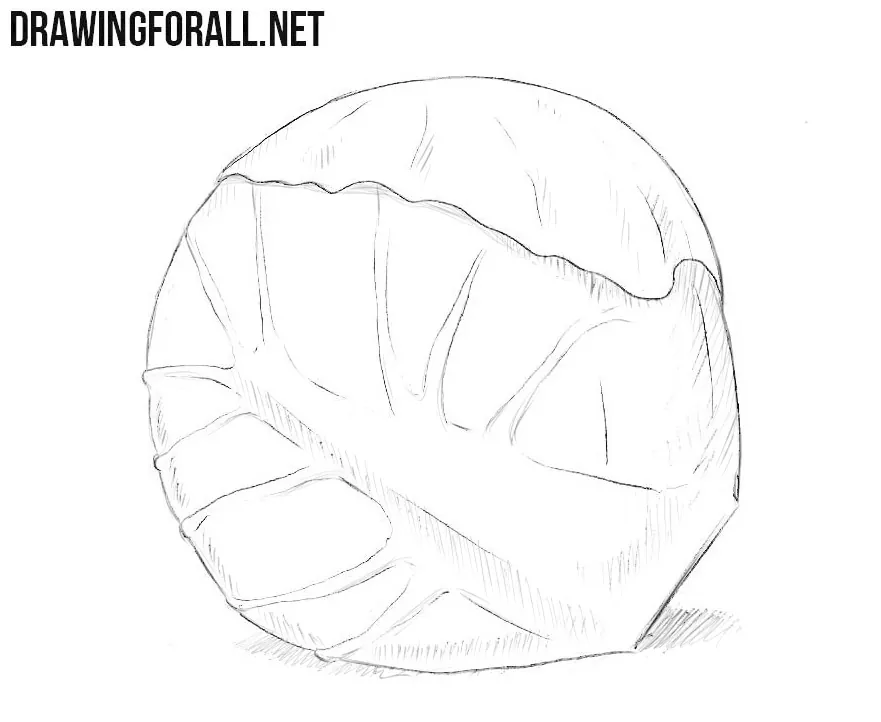
Despite its simple overall shape, a Brussels sprout has an interesting surface formed by curved leaves, irregular edges, and visible veins. Here we will describe how to convey this.
How to draw a Brussels sprout step by step
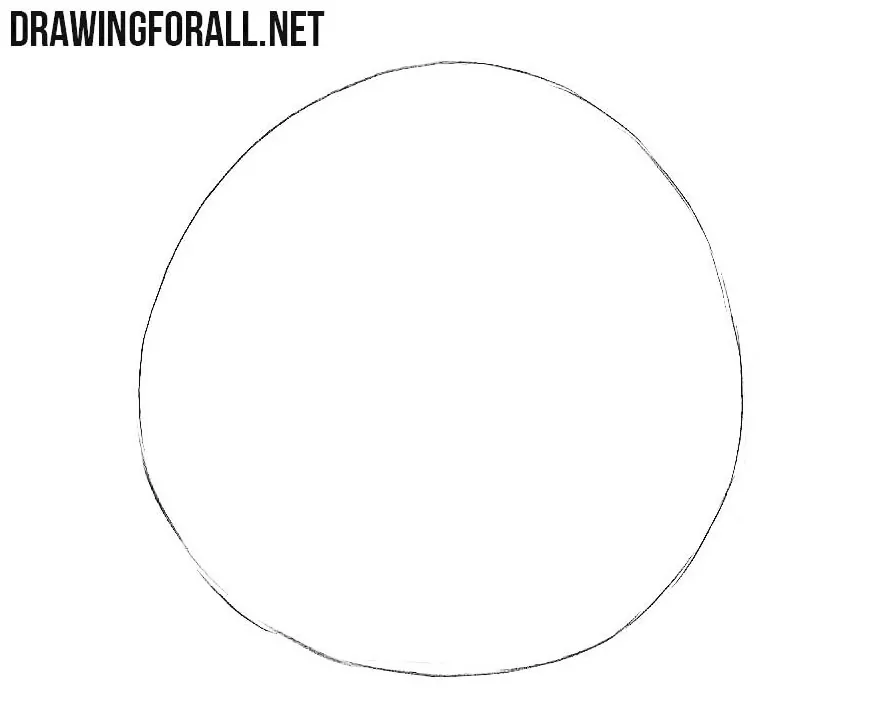
Step 1: Sketch the overall shape
Begin by sketching a spherical shape to mark the overall mass of the Brussels sprout. Do not make the contour perfectly circular. The overlapping leaves give the edges an irregularities look. Press very gently on the pencil at this stage.
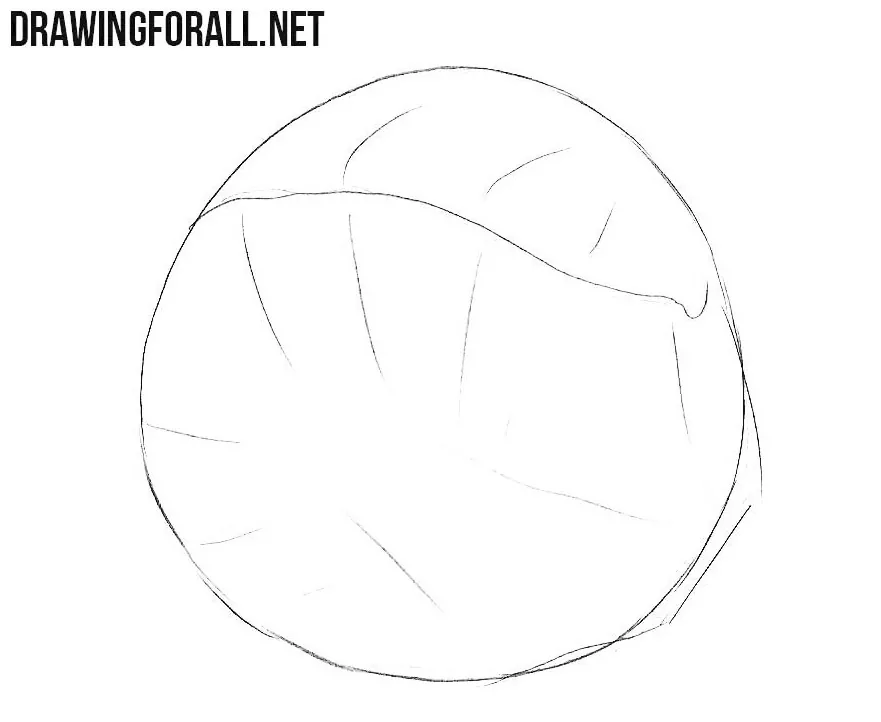
Step 2: Draw the overlapping leaves
Mark the largest leaves across the surface of the Brussels sprout. Give their edges an uneven and wavy appearance, show how the leaves overlap one another. At the bottom, indicate the short stem with a few simple lines.
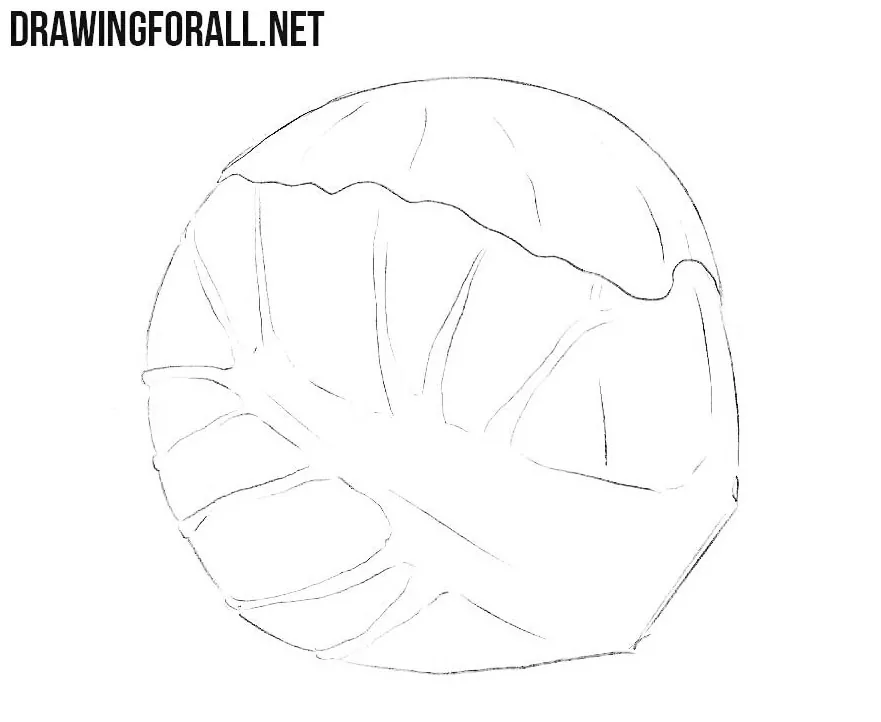
Step 3: Add the leaf veins
Make the outlines of the leaves darker and give their edges more distinct bends and irregularities. Then draw the main veins extending across each leaf. These lines should follow the curved surfaces. This will help convey the spherical shape of the vegetable.
Step 4: Add shadows to the Brussels sprout
Add shadows with hatching, concentrating the darker areas where the leaves overlap and where their surfaces turn away from the light. Finish by adding a cast shadow beneath the Brussels sprout. This will help place it on the surface.
You can use the same approach when drawing other vegetables with complex surfaces: mark the large form first, keeping in mind its basic shape, then add the smaller forms and details.
Next, you can draw a cabbage and use the same principles to depict its form and overlapping leaves.


