How to Draw a Watermelon

Today we will tell you about how to draw a watermelon. We chose this berry, so you can practice your skills in creating simple but realistic drawings.
This lesson may look very simple, but you need to be very careful to get a great result. We have chosen a certain angle for the watermelon, but if you think that it is very difficult, you can draw it without turning.
Step 1
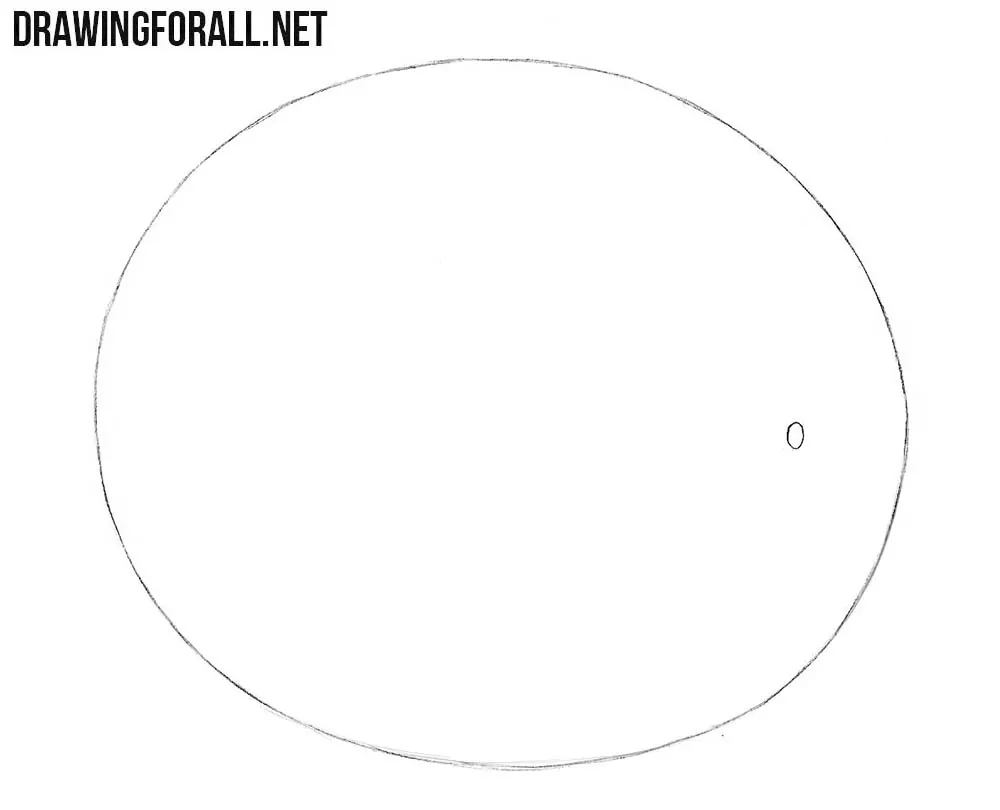
First we draw the outline of the watermelon. You can see a round shape that is flattened horizontally. Place this shape in the very center of the paper. On the right side we draw a small round.
Step 2
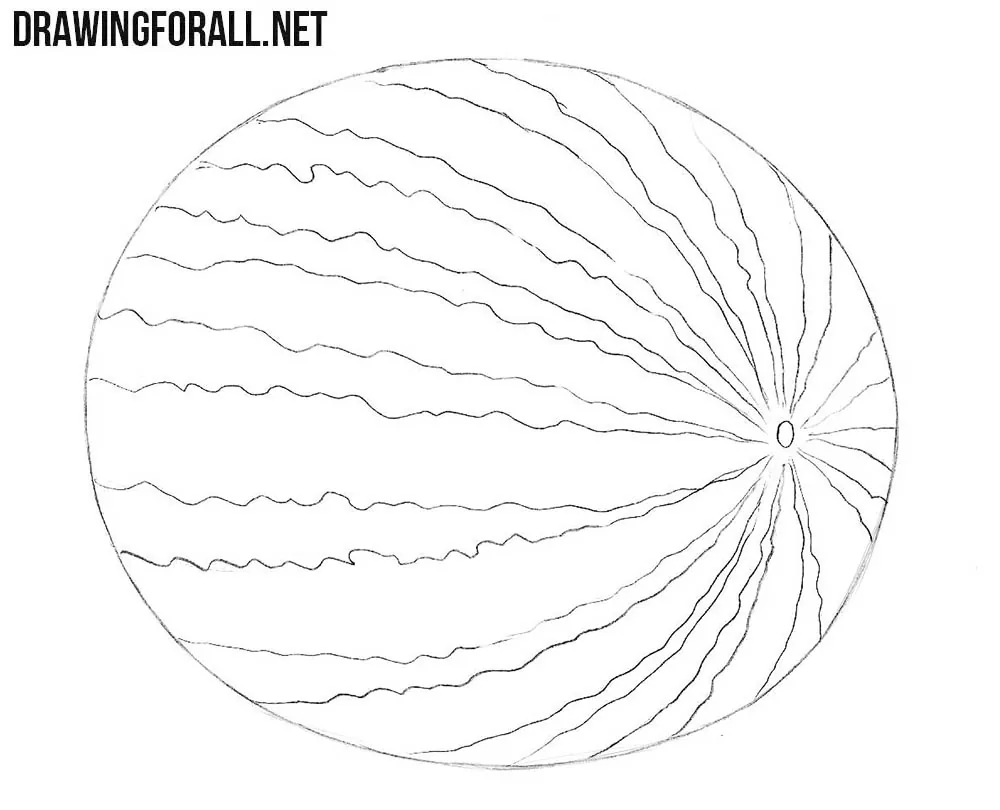
Now we draw the contours of the jagged stripes. These are the stripes that you used to see on watermelons. By the way, now there are many varieties of watermelons without stones and without these strips. But this is already something wrong, isn’t it?
Please note that the stripes should taper towards a small circle from the last step.
Step 3
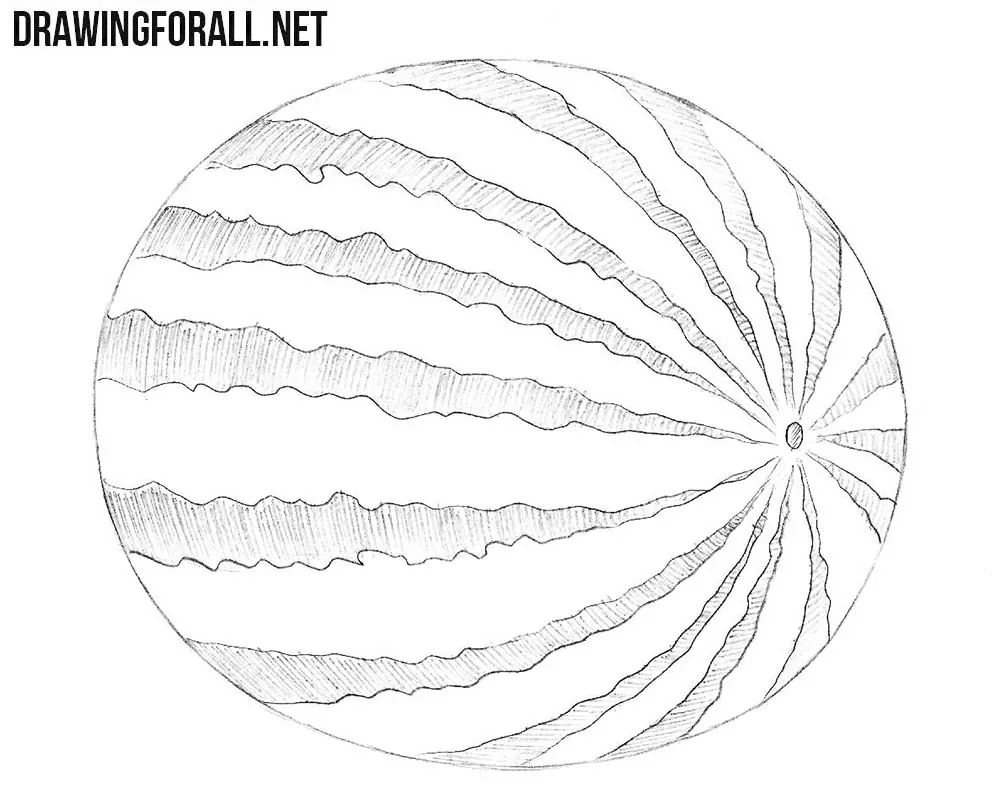
Paint over the stripes so that they become really dark. Shading should be horizontal. Try to stick to one direction of hatching on all strips.
Step 4
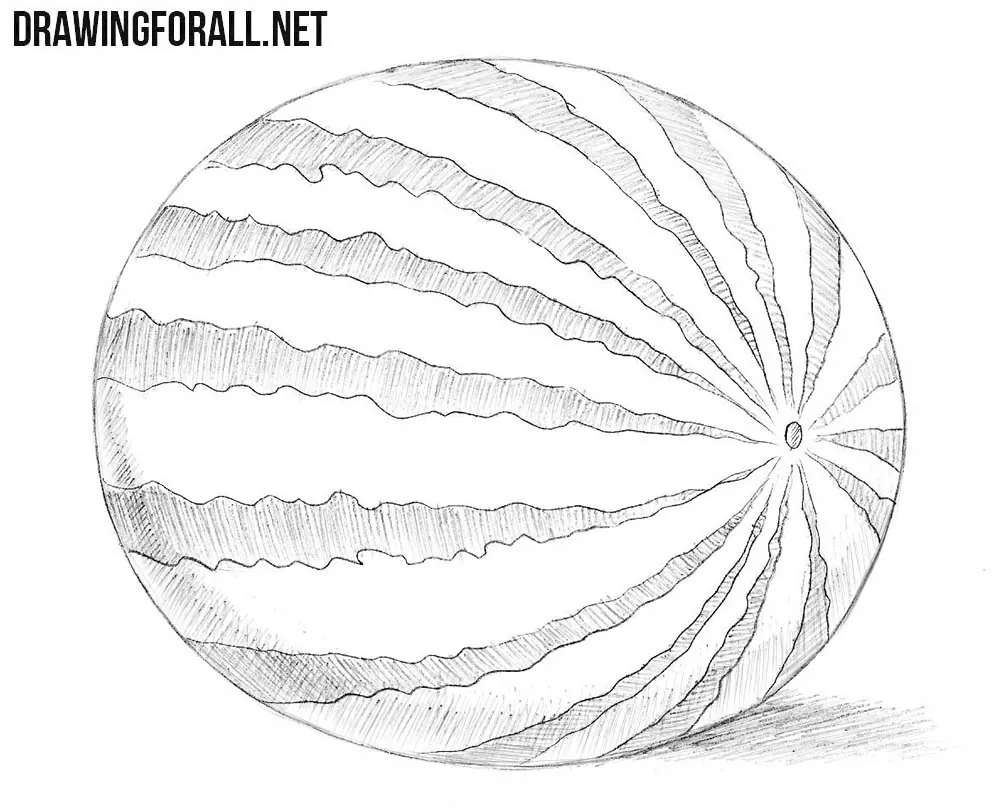
The process of drawing watermelon comes to an end. In this step, we will add some shadows to the left and bottom of the watermelon. Shadows look like a slanting dense shading. Note that the direction of this hatching is different from the direction of hatching from the previous step.
Do not forget to draw shadows on the ground. Without this, the watermelon would seem to hang in the air.
It was a lesson about how to draw a watermelon. We hope you get a realistic picture. Do not forget to share information about us on your pages in social networks. See you soon!


this is fun
good!