How to Draw a Blueberry
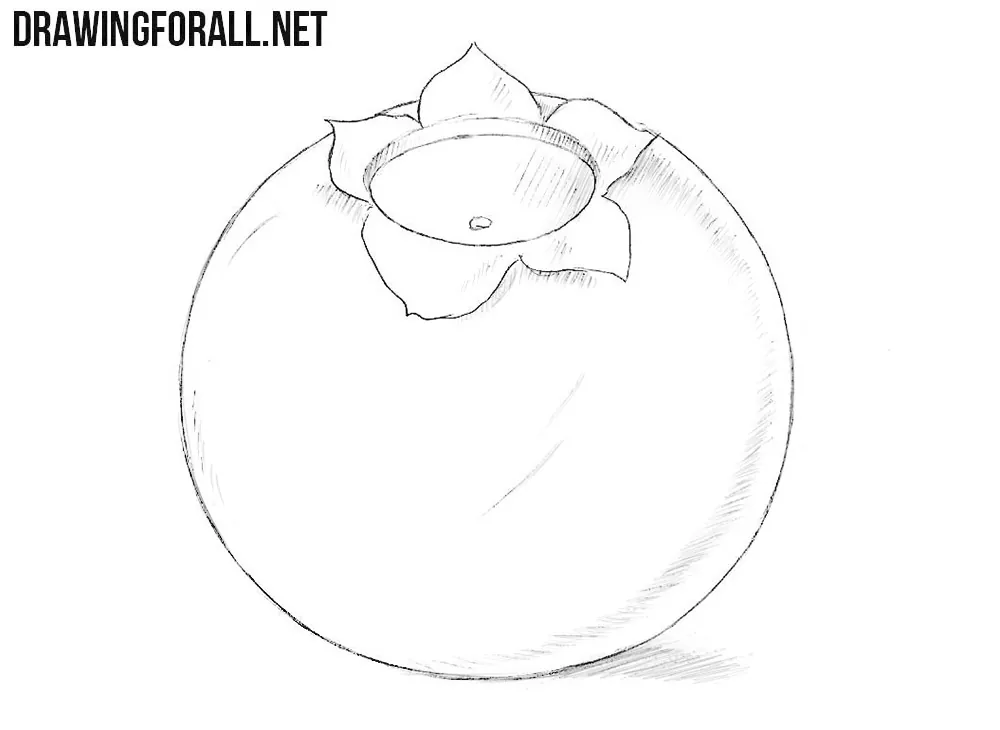
We continue the series of articles on how to draw different wild strawberry. By the way, we were very surprised when we learned that this topic is quite popular for you. But once it happened, we are very happy to please you. Therefore, we created a new drawing lesson on how to draw a blueberry step by step.
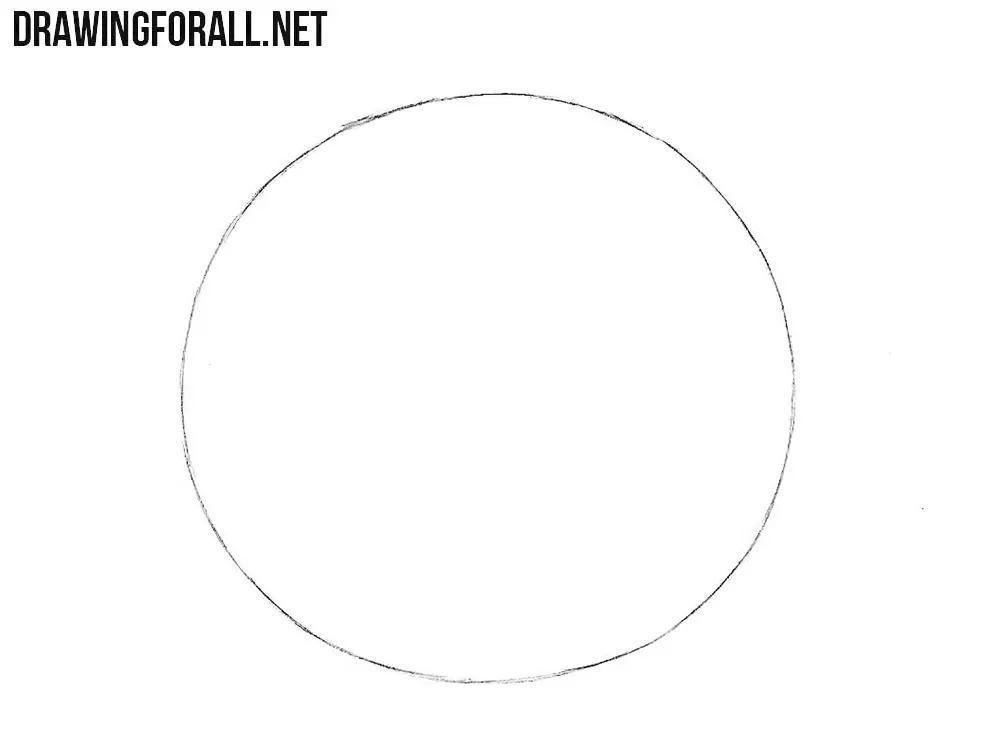
Step 1
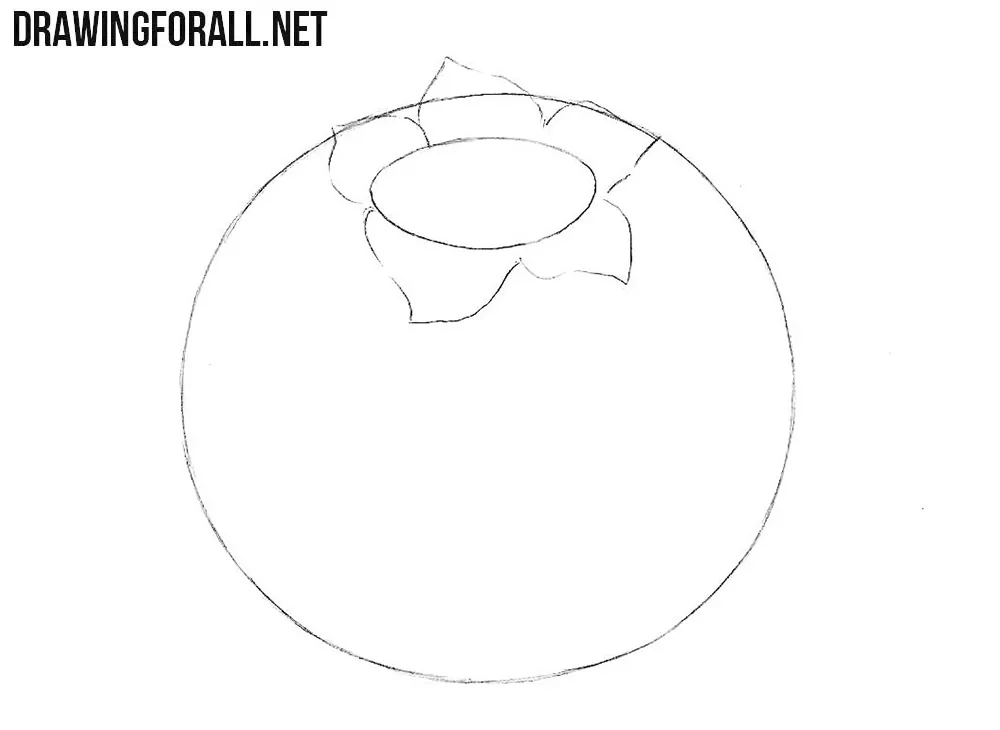
First, we need to draw the contours of the blueberry, and therefore we start this drawing lesson with a simple circle. If it turns out to be not very symmetrical and a bit flattened, this is not an error.
Step 2
On the top of the circle, draw a small oval. Please note that it should not be adjacent to the edge. And we draw five wide leaves around this oval. As we have already done the blueberry sketch, it is time to get into the details.
Step 3
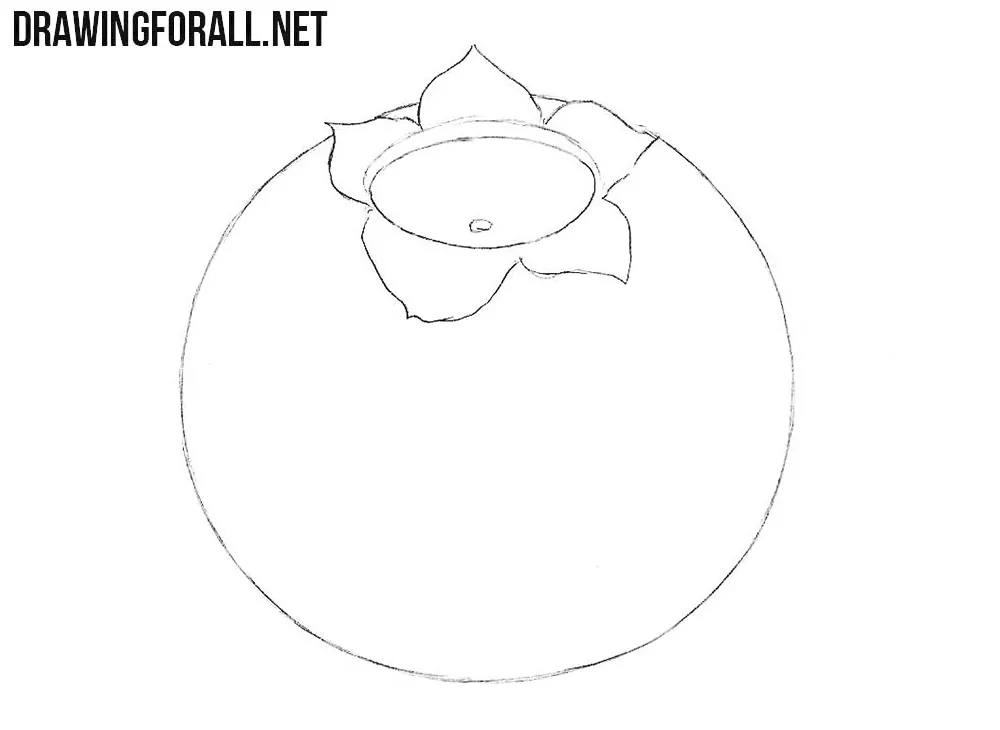
The main part of the actions of this drawing tutorial we conducted in a small area on which is located the stalk and leaves of the berry. Therefore, we will work mainly with this part. So, we add a border to this small oval. We erase the extra lines inside the contours of the leaves.
Step 4
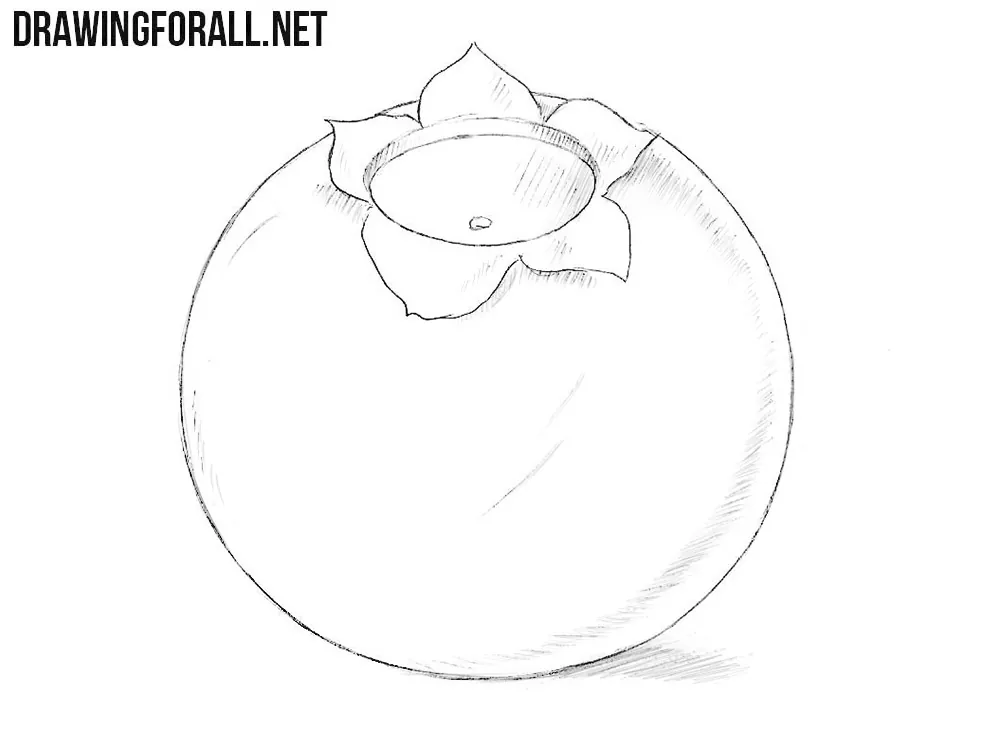
So is the time to work with shadows on our blueberry drawing. See how different are the shadows on the leaves and on the berry itself. It’s all about the intensity of the hatching. If you want to make the shadow darker, you need to apply more strokes to make the hatching more dense.
The team of Drawingforall.net believes that it is very important to know how to draw a blueberry and other similar berries, if you want to master such an ancient form of visual art as a still life. Such drawings can be sketched both separately and form part of whole works in which other berries, apple and dishes are drawn. We still have a couple of lessons of drawing wild berries. If you like this theme for lessons – enjoy! If you are bored, don’t worry. Soon we will switch to more interesting things.


