

How to Draw a Sponge
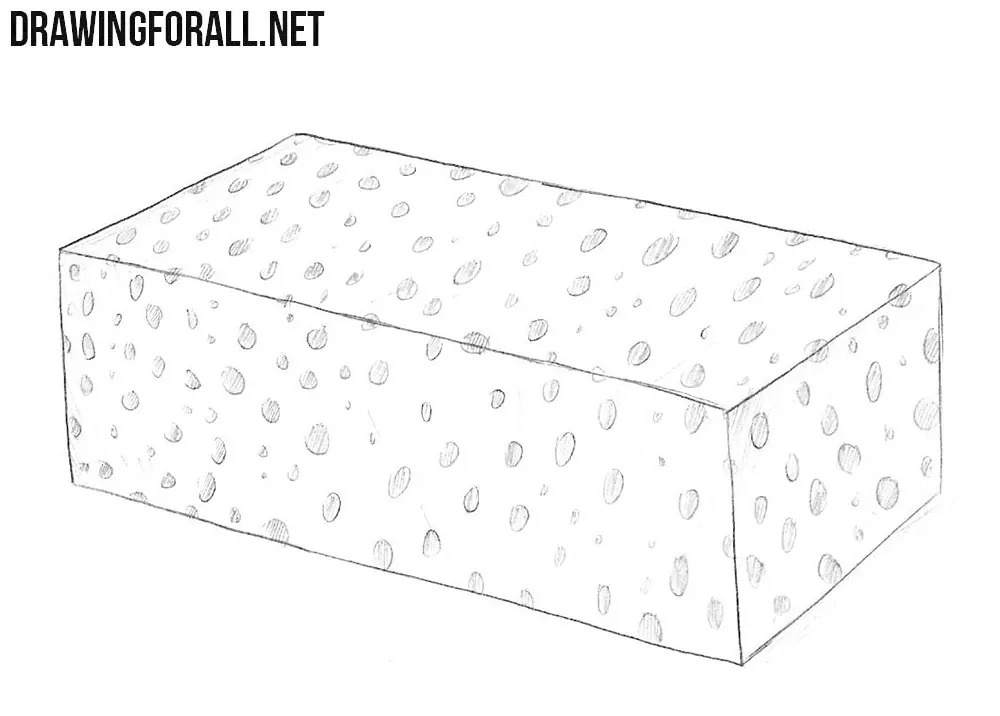
The appearance of a sponge is essentially based on a cuboid form covered with numerous pores across all of its surfaces, but there are a few nuances that are easy to miss. This step-by-step tutorial will show you how to draw a sponge, construct its three-dimensional form, and depict its characteristic porous texture.
How to draw a sponge step by step
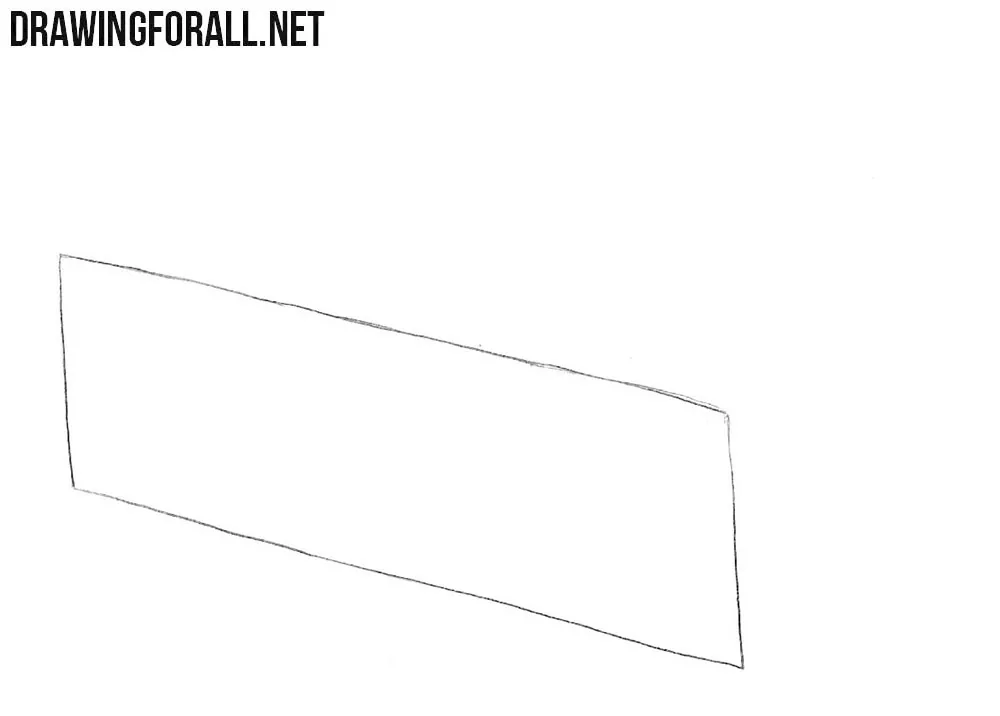
Step 1: Outline one face of the sponge
First, draw a parallelogram for one face of the sponge. Make this face long and fairly low, with its upper and lower edges sloping downward to the right. The lines should be relatively straight, but they should not be perfectly even.
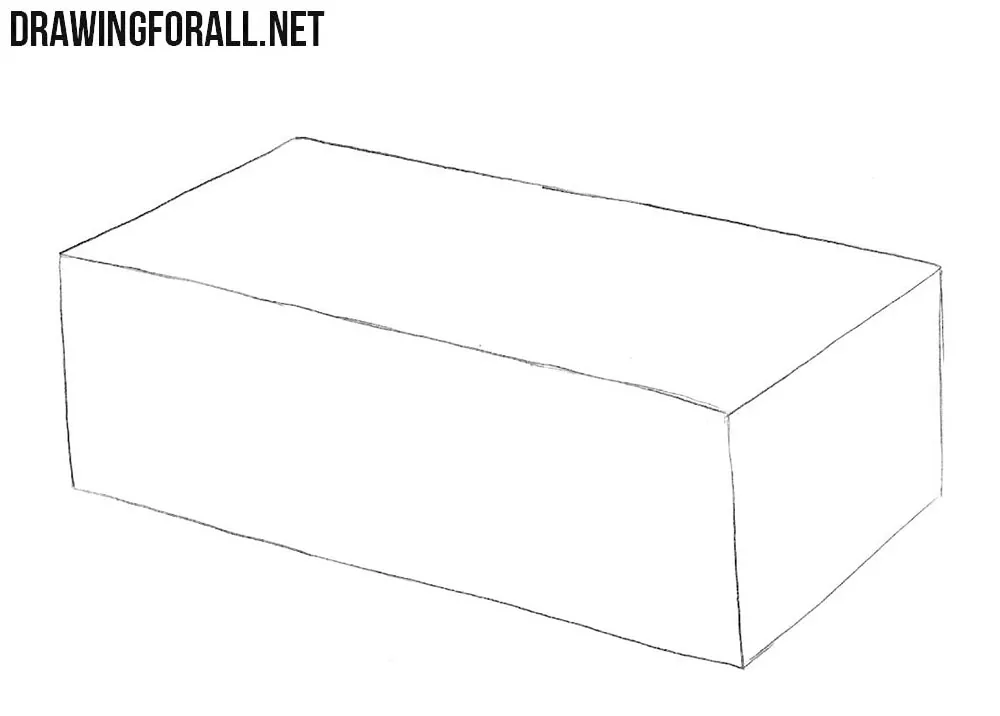
Step 2: Add the top and side
Add two more parallelograms at the top and side to form a three-dimensional block. The edges that run in the same direction should have similar slopes, as when drawing a cube. Make sure this form sits correctly in perspective.
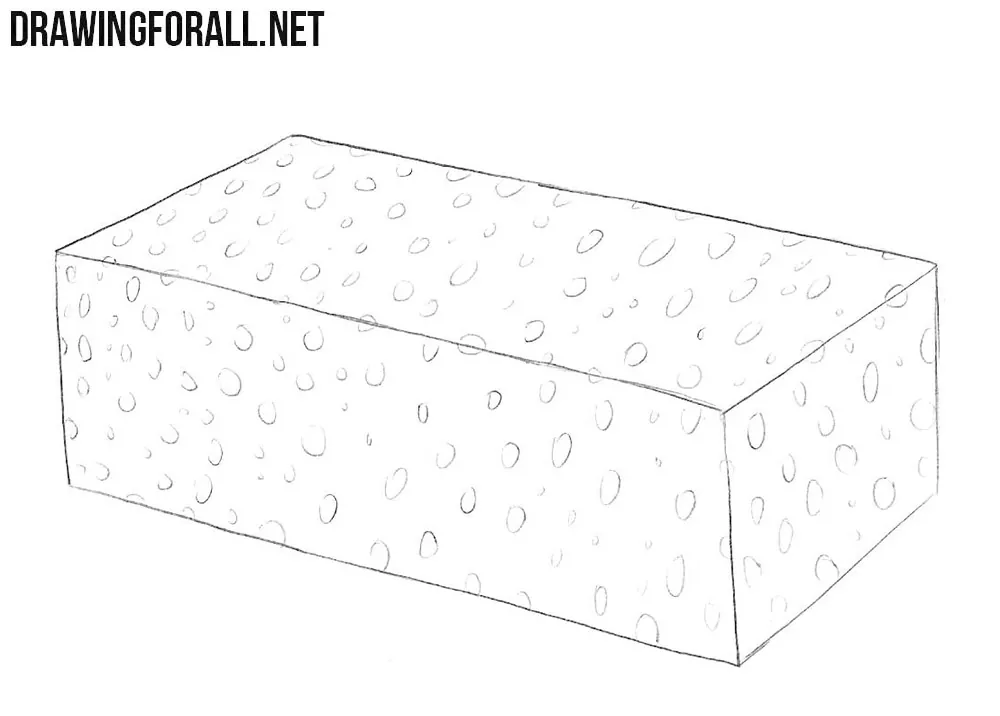
Step 3: Draw pores across the sponge
Now draw plenty of pores across the sponge’s surface. Scatter small irregular ovals and open curves across all three faces, with different sizes and spaces between them. Flatten the pores according to the planes they lie on, and draw partial pores along the edges.
Step 4: Shade inside the sponge’s pores
Add shadows inside the pores using hatching to give them depth. Leave the surfaces between the pores mostly unshaded. You can also shade the side surface with an even tone to show the shadowed side.
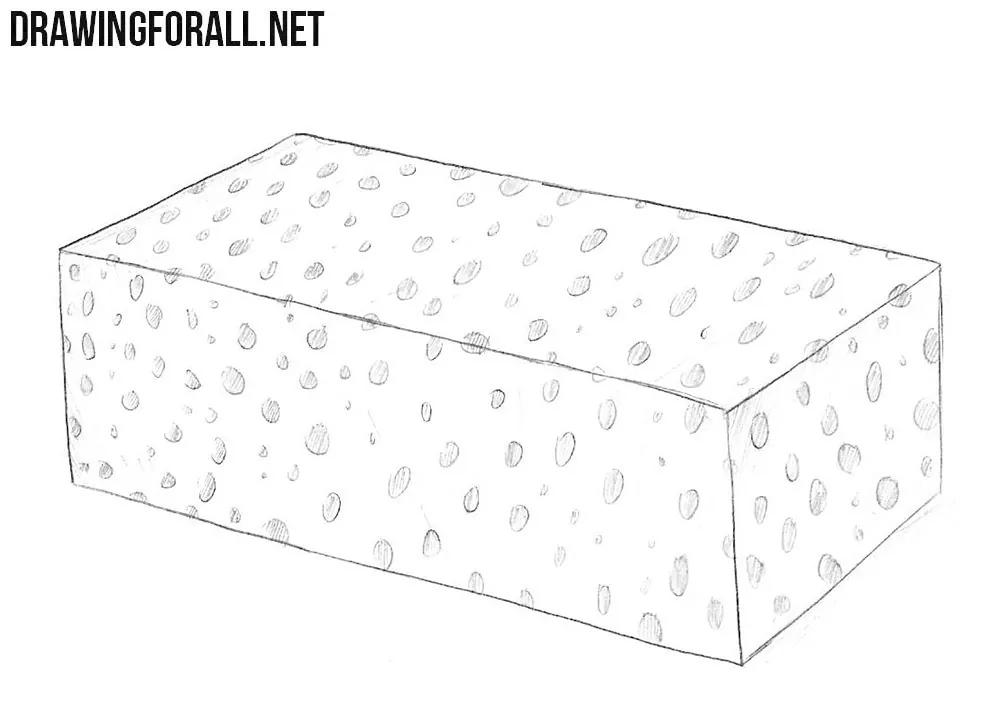
In this tutorial, we showed you how to draw a cuboid-shaped sponge covered with rounded pores. We kept the shadows here minimal, without many halftones or a background. A sponge is a very simple object, so we decided to depict it in a fairly simple way.
You can, first of all, change the shape of the sponge by making it shorter, rounder, taller, or two-layered. Second, you can change the appearance of the pores, making them more irregular or larger.
Third, you can try to make your sponge drawing even more three-dimensional by adding more halftones. For example, lightly shade all three visible planes with different intensity.
You now know the entire process of drawing this simple object. The details are up to you.
By the way, you can draw SpongeBob, the most popular sponge character in modern media, using a similar method.




Great tut! Any tutorial about drawing a squeezed sponge, the ones I drawn looked like paper with holes lol. Thanks for sharing great tutorials 👍