How to Draw Superman Easy
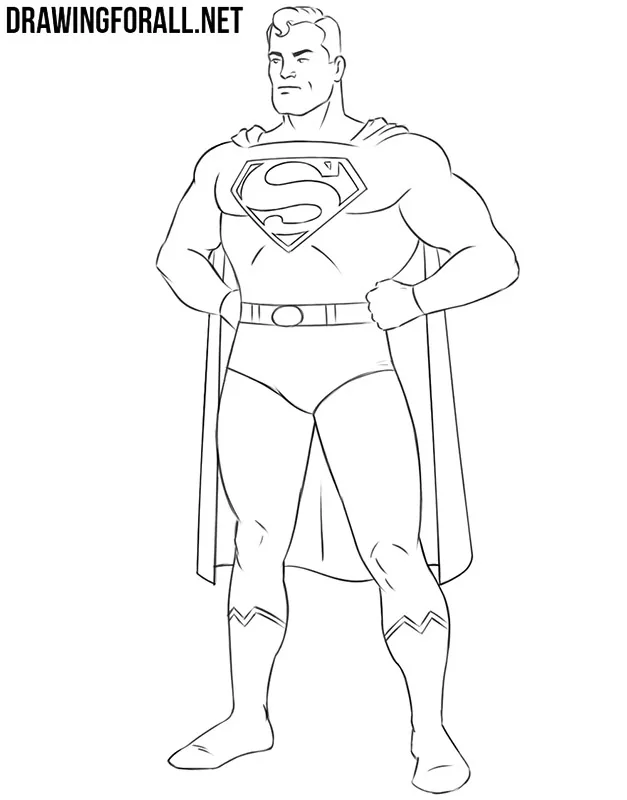
We are real fans of comics. Because of this, we cannot ignore the character who laid the foundation for stories about superheroes in the form in which they now exist. That’s why we created a guide about how to draw Superman easy.
Step 1
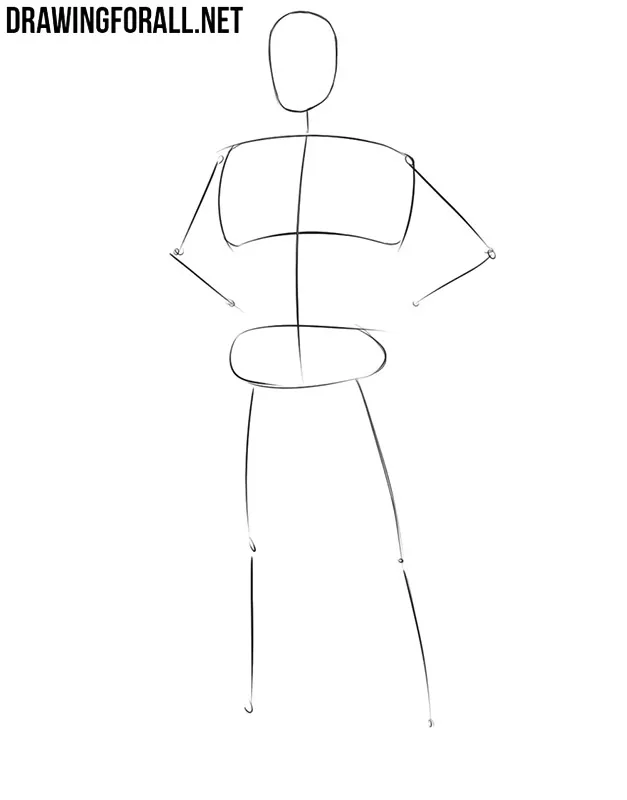
First we build the stickman character. We always use this technique when drawing people. It helps to immediately identify the basic proportions, posture and position of the character on a piece of paper.
In this stikmene you see a wide chest and a narrow pelvis. The growth of this stikman equals the sum of the lengths of the seven heads.
Step 2
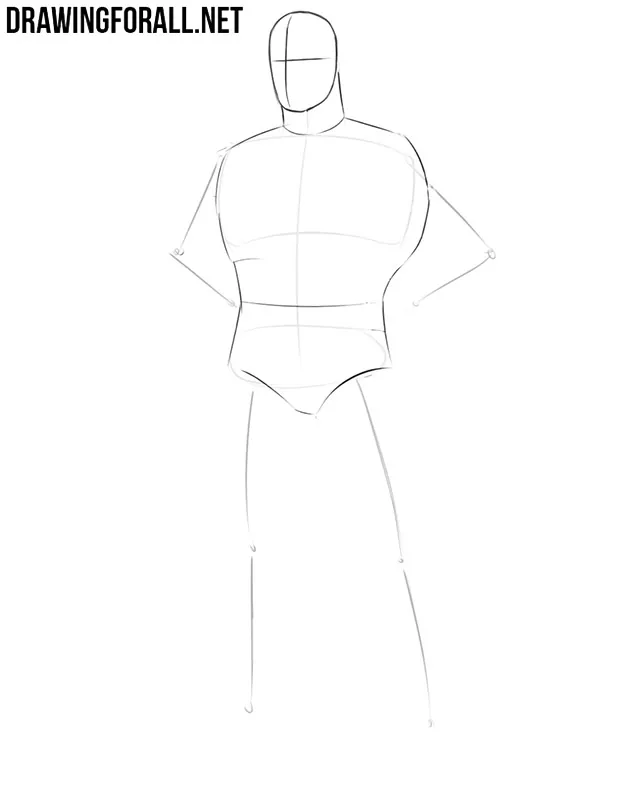
Let’s start adding volume to our stikmen. Draw a torso. It will be easy to do if you focus on the line from the previous step. The pelvis looks like a truncated triangle with a wide base. The torso consists of a wide chest and narrow waist. The strong wide neck reliably connects a trunk and a head.
Step 3
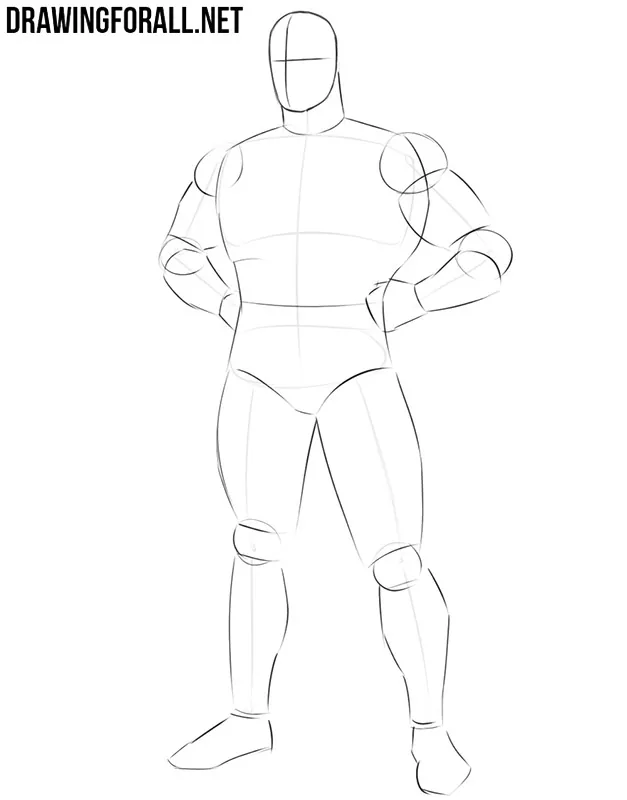
In this step, we will draw Superman’s powerful voluminous limbs. Hands consist of balls and cylinders. It is necessary to mentally divide the hand into three parts:
- The shoulder;
- The forearm;
- The wrist.
You can take a look at the drawing lesson on how to draw Captain America. There you will find a detailed description of the parts of the arm.
We will draw the legs by the same principle. Between the parts of the legs should be smooth bends.
Step 4
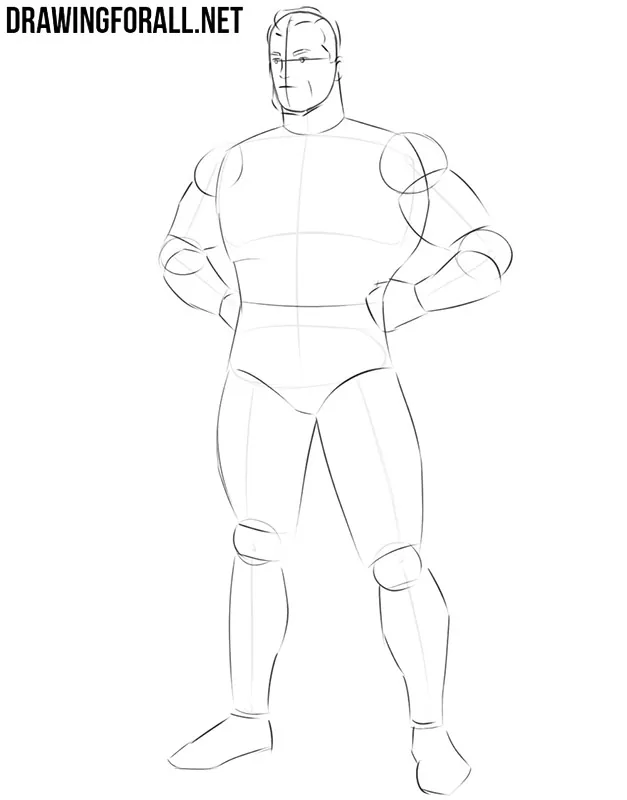
In this short step, we outline the main features of Superman. We need to slightly increase the chin. After that we draw the contours of the ears, eyes, mouth and nose.
By the way, we have a separate guide on how to draw the face of Superman.
Step 5
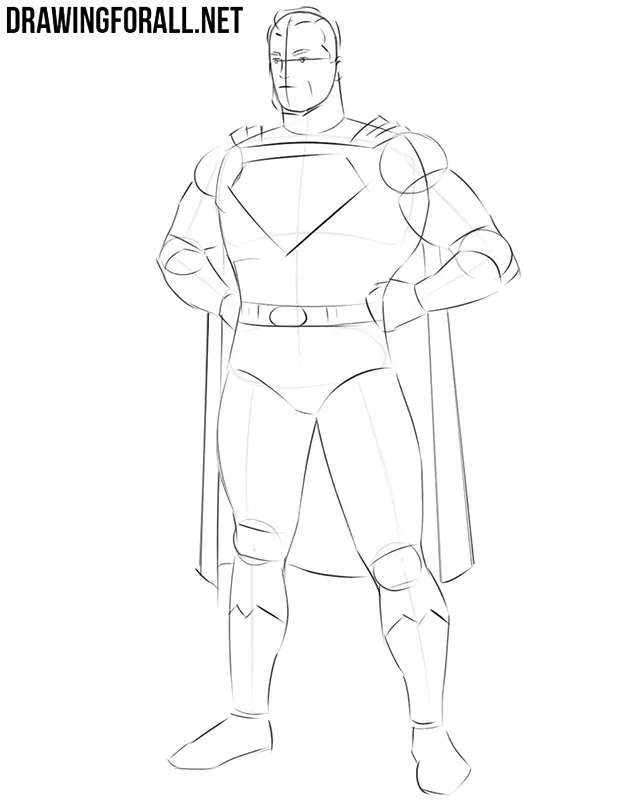
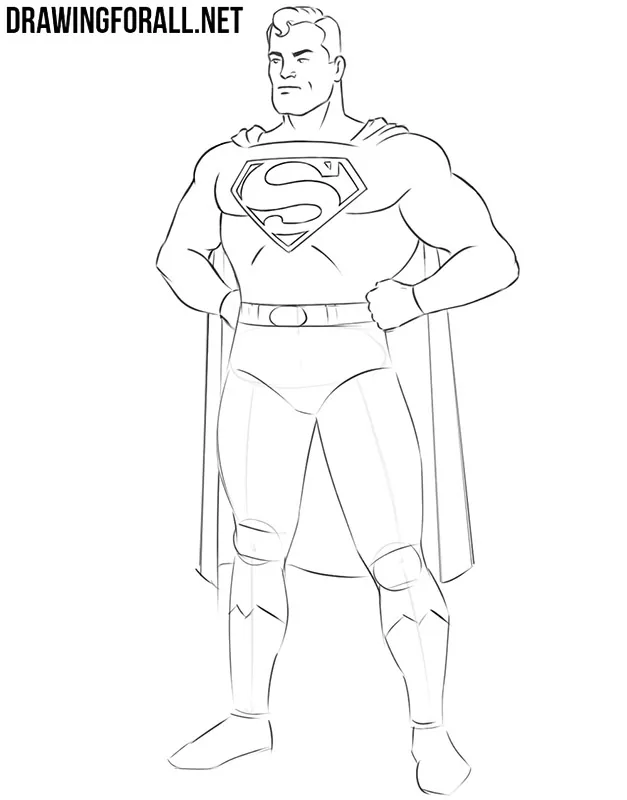
Let’s now add the most basic and noticeable details to the Superman drawing. First we outline the upper part of the cape and the triangle Superman logo on the top part of the body. Next, sketch the outlines of the Superman belt, shoes and lower part of the long recognizable cape.
Step 6
We continue a special drawing lesson on how to draw Superman easy.
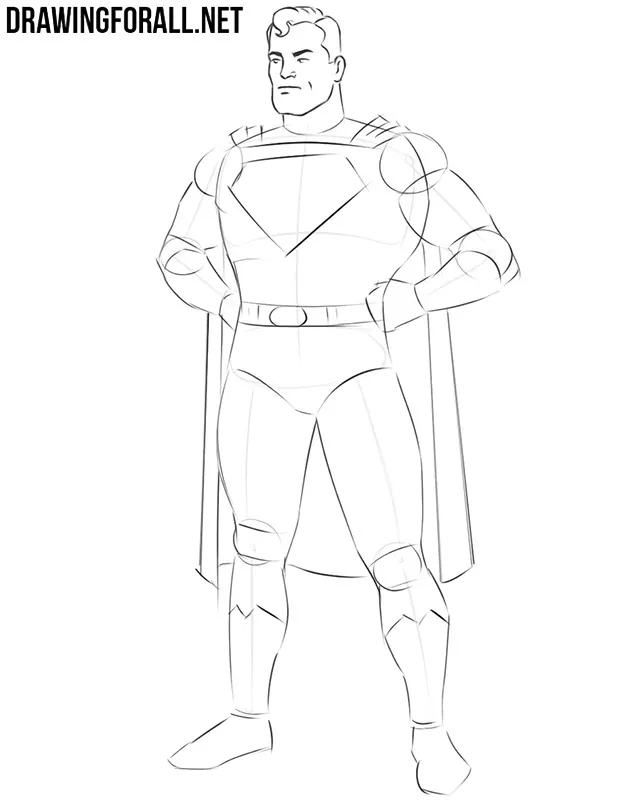
In this step, we draw the final lines of the face and erase the extra guide lines. We do not draw the face of Clark Kent in detail. The most important thing here is the correct location of the short lines that depict facial features.
Step 7
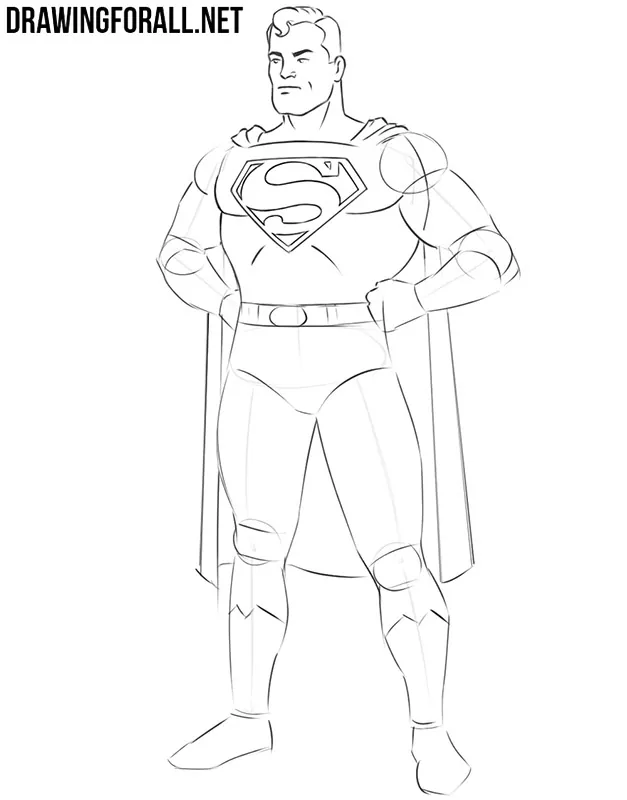
Let’s work with the final contours of the chest. Draw the outlines of massive large pectoral muscles. Under these muscles are located the outlines of the costal arch. In the very center of the we body draw a well-known Superman logo.
You can also see the powerful muscles of the neck that are located under the chin. This is the sternocleidomastoid muscle. These muscles are visible in thin people or athletic folded athletes. Generally muscular neck is an excellent detail that helps to portray an athletic physique.
Step 8
Now we will draw the hands in the final version. Make sure that you draw the contours of the arms correctly in the anatomical plan. Between the parts of the arm should be transitions in the form of smooth narrowing. This is a must because you cannot portray powerful muscular arms without smooth bends.
Step 9
In this step, we draw the final contours of the legs. We erase the extra lines that served as landmarks for us. Also in this step we draw the final contours of shoes and shorts. Do not forget the folds on the fabric.

We have several lessons about how to draw Superman. However, we prepared this lesson specifically for those artists who are not completely confident in their abilities. Also this lesson is specially created for those who are excellent experts in drawing animals or inanimate objects but not people. We hope that each of you got a great result.


i think its a really good and i would recondmend it to other people