

How to Draw Superman Flying
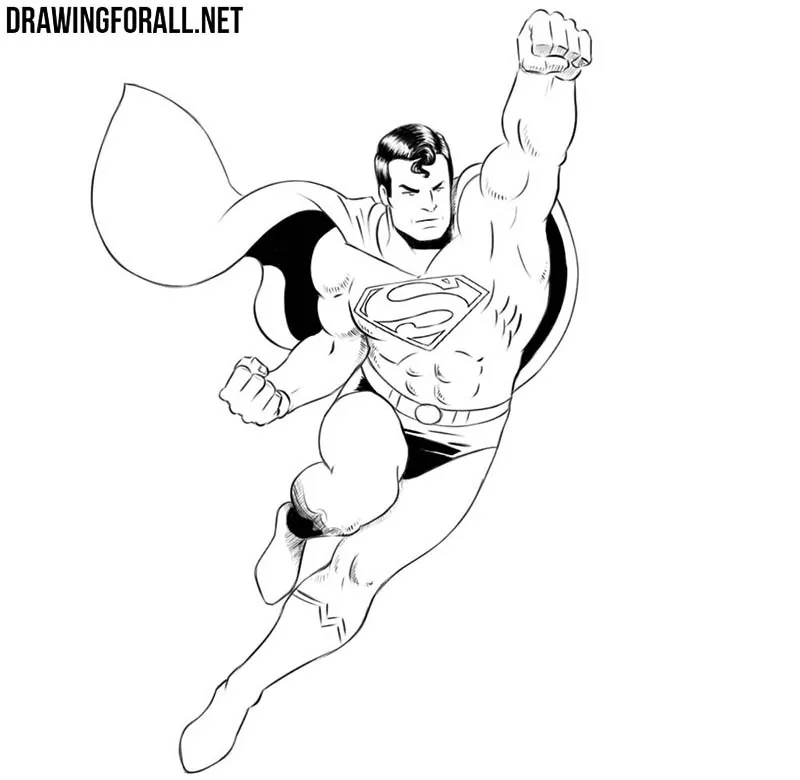
Superman is a character we have drawn many times on our website, but here we will show him in one of his most characteristic poses. In this tutorial, we will show you how to draw Superman flying and how to correctly convey this position on paper.
We have already shown you how to draw classic Superman in a more static pose. Here, the position of the character is more complicated, but the basic drawing principles remain the same.
How to draw Superman flying step by step
Step 1: Mark the flying pose
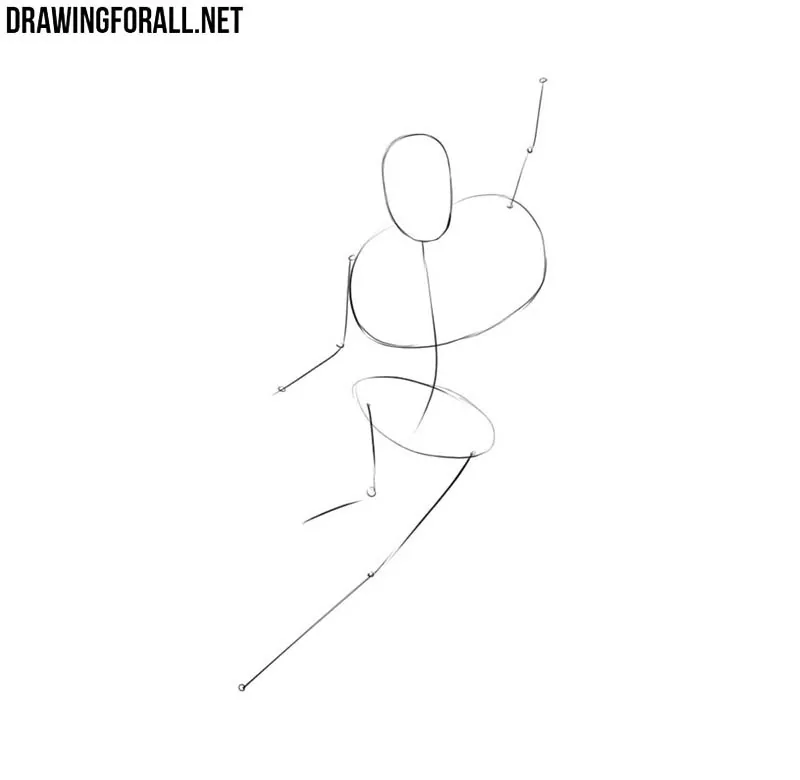
In order to properly draw Superman in flight, first of all mark his pose, or rather the skeleton in the position we need. Start with the oval head and the line of the spine. Next, create a wide rib cage and pelvis, then depict the limbs. Pay special attention to the position of the arms and legs to convey the flying pose correctly.
Step 2: Give the body volume
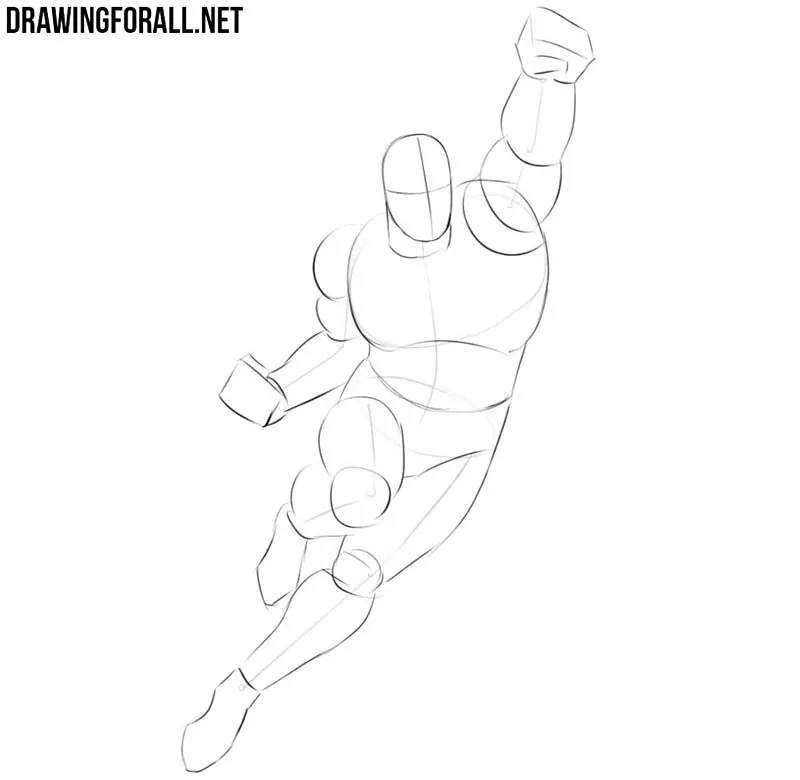
Depict a crosshair on the face, which will serve as a guide for the facial details. Next, form the powerful neck and no less powerful torso. With a few simple geometric shapes, add volume to the arms and legs. All parts of the Man of Steel’s body should look powerful and massive, and the main muscles should already be visible at this stage.
Step 3: Add the costume and cape
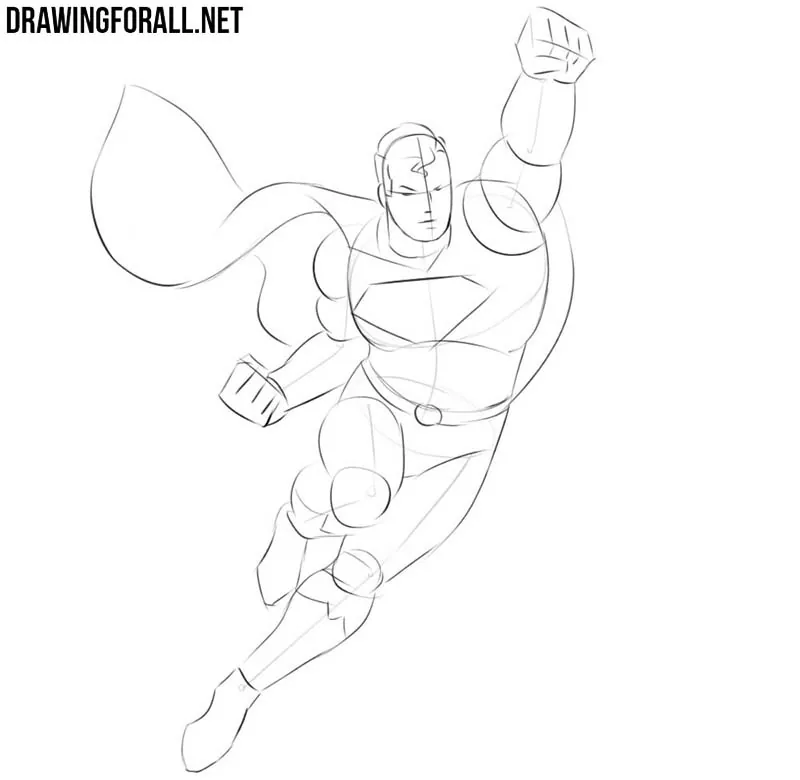
Now, using light and rough lines, add the crucial details to the drawing of flying Superman. Start with the head and sketch Superman’s facial features and famous hairstyle. Next, move to the body, depicting the outlines of the costume and the diamond-shaped logo on the chest. Complete this preparatory stage by outlining the waving cape behind the back.
Step 4: Refine Superman’s head
Starting from this step, use darker finishing lines. Carefully draw the details of Superman’s face, then trace the ears and powerful square jaw. Refine the outlines of the famous hairstyle with clear and smooth lines. After that, remove all unnecessary guidelines from the head.
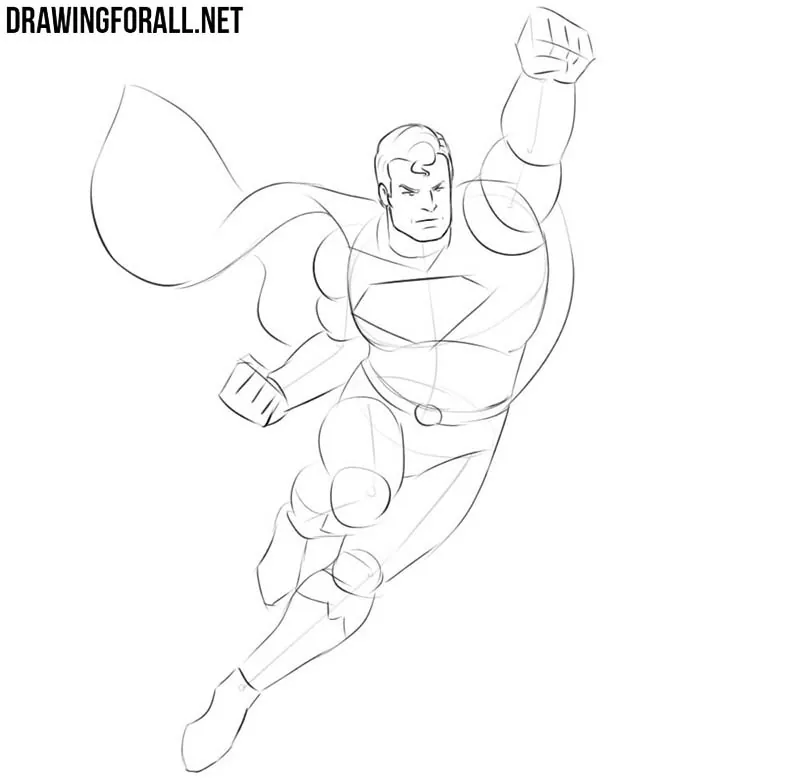
Step 5: Detail the muscular torso
Depict the neck muscles, powerful pectoral muscles, and abdominals. In the middle of the chest, draw the Superman sign. By the way, to learn more about it, visit our instruction on how to draw the Superman logo. Remove all unnecessary guidelines from the torso and proceed to the next step.
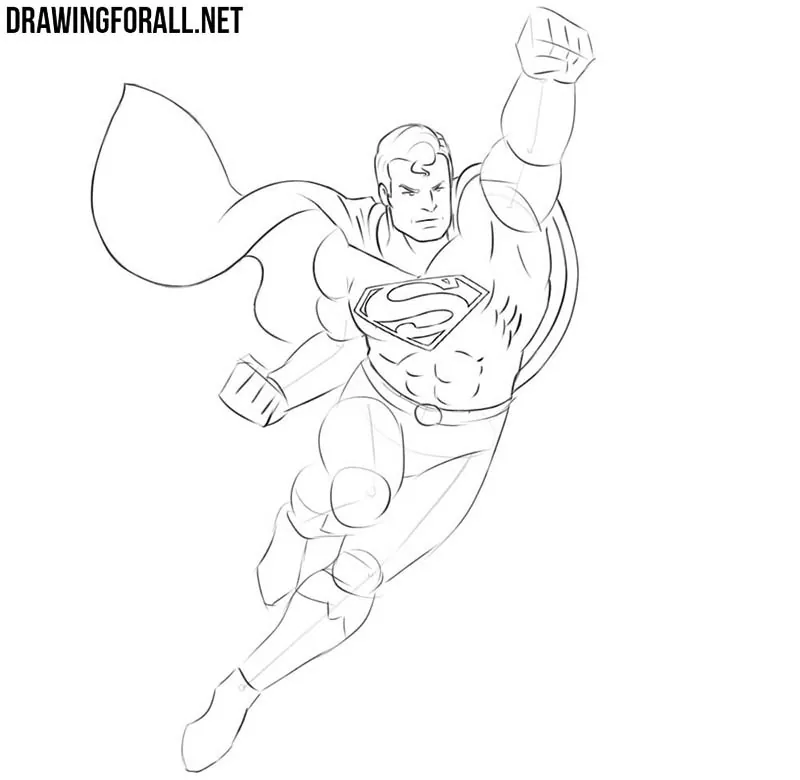
Step 6: Draw the arms and cape
Carefully trace the rounded contours of the arms. All muscles should be slightly exaggerated and tense, and the muscle lines should be visible. Next, carefully trace and detail the clenched fists and the waving cape behind Superman. Remove all unnecessary guidelines from the upper body and move to the lower limbs.
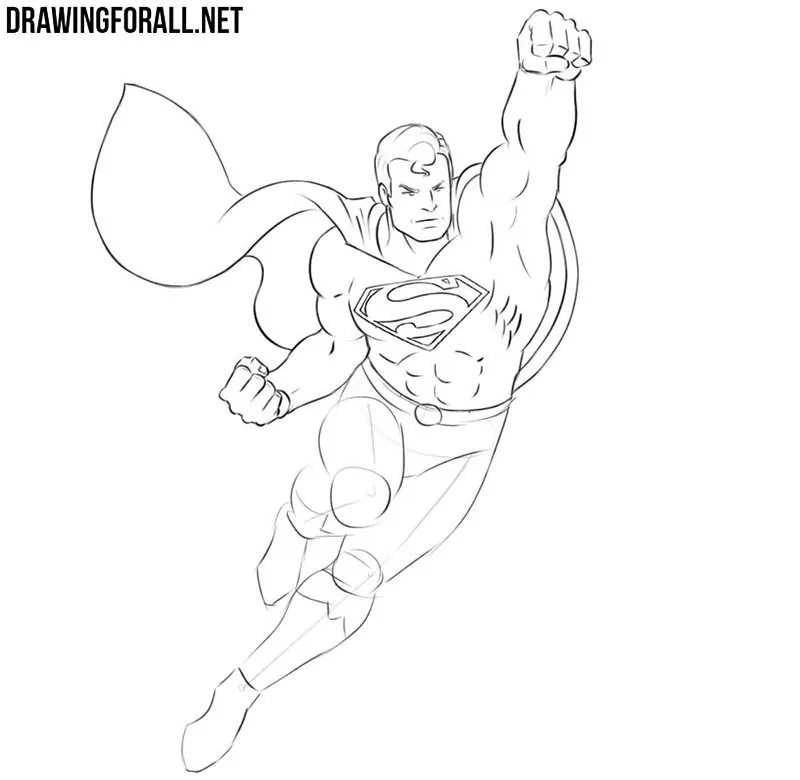
Step 7: Refine the legs of Superman
Now do with the legs what we did with the arms in the previous step. Using clear and smooth lines, trace the legs and all the main muscles. Draw the lines of the boots, knee joints, and folds of the costume. After that, remove all the remaining unnecessary guidelines from the drawing of flying Superman.
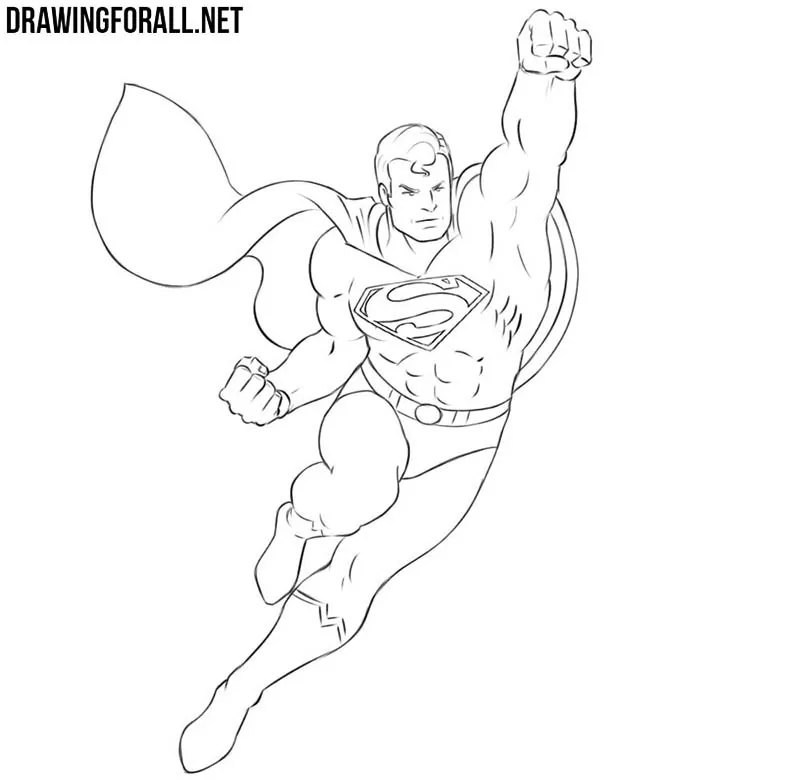
Step 8: Add comic-style shadows
Let’s depict the shadows. Here they are made in the classic comic-book style and look like dark areas of contrasting shadow. To draw such shadows, first outline their shapes and then fill them with solid black. In the same step, darken the hair while leaving highlights, and add lighter shadows using hatching.
In this comic art tutorial, we have described in eight simple steps how to draw flying Superman.
But of course, Superman can fly in many different positions. Try changing the position of the arms and legs or turn the body slightly to get a different result.
For further practice, draw Superman standing in a more static pose. And if you want something even more different, draw chibi Superman and see how the same character changes in a completely different style.



meh its alright i did better free drawing him
Thank you, it definitely helped me draw from scratch