How to Draw Simple Eyes
Step 1
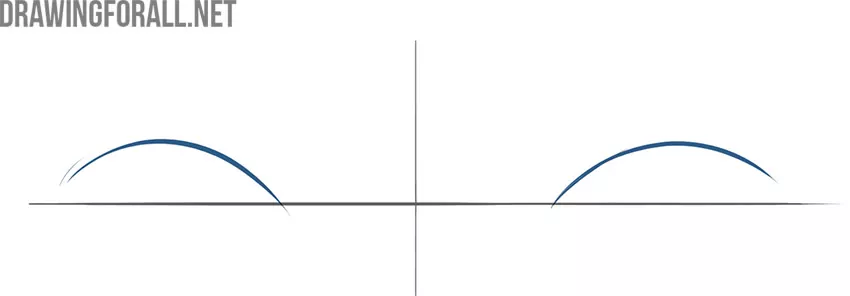
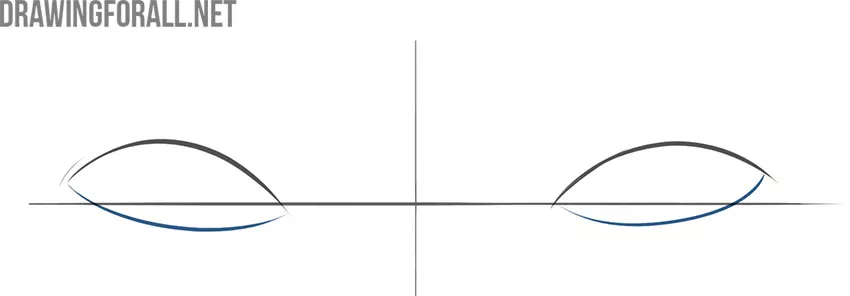
First, decide on the location of the picture. If you are drawing the eyes as the main subject, you can use a whole sheet of paper. In this case, draw two crossed lines in the center as in the example below. Pay attention to the crossover area. It’s not half of the vertical line, it’s about the bottom third.

Step 2
Add two curved lines that intersect in a small area with the base horizontal line. Try to maintain symmetry and create smooth, neat lines.
Step 3
And now complete the formation of the contours of the eyes and draw the bottom border. Use the base horizontal line as a guide. Pay attention to the localization of the intersection of this line and the lower borders of the eyes.
Step 4
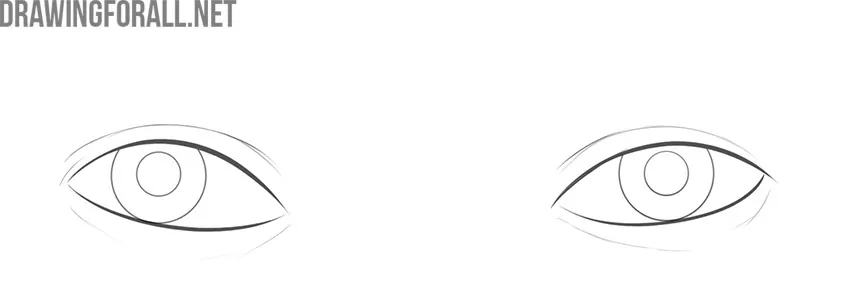
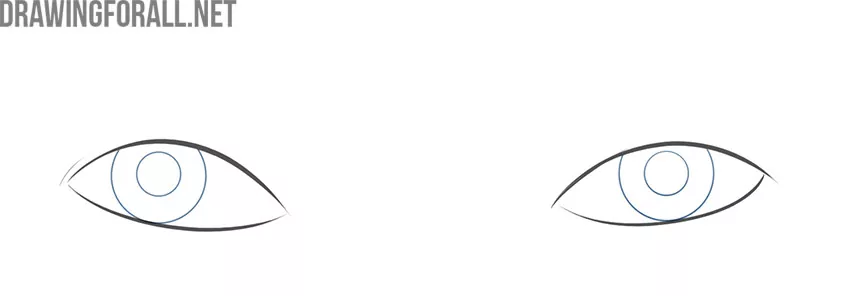
Draw pupils. In our version, the eyes are looking directly at us, however, if you want to create a direction of gaze to the side, you need to change the location of both pupils and move them in the right direction. After that, you can erase all auxiliary lines and clean up the drawing.
Step 5
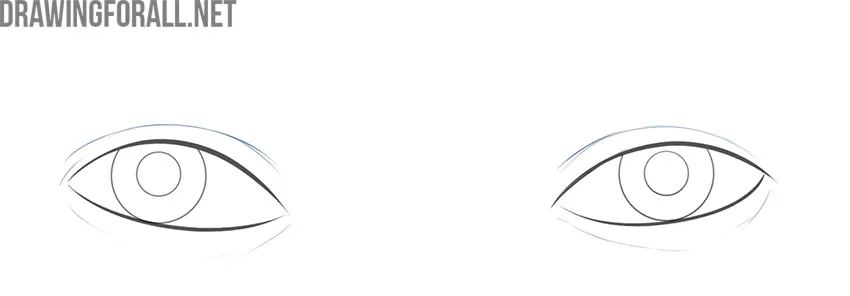
Add the contours of the eyelids. Use smooth rounded lines. Also, avoid pressing the pencil too hard or you will create the effect of dark circles around the eyes. Don’t forget to watch our lesson about the anatomy of the eye to better understand what exactly we are drawing.
Step 6
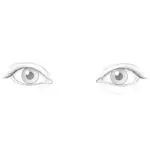
As a result, you should see an approximate result. If you see too many differences, try to find the steps where you made mistakes and fix it.

We hope you get great results. Try drawing several different characters with different facial features. Use this lesson while working on the eyes of each of them. Over time, you will draw fantastically cool portraits.


