How to Draw Realistic Eyes
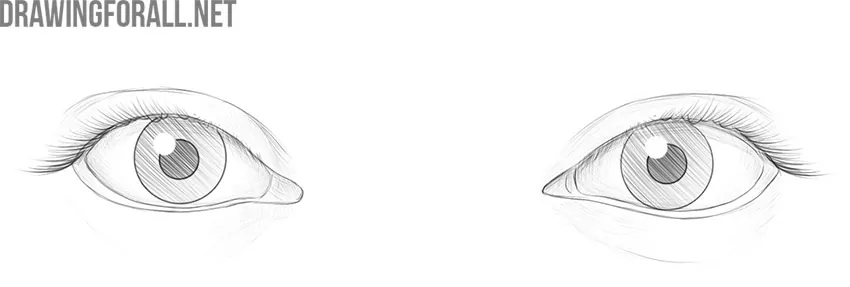
In this drawing tutorial, we will tell you how to draw realistic eyes. This will be a bit more complex and detailed than many of the other tutorials on our site.
However, you can get an excellent result if you follow the principles of drawing that we offer. It’s a little easier than it looks.
Step 1
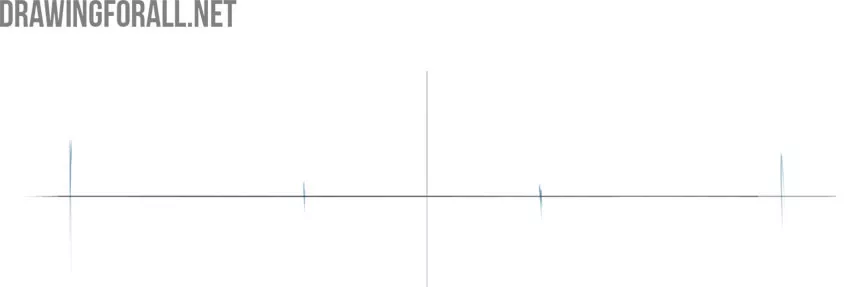
Firstly, draw two crossing lines like in our sample. The horizontal line indicates the position of the upper part of the eyes, and the vertical line indicates the symmetry of the entire drawing.

Step 2
Secondly, draw the approximate borders of the contours of the eyes. Place these strokes on the vertical line from the previous step. This is a very important action.
Step 3
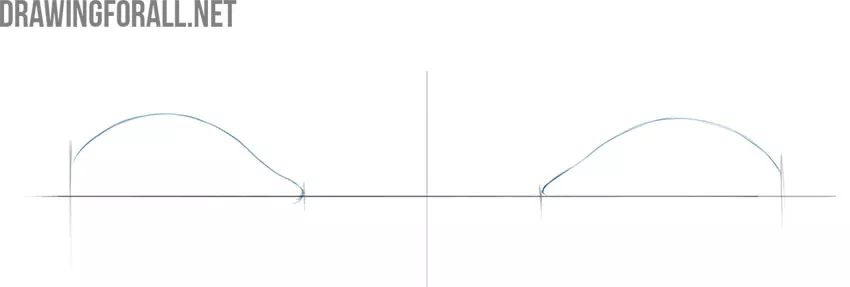
Draw the upper borders of the eyes. Use the lines from the previous step and try to draw something like hills with a slight slope.
Step 4
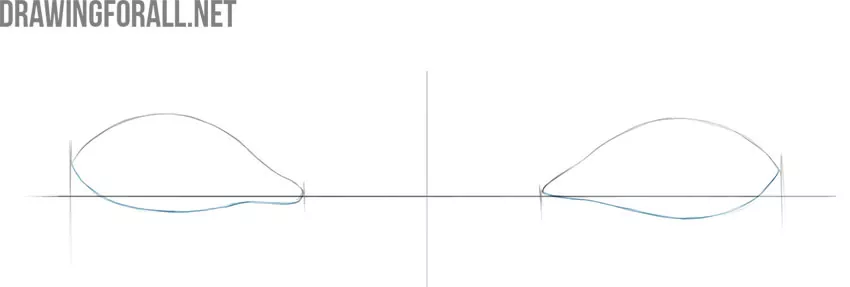
And now we can finish drawing the lower borders of the eyes. Notice the horizontal line. Only a small part of the contour of the eye is located under the horizontal line.
Step 5
Draw the outlines of the mucous membranes of the lower eyelids. It looks like a smooth line within the outline of the eye.
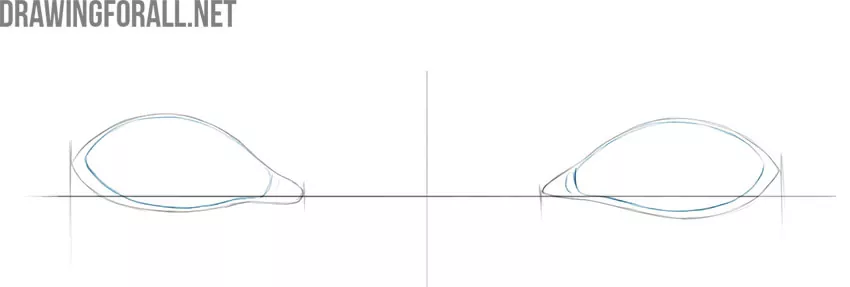
Step 6
Add the contours of the upper eyelids. These small folds of skin are almost parallel to the upper borders of the eyes that we drew in the third step.
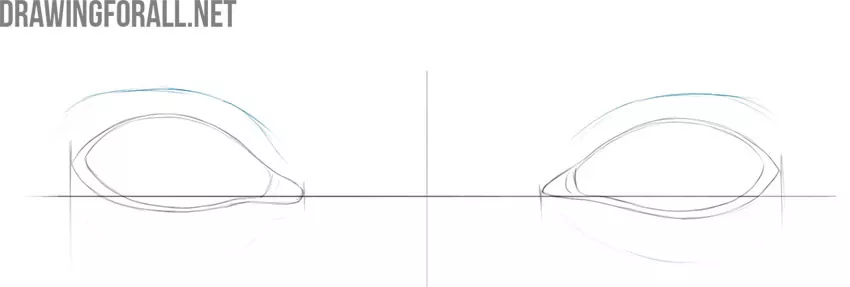
Step 7
Draw pupils. It’s very simple and very important. As you can see, it’s just a couple of circles inside the eye contours. So, please note that the location of the pupils determines the direction and character of the character’s gaze.
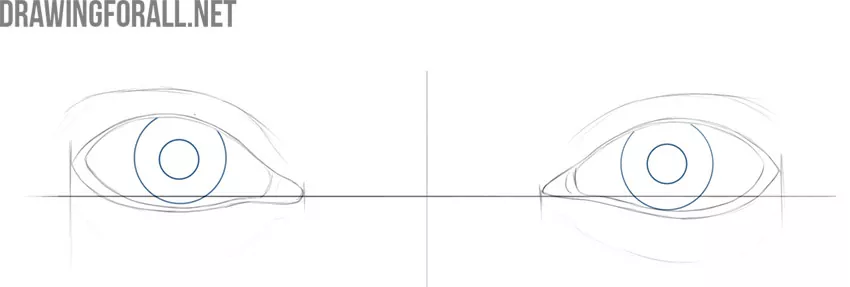
Step 8
Delete the base guidelines from the first step. Before that, make sure that all shapes are correct and that the entire drawing is symmetrical.
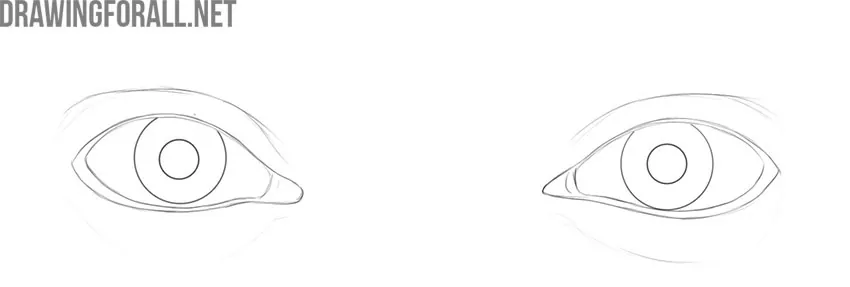
Step 9
Draw the contours of the eyelashes. In our case, these are densely spaced curved lines that are located on the upper eyelids. Eyelashes appear longer laterally due to the angle.
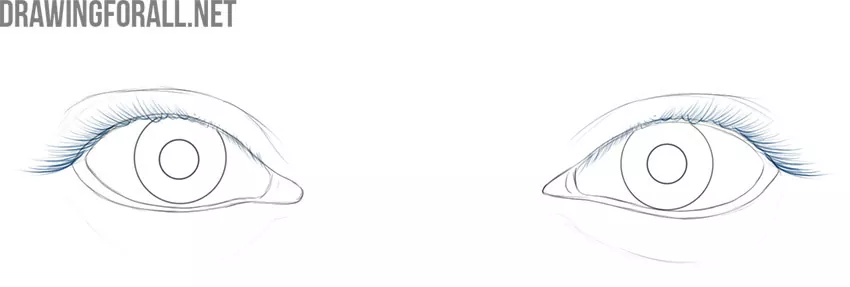
Step 10
Fill in the dark areas with a single-layer hatch. Denser hatching creates a darker shade. So, pay attention to the round unpainted highlights, this is a very important detail.
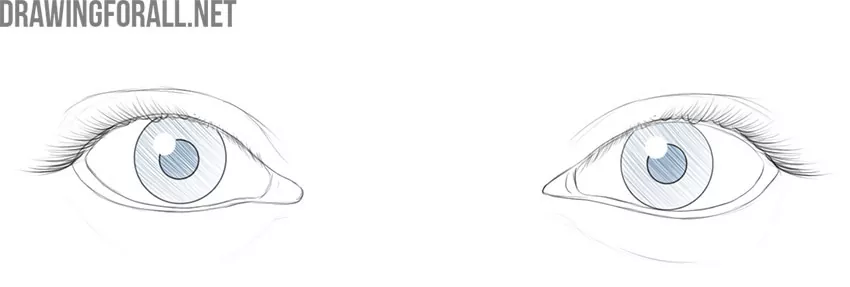
Step 11
Add some more light shadows in the area of the eyelids. If you are painting other parts of the face, apply shadows to those areas that are hidden from the light.
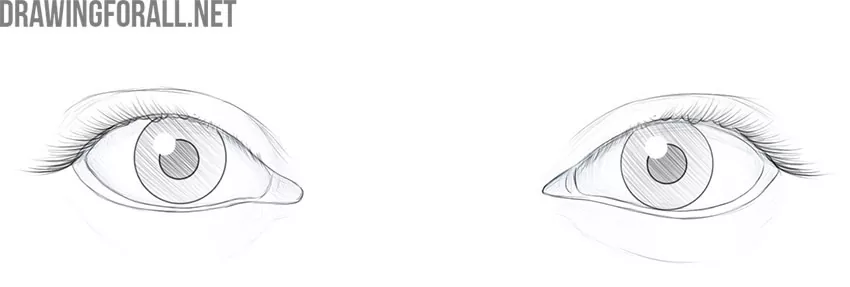
Step 12
So, if you followed the sequence of steps correctly, you could get something like this. You probably drew more realistic and cooler than we do.

So, that was a great lesson. We are looking forward to your feedback on our work. It helps a lot to create new useful drawing guides for you, dear readers!


