

How to Draw Shazam
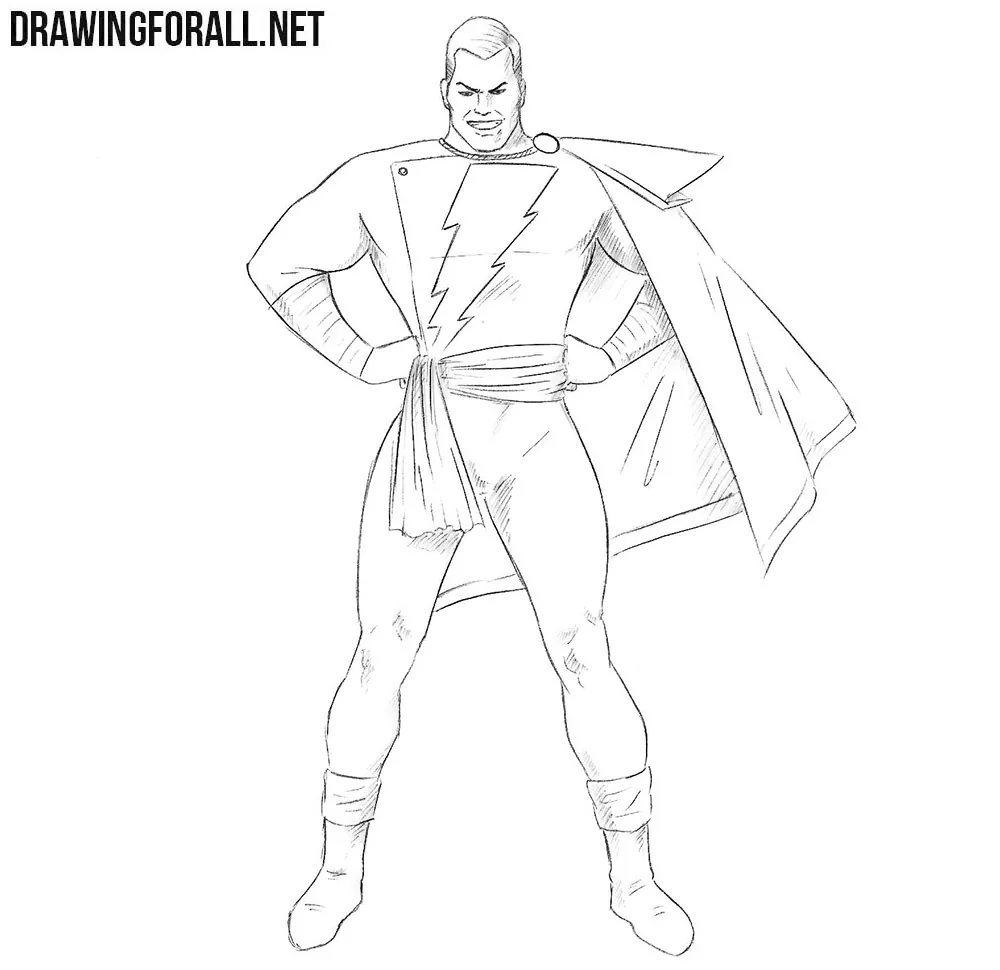
In this drawing tutorial, we will show you how to draw Shazam from DC Comics step by step.
In fact, this character also bears the name “Captain Marvel,” but since our site already has a drawing tutorial with that title, we decided to use the name Shazam in this particular tutorial.
How to draw Shazam step by step
Step 1: Sketch Shazam’s basic guidelines
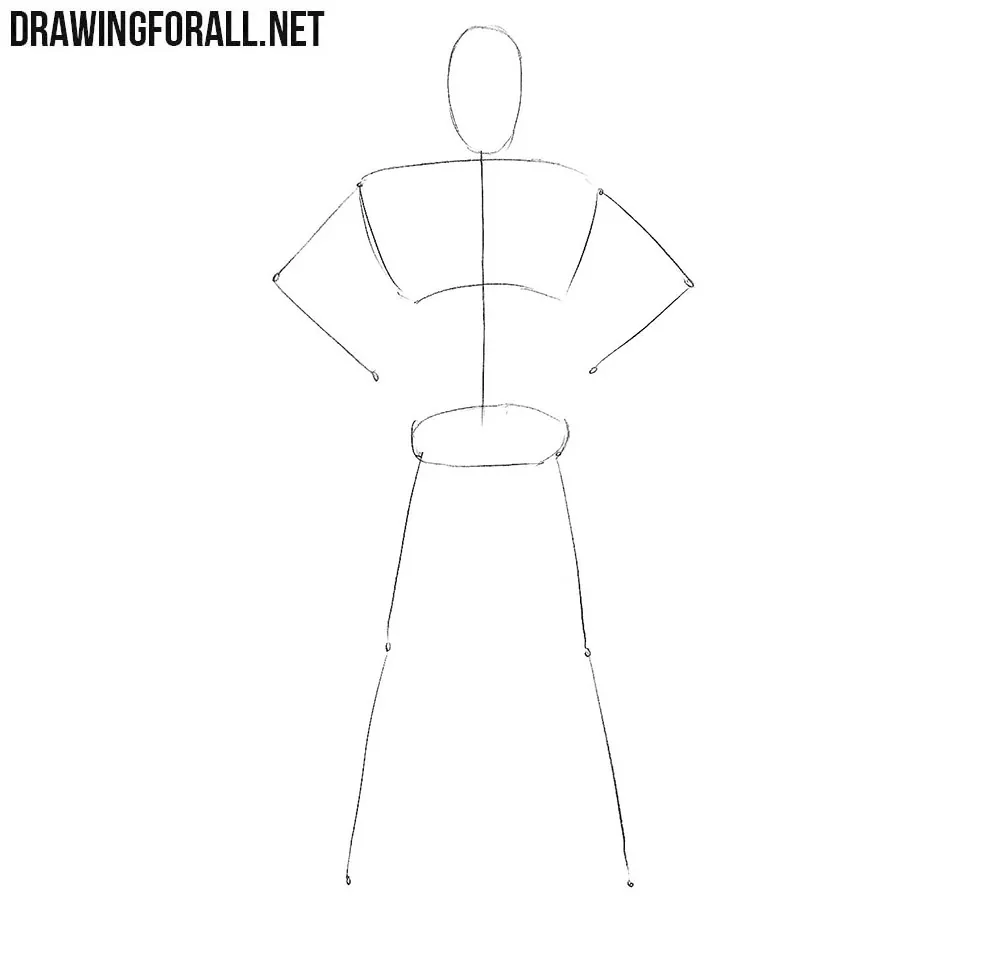
Begin with a stick figure, or a simplified skeleton of the character drawn with basic lines. First, draw Shazam’s head in the form of a flattened egg. After that, sketch the line of the spine. On this line, draw the chest and pelvis as simple rounded shapes. Using light lines, add the arms and legs. Remember that all the lines in this initial sketch should be very light.
Step 2: Add volume to Shazam
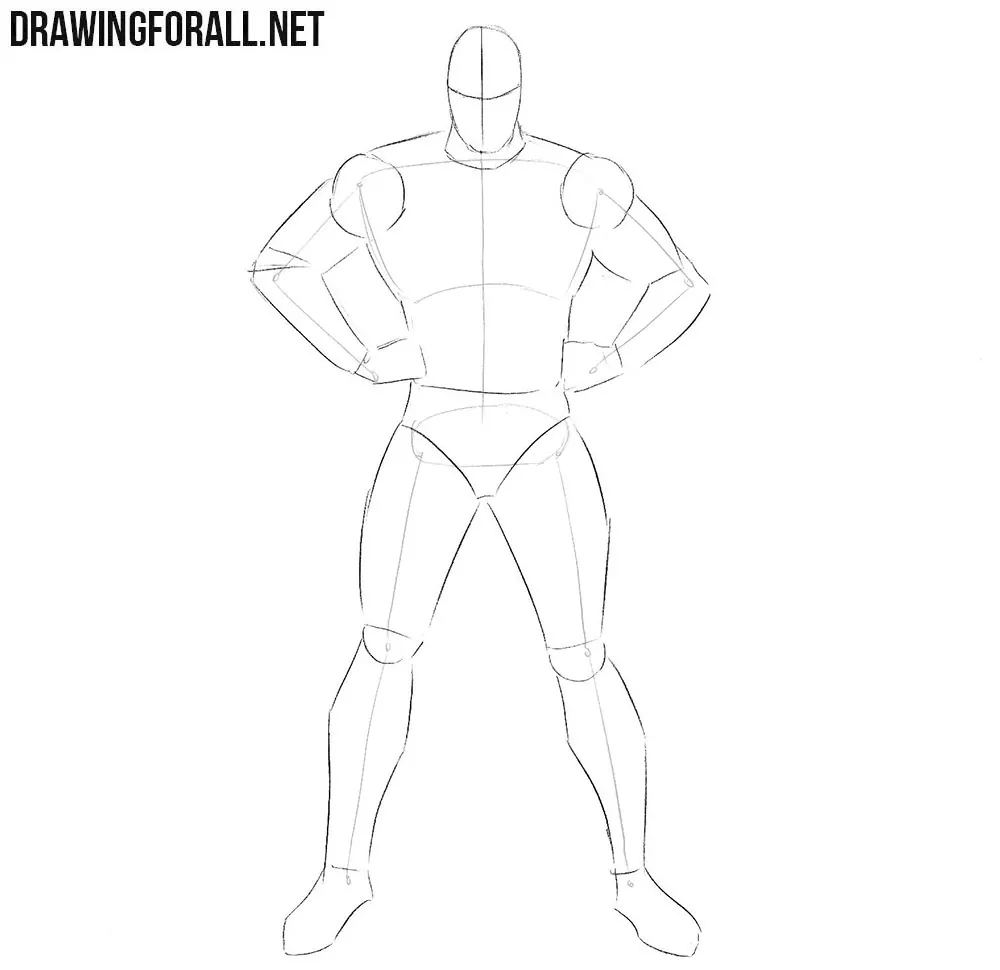
Now add some volume to Shazam. First, draw two crossing facial guidelines. Outline the neck and torso, making the body narrow slightly toward the pelvis. After that, use simple geometric forms to draw the powerful, muscular arms. Move lower and sketch the pelvis and legs in the same simplified manner.
Step 3: Mark the costume details
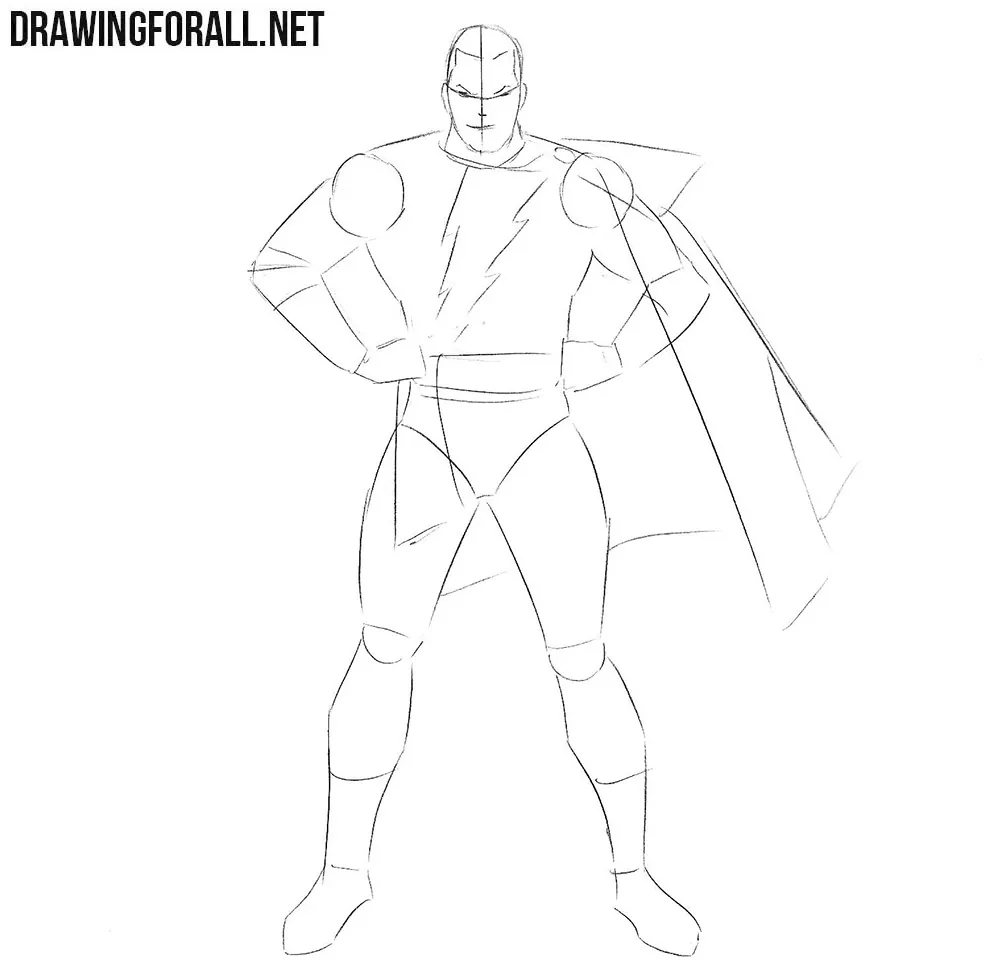
Now outline several elements of Shazam’s costume and facial features. First, draw the triangular part located behind the left shoulder. After that, begin drawing the cape as it extends behind the back and hangs down to the knees. Next, sketch the outlines of the gloves and shoes.
Step 4: Refine Shazam’s face and hair
Now draw Shazam’s face in its final form. Add the ear, placing its upper edge level with the eyebrows and its lower edge level with the tip of the nose. Draw the outline of the short hair. Erase the facial guidelines and refine the remaining lines to make them smooth and clean.
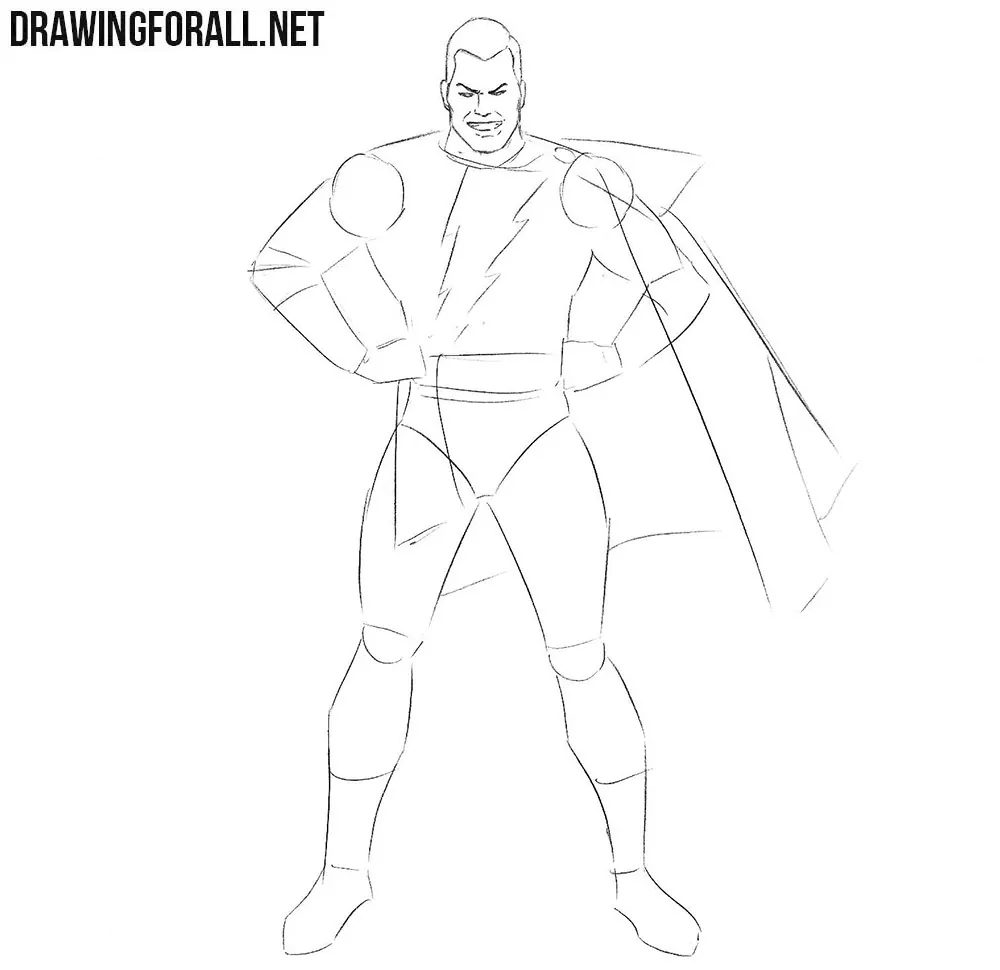
Step 5: Draw the torso and emblem
Carefully draw the contours of Shazam’s torso, including the pectoral and abdominal muscles. In the center of the chest, draw Shazam’s lightning bolt emblem. Do not forget to add the buckle on the collar and refine the edges of the costume around the shoulders.
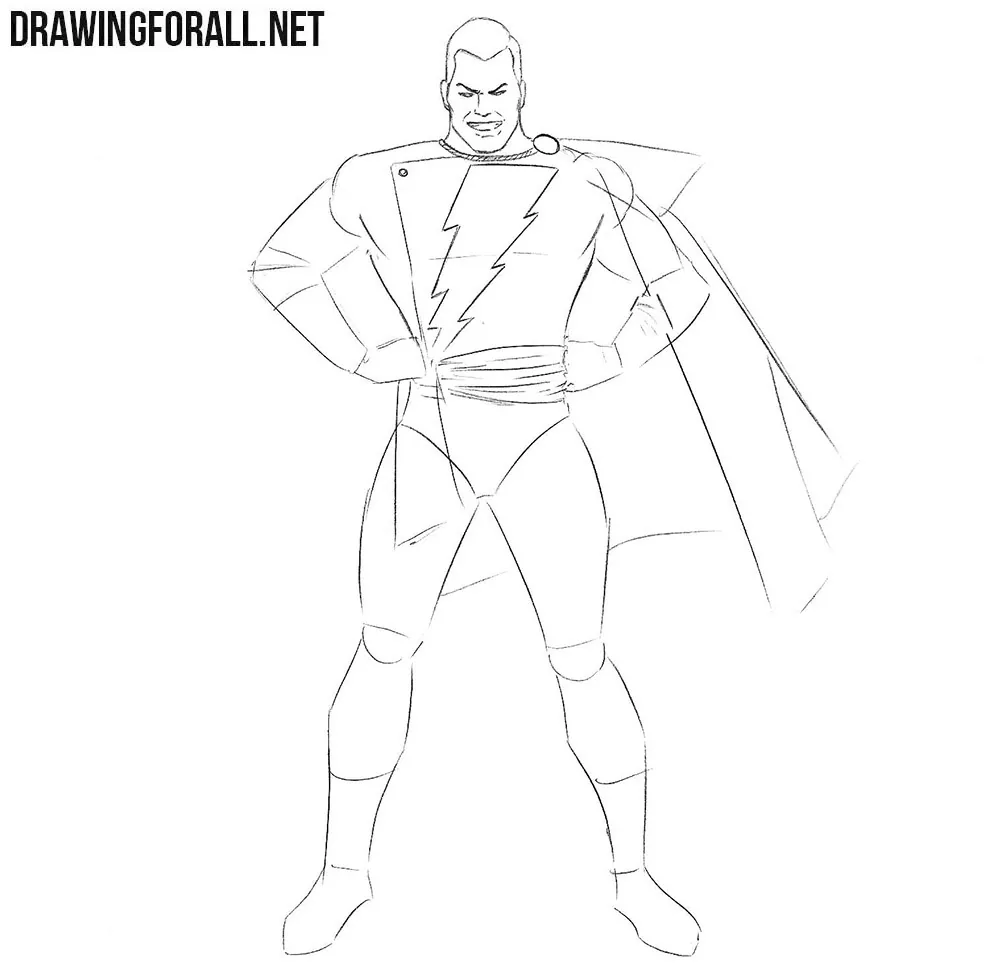
Step 6: Refine the cape and arms
Carefully outline the folds and outer edges of Shazam’s cape. After that, draw the arms, refining the muscles and adding the folds of the costume. In addition, complete the forearm guards by drawing the bracers with several crossing bands.
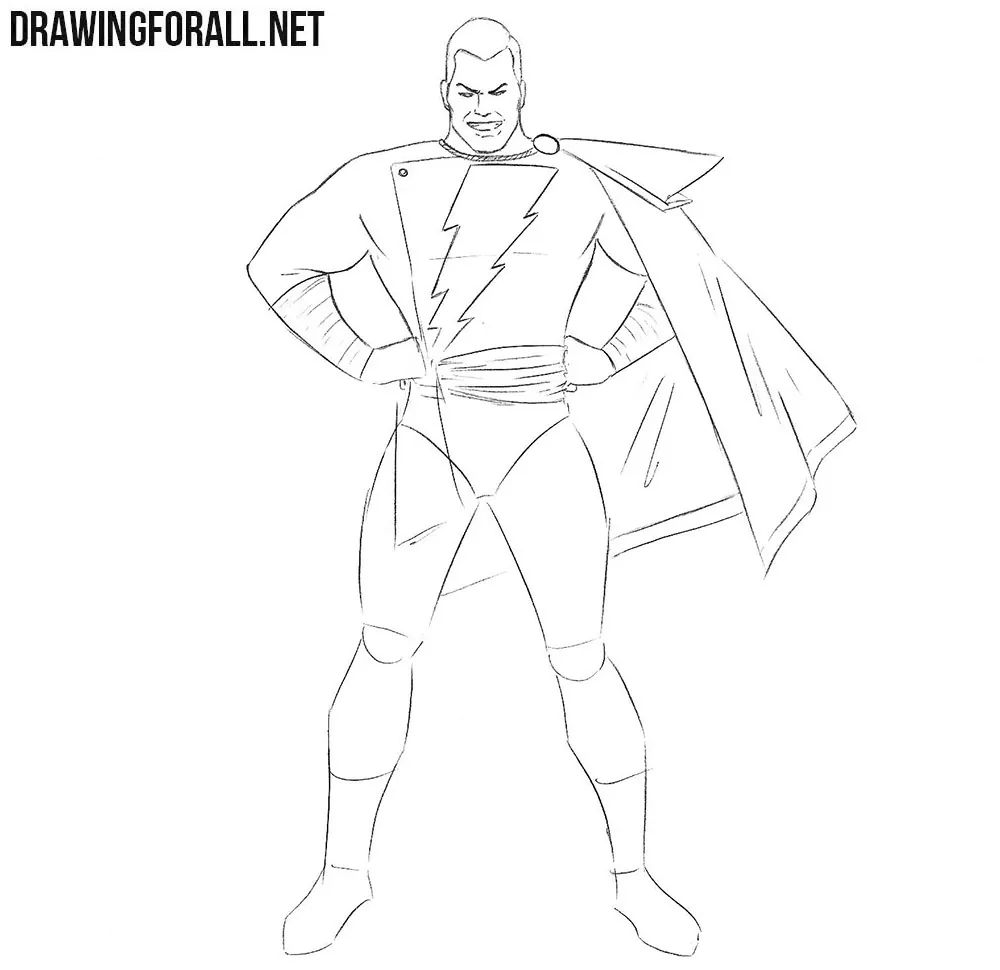
Step 7: Complete the lower body
Now work on the lower part of Shazam’s body. First, draw the wide belt and the piece of fabric hanging at the side. Next, refine the contours of the legs, carefully showing the major muscles and joints. Then finish drawing the high boots. Add the necessary folds and erase all the remaining guidelines from the Shazam drawing.
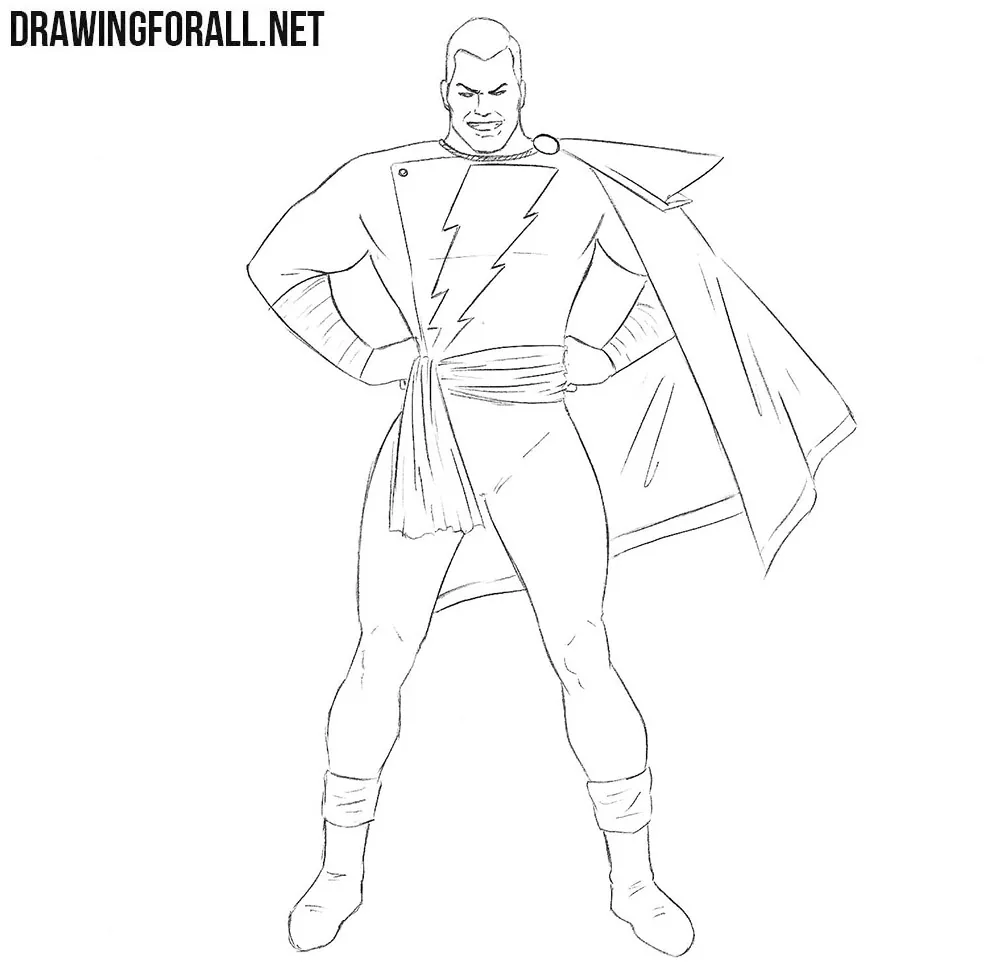
Step 8: Add comic-style shadows
In the final stages of our comic character tutorials, we usually add shadows, and this Shazam drawing is no exception. Apply the shadows in a traditional comic-book style using bold areas of contrast and thick hatching. You can make the shadows even darker and more contrasting to bring the drawing closer to the appearance of twentieth-century comic-book illustrations.
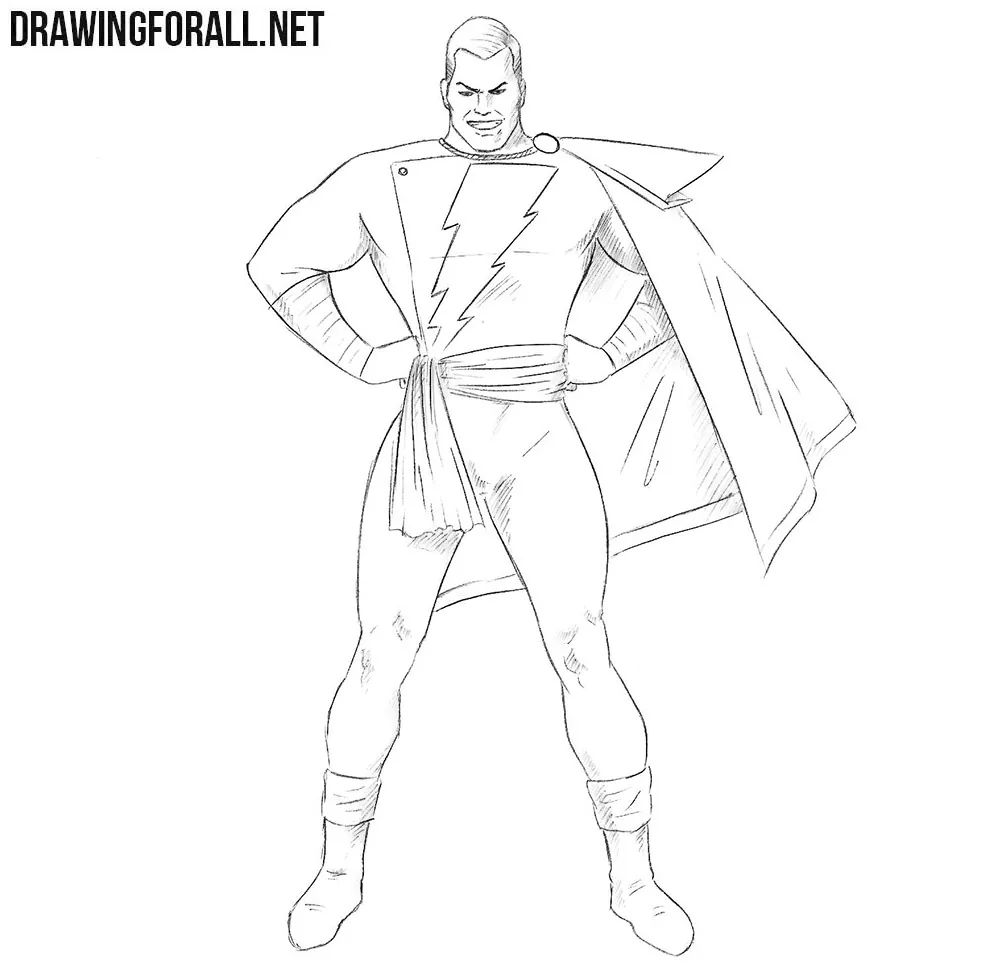
The tutorial on how to draw Shazam, also known as Captain Marvel, was quite challenging, like many of our tutorials about superheroes and supervillains.
This superhero has a very consistent look, unlike many other characters. Across comics, cartoons, movies, and games, his costume remains virtually the same.
This version can also serve as a base for drawing many other appearances of Shazam with only minor costume changes.



So easy,but i need more like Dr.fate and iron spider-man