How to Draw Rarity
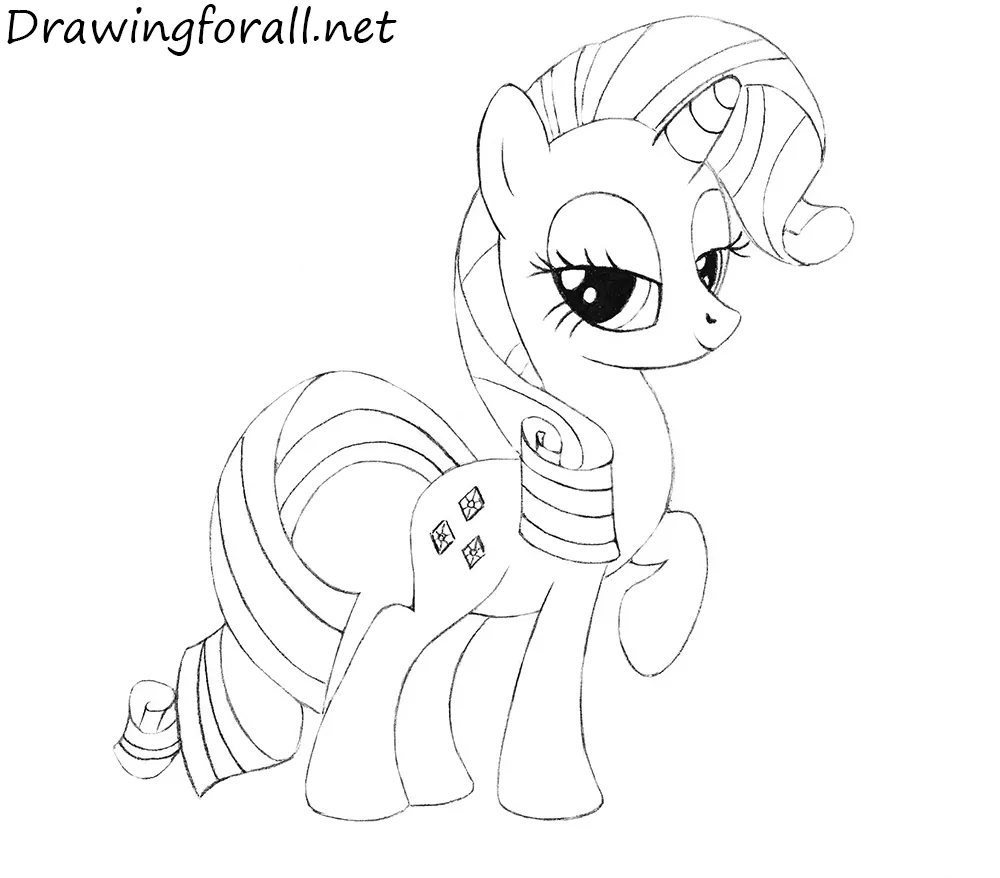
In this simple step-by-step tutorial, we’ll show you how to draw Rarity, one of the characters from the legendary animated series My Little Pony.
She is interested in design and fashion and always wants to be the center of attention.
Along with Rainbow Dash, Twilight Sparkle, and the other ponies, she is one of the main heroines of the series, but she clearly stands out for her design flair and ingenuity. So, let’s begin the tutorial!
How to draw Rarity step by step
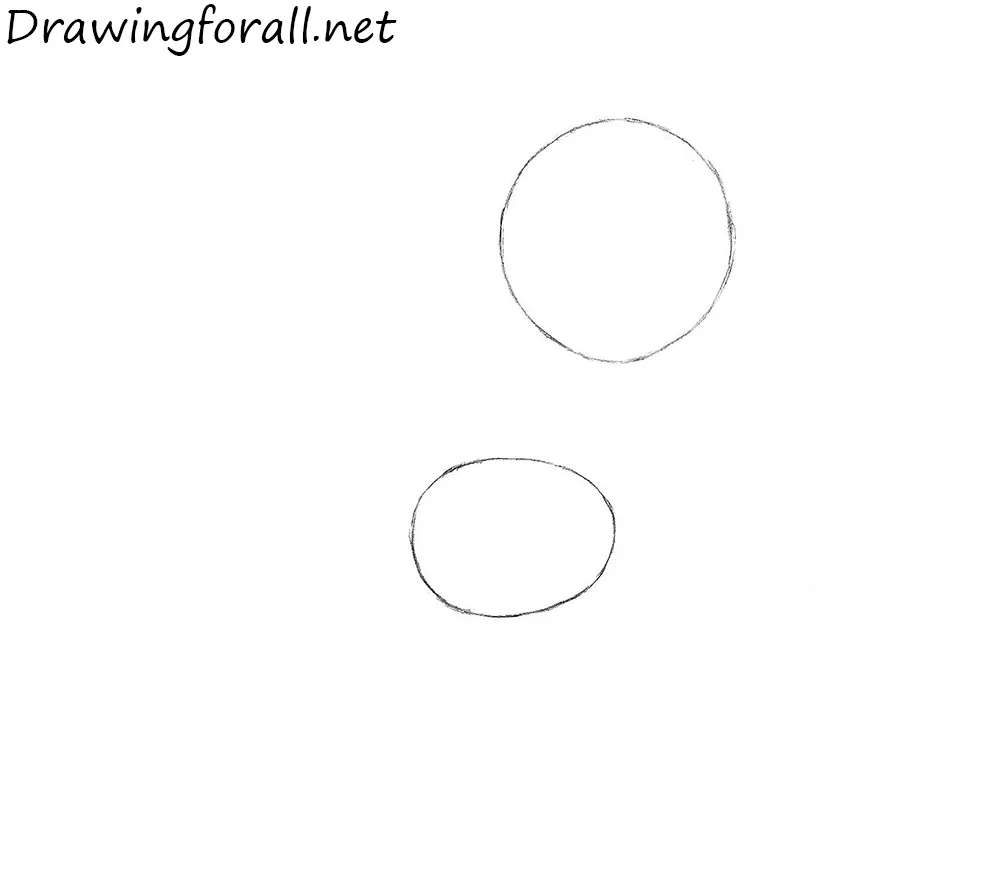
Step 1: Draw the head guide
First, draw a circle as a guide for the head.

Step 2: Add the oval torso shape
Under the circle from the previous step, draw an oval. This will be Rarity’s torso.
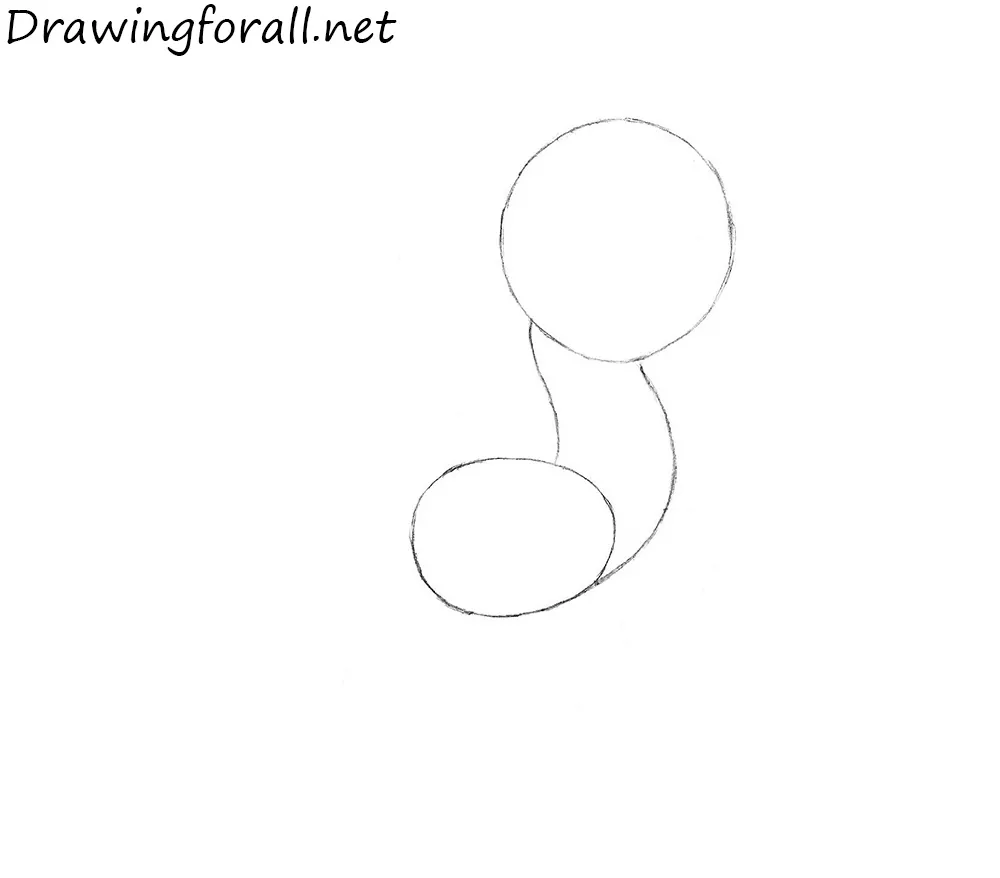
Step 3: Connect the head and torso
Now, use two curved lines to connect Rarity’s head to the torso.
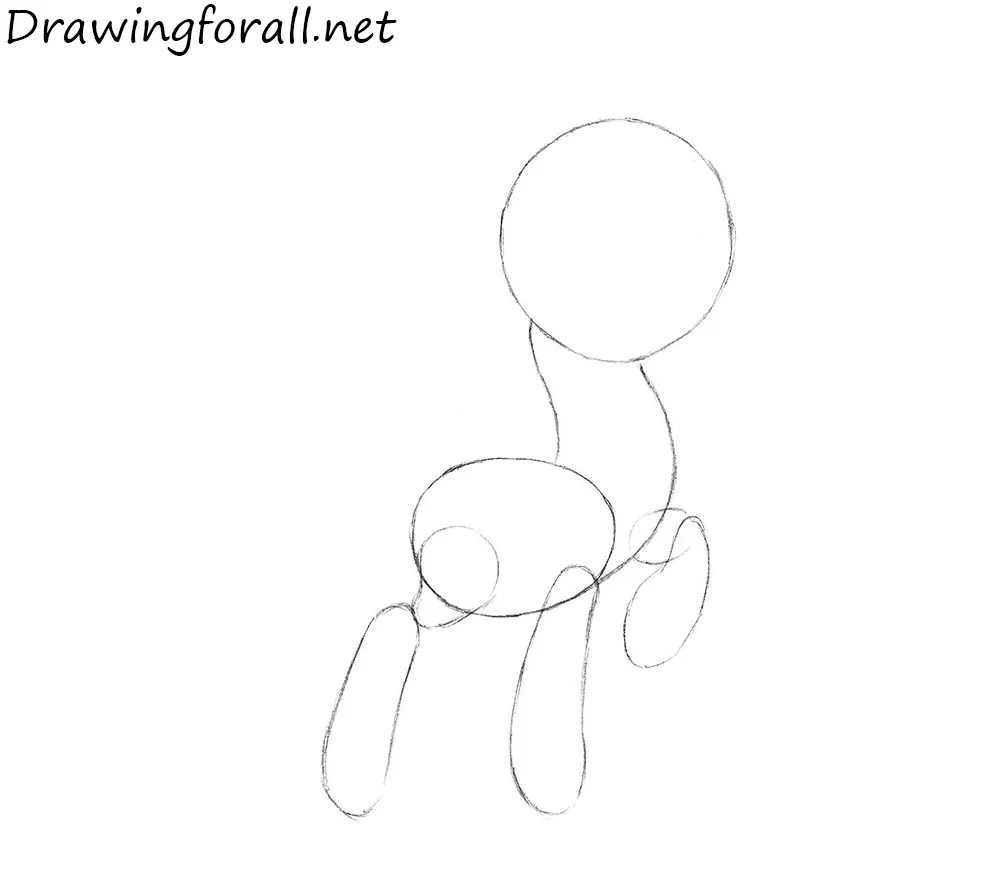
Step 4: Sketch the pony’s limbs
Using elongated ovals, sketch the pony’s limbs as shown in our example.
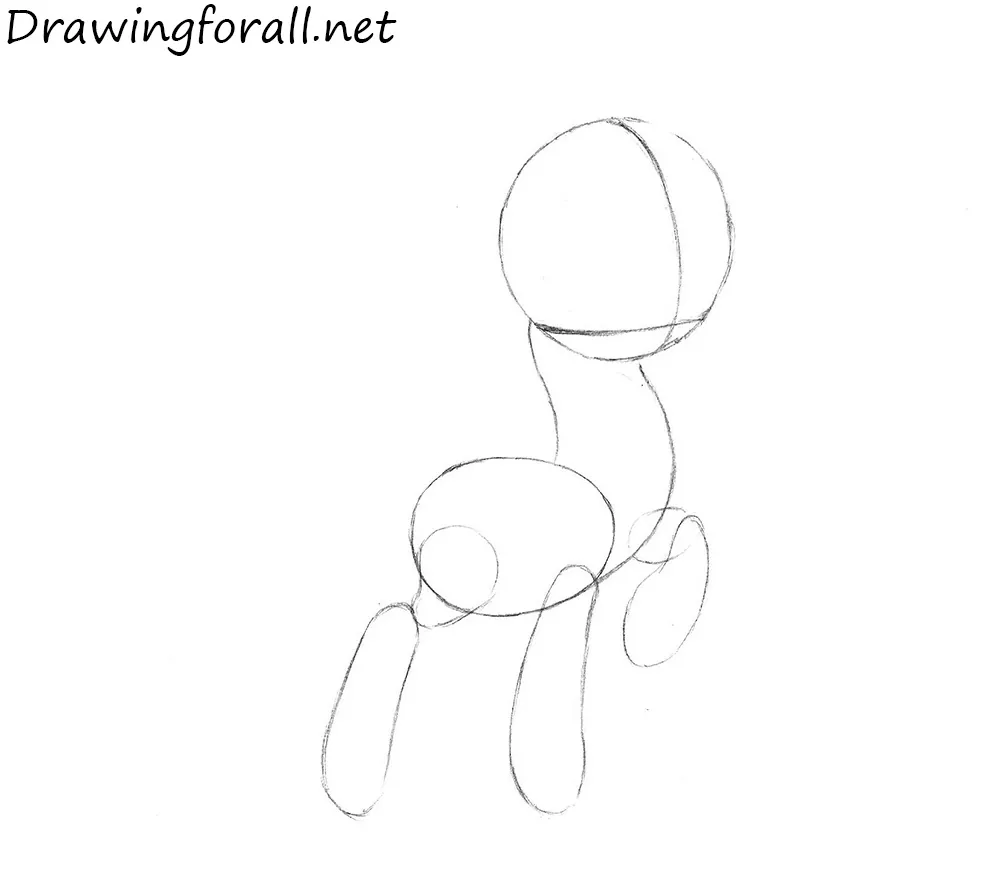
Step 5: Add the pony’s facial guidelines
Draw the facial symmetry guidelines. The vertical line shows the center of the face, and the horizontal line will help us position the eyes.
Step 6: Draw the eyes and nose of Rarity
Continue the tutorial on how to draw Rarity step by step. Using the facial symmetry guidelines, continue by drawing the cartoon eyes and nose as shown in our example below.
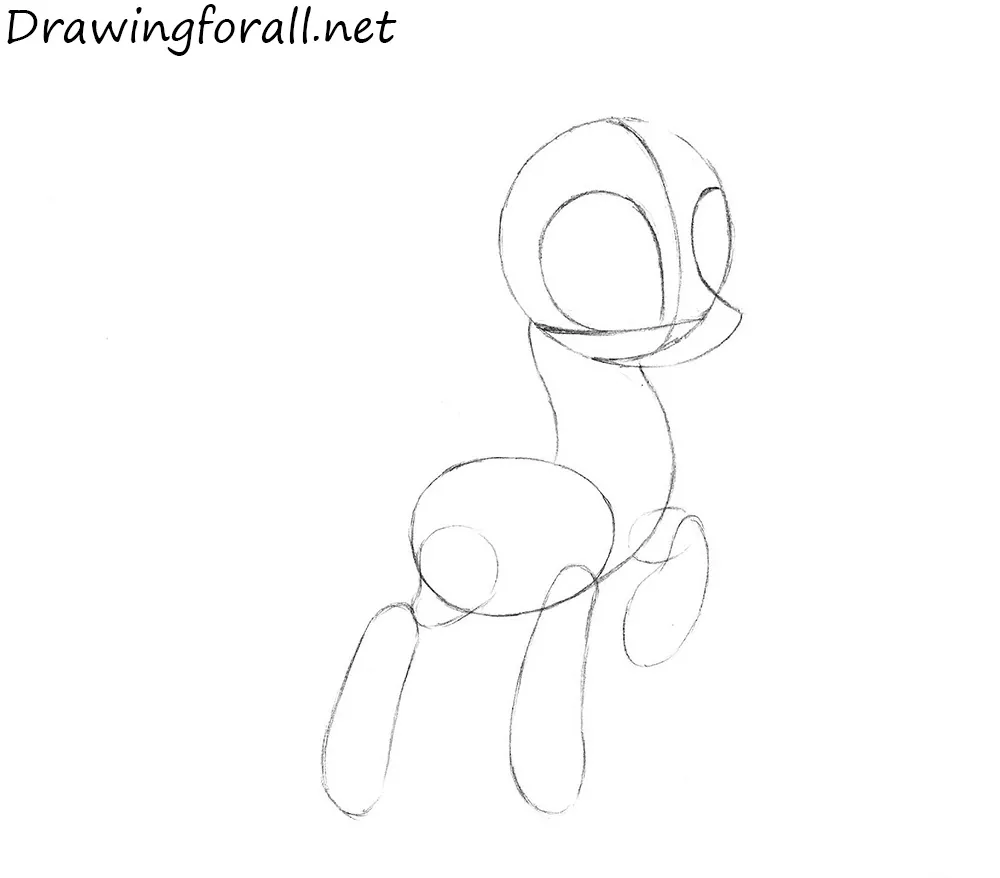
Step 7: Add the pony’s eyelids and pupils
Using two curved lines, draw the half-closed eyelids. Draw the pupils inside the eyes.
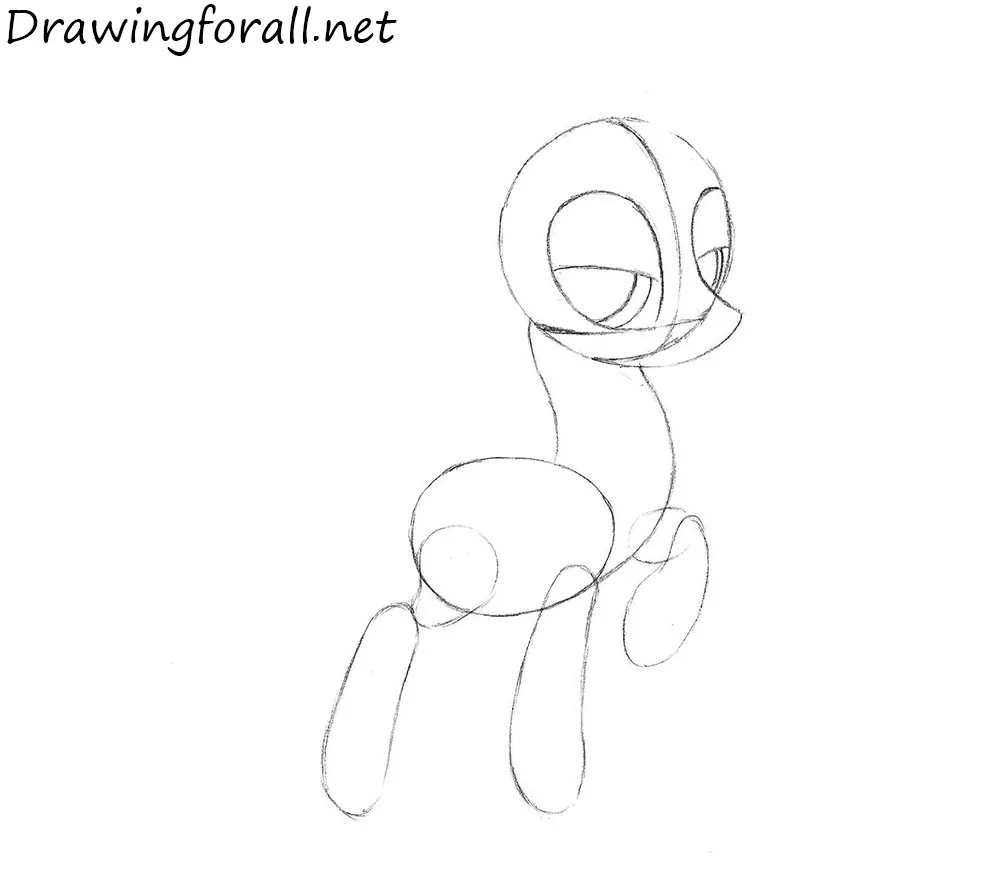
Step 8: Draw the mouth, horn, and ear of Rarity
Draw the mouth, horn, and ear as shown in the example below.
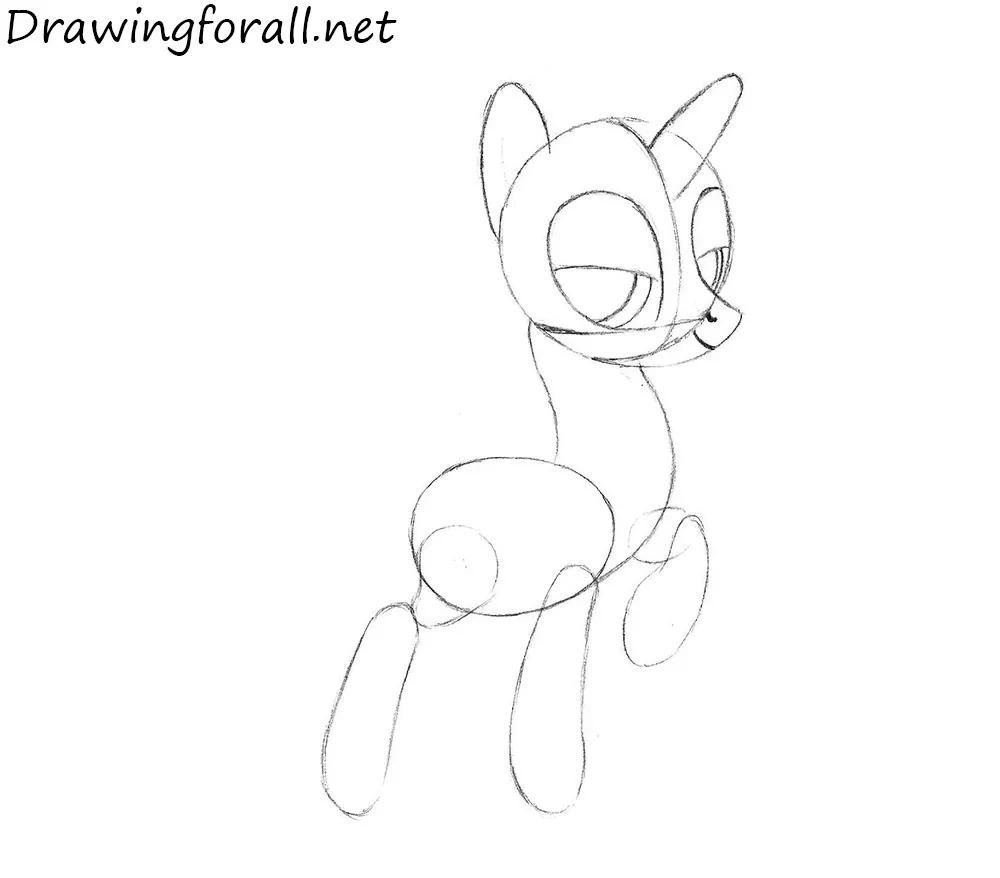
Step 9: Sketch the curled hair
At this step in the tutorial on how to draw Rarity, draw the hair using a few curved lines.
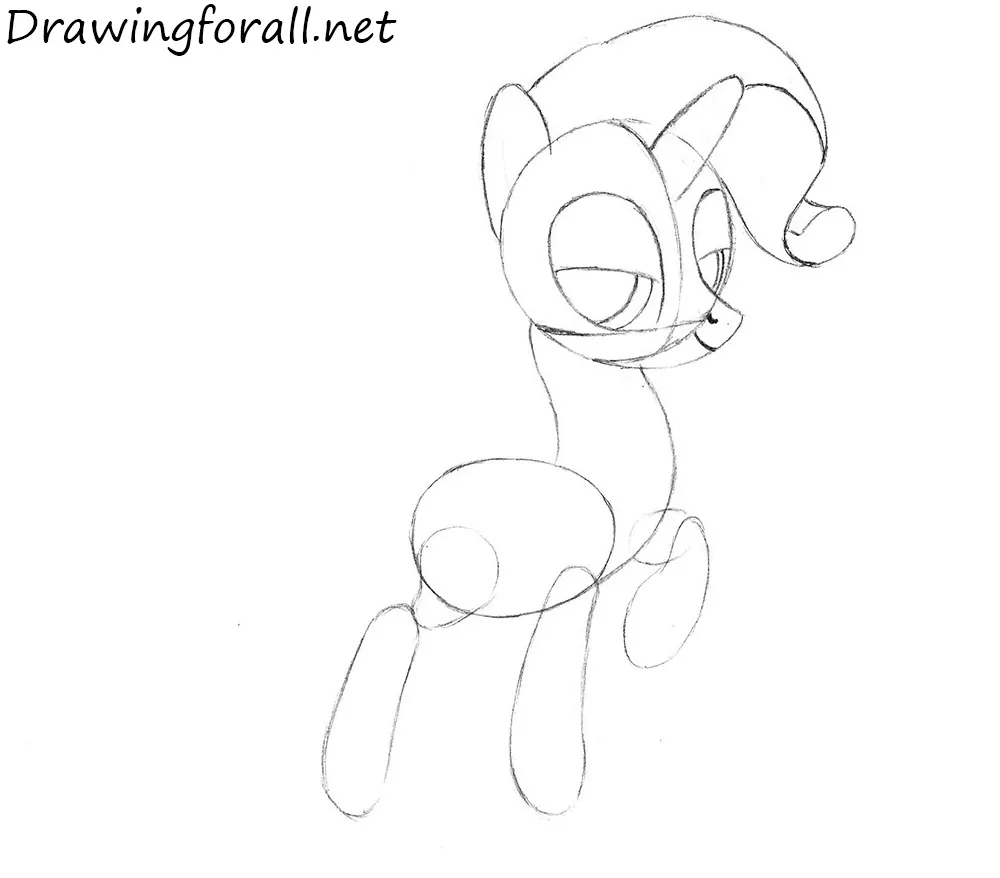
Step 10: Refine the pony’s head outlines
Continue drawing the pony. Erase the guidelines from the previous steps. Trace the remaining lines to make them smooth and clean.
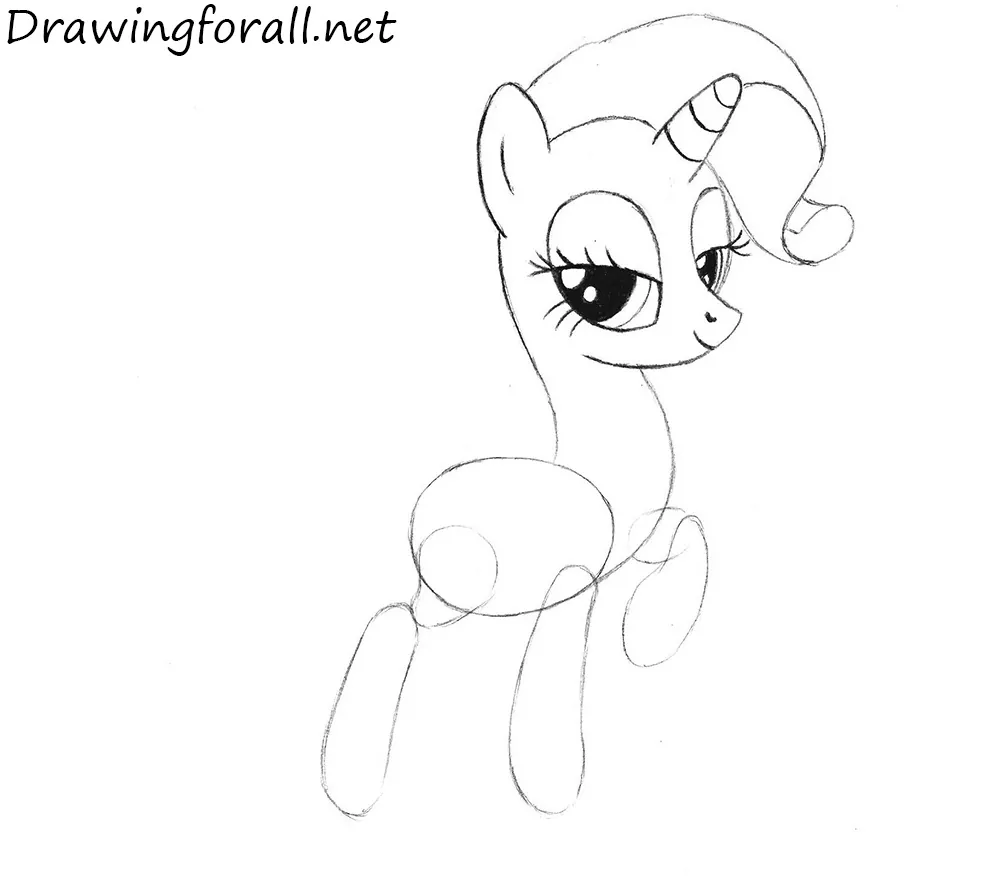
Step 11: Add the mane and rear leg
Shade the pupil. Draw the mane using curved lines. Draw the rear leg that is farthest from view.
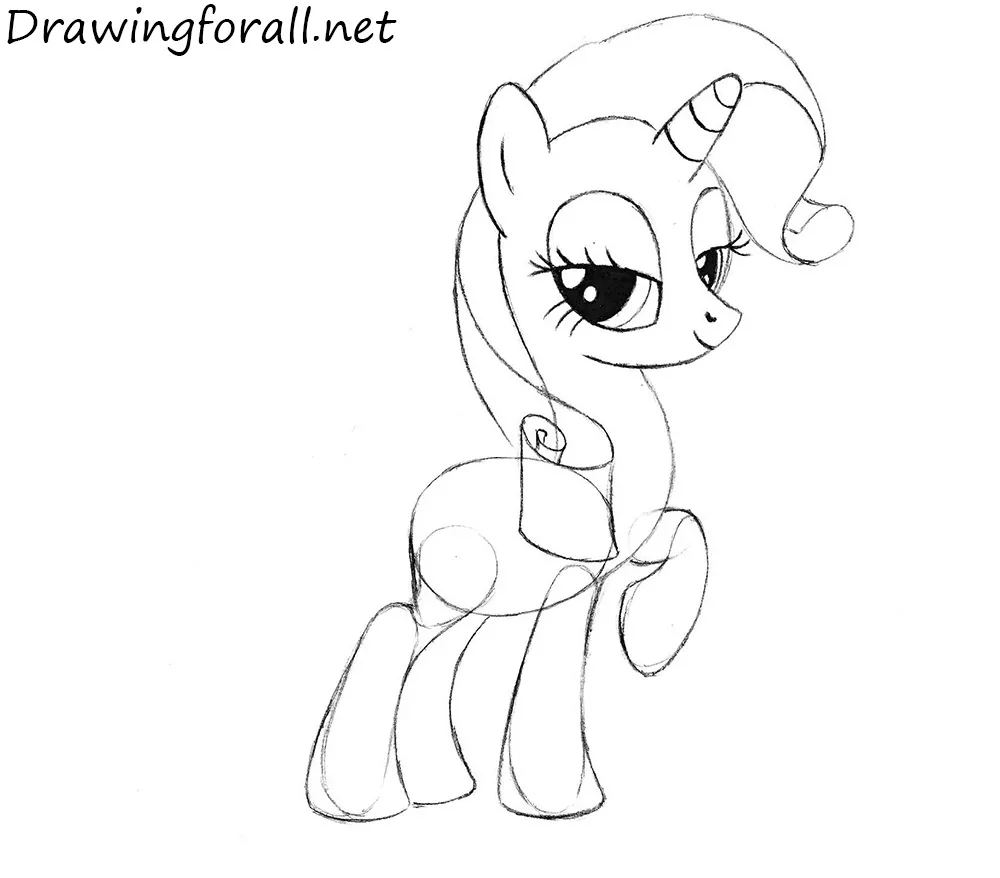
Step 12: Refine the cartoon body outlines
Continue drawing the My Little Pony character. Erase the guidelines from Rarity’s body. Trace the remaining lines as shown in our example.
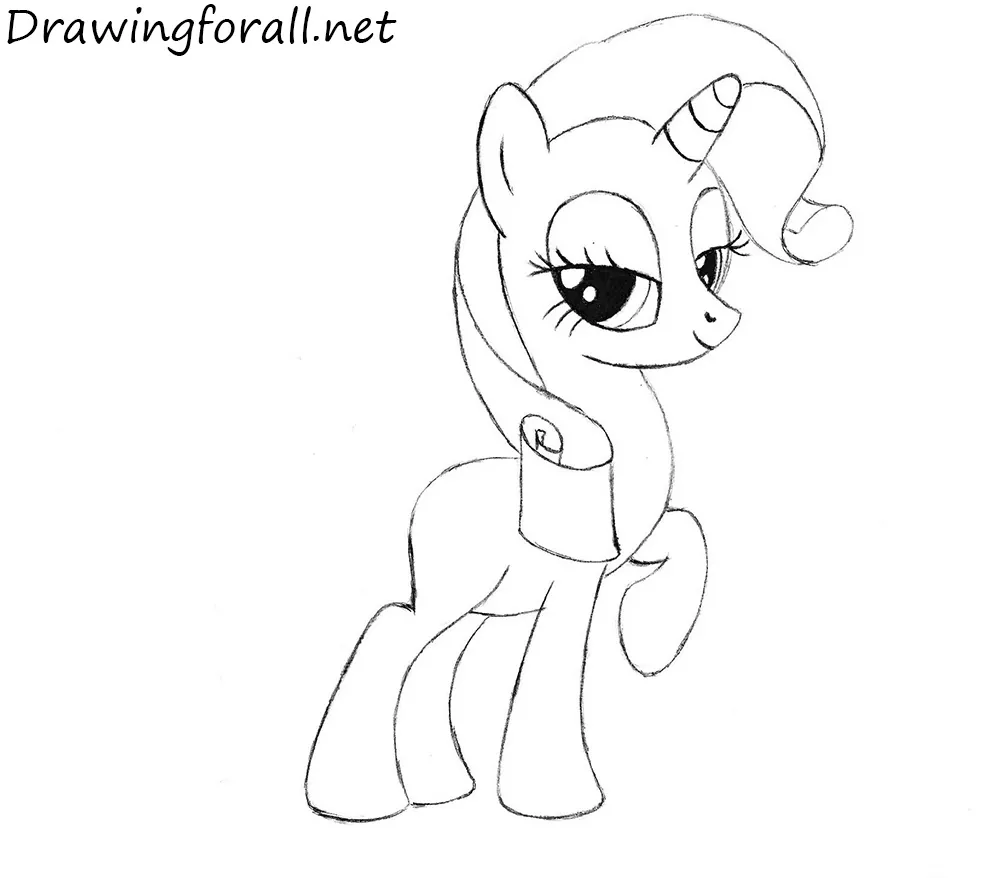
Step 13: Draw the curled tail of Rarity
Draw the tail, which is shaped like a ribbon used for wrapping gifts.
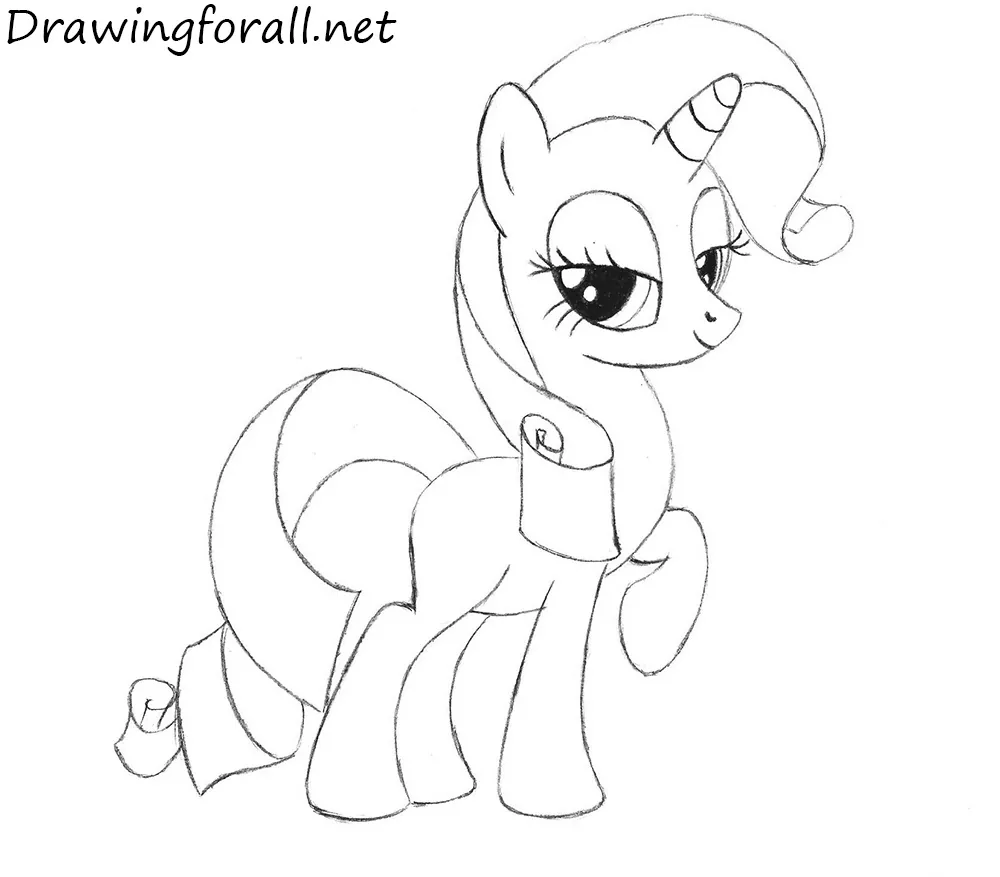
Step 14: Finish the mane and markings
Draw three diamonds on Rarity’s hip. Using long, smooth lines, draw the texture of the pony’s mane and tail.
This was a drawing tutorial on how to draw Rarity from My Little Pony. Follow us on social media and stay tuned for new drawing tutorials!