How to Draw a Robot for Kids
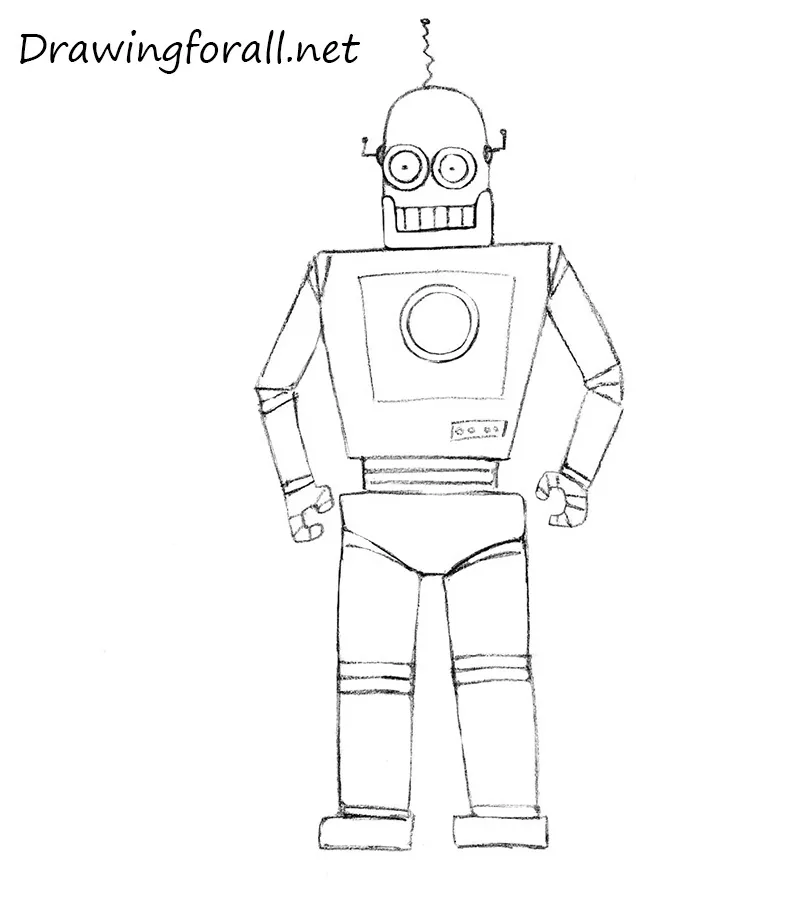
Hello, dear aspiring artists! Today we will show you how to draw a robot for children. In fact, this drawing lesson is very simple. With this drawing tutorial, even a little baby can draw the robot. So, let’s start this lesson and learn how to draw a robot!
Step 1
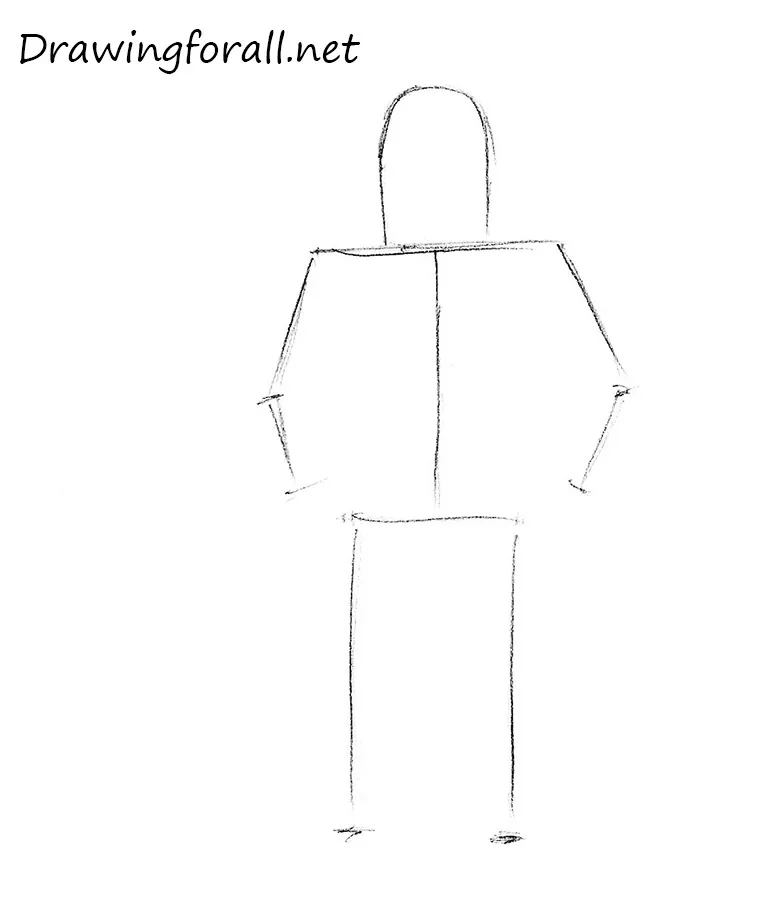
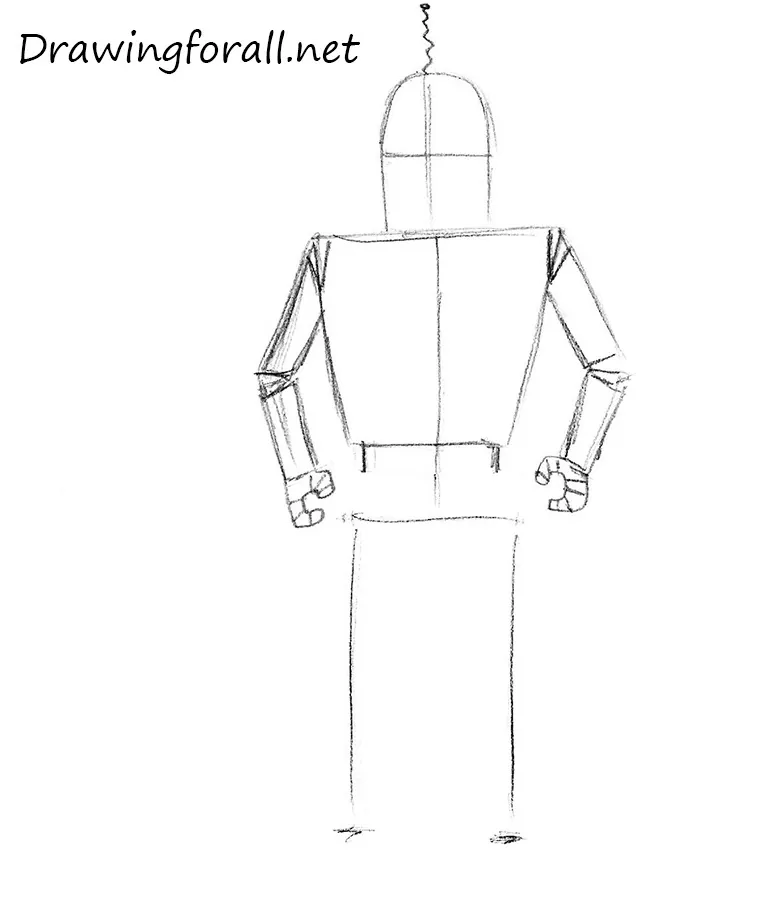
First things first we need to draw a stickman – the man, made of sticks and circles. Using a semi-oval sketch out the head (yep, it’s looks like an inverted bucket). Using straight lines sketch out the shoulders, spine, hands and legs.
Step 2
Let’s start adding some volume to our iron friend. Using a wavy line draw an antenna at the top of the head (We think, it’s something like a GPS for the robots… anyway). Sketch out the lines of facial symmetry. These lines will help us to draw the facial features (yes, he has it). Sketch out the torso. Using rectangles sketch out the arms.
Step 3
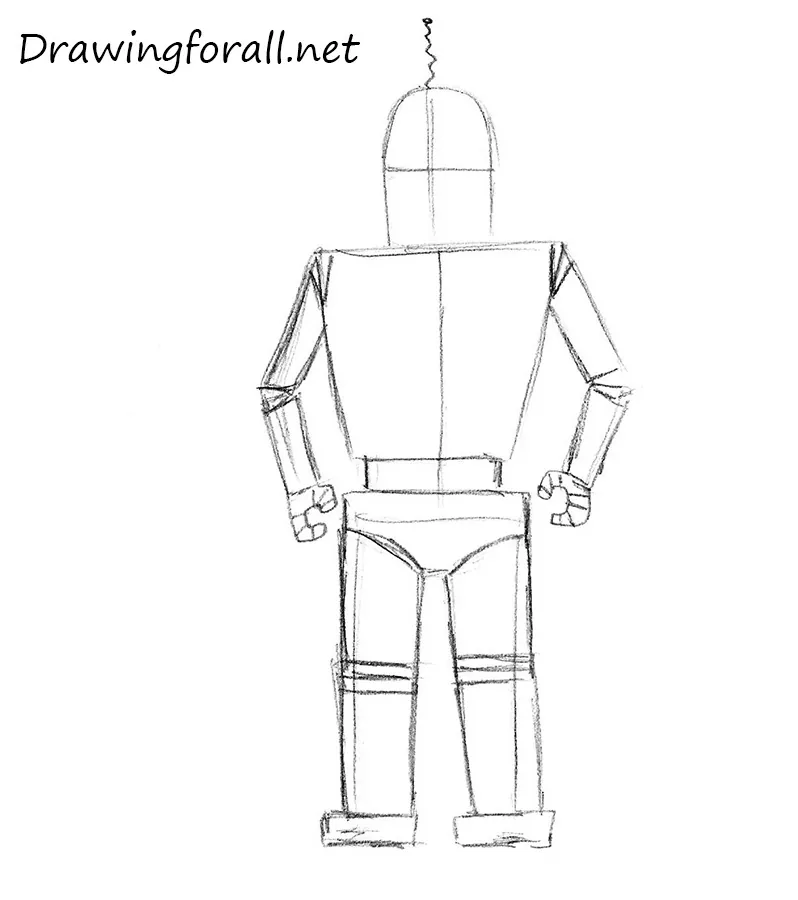
Sketch out the pelvis of the robot in the shape of a triangle. Using rectangles sketch out the legs. Sketch out the knees with a pair of short strokes. Using flat rectangles draw the feet.
Step 4
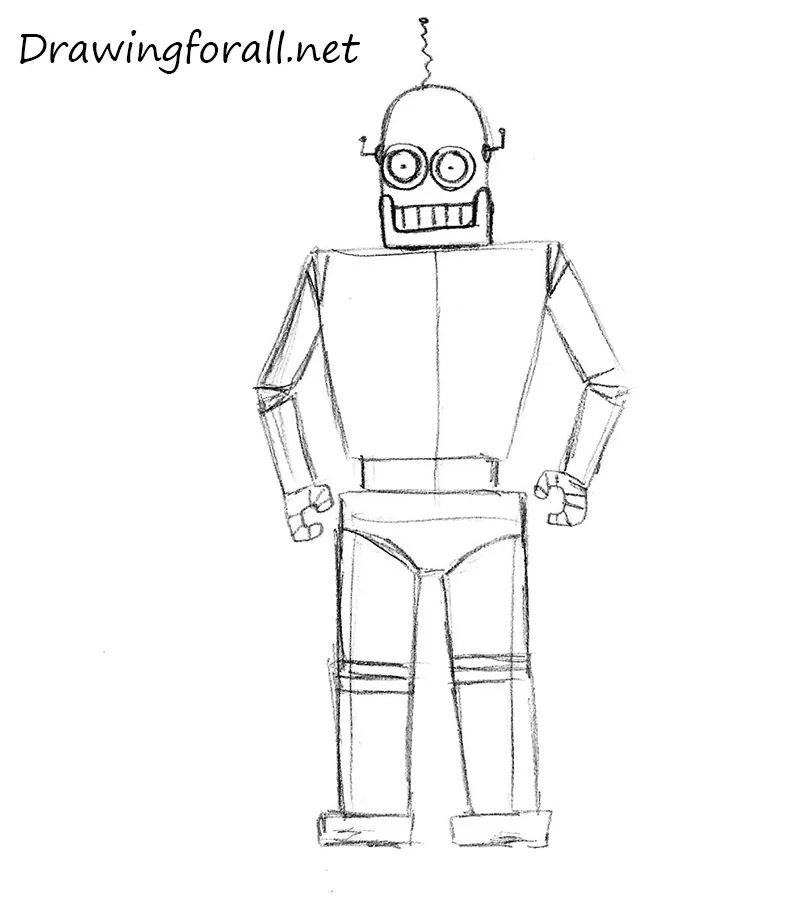
This step seems too complicated, but it isn’t so. Using circles draw eyes in the place of the horizontal facial line from the second step. Using two bent lines draw two antennas at the sides of the head. These antennas carry out a role ears. Using a “C” shape draw the jaw. Draw lines in the mouth.
Step 5
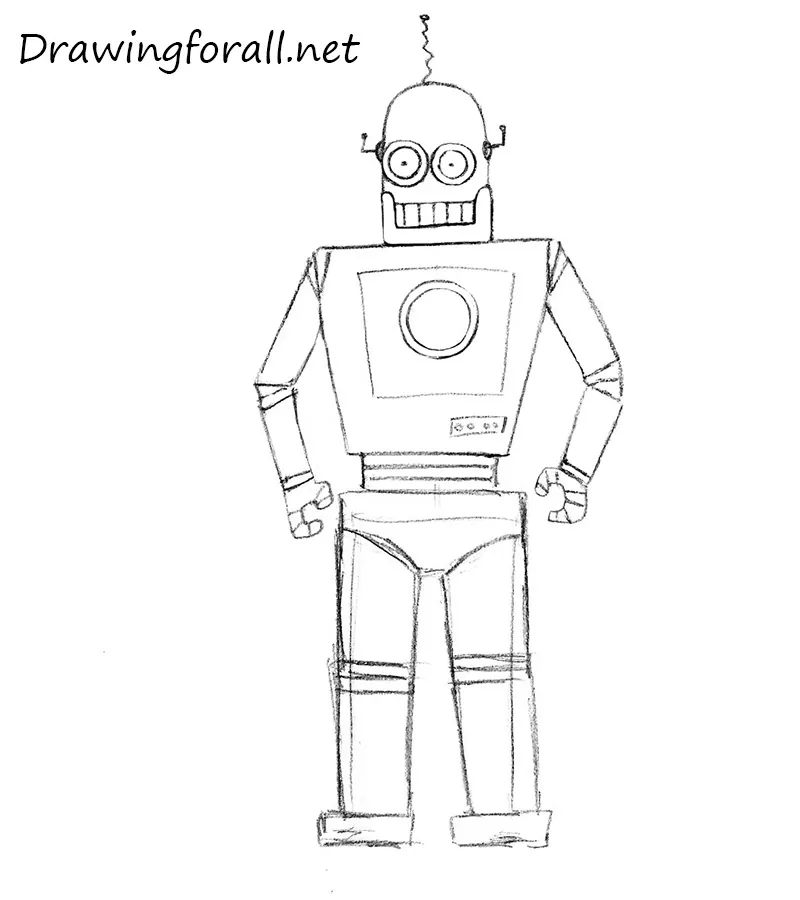
Continue adding details to the robot. Using a big square and circles draw the details on the chest. Using a big square and circles draw the details on the chest. Now he is very similar to Iron Man. Draw horizontal lines on the waist of the robot.
Step 6
Remains the last step in the tutorial about how to draw a robot for children. Erase all unnecessary guidelines and strokes. Darken the lines of the drawing.

It was the drawing lesson about how to draw a robot for beginners. We hope you enjoyed this tutorial. Stay tuned and wait for new drawing tutorials, goodbye!


