How to Draw Ms. Marvel
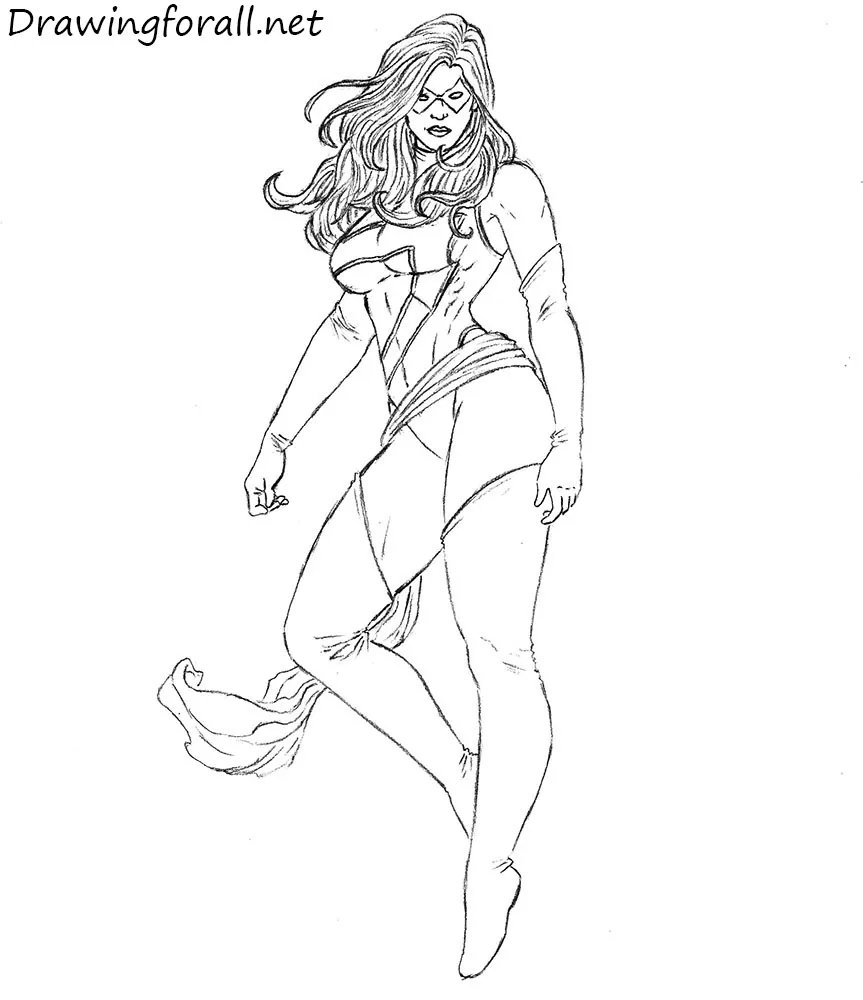
In this step-by-step tutorial, we will show you how to draw Ms. Marvel, a famous comic book heroine with a colorful and recognizable costume.
Carol Danvers, the real name of Ms. Marvel, has a rich biography. She was a CIA agent, served in the anti-terrorist organization S.H.I.E.L.D. under Nick Fury, and joined the Avengers, fighting alongside Captain America.
How to draw Ms. Marvel step by step
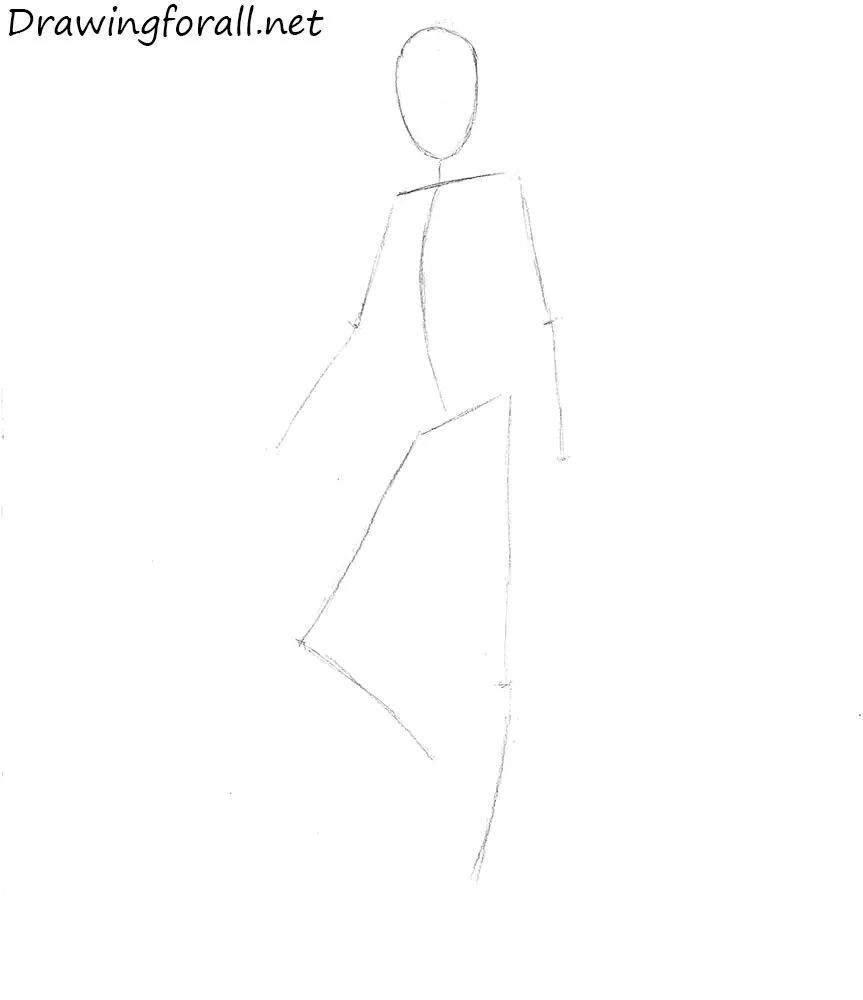
Step 1: Sketch Ms. Marvel’s pose
Begin with a stick figure to establish the character’s position on the paper, basic body structure, and pose. Use the main principles for drawing a female figure, but emphasize Carol’s athletic build.
First, draw the head as an oval, then sketch Ms. Marvel’s body with simple lines. Her shoulders are slightly wider than those of an average woman, and her body parts are more muscular. Also note the pose of Ms. Marvel: her body is turned slightly to the side, while her face looks directly toward us.
Step 2: Build the comic book heroine’s body
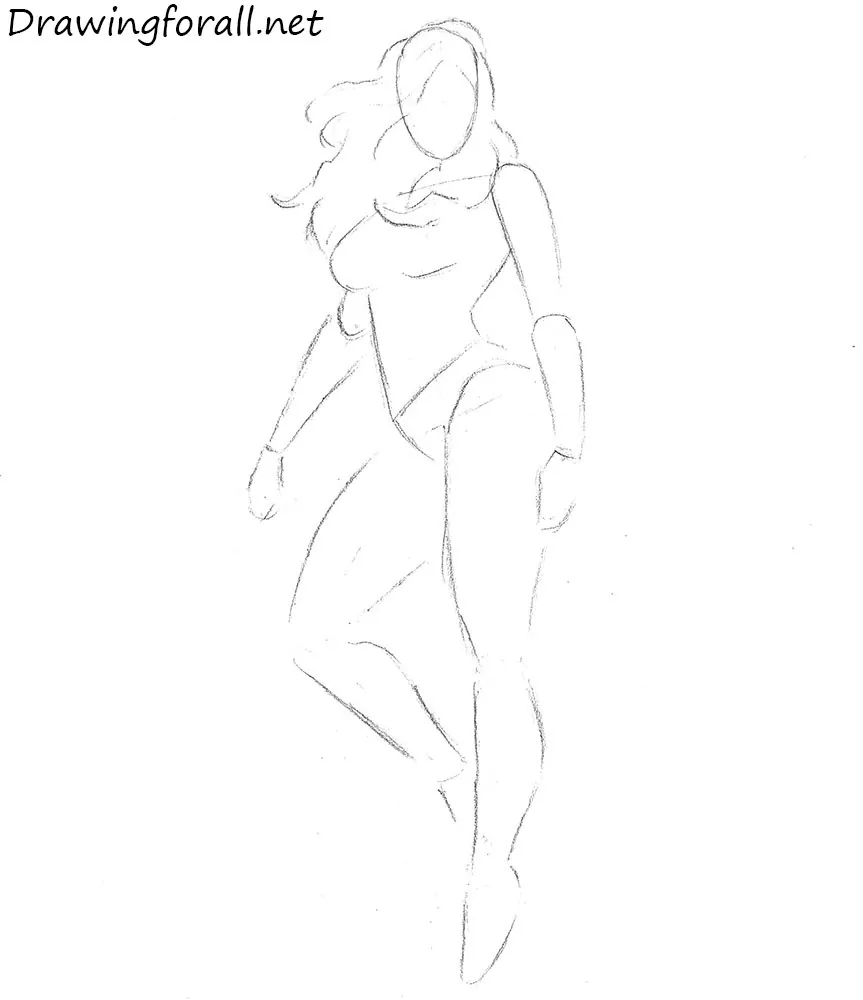
Begin adding volume to Ms. Marvel. Outline her hair, noting that the wind shifts it toward the left side from our perspective. Then add volume to the torso, arms, and legs.
Unlike the male torso, the female torso has an hourglass shape. This appearance is created by the wider chest and hips and the sharp narrowing at the waist. Draw the arms as elongated cylinders. Visually divide each arm into three main sections: the upper arm, forearm, and hand.
Ms. Marvel’s arms should reach approximately halfway between the waist and knee joints. Her legs should be considerably more voluminous than her arms, especially around the thighs. When drawing the legs, note the widening at the thighs, the curves of the calf muscles, and the shapes of the feet.
Step 3: Draw the head of Ms. Marvel
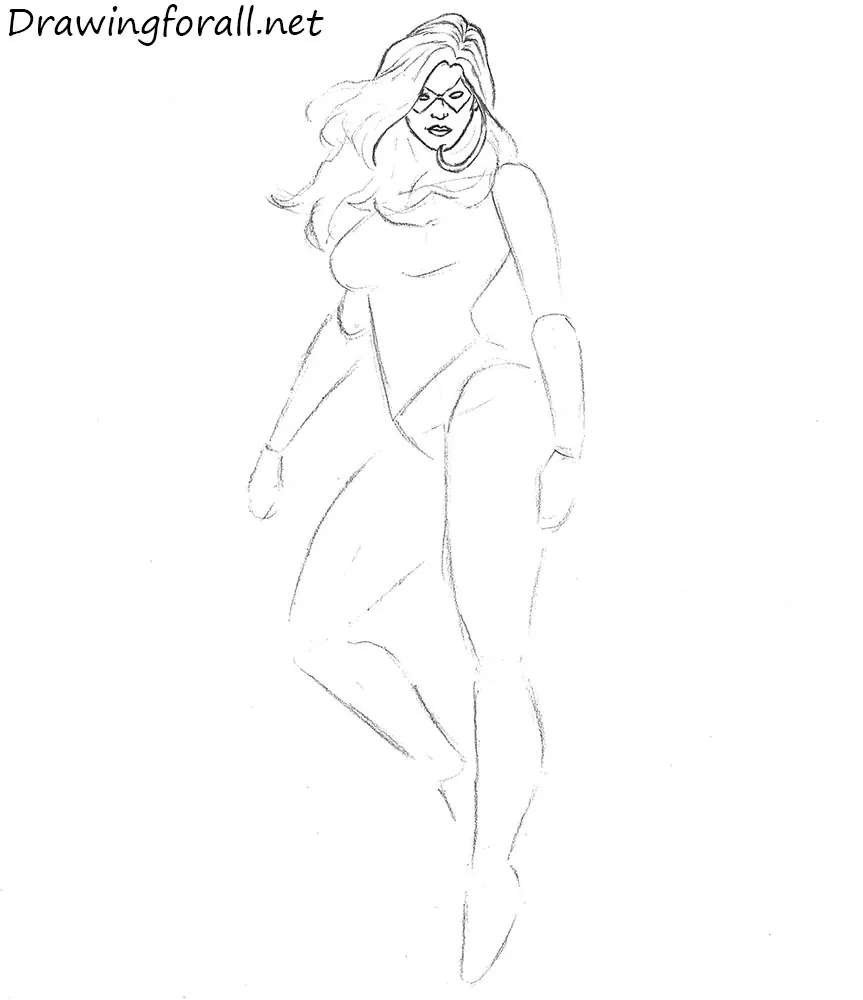
Draw the facial features of Ms. Marvel. Place the eyes approximately in the middle of the face with enough space between them. Below the eyes, add a small nose and full, closed lips.
Outline the mask as two diamond-like shapes around the eyes. Then mark the part in Ms. Marvel’s hair from which the strands extend. Draw the strands from the roots toward the ends.
Step 4: Refine Ms. Marvel’s hair
Finish drawing Ms. Marvel’s hair. It may look complicated, but following the hair layout from the previous steps will make the process clearer. Then refine the contours of the neck and sketch the fabric folds around it.
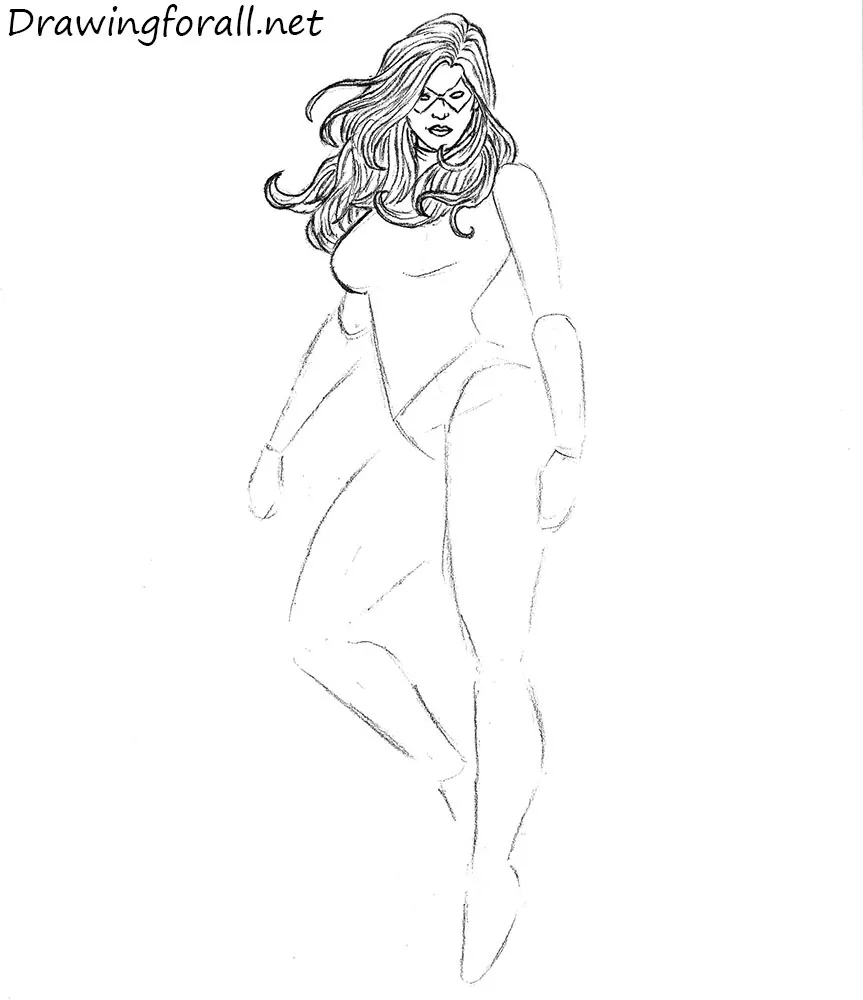
Step 5: Detail the heroine’s torso and emblem
Draw the torso of Ms. Marvel. First, refine its outer contours with clear, confident lines, then add the lines of the abdominal muscles, chest, and rib cage. Draw the clothing lines around the shoulders.
Once the outer contours and important anatomical lines are ready, draw the emblem on Ms. Marvel’s chest. Its shape should follow the curves of the body.
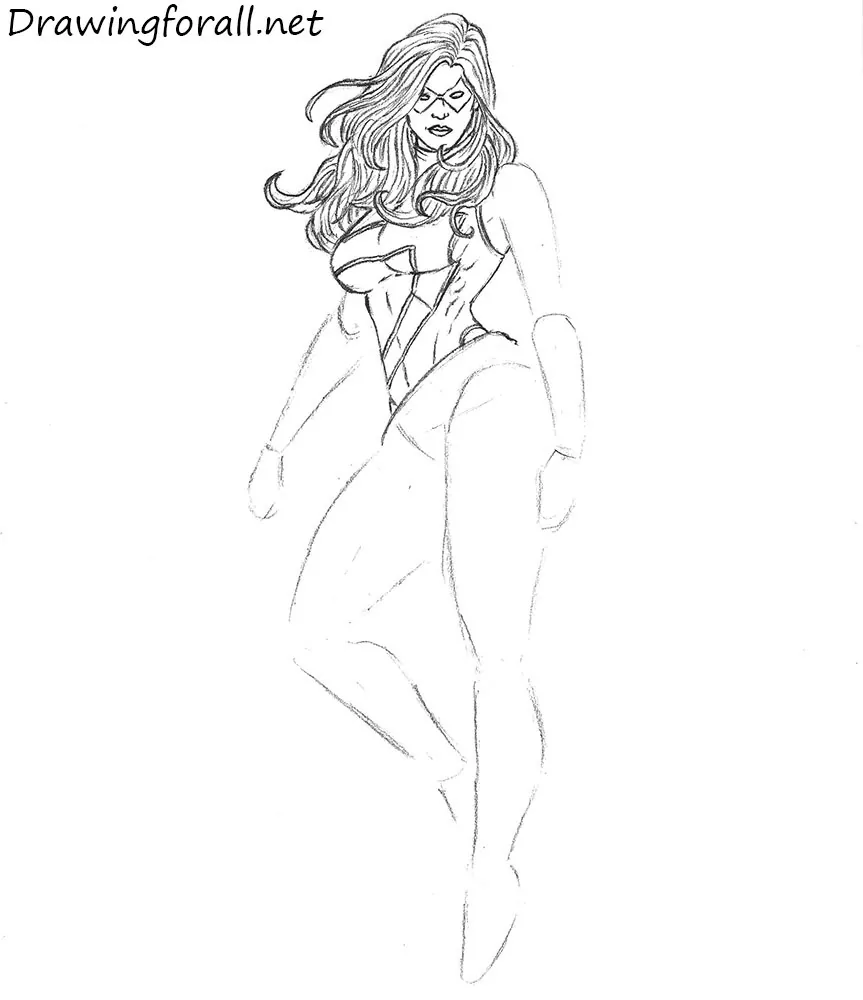
Step 6: Refine the character’s left arm
Draw Ms. Marvel’s left arm. Erase the extra guidelines, refine the contours, and add the glove and hand. On the uncovered section of the arm, only the outline of the deltoid muscle is clearly visible.
Then draw the long glove, which covers more than half of the arm and extends above the elbow. Add several fabric folds and carefully work on drawing Ms. Marvel’s hand.
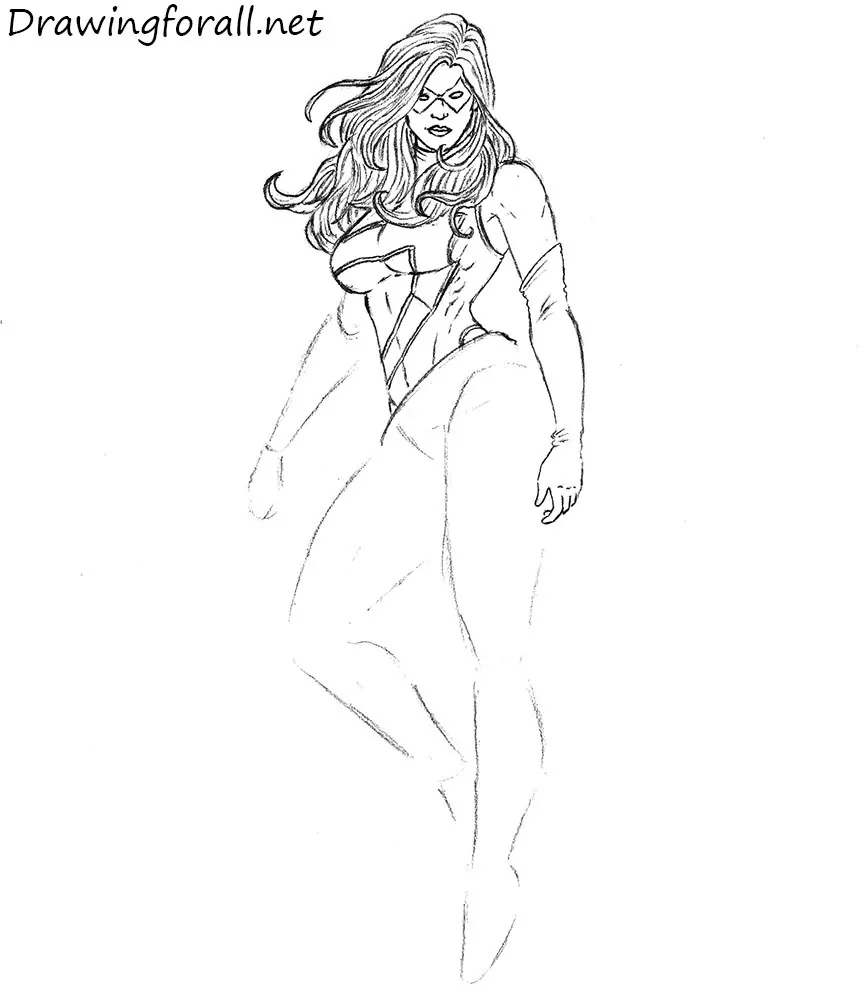
Step 7: Complete the right arm of Ms. Marvel
Draw Ms. Marvel’s right arm in the same way as the left one. Erase the unnecessary guidelines and refine the contours with clear lines. Then draw the hand and add fabric folds around the elbow and wrist.
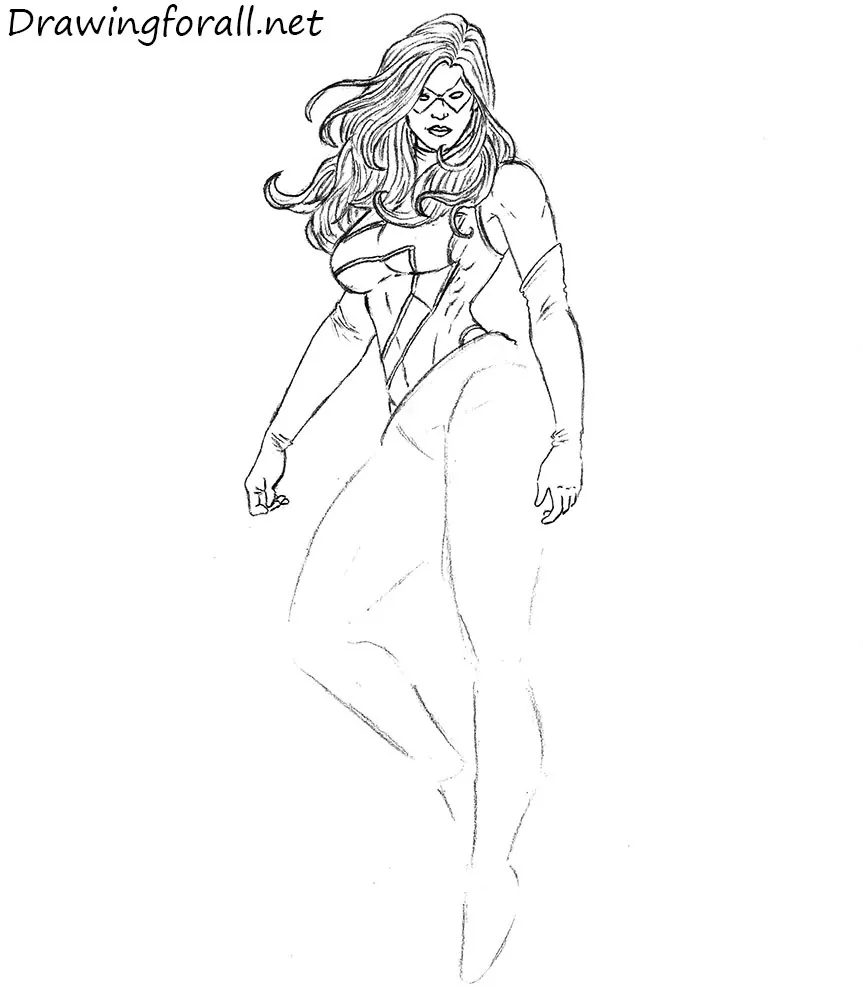
Step 8: Draw the left leg of Ms. Marvel
Refine the contours of Ms. Marvel’s left leg and erase the extra construction lines. The boot covers almost the entire leg, and most of its visible details are folds located around the knee and ankle. Also draw the belt and add folds to it.
Carol has also been connected with Wolverine and Deadpool in different comic book stories.
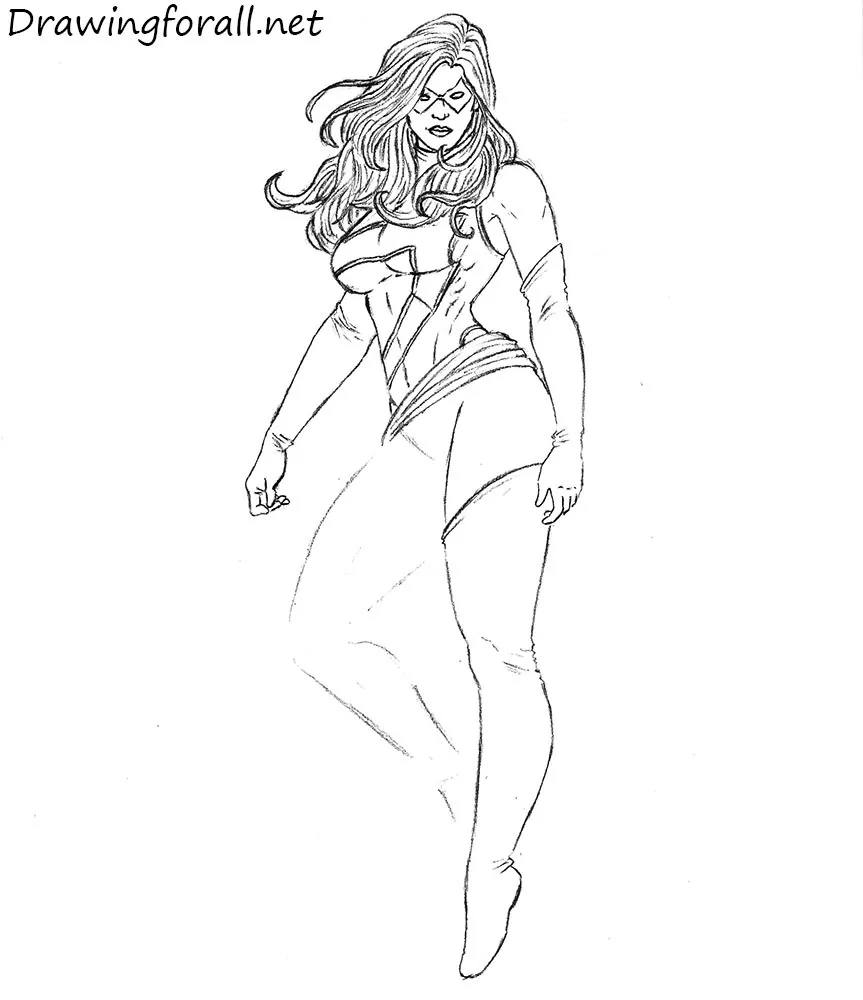
Step 9: Finish the heroine’s bent leg
Draw Ms. Marvel’s second leg in the same way. Refine its contours and outline the boot. Add folds where the fabric is compressed, especially around the knee and ankle. Because this leg is bent sharply, there are more folds around the knee.
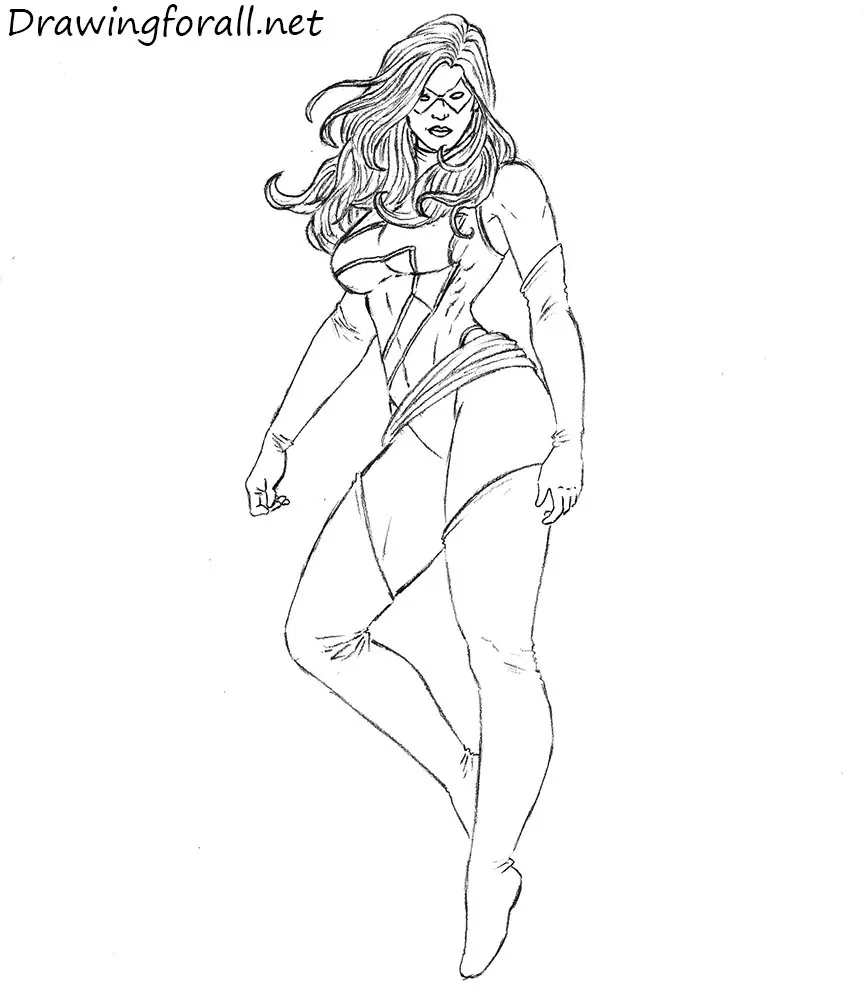
Step 10: Draw the hanging sash
Complete the Ms. Marvel drawing by adding the end of the belt that hangs down to the knee. First, outline the sash, divide it into several sections, and then add uneven stripes.
This drawing tutorial was prepared for you by Drawingforall.net. Do not forget to subscribe to us on YouTube and Pinterest.