How to Draw Ken Kaneki
In today’s drawing article we’ll tell and show you how to draw Ken Kaneki from Tokyo Ghoul. It will be a very easy tutorial. We sincerely hope that we can popularize anime culture using our drawing lessons.
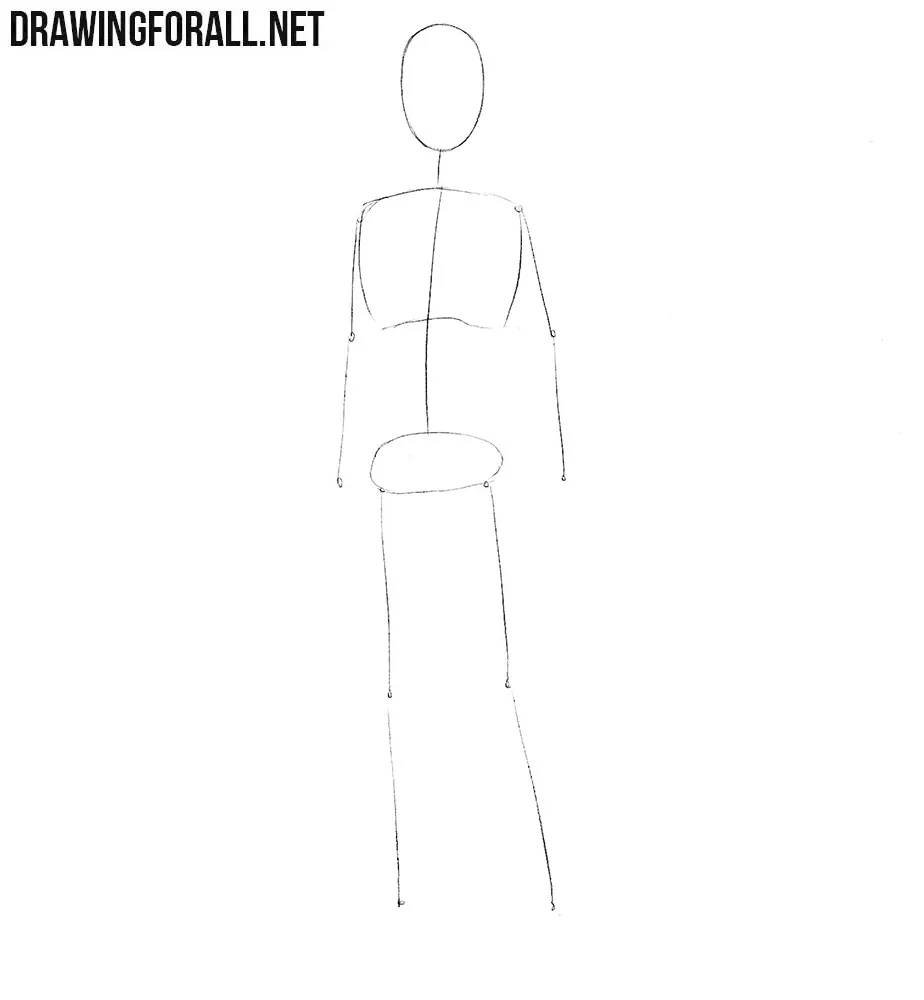
Step 1
This first step is not particularly different from the first stages of drawing lessons of other people or characters. As you probably know, in the beginning of all our guides we draw a stickman. Due to the fact that we draw anime character, his head a little bigger than the head of an average man. In other aspects we draw a usual stickman – first sketch the head by means of an oval, after that the skeleton of the torso with ordinary lines.
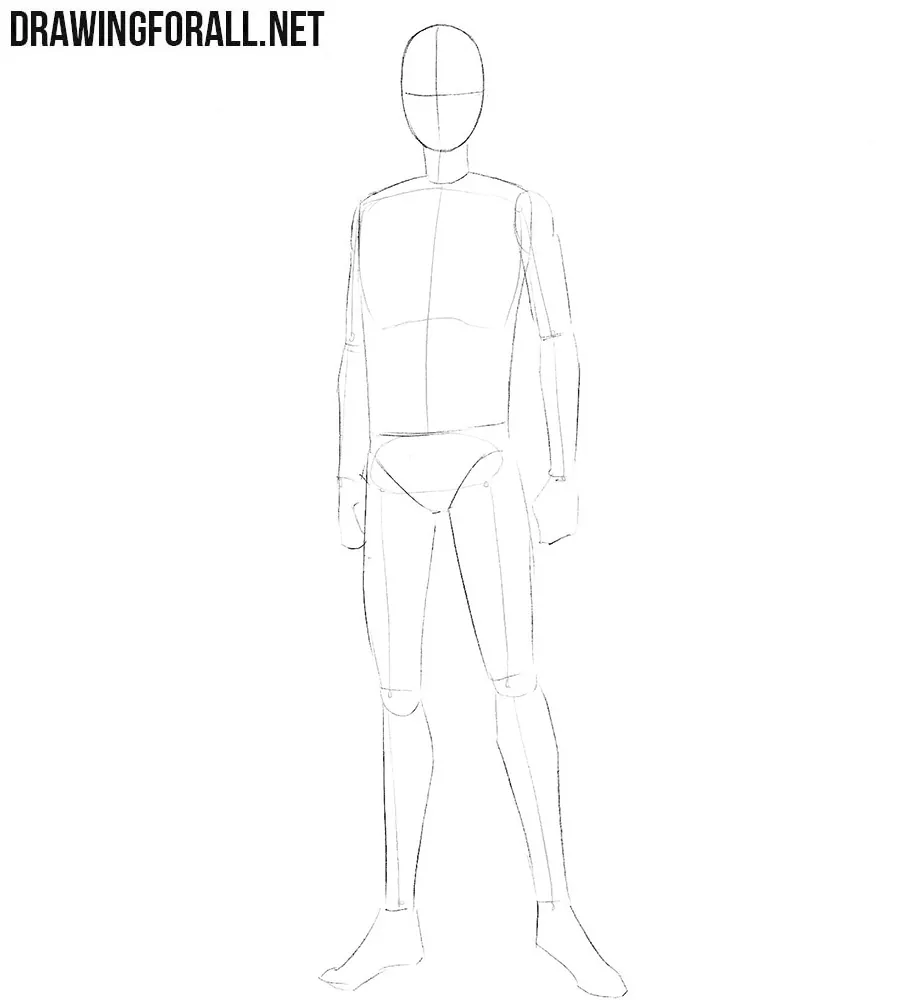
Step 2
In this step at first we mark up two crossing lines of the face. Under the face we draw the neck – long noticeable cylinder. Below this cylinder we sketch out the torso, being guided by the lines from the first step. In addition, in this step, we draw the contours of the arms in the form of elongated cylinders and sketch out the hands.
The lower part of the body drawn like an inverted triangle. The legs should be drawn in the same way as the arms – in the shape of elongated cylinders. And as the final touch of this step sketch out the feet.
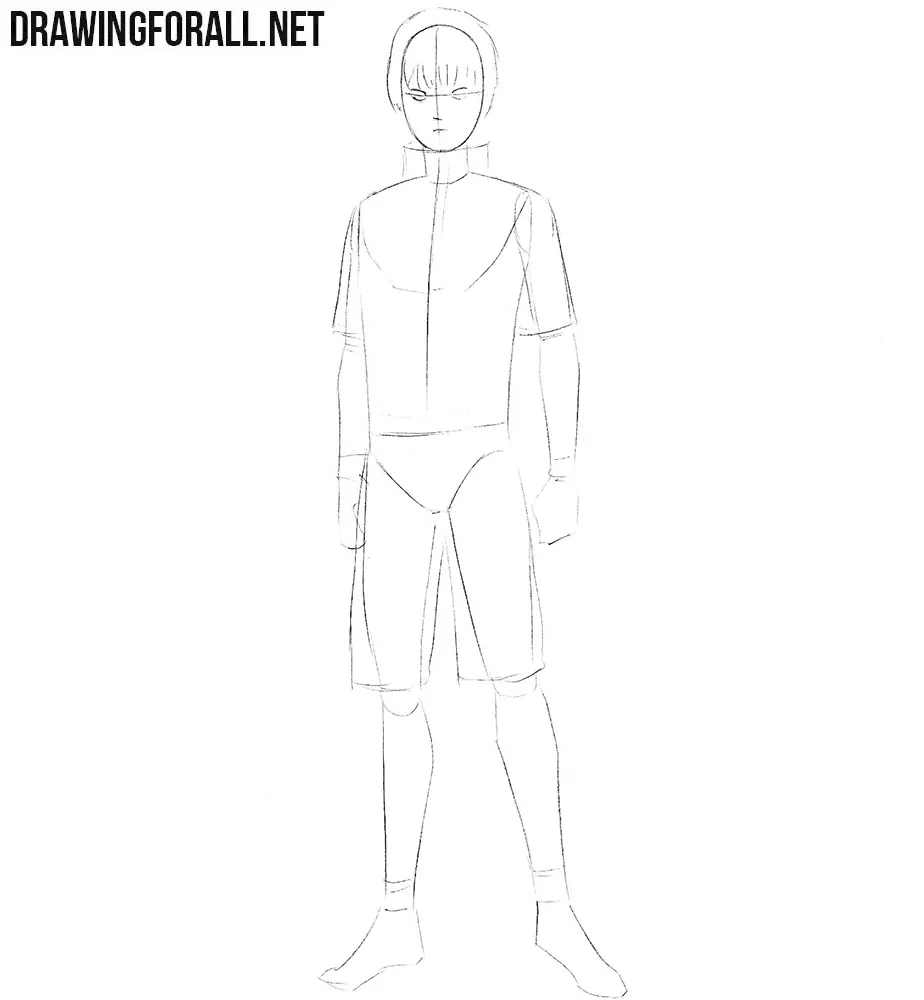
Step 3
It will be the last step of working with basic lines and figures of Ken Kaneki. With the help of circles and short lines, we draw the anime eyes, nose, ears and mouth. One rounded figure denotes the contours of hair. Also, in the step number three, we will draw the approximate contours of Ken Kaneki’s clothing. So, the base of our drawing of the anime character is done, and starting from step number four we will work we will draw the character in detail.
Step 4
In this step, we will draw out the face. You can read this article about how to draw anime face step by step. It will make your drawing process more comfortable. In short, first and foremost here we will carefully draw out the outlines of the face and facial features using dark and clear lines. At the end of this step, we just remove the guidelines from the face and head in general.
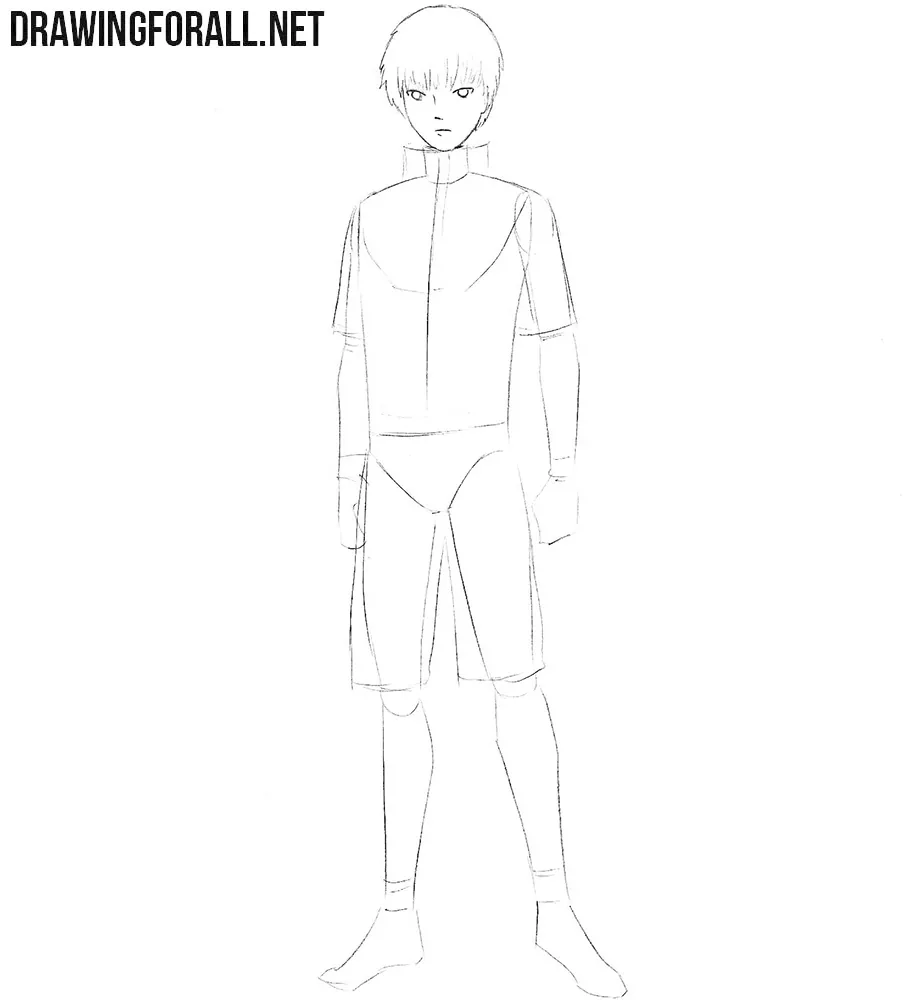
Step 5
It is a good time to start working with the final torso lines. First, we draw a semicircular shape which is located under the collar. After that, draw another semicircle, which is located near the edge of the ribs. At the end of this step, we add simple straight lines to get the result as in our sample.

Step 6
We have the last difficult moment in this lesson. In this step we will draw out the arms. We draw wide, short sleeves and thin arms. You should emphasize the contrast between wide sleeves and thin arms. This article about how to draw hands will help you draw the fists correctly.
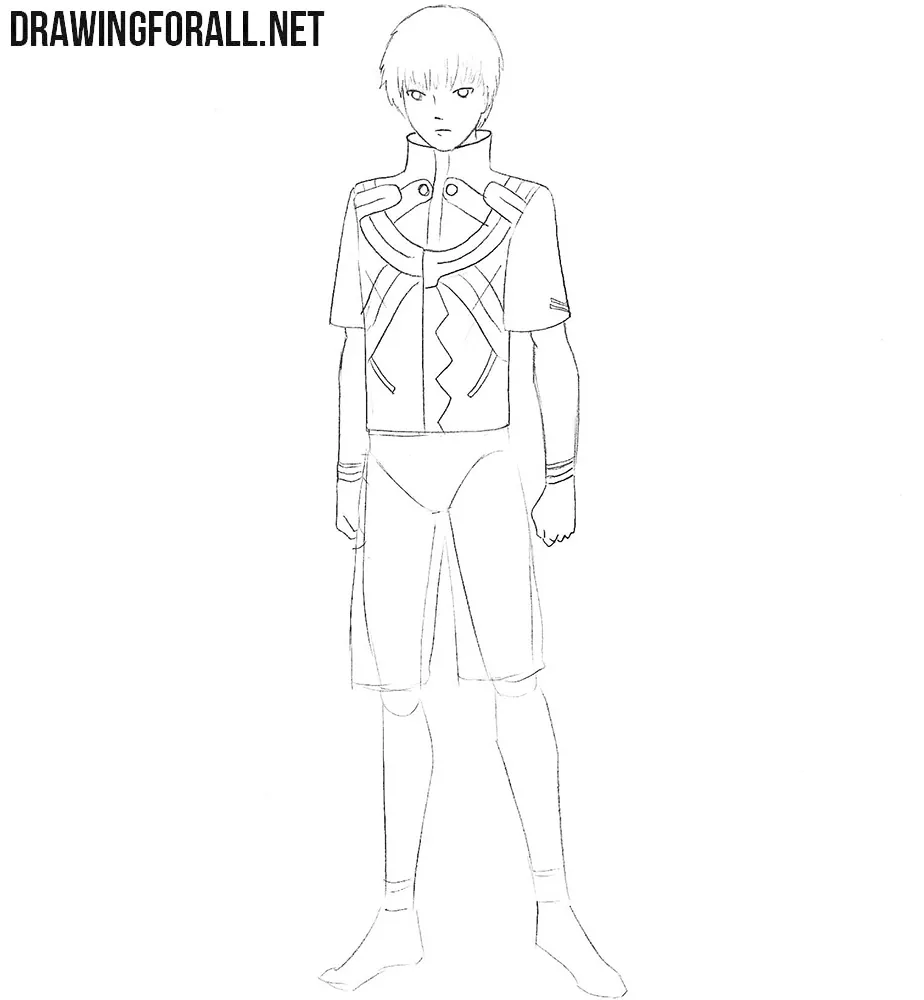
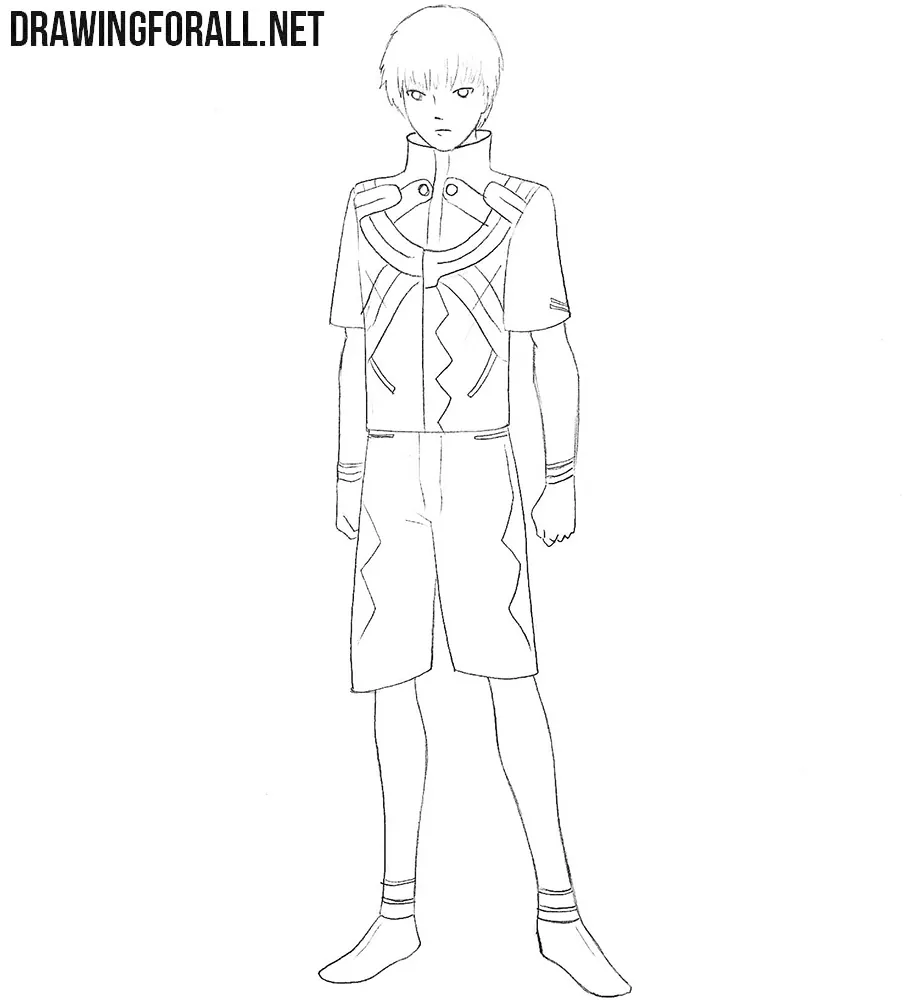
Step 7
In this step we add details to the legs of Ken Kaneki. So we add some folds and decorative lines to the shorts of our anime character. After this you can add some folds on the Ken Kaneki’s boots. Don’t forget to erase all extra lines that we drew in the first three steps.
Step 8
And we have the final step in which we will draw the shadows. It makes the drawing of Ken Kaneki look more voluminous and realistic. Let’s first determine the source of light in order to add shadows in the area with the least light. All the shadows should be drawn with dense hatching. The second layer of hatching will make your shadows darker, and hatching in different directions will make them more natural.
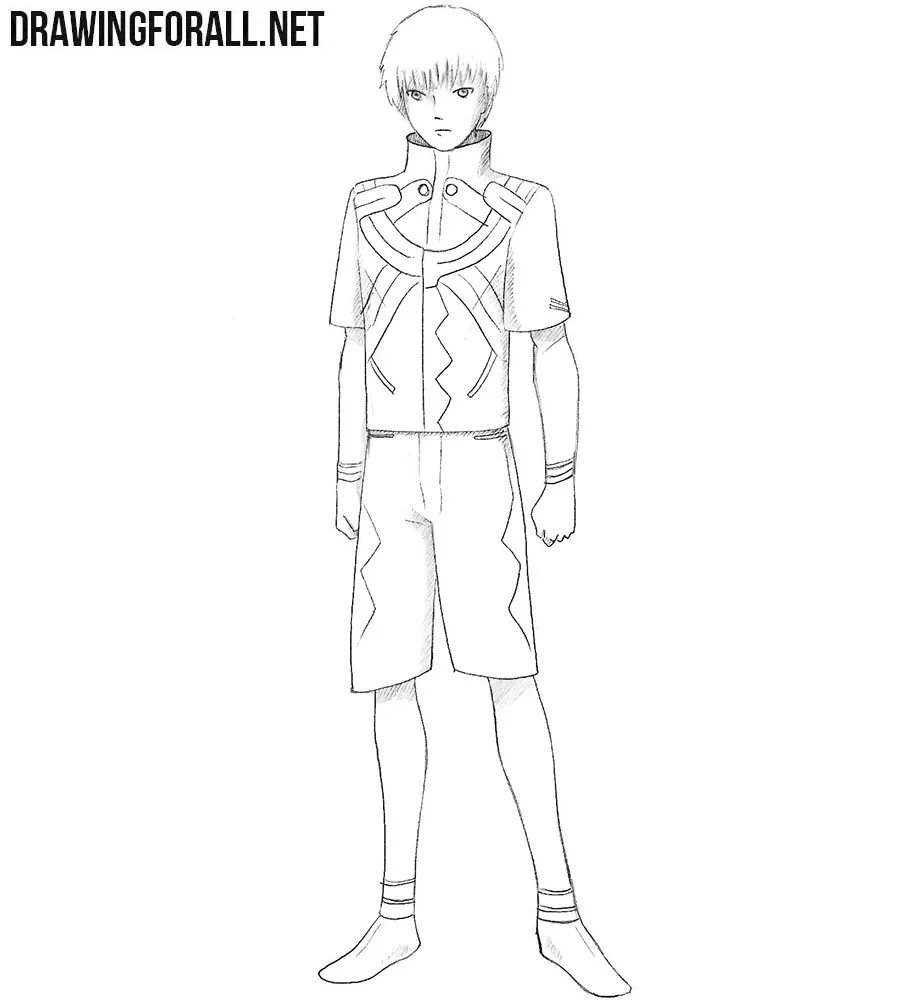
It was the drawing guide in which we showed how to draw Ken Kaneki from a very beloved anime called Tokyo Ghoul. You can also slightly change the appearance of Ken Kaneki by changing his skin or appearance. By the way, if you visited our other drawing lessons about characters from manga and anime, then most likely you noticed how equal they are drawn. So you can safely use the skills you learned in this drawing tutorial to draw any other anime character. The first three steps are about the same in all the characters, the differences are mainly in the details. You can also improve your skills in drawing specifically this character by drawing him in different poses, different costumes and different viewing angles. We will create more anime sketching tutorials in the coming days. Please don’t forget to write comments about it if you like it.


