How to Draw Blade from Marvel
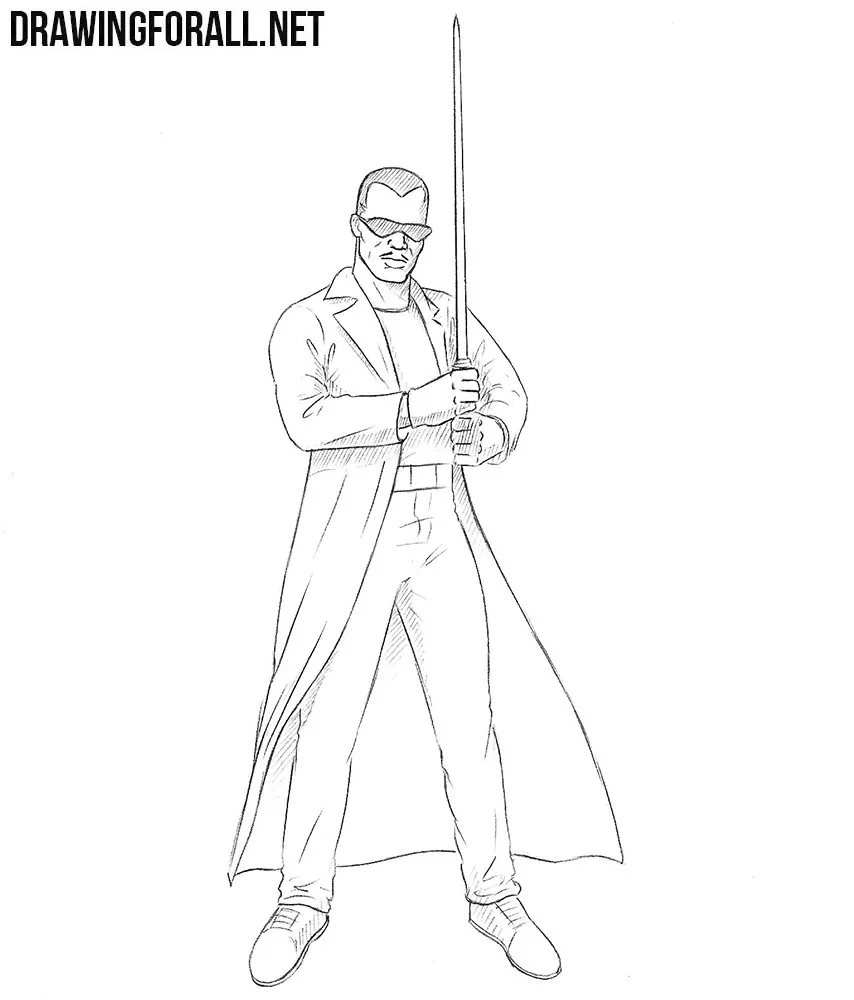
Hello dear artists, comics lovers and welcome to the drawing tutorial on how to draw Blade. Blade is a character appearing in the comics of Marvel Comics. Was created by Marv Wolfman and Gene Colan and first appeared in the tenth issue of the comic The Tomb of Dracula 1973.
Step1
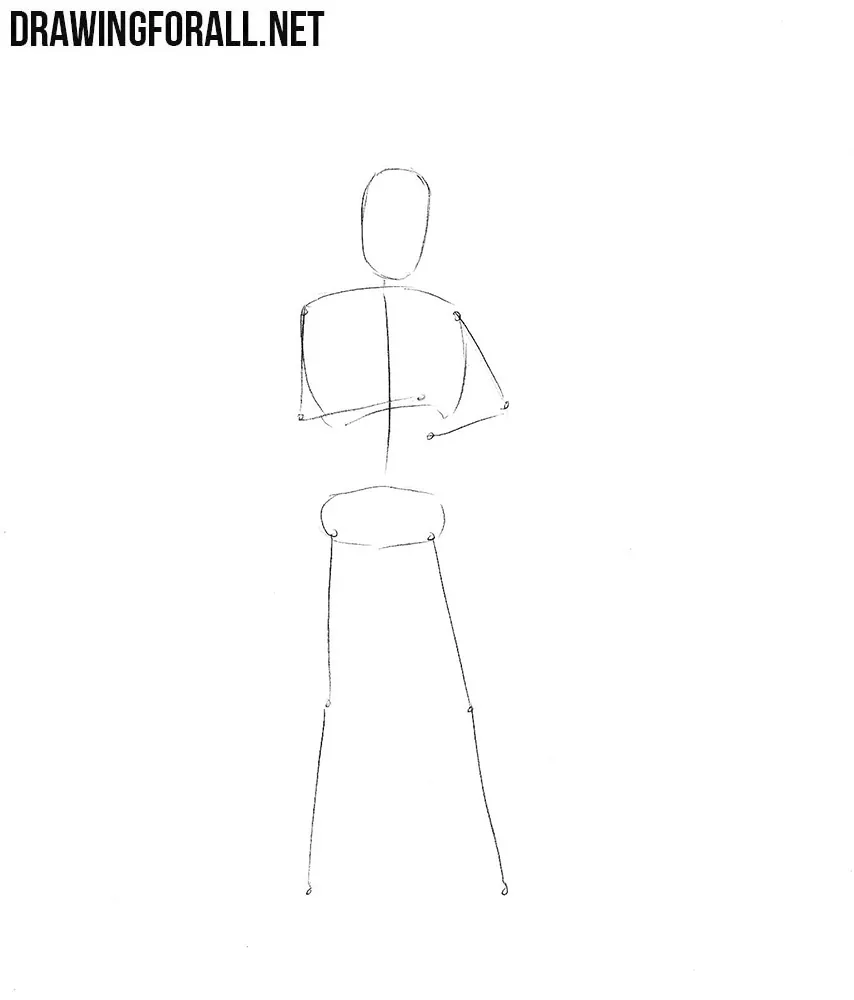
We need to make our Blade drawing the most symmetrical and proportional. For this we will need to draw the so-called “Stickman”, the skeleton of the character. With the help of an oval sketch out the head. Next, using a simple line, sketch out the neck and spine. On the line of the spine sketch out the thorax and pelvis. Next sketch out the arms and legs using simple lines.
Step 2
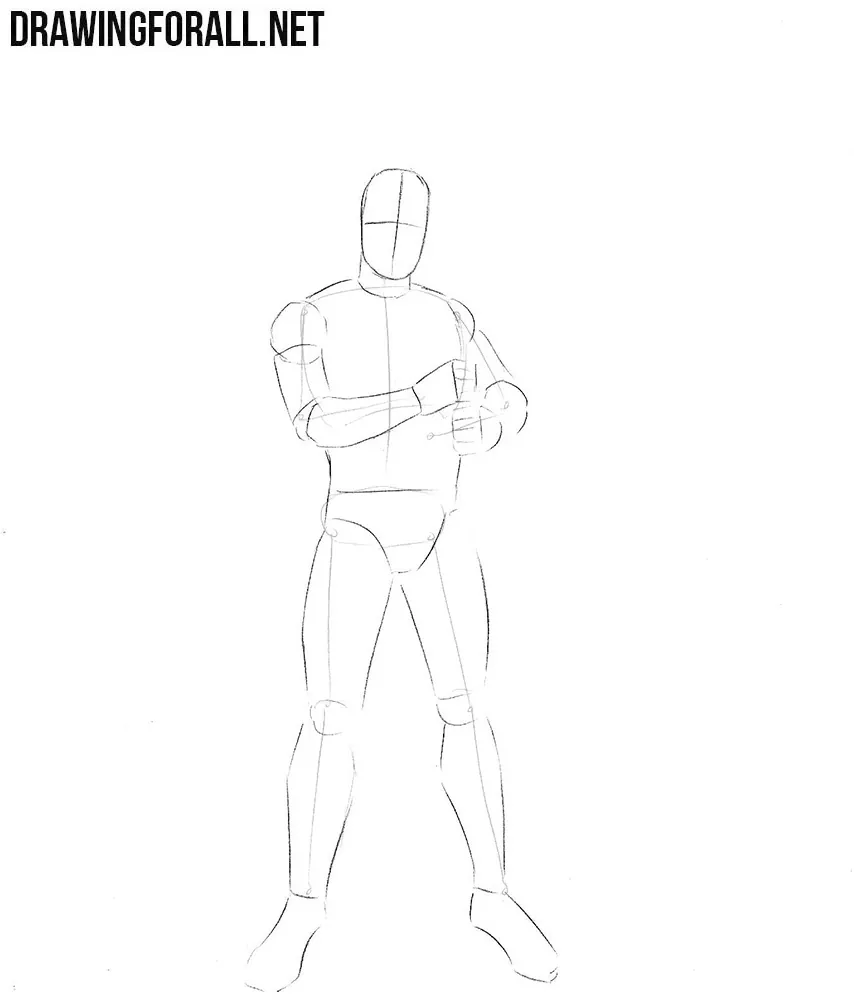
Sketch out two lines intersecting in the center of the face. Next, outline the neck and torso, which narrows at the waist. Next, using simple geometric figures sketch out the arms and legs. Shoulders, elbows and knees are drawn in the form of circles. Next sketch out the arms and legs in the form of cylinders. Sketch out the hands and feet as in our example.
Step 3
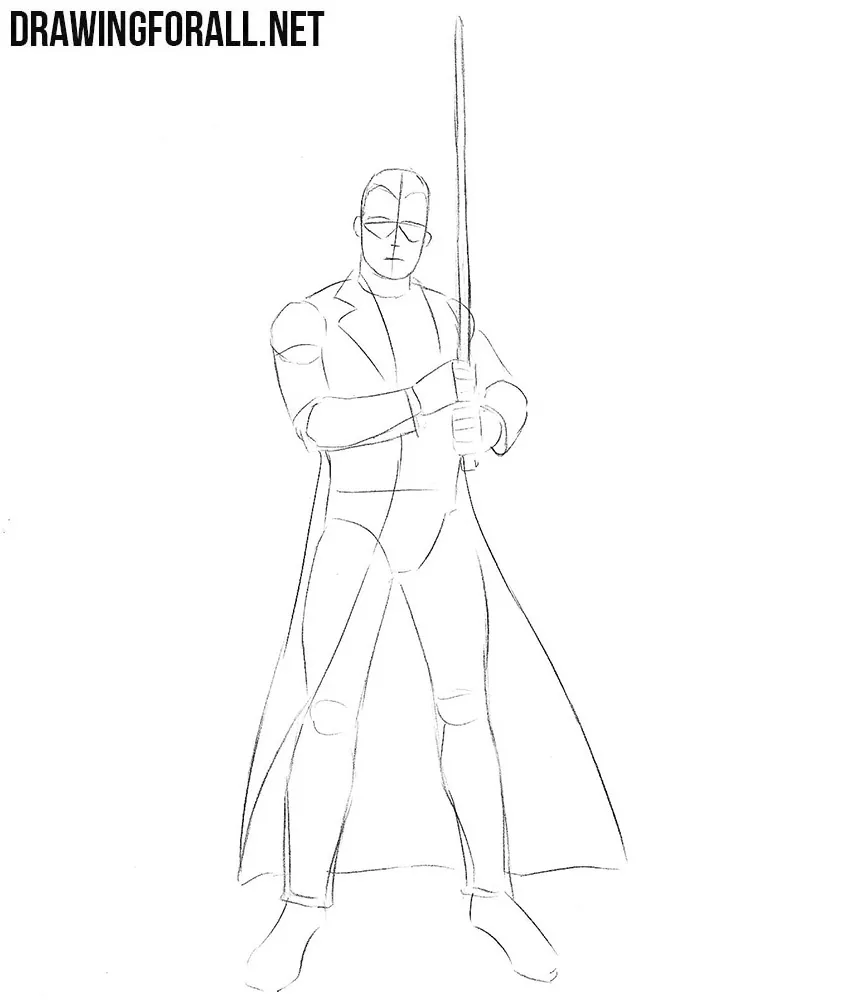
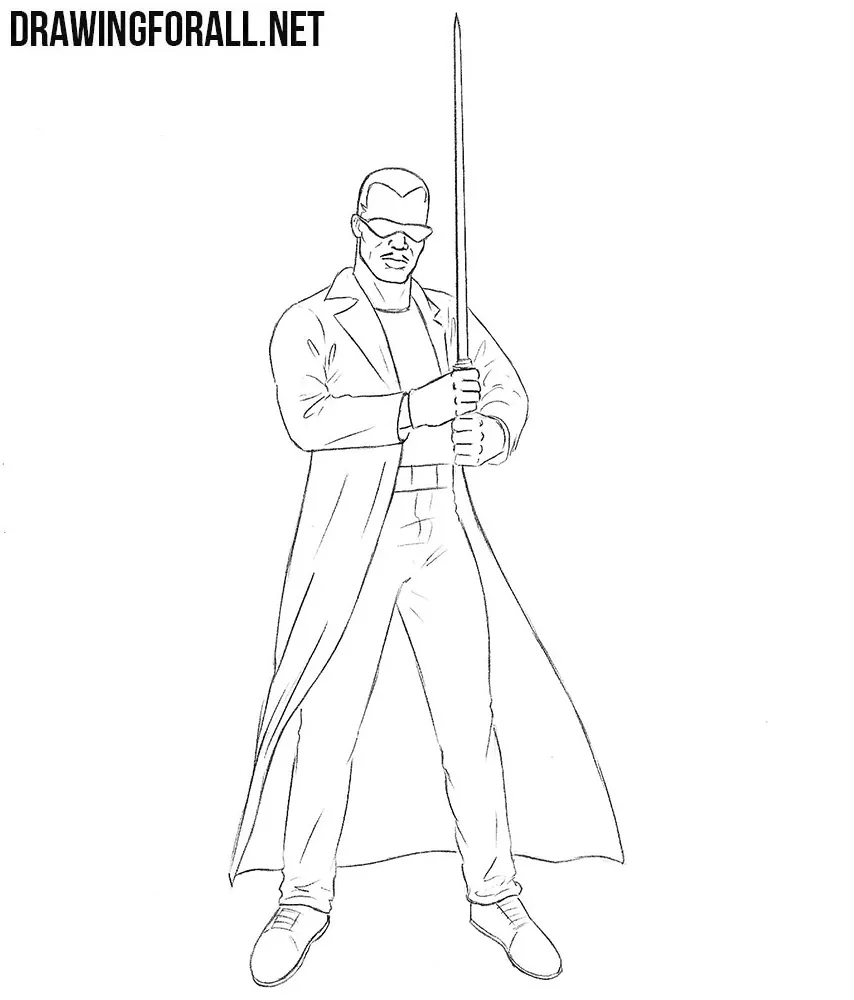
Now let’s work with the details. The first detail that we draw is the eyes (in this example the glasses), then sketch out the nose and mouth. With the help of simple lines, we sketch out hair and ears. Using long lines sketch out the shape of a long coat. Sketch out the pants and a sword in the hands.
Step 4
Starting with this step we will use clear and dark lines. As always, we start with the head and move down. Carefully draw out the glasses, then draw the nose and lips. Next, draw out the outlines of the head and hair. Do not forget to sketch out some folds on the face and thin mustache.
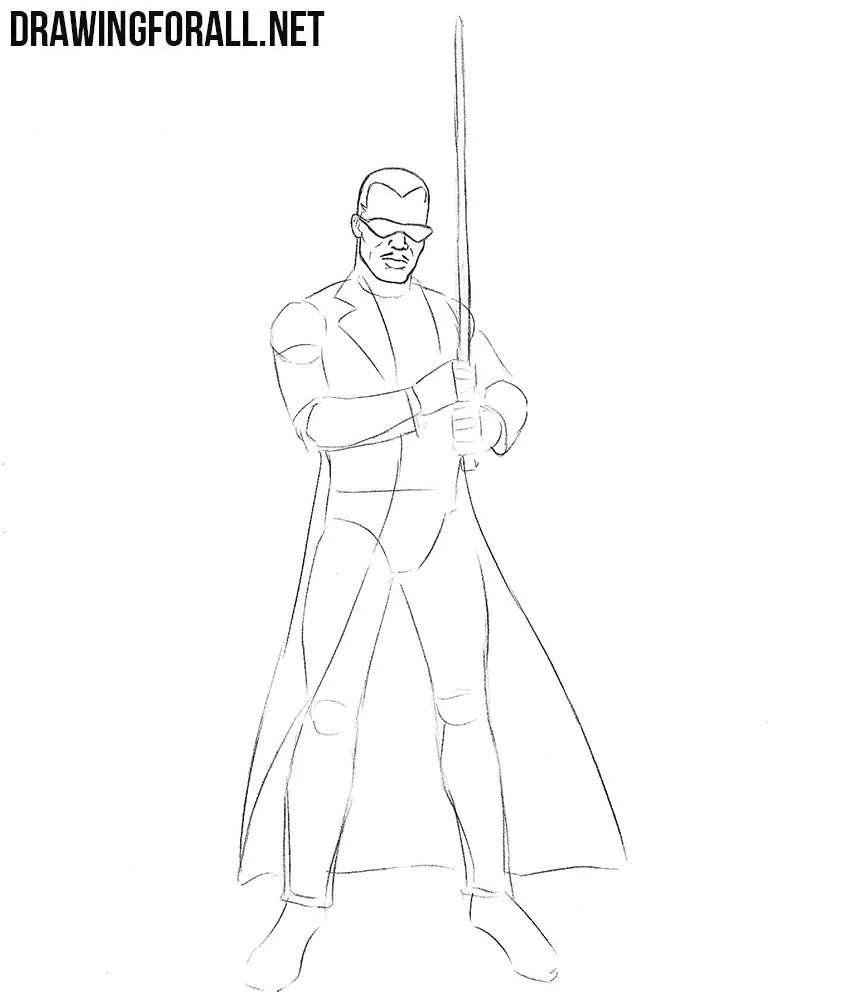
Step 5
A simple enough step of the lesson is how to draw Blade from Marvel. Here we will need to carefully draw out the neck, removing all unnecessary lines from the neck. Next, draw out the outlines of the wide collar, as shown in our example.
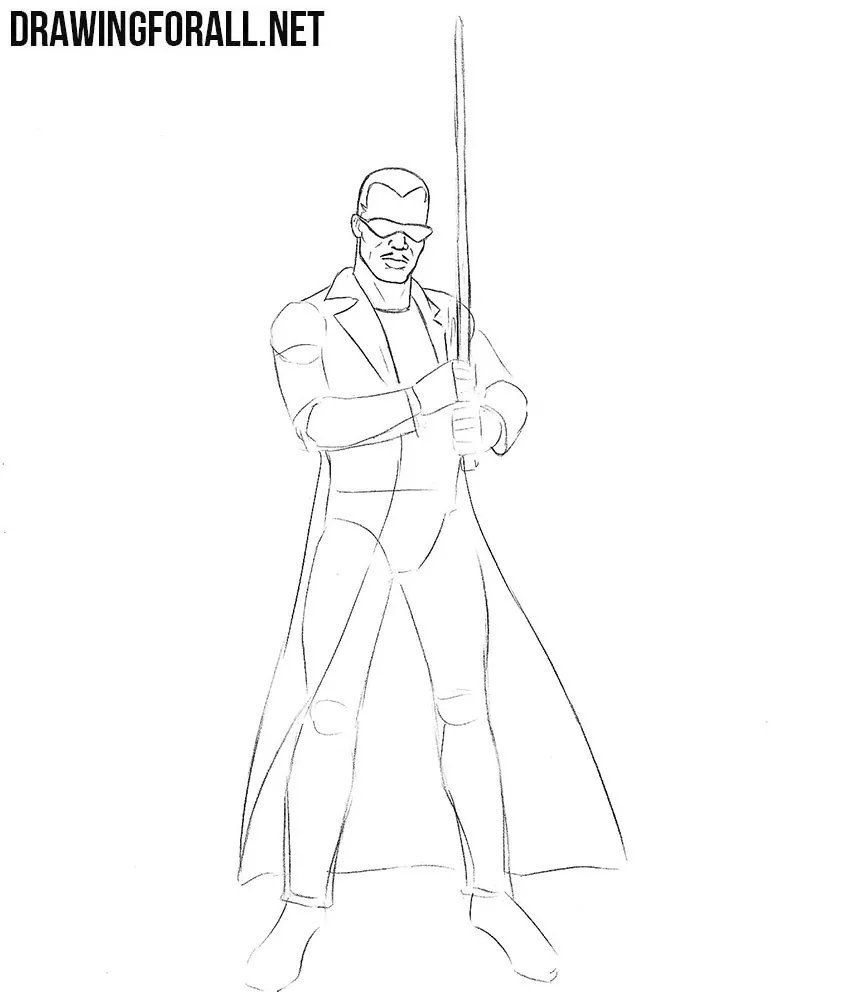
Step 6
Now let’s move to the hands of Blade. Using clear and dark lines, carefully draw out the outlines of the sleeves, adding folds in the area of the armpits and elbows. Next, draw out the hands clenched into fists. At the end of this step we draw a long sword compressed in hands.
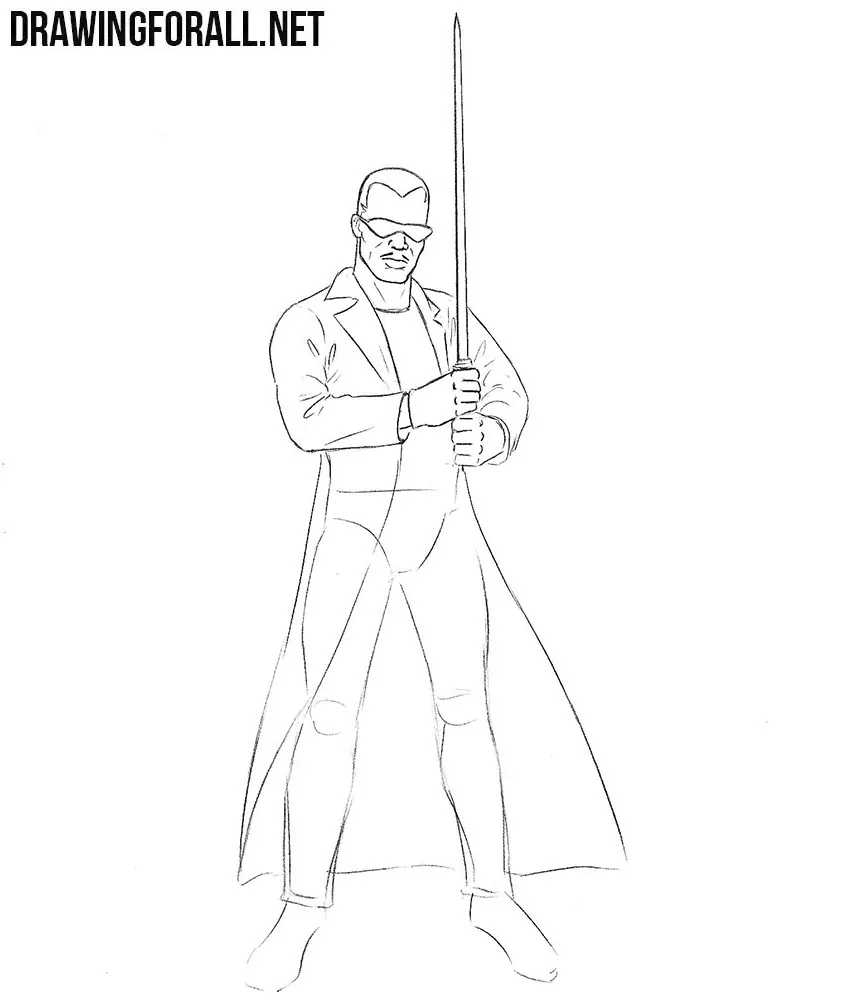
Step 7
Another simple step of the tutorial about Blade. Here, using long and clear lines draw out the lower part of the coat. Draw the long vertical folds of the coat and remove all the unnecessary guidelines from it.
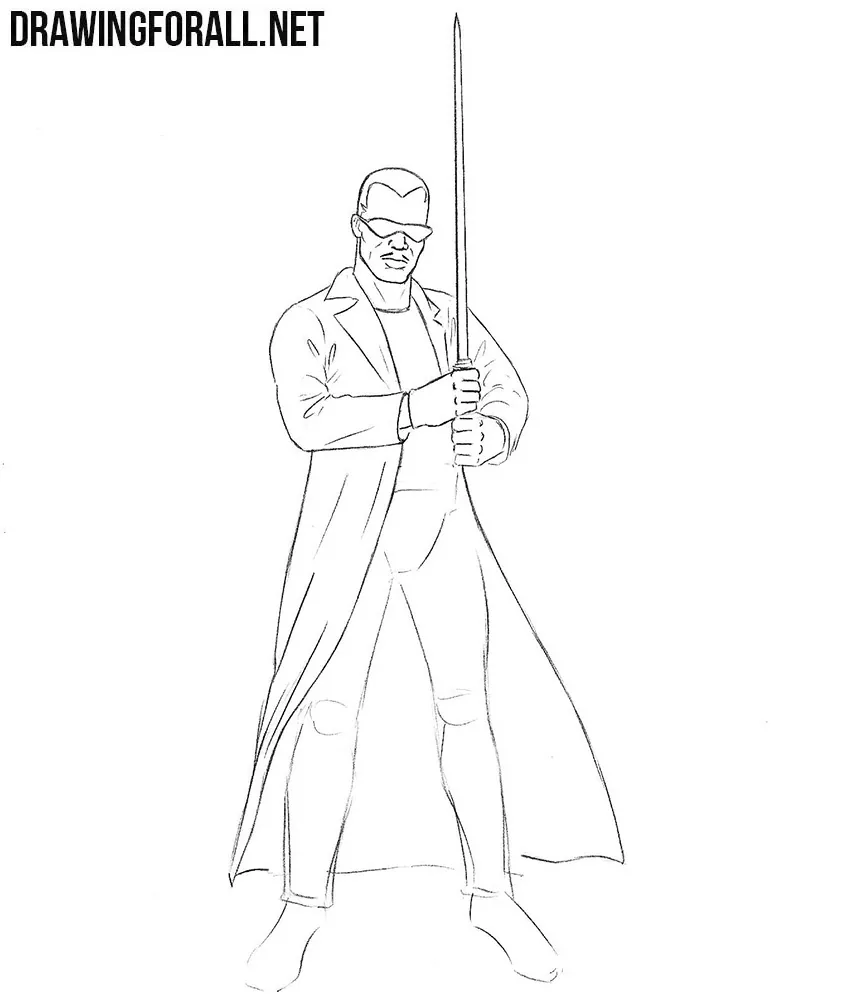
Step 8
The drawing of Blade is almost ready. Here we draw out the bottom of Blade’s body. Carefully draw the belt and pants. Draw the lines of folds on the pants as in our example. Draw the shoes and remove all the remaining unnecessary guidelines from the drawing.
Step 9
Now let’s work with shadows. With the help of hatching, we paint the hair and glasses. Next, using hatching add shadows to those areas where the light does not fall. This will make our drawing more voluminous and realistic.

Today we showed you how to draw Blade from Marvel. Now we want to give you a couple of useful tips. Recall that you can draw out the drawing using ink or liner. Also remember that with the reflection of the drawing in the mirror, you can see all the distortions in proportions.


