How to Draw an Insurance Agent
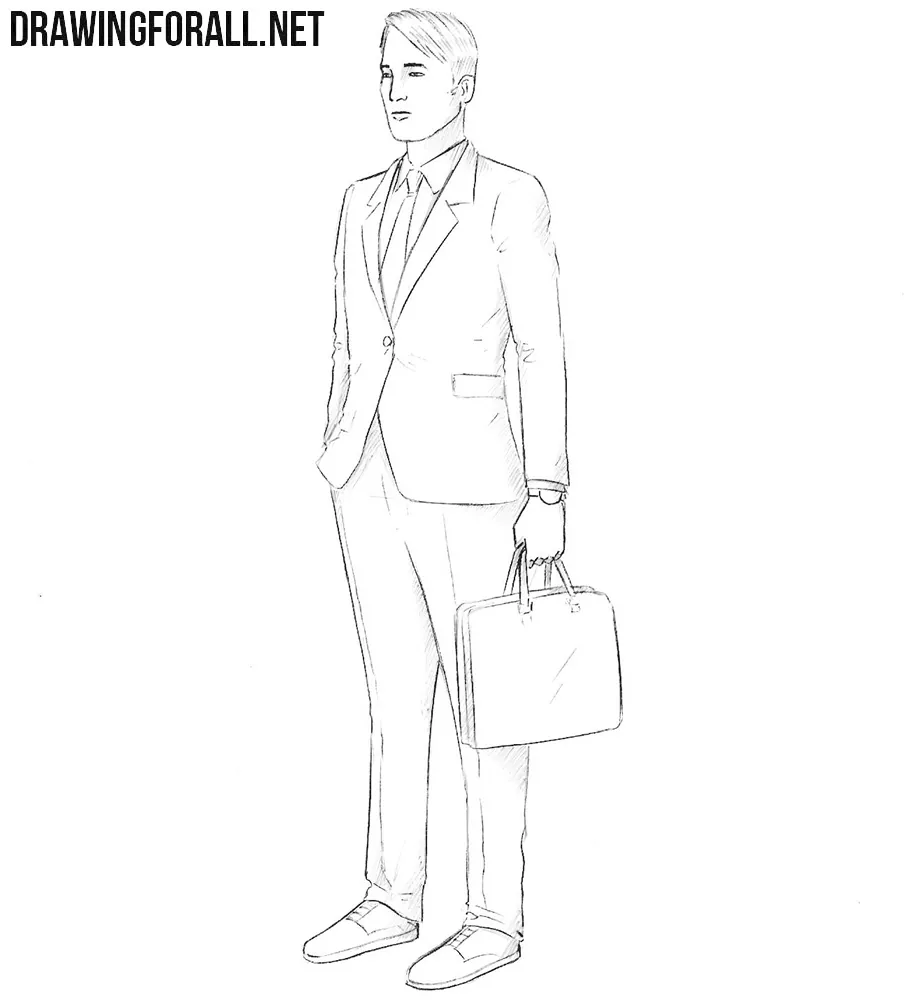
Today we will draw a representative of the insurance business. Insurance is the prerogative of the most far-sighted and prudent people. Indeed, insurance is a unique type of business that allows to be more prepared and protected from possible trouble. And the development of the insurance business is impossible without the main worker of the entire insurance mechanism. We are talking about an insurance agent.
Step 1
First of all, let’s define right away. We have an ordinary male figure. Before us is a lean young man who does not look like a superhero. We specifically made such a reservation because we very often draw superheroes from comics. If you are also used to drawing broad shoulders and powerful legs, you should be reconstructed in this lesson.
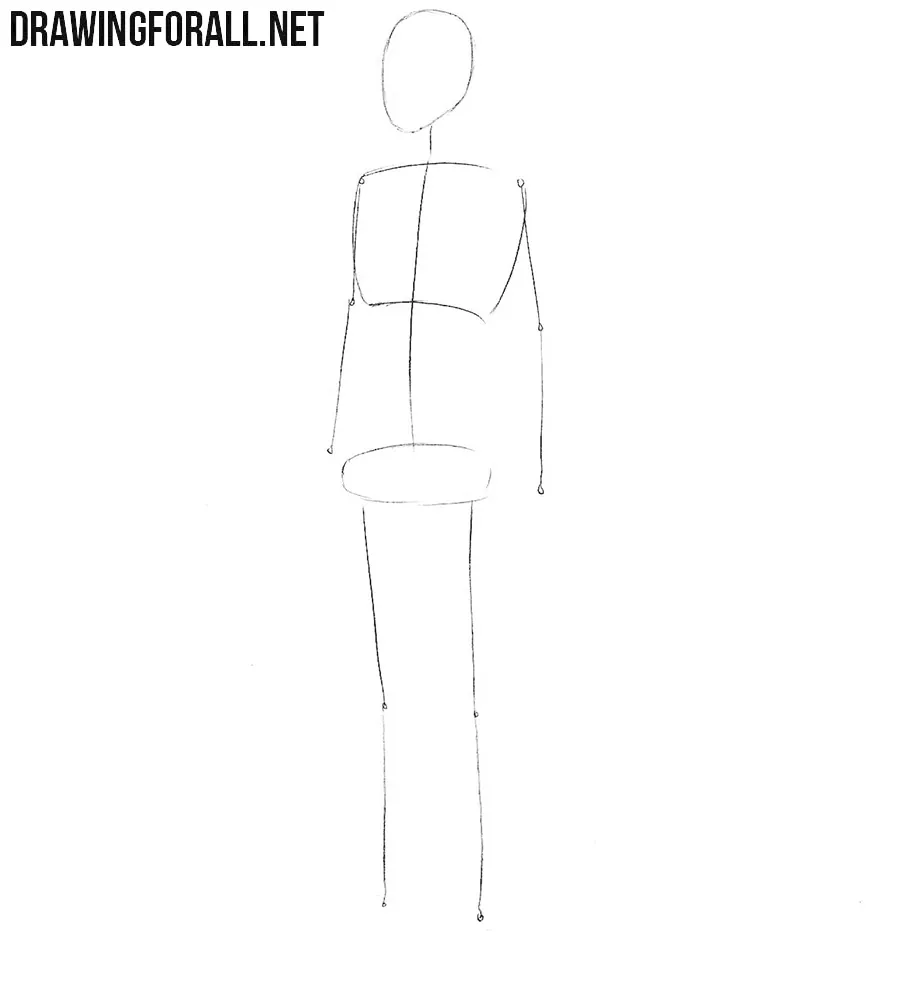
Step 2
Sketch out of the neck and torso, which slightly narrows to the pelvis area. Outline a triangular pelvis as you can see in our example. After that we sketch out the arms and legs with elongated simple geometric figures. You should get a slim elegant figure. Do not draw very wide chest and powerful limbs. Recall that in the first steps we should use very light lines.
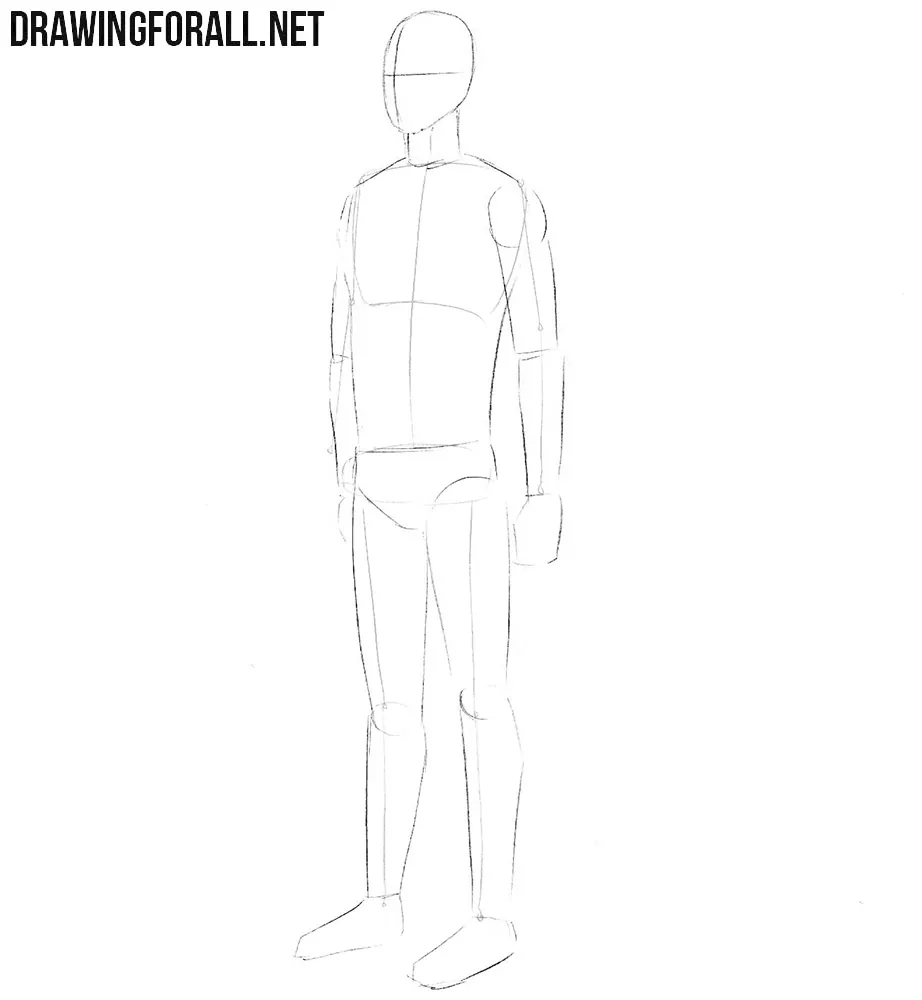
Step 3
So we continue the lesson on how to draw an insurance agent step by step. On the head sketch out the outlines of the details of the face. The crossing lines from the previous step will help us in this matter. On the head we also outline the contours of the coiffure and ear. With the help of light lines we sketch out the contours of strict business clothes and shoes.
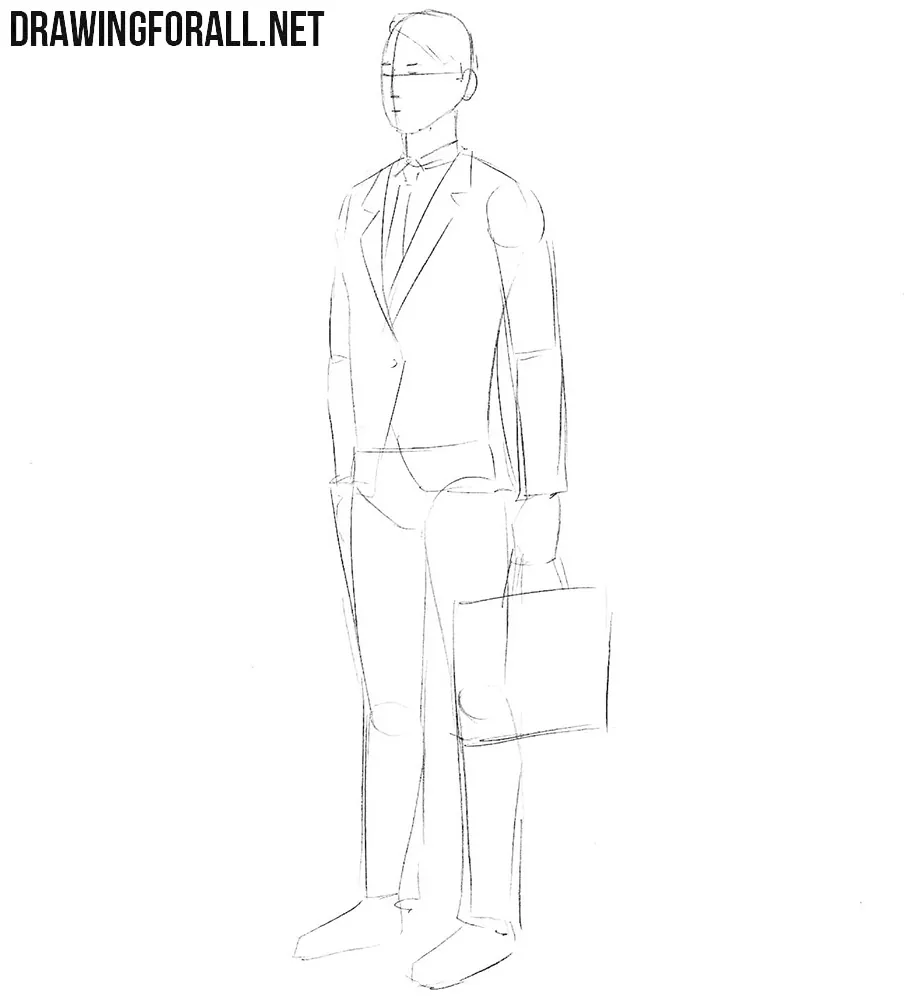
Step 4
Using clear and dark lines, we delicately depict out the outlines of the details of the face (eyes, nose and tight lips), as you can see in our example. After that we outline the contours of the hair and face. Be sure to erase all unnecessary guidelines from the head. He’s a bit like Captain America at the beginning of the film, isn’t he?
Step 5
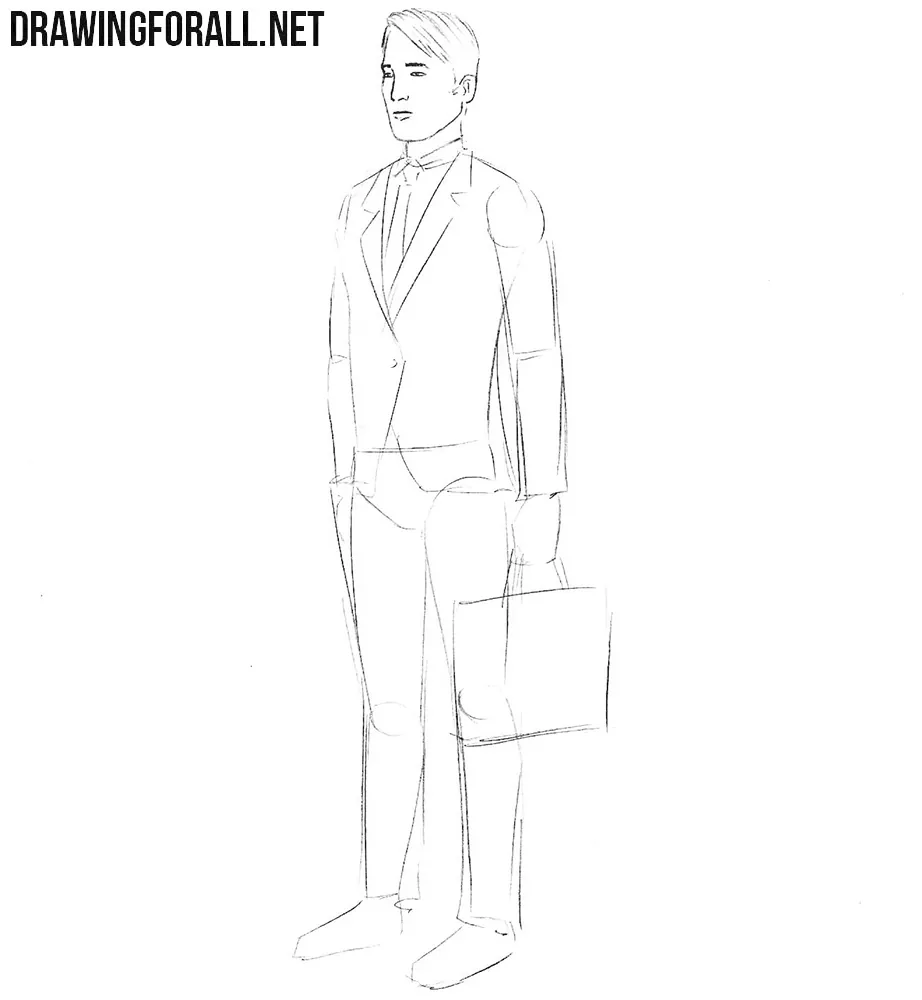
A successful insurance agent should look personable and elegant. Therefore, we will work with his business suit. It will be a strict style of clothes without an excessive amount of fabric folds. So we carefully draw out the outline of the shirt, jacket and tie. With the help of short lines we draw some folds which are located near the button.
Step 6
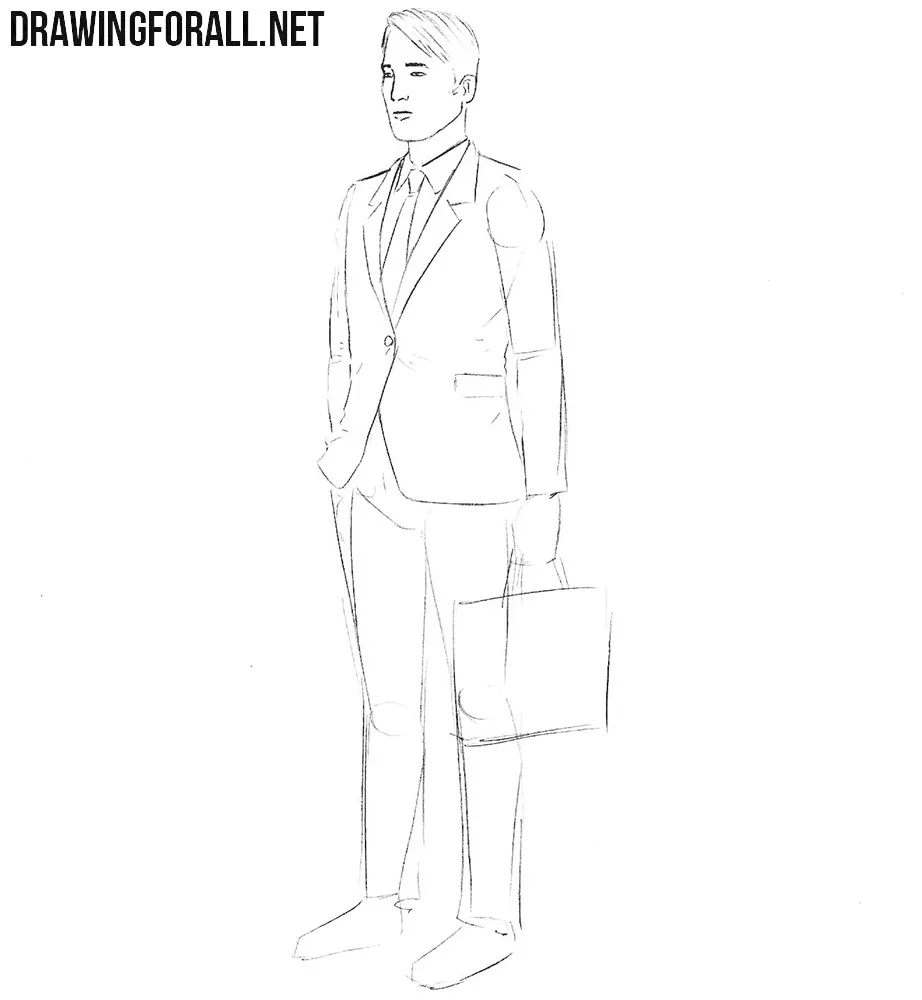
In this step we will depict the final contours of the sleeves. We will adhere to strict style as in the antecedent step. You can see only single folds in the area of the ulnar fossa and near the shoulder joint. Be sure to take a look at this article on how to draw hands. It will help you draw the hand of our insurance agent.
Step 7
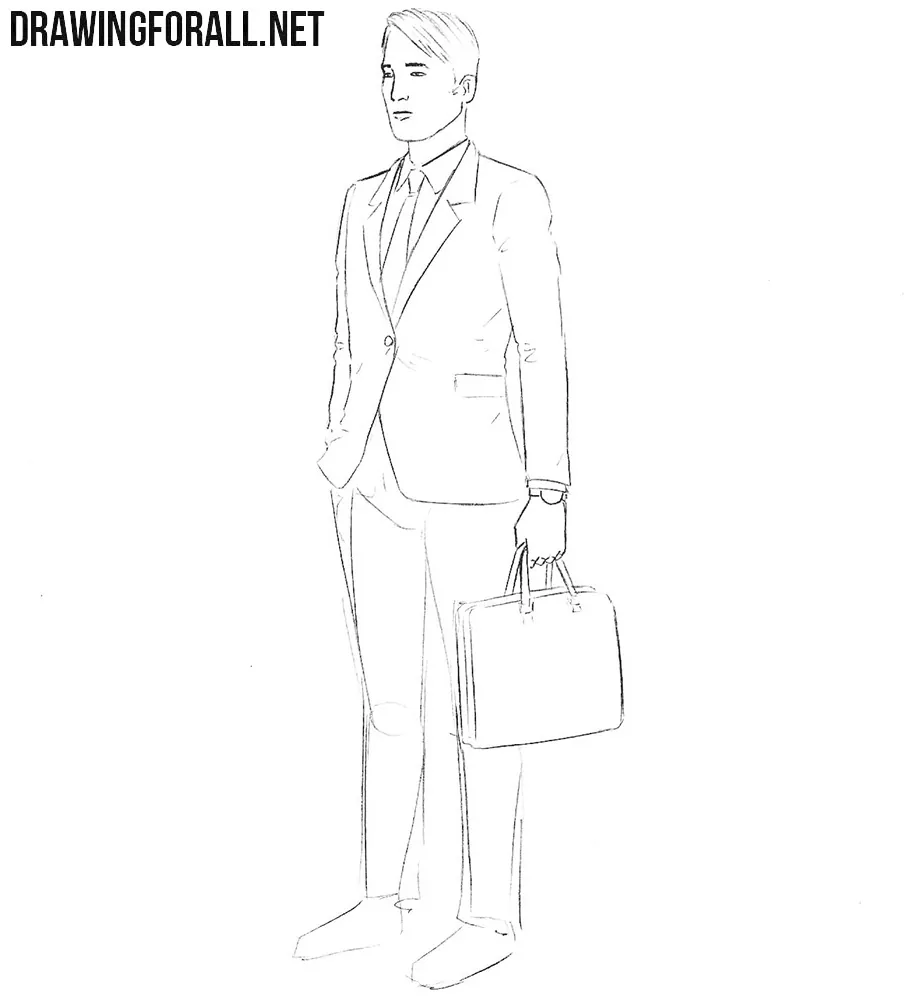
In this step we will draw the final contours of the trousers and shoes. Our character’s trousers should look narrow and tight. Do not forget to draw arrows on trousers and some folds near the shoes.
Step 8
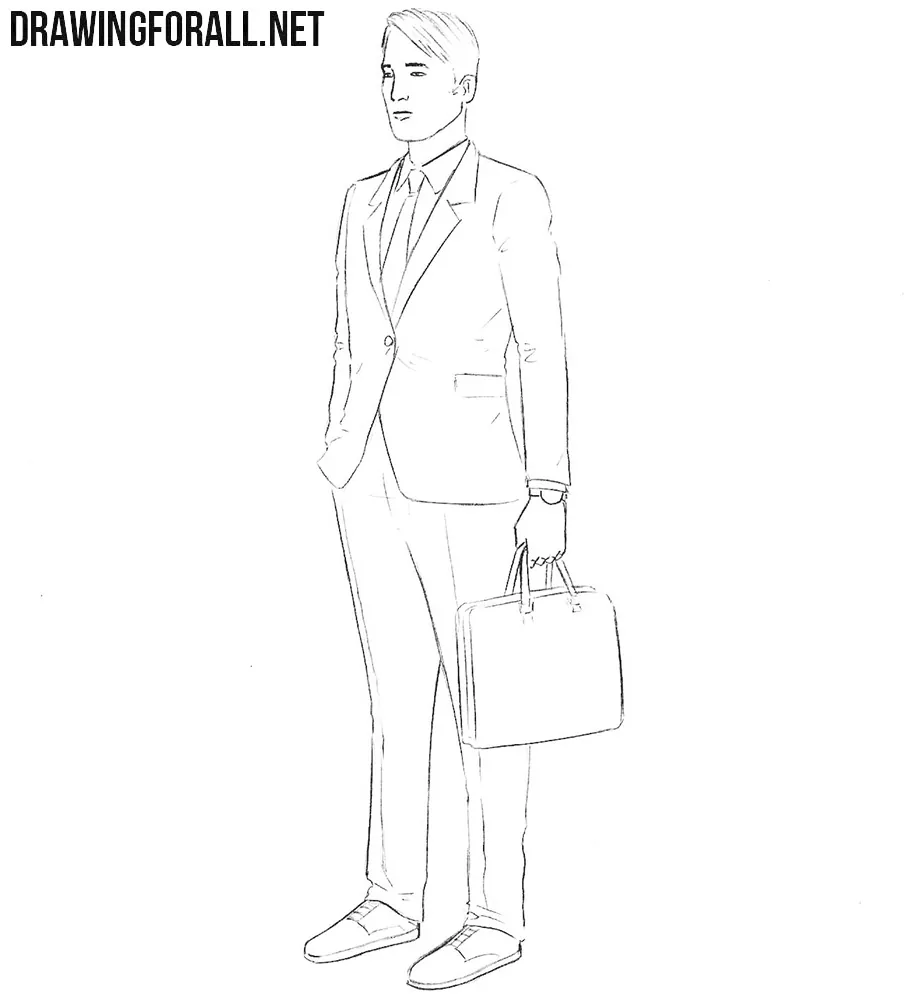
In order to draw shadows, you first need to think of where the light comes from. In this picture the light falls from the right side. Next, using hatching of different density add shadows in the least lit areas of the body. Also, you can make the shade darker by adding another layer of hatching.
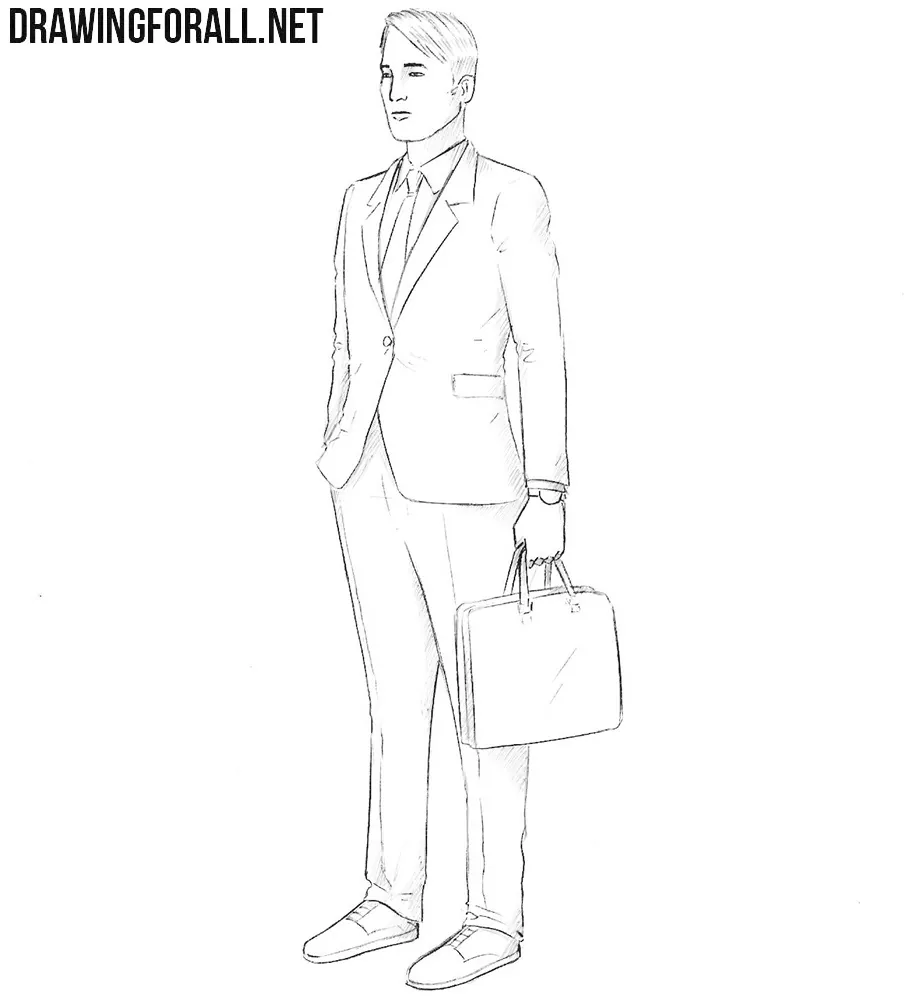
It was an example of drawing a person in a realistic style. The most important thing in this guide is to work correctly with the first two steps. Next, we draw details that you can easily fix in case you make a mistake. Do not forget to share this lesson with your friends on social networks if you like our work.


This is quite hard
Don’t be upset. If you couldn’t draw the first time, try it a few more times. We are sure you will succeed.