How to Draw a Yak
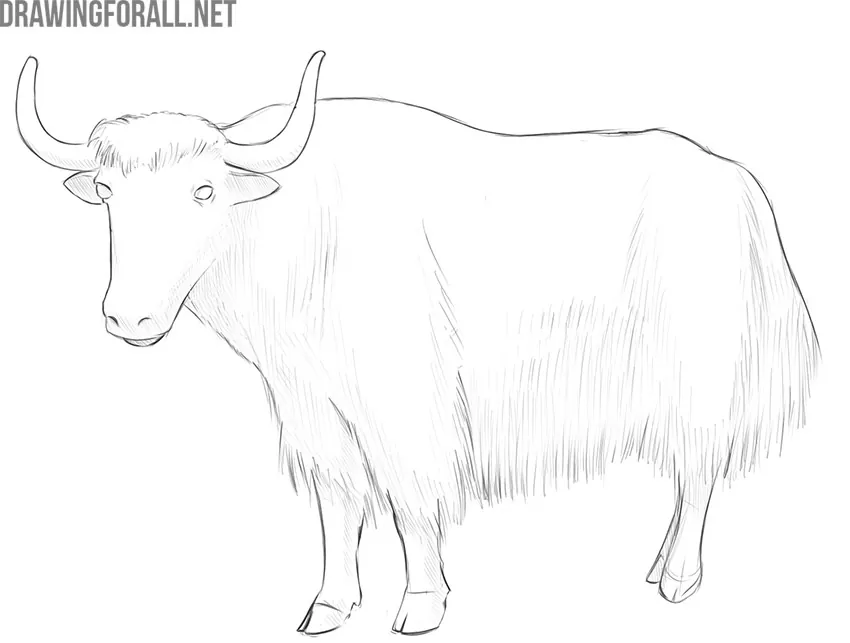
As you know, we love to draw exotic animals. That is why we created this guide on how to draw a yak step by step.
Since yaks are bovines, you can use this tutorial to draw other bovines as well. The main thing is simply to add or remove the necessary distinctive details.
We will first show you how to sketch the animal’s basic shapes, then add the details, and finally draw the long fur. In the last step, we will add shadows to give the drawing more volume.
How to draw a yak step by step
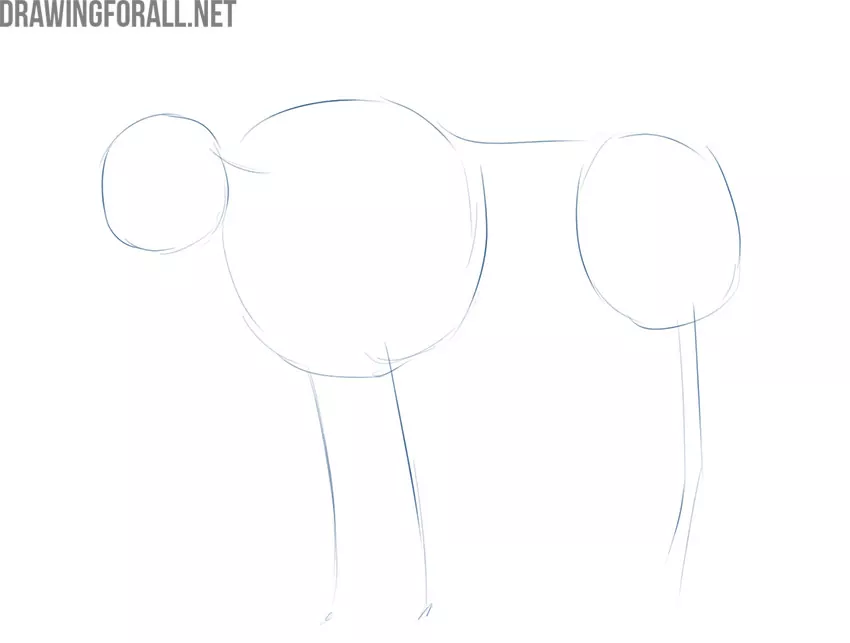
Step 1: Sketch the basic forms
Begin by determining where the yak will be located on the sheet. We are only drawing the yak, so place it in the very center of the sheet. Draw three ovals of different sizes. Then connect them using soft, curved lines, pressing lightly on the pencil.
Step 2: Outline the yak’s head
Now work on the basic outlines of the head and front of the torso. Sketch the long, elongated muzzle, and then draw a horizontal line across the center of the head oval to mark the location of the eyes. Using soft lines, draw two triangles on the sides. Connect the head and torso with short, flowing lines.
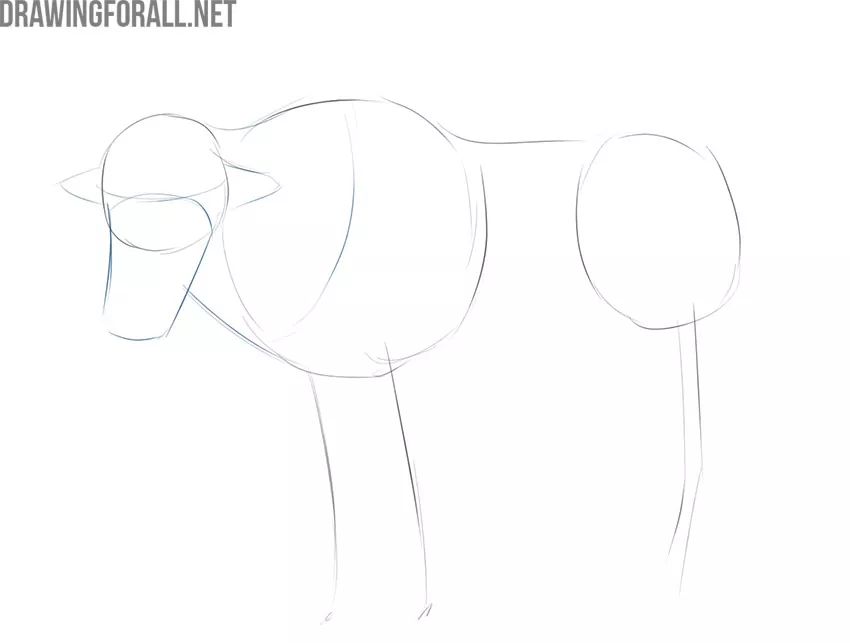
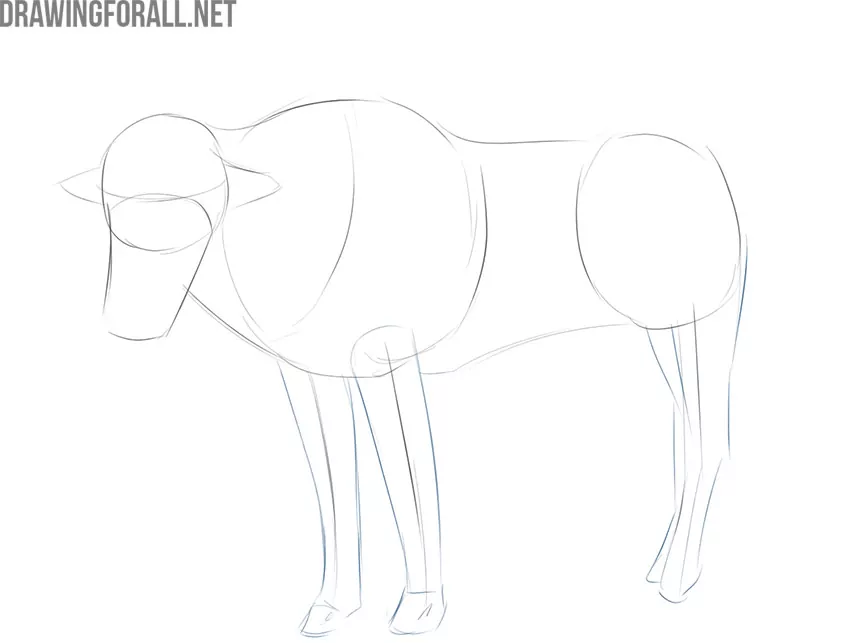
Step 3: Draw the yak’s legs
Draw the outlines of the front and hind legs of the yak. The yak has large and powerful legs with noticeable smooth curves. Also connect the front and back ovals of the torso using a smooth horizontal line.
Step 4: Add the facial features
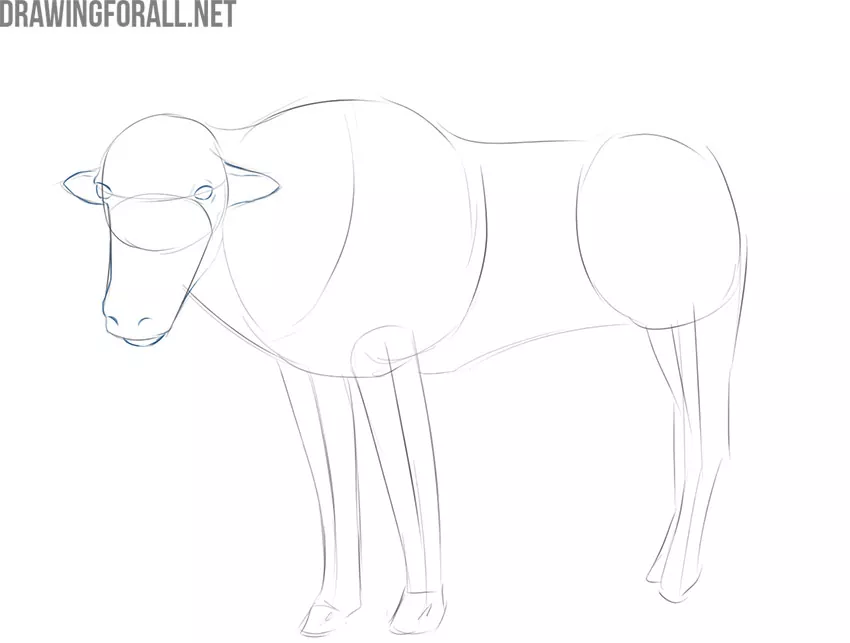
Now that the rough silhouette of the yak is ready, add the smaller details. Use the horizontal guideline from the second step to draw the eyes as two small round shapes. Then depict the nostrils as two comma-like shapes.
Step 5: Draw the mane and horns
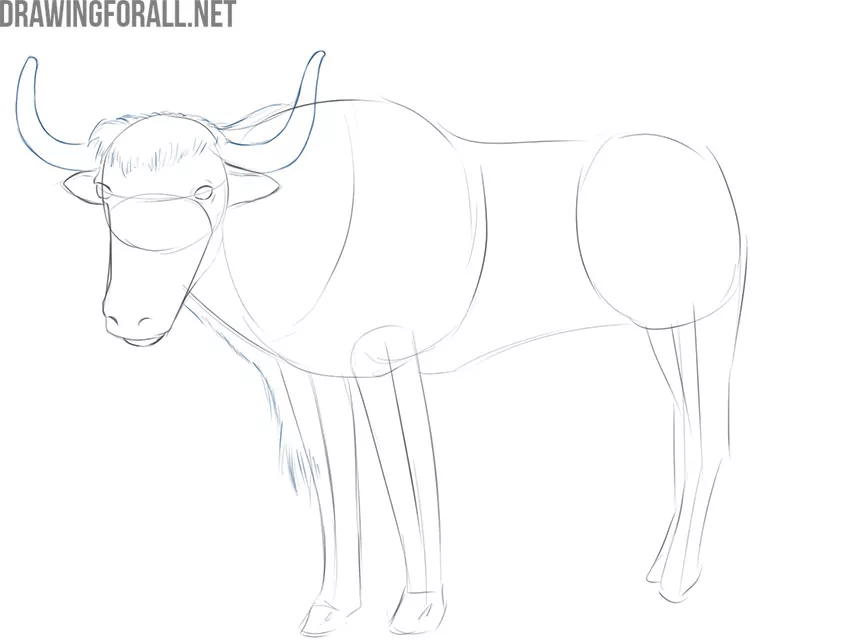
Draw the outlines of the mane, which looks like a tousled hairstyle. Using short lines, outline the edges of the mane. Also draw the horns, which are a formidable and powerful weapon of the yak.
Step 6: Outline the front fur
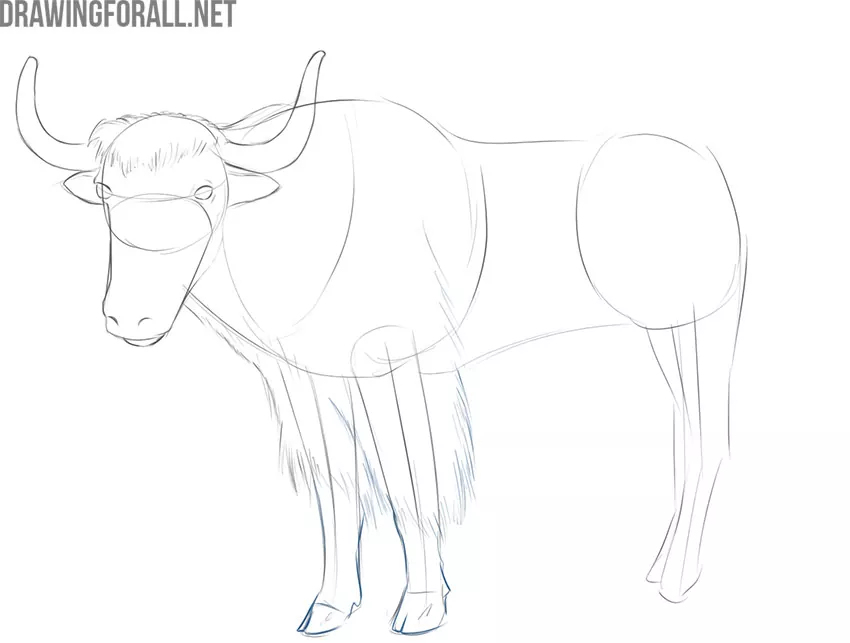
The yak differs from many other cloven-hoofed animals because it has thick, warm fur covering its body. Outline the fur over the front of the torso and forelegs.
Step 7: Extend the body fur
Continue drawing the fur across the body and the space between the front and hind legs of the yak.
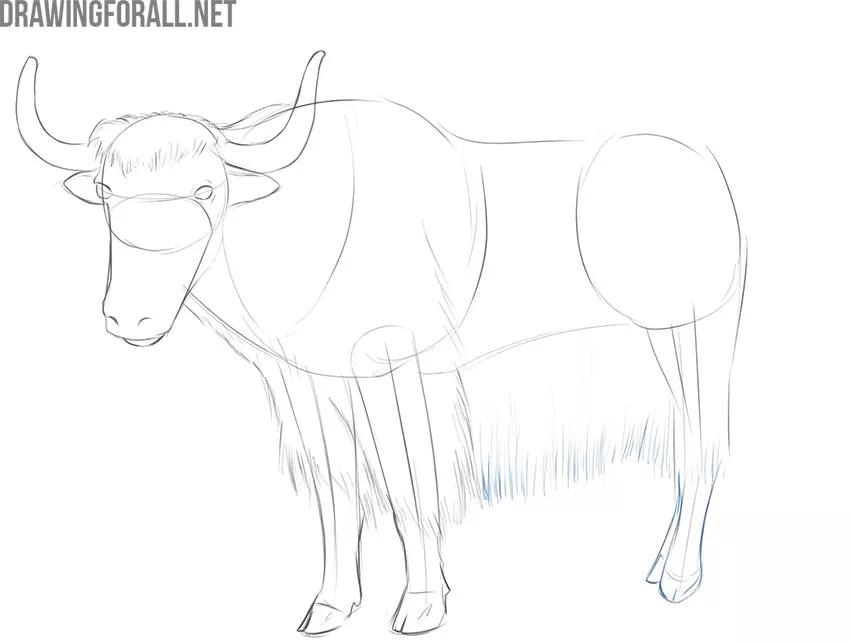
Step 8: Add fur to the tail
Draw the fur that covers the tail and blends with the body. That is why the tail does not have a clearly visible contour as it does in drawings of many other animals. To create this effect, use short vertical strokes running in the same direction.
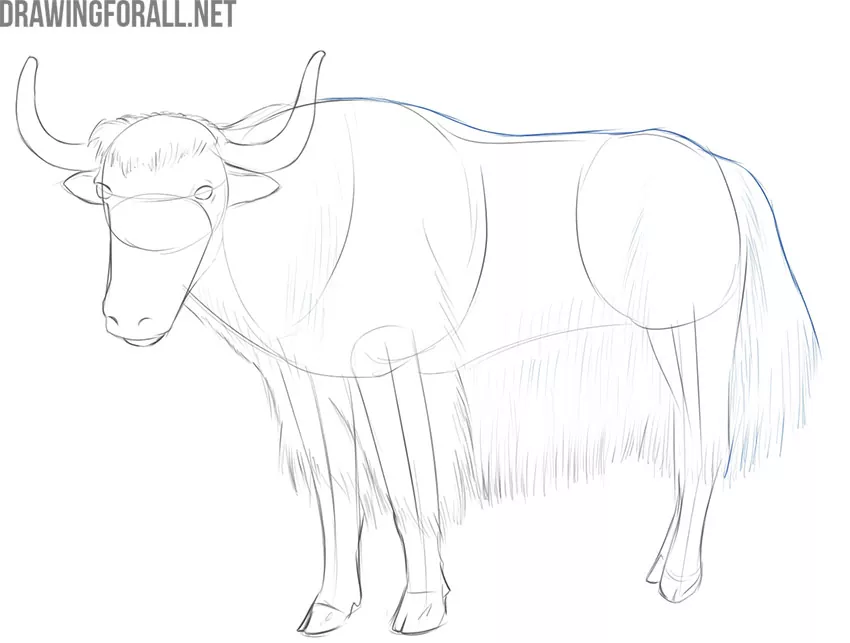
Step 9: Refine the final outlines
Remove the construction lines used in the previous steps. Then draw the final silhouette of the yak with stronger pressure on the pencil.
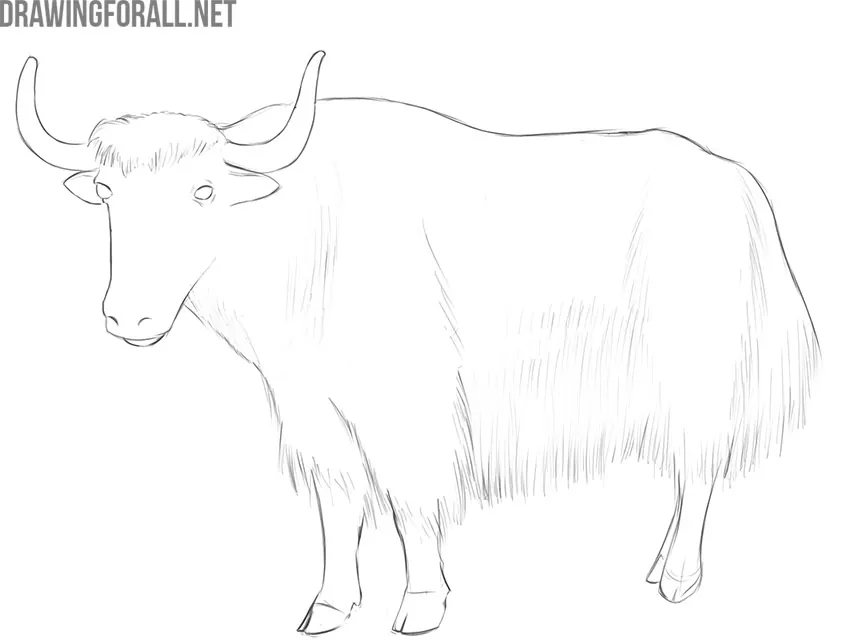
Step 10: Add shadows and hatching
Finally, draw shadows on the face, neck, and torso. Use broad, single-layer hatching for the shadows. To make this easier, you can first draw the borders of the shaded areas and then fill them in.
This tutorial was quite detailed, but it taught you how to draw a yak. Here are a couple of useful tips.
To make your yak drawing even more interesting and three-dimensional, try drawing additional layers of hatching. Also try drawing the background, at least with very general lines. This will give your yak drawing a more realistic look.