How to Draw a Zebra Easy
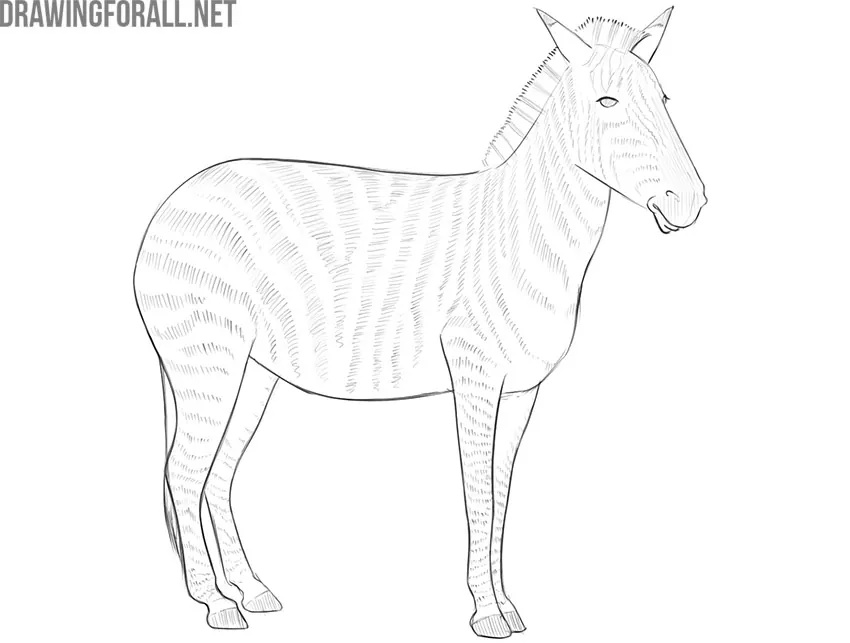
In this drawing guide, we will tell you how to draw a zebra easy. We know that animals are one of the most beloved categories for drawing among our dear readers.
Therefore, we decided to create another lesson about a zebra. This is a very cute and funny animal that has a very unusual appearance. We tried to imagine this in ten easy steps. We hope you enjoy it!
Step 1
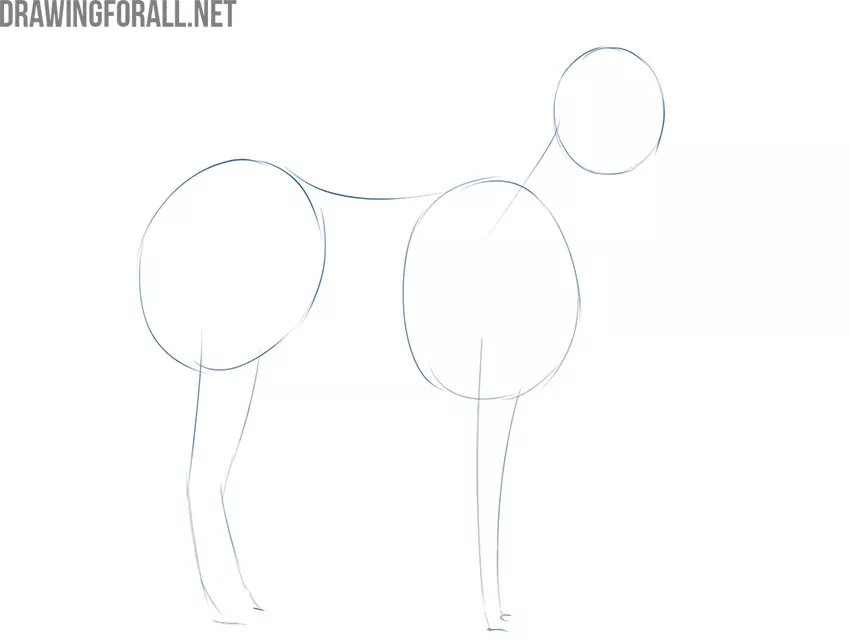
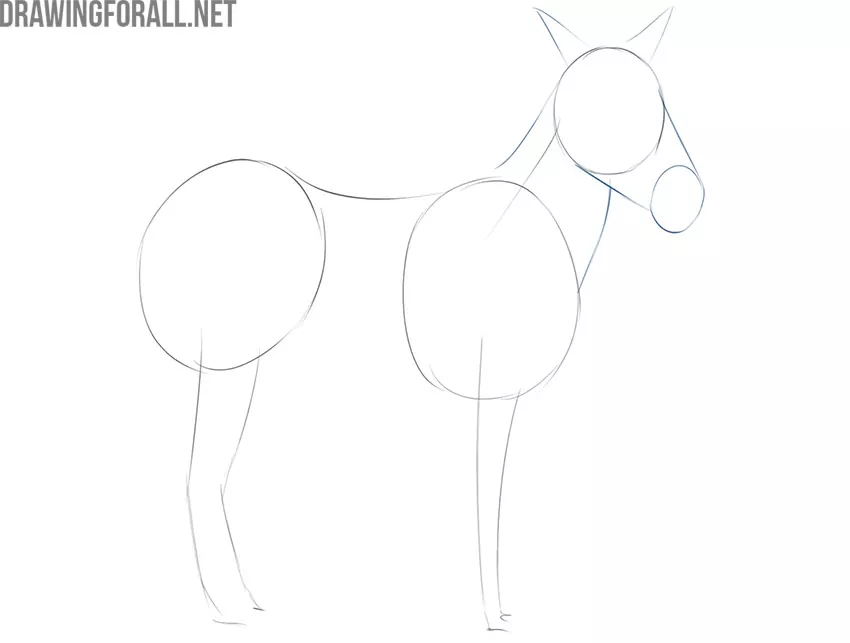
So we start a guide on how to draw a zebra easy. First, outline the approximate contours of the body of the animal using circles and sticks. The largest circle is located in the center. The smallest circle is at the top. Use smooth, short lines to connect the circles. Zebra legs appear as long lines with slight curves. The front pair of legs look like lines without corners. The back pair of legs look like two extended corners.
Step 2
Draw a truncated cone so that its base matches the outer contour of the head. Define the ears using two thin triangles that are close enough to each other. Add the outlines of the large, powerful neck. This part of the body also looks like a truncated cone that tapers smoothly towards the head.
Step 3
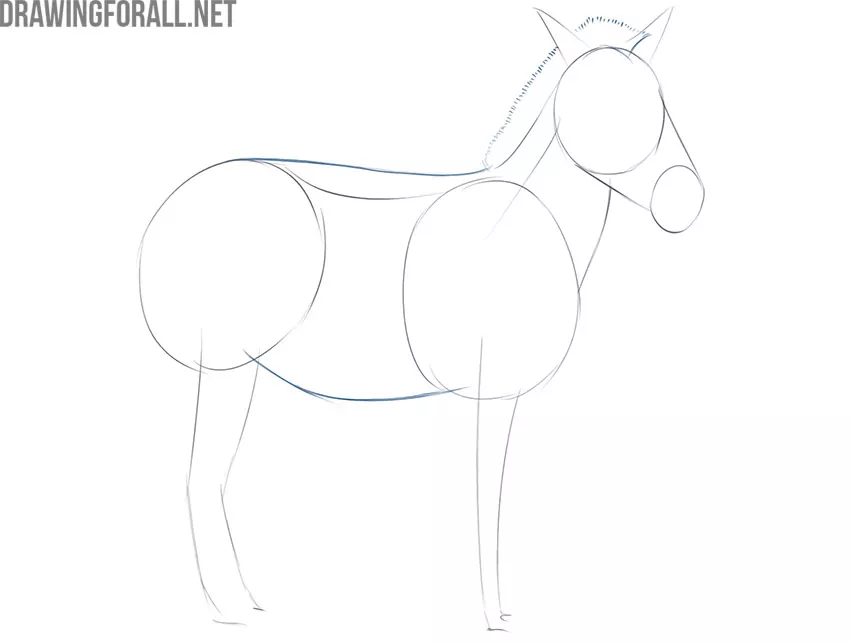
We continue the lesson on how to draw a zebra easy. Connect the large balls of the torso using two curved lines. As you can see, the bottom line has a much more pronounced curvature. Also, draw the mane that extends from the top of the zebra’s forehead to where the neck and back meet. The upper part of the mane consists of short vertical lines.
Step 4
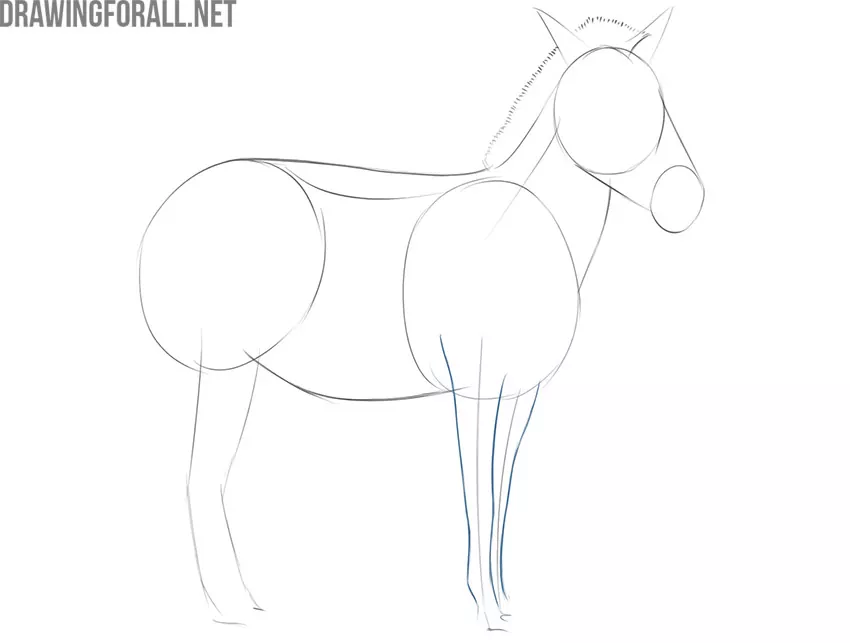
So, we see a beautiful silhouette of the head and body of the zebra. To have a complete sketch, draw the outlines of the front and hind legs. The forelegs have graceful contours. Be sure to emphasize these smooth tapers towards the hooves.
Step 5
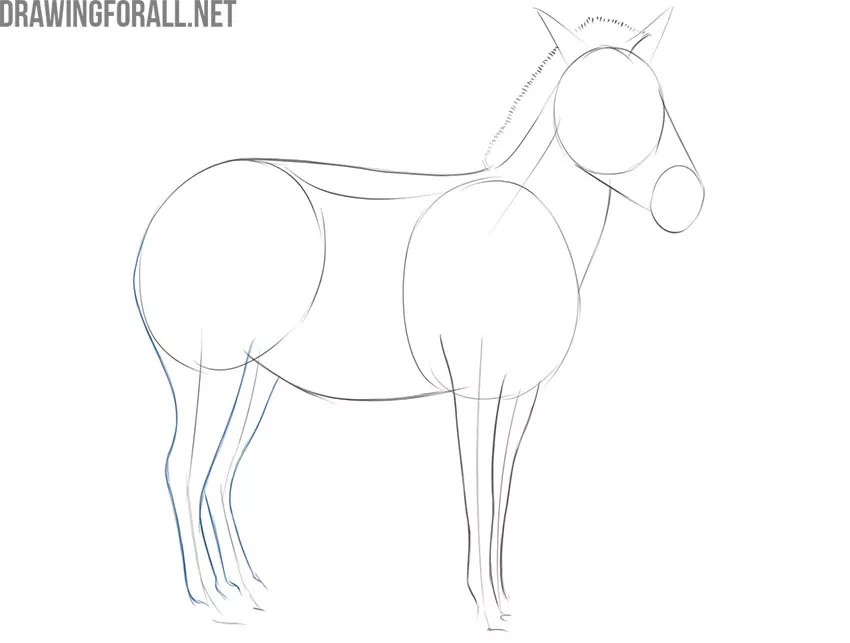
The hind legs of the zebra are larger and more massive than the front legs. Focus on the large oval of the back of the torso and the baselines of the hind legs from the first step. Draw large, powerful legs with a noticeable taper downward. Notice that there are joints in the center of the leg that look like small tubercles.
Step 6
Finish off the legs and draw small, rounded hooves. It looks like four small irons. In fact, the position of the hooves is very important for the correct transmission of the animal’s posture. Don’t forget to add the zebra tail as well. Choose the tail position according to your imagination.
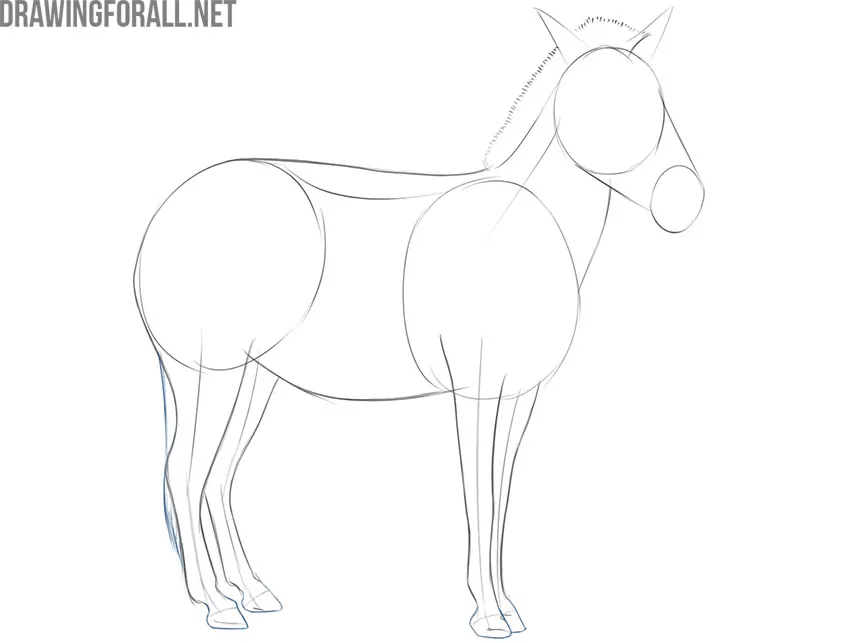
Step 7
So, we see a great and solid zebra silhouette. It’s time to start the final detailing. First, draw the eye, which is located in the center of the head oval. The second eye is schematically indicated by a small corner at the periphery of the oval. Also draw in detail the nostrils, lips, and ears. This is quite similar to the facial features of a regular horse, in fact.
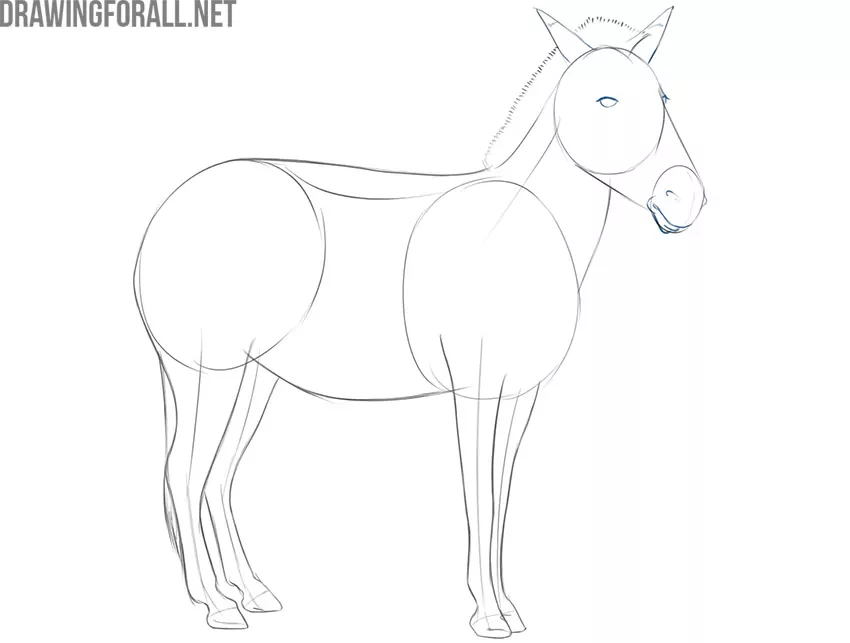
Step 8
You did a great job, we hope you are not too tired. Now delete all unnecessary construction lines that we no longer need. Check the sequence of the previous steps and make sure the lines and proportions are correct. Use contrasting crisp lines for the final outlines.
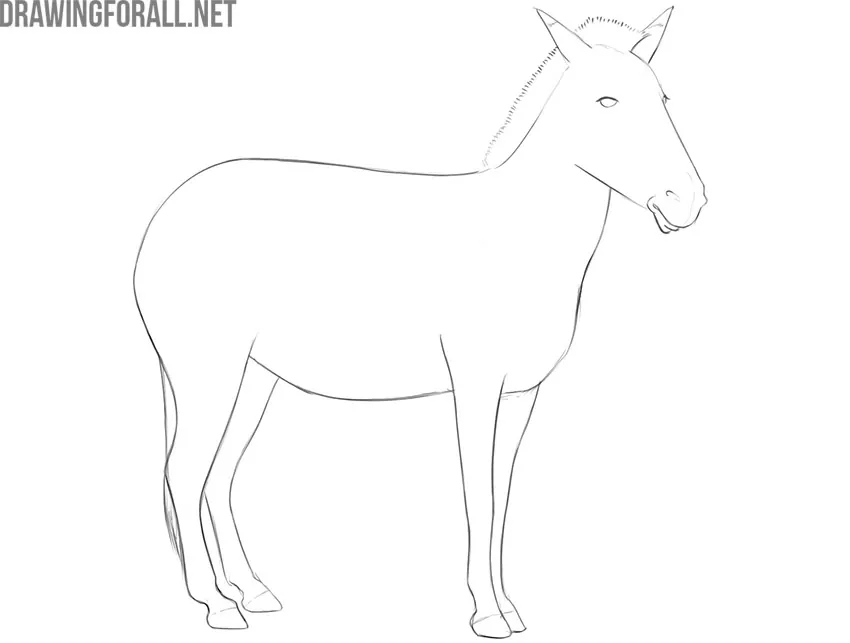
Step 9
Draw the classic pattern that you can see on every zebra in the world. Pay attention to the size of the stripes on the torso and limbs. You can see the differences not only in shape but also in size and intensity. To make it easier to work, first, draw the outlines of the stripes, and then fill them with light hatching.
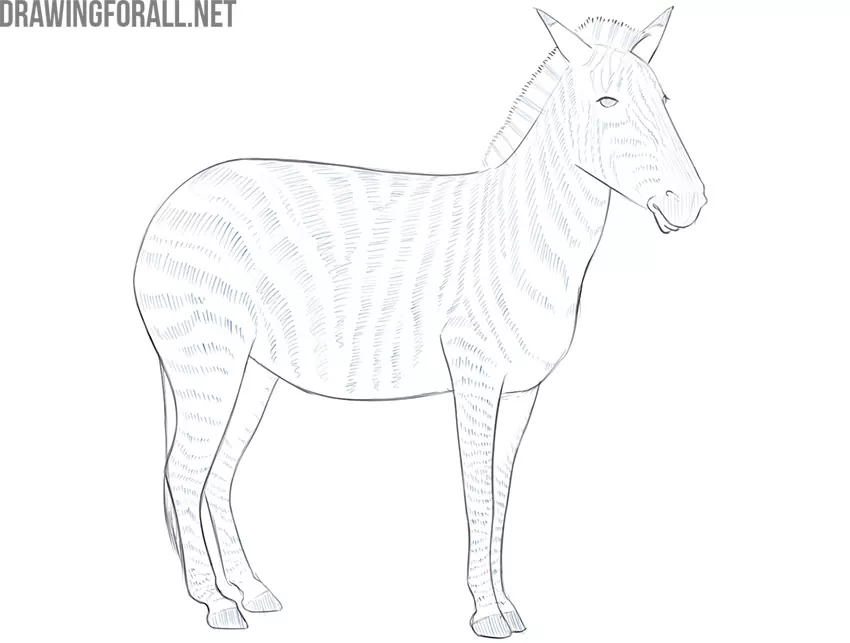
Step 10
This is the final action of the guide about how to draw a zebra easy. Check again the correct proportions and small details. Make sure the pose and shadows locations are correct. If everything is as it should be, then we congratulate you. It was a great job.


