How to Draw a Cherry
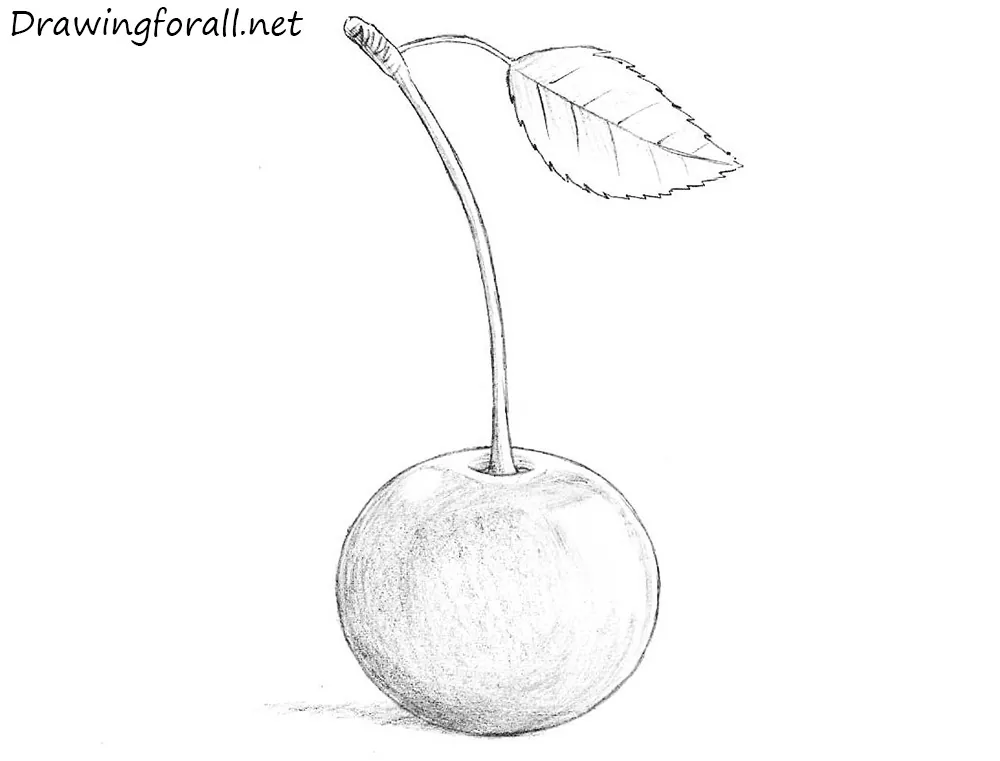
In today’s drawing lesson, the team of Drawingforall.net will show you how to draw a cherry. This lesson is pretty simple, but in the end of the lesson we will get very realistic cherry. So, let’s start the lesson!
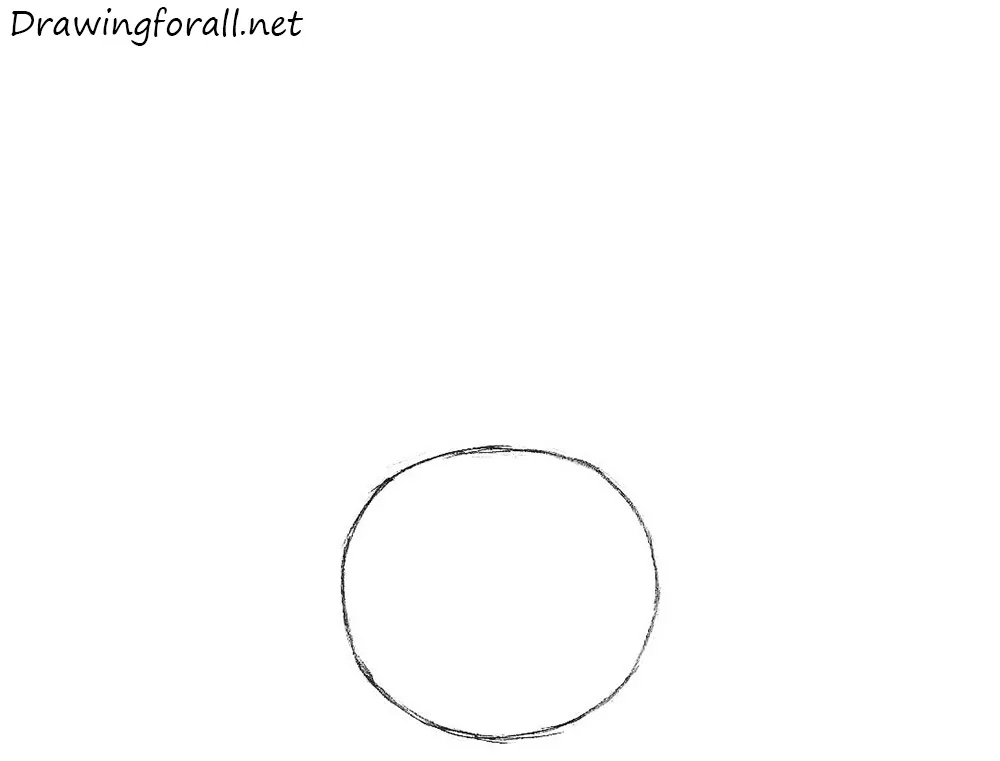
Step 1
To draw a cherry, at first we should draw a circle. Use loose and light lines for sketching in this step. We make the lines so light so that in subsequent steps it is easier to make changes. To be honest, the cherry is almost ready.
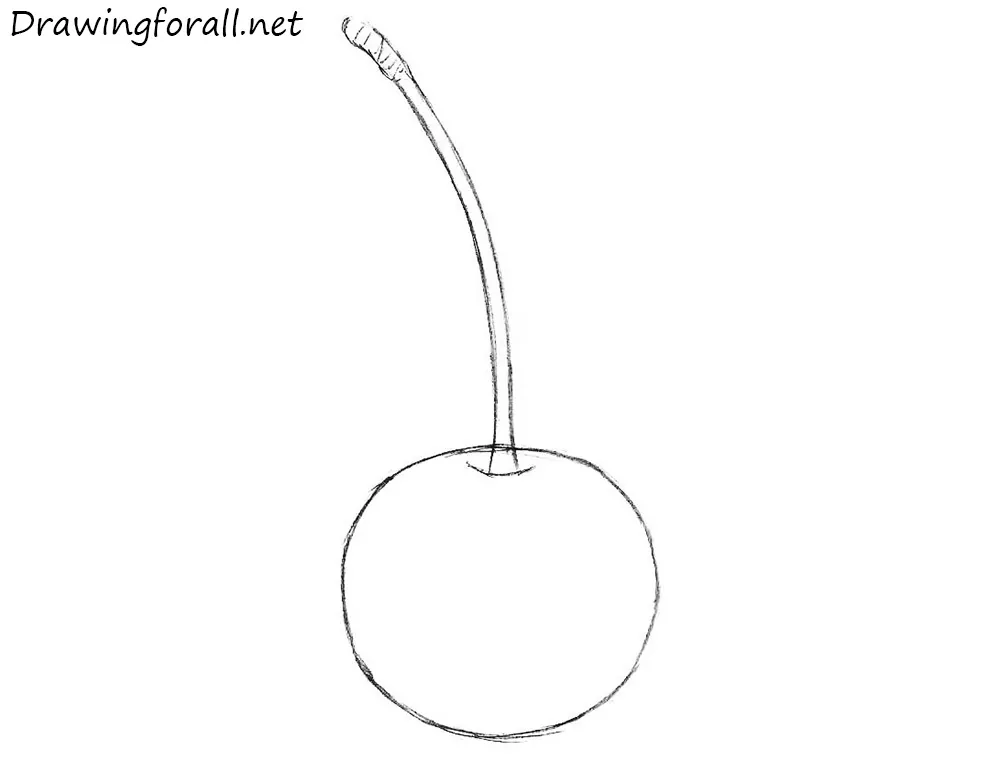
Step 2
Using two slightly curved lines, depict the stem of the cherry. Using some short lines depict the texture on the tip of the stem.
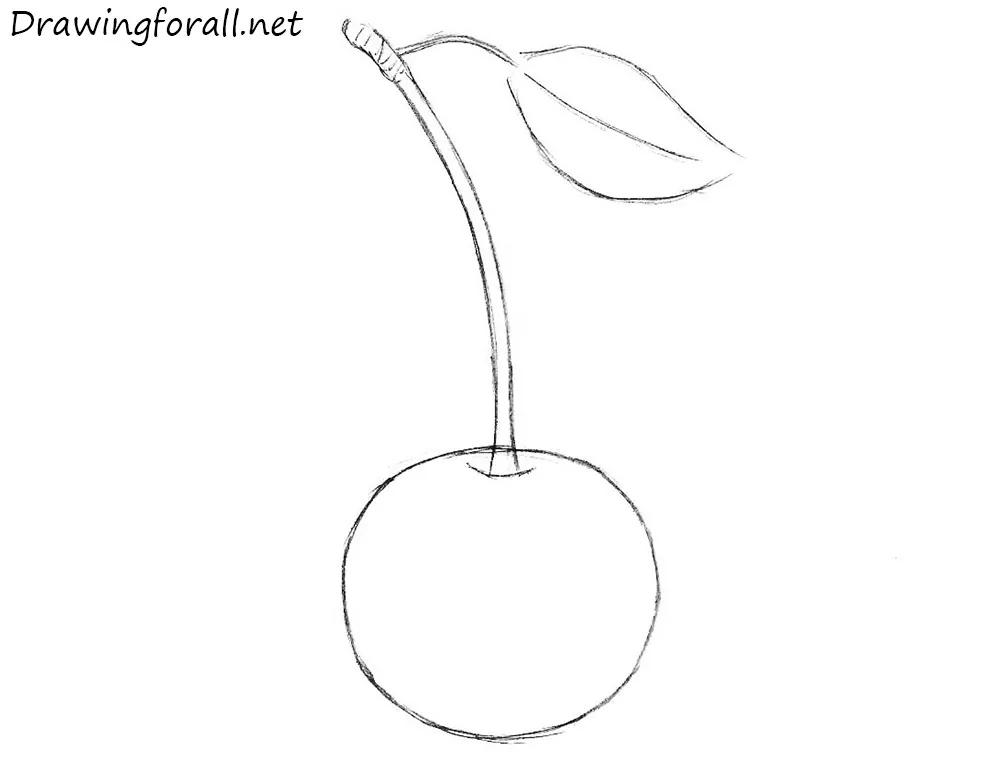
Step 3
Using curved lines depict the leaf. In this step, too, try not to push too hard on the pencil. By the way, you can visit our drawing lesson about how to draw a tree.
Step 4
Erase the guidelines. Trace the lines and make them smooth and clean. Using “Z” line, draw the edges of the leaf. Using short lines draw the veins on the leaf.
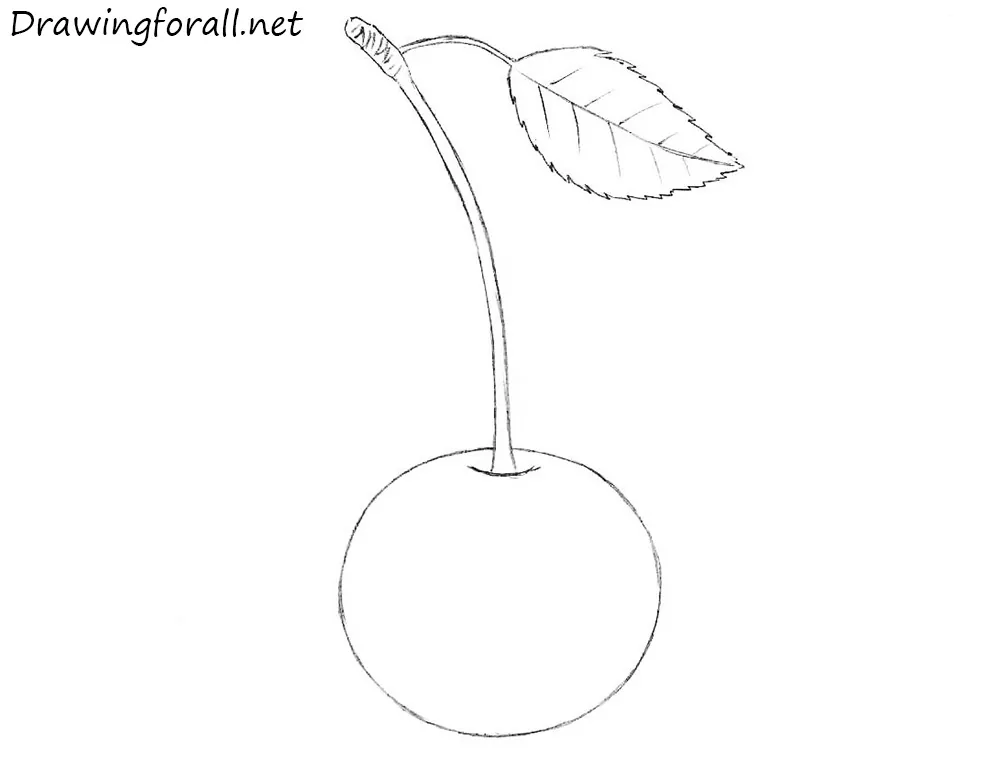
Step 5
It’s very short step, in which we just need to sketch out the contours of shadows and glares on the cherry.
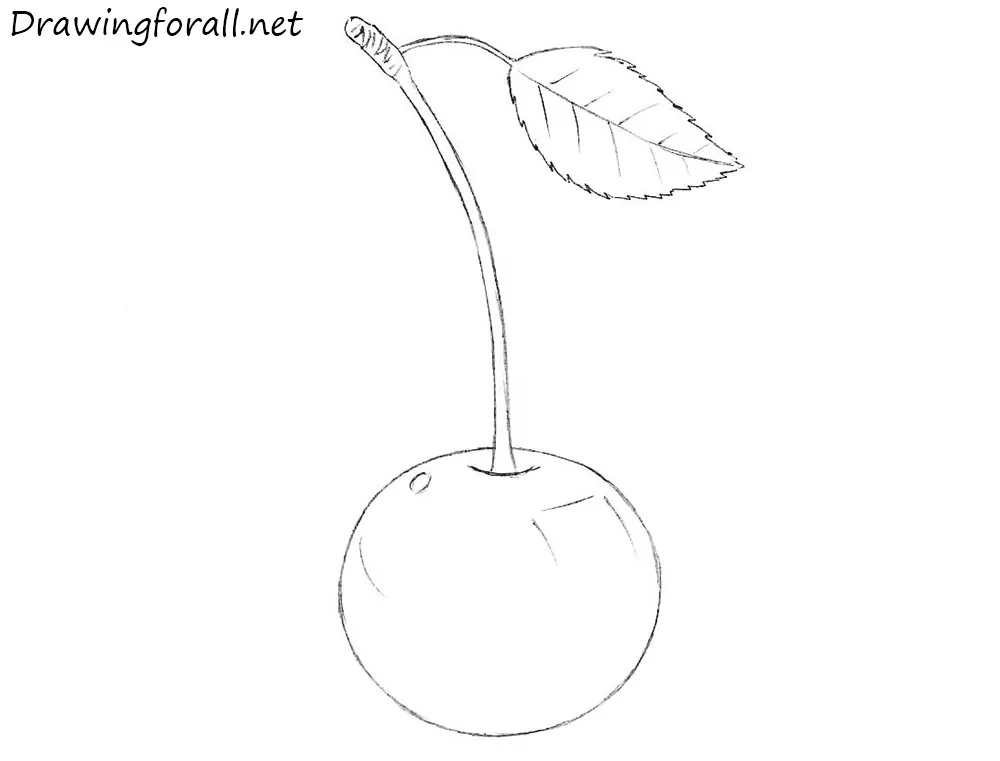
Step 6
Using light and gentle hatching, start add shadows to the cherry. In our drawing of cherry the shadows lie on the bottom and side surfaces of the sweet berry.
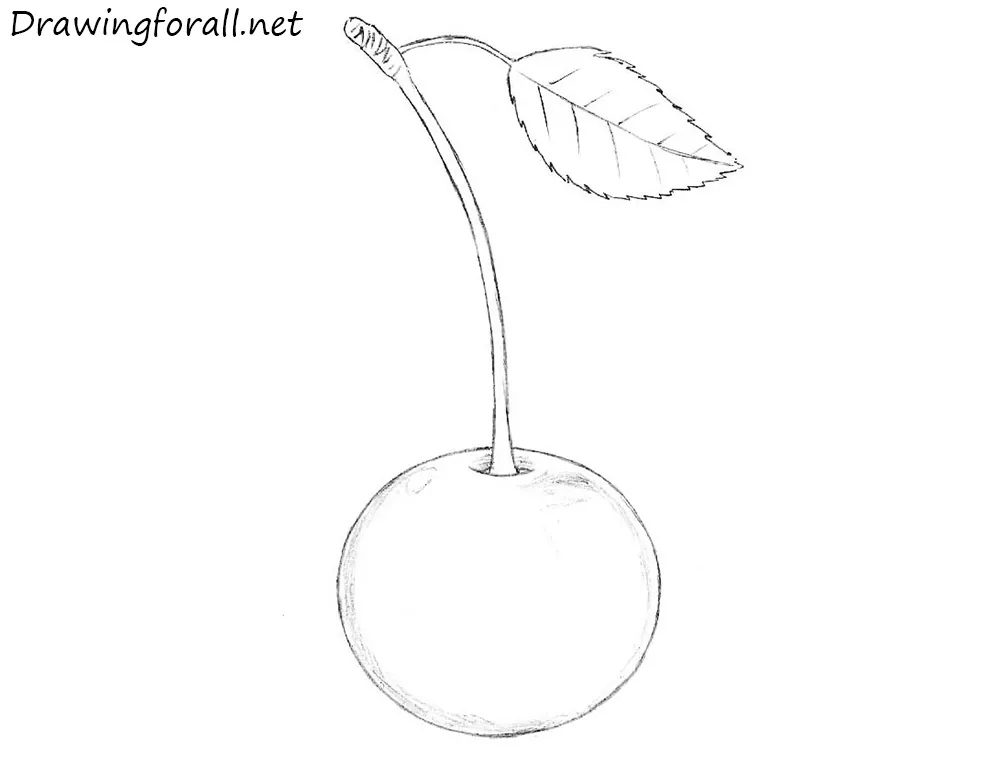
Step 7
Continue adding shadows, leaving glares as in our example. Darken the bottom of the cherry, and add cast shadow. You can even darken the shadows by adding a few more layers of hatching.

It was the drawing lesson in which we tell you how to draw a cherry. We hope this drawing lesson was interesting and informative for you. Using this instruction, draw cherries from different angles and using different shading, to have more practice, because the practice – is the father of the mastery.


Great work, great detail, it’s almost like you’re holding my hand as i draw (i’m a beginner). You guys have been incredibly helpful, Keep up the amazing work.