

How to Draw a Video Camera
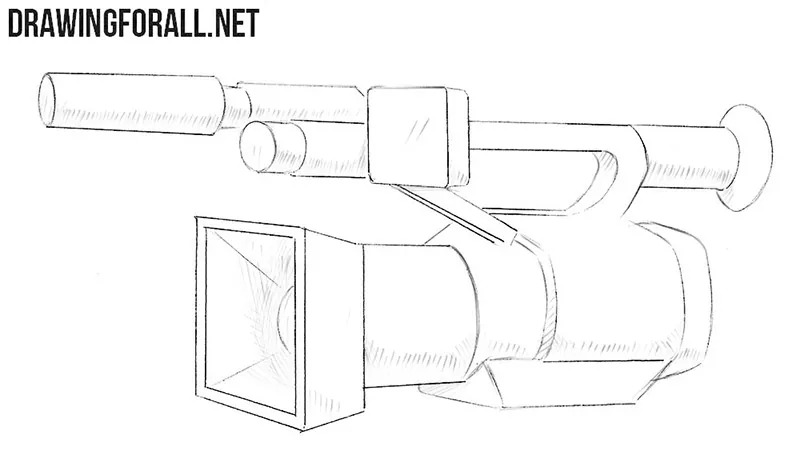
A video camera has a rather complex shape and a large number of details that should be located in the right places. In this tutorial, we will show you how to draw a video camera step by step and how to arrange all the parts and details correctly.
First, we will sketch the main parts of the video camera using simple geometric shapes. Then we will gradually add smaller details and shadows to make the drawing look realistic.
How to draw a video camera step by step
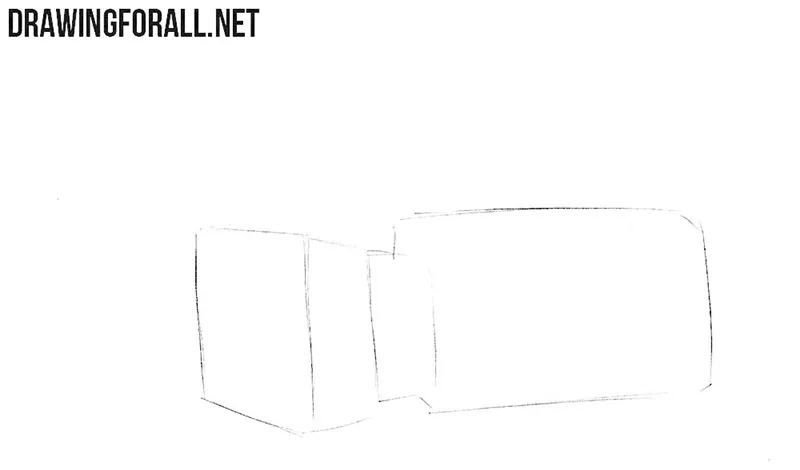
Step 1: Sketch the camera body
The two main parts of a video camera are the lens and the body. First, sketch the large rectangular body and then outline the lens at the front. Use light and rough lines at this stage, because we will add many new details in the following steps.
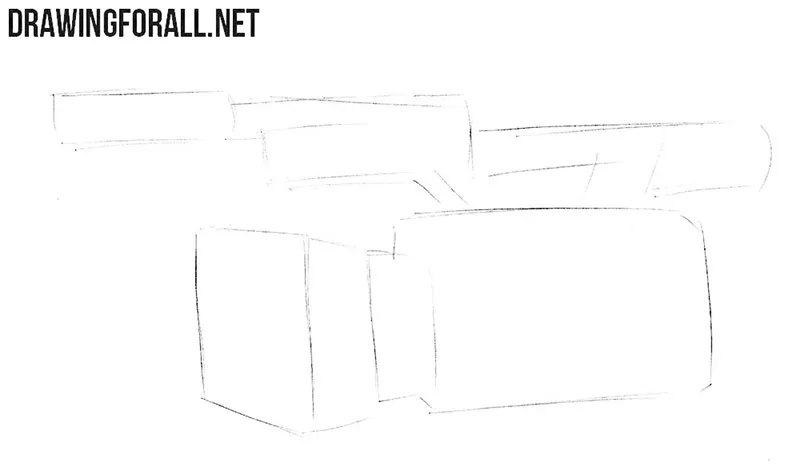
Step 2: Add the upper details
Now outline several important details at the top of the video camera. Draw the handle and viewfinder, then sketch the microphone at the front. Continue using light lines so that you can easily correct these details later.
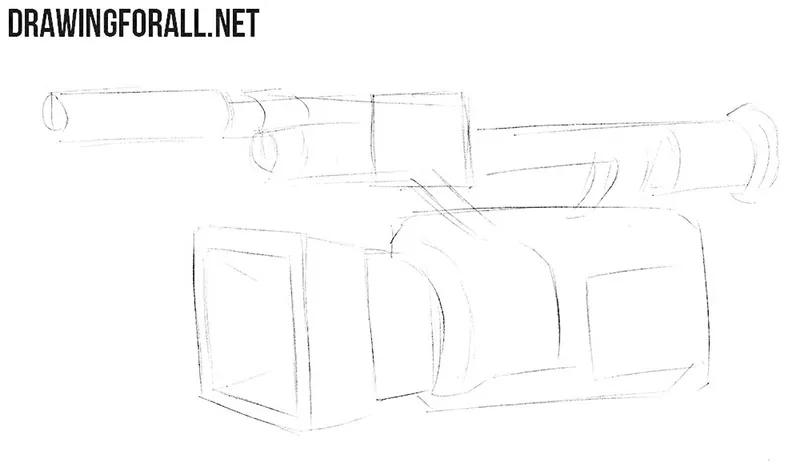
Step 3: Build the camera form
Add the edges and additional lines that form the different surfaces of the video camera. Pay attention to the direction of these lines and how the individual parts connect to each other. Continue to use light lines at this stage.
Step 4: Refine the lens and body
Now start refining the video camera drawing. First, trace the square frame around the lens with clear and dark lines. Then draw the final lines and smaller details on the camera body. Erase the unnecessary guidelines as you refine these parts.
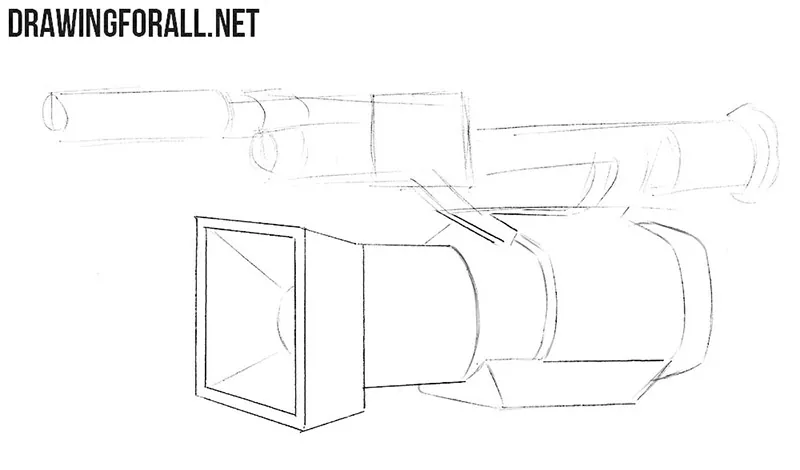
Step 5: Refine the upper details
Do the same with the upper part of the video camera. Carefully trace the microphone, handle, and viewfinder with clear lines. Add the remaining small details and then use an eraser to remove all unnecessary guidelines.
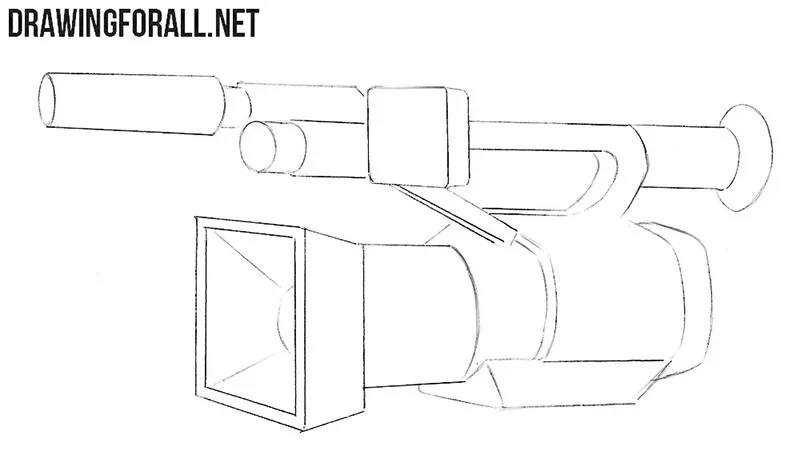
Step 6: Add the camera shadows
In this drawing, the light falls on the video camera from above, so the shadows should be located mainly on the lower surfaces of its parts. Add these shadows with hatching and make the darkest areas slightly denser.
As you can see, drawing a video camera is not as simple as it might seem at first glance. The main difficulty is to correctly create a dimensional shape, depict the large number of details, and place them in relation to each other.
Video cameras can have very different shapes and details. To practice drawing another type of this device, try to draw a photo camera in the body of a classic SLR.



ALL YOUR TUTORIAL DRAWING IS SO AMAZING