How to Draw a Hair Dryer
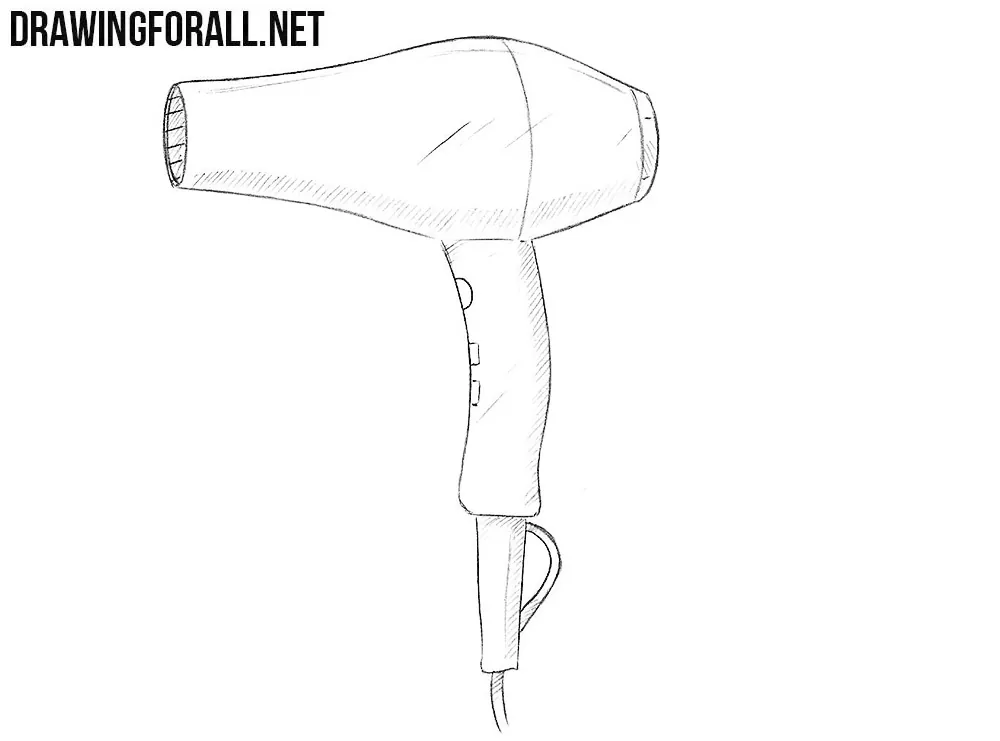
Hello everyone and welcome to the drawing lesson on how to draw a hair dryer. We created this lesson in a slightly unusual way for us. Here we did not use preparatory steps (as in the lesson about the hair clipper), we draw here at once using clear and dark lines.
Step 1
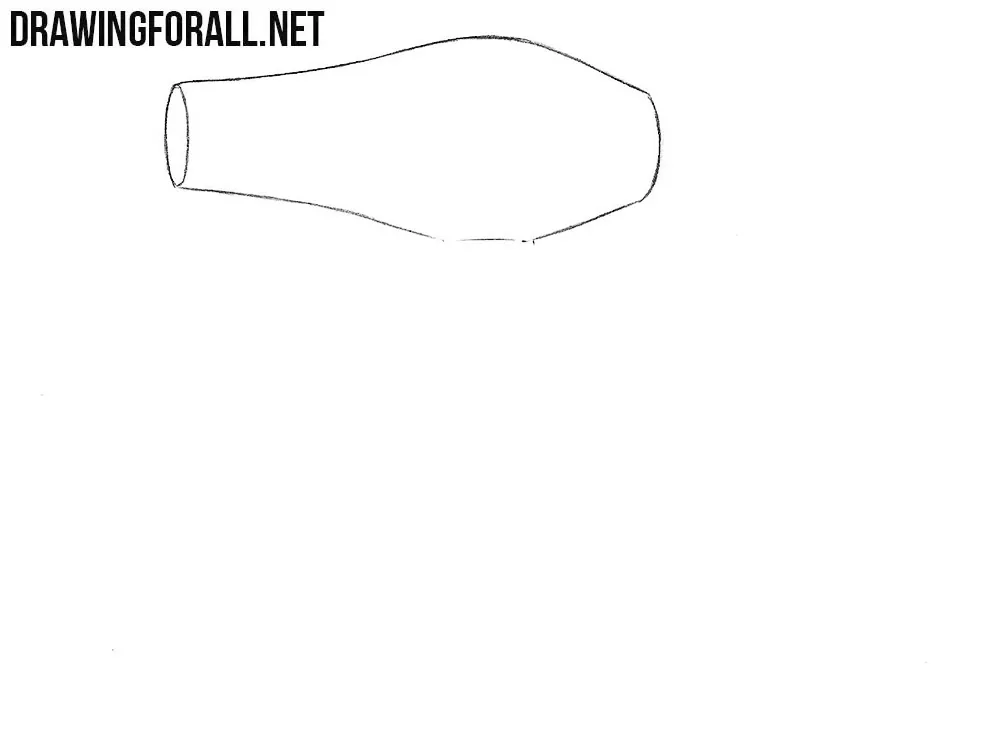
So, first of all draw the outline of the body of the hair dryer as shown in our example.
Step 2
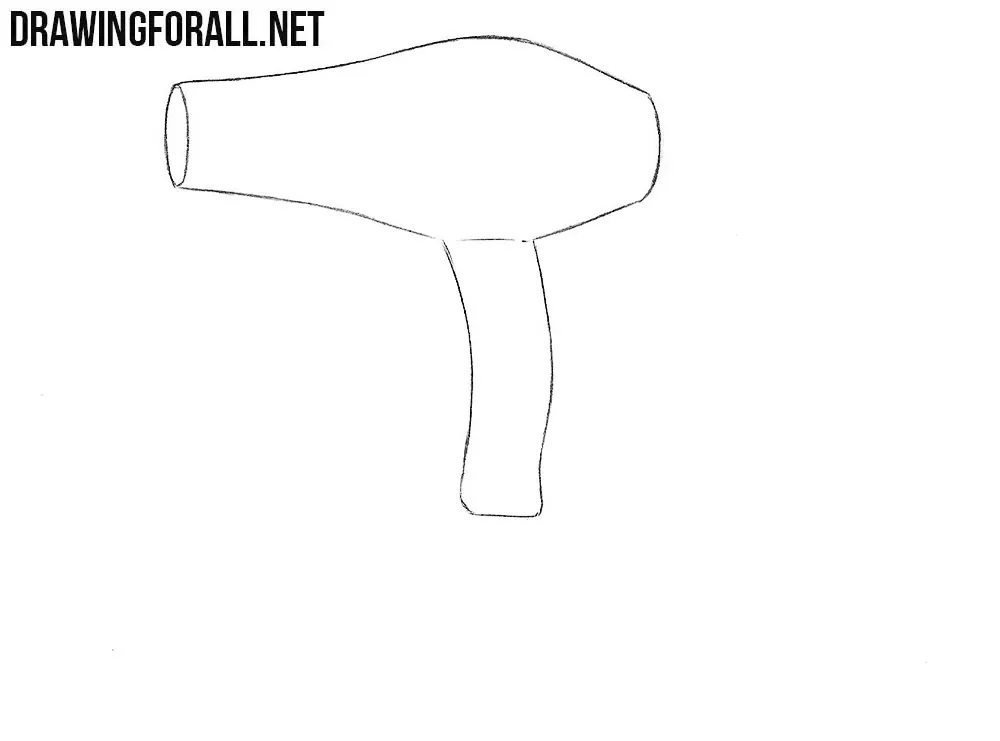
Now using a pair of curved lines draw out the contours of the handle of the hair dryer.
Step 3
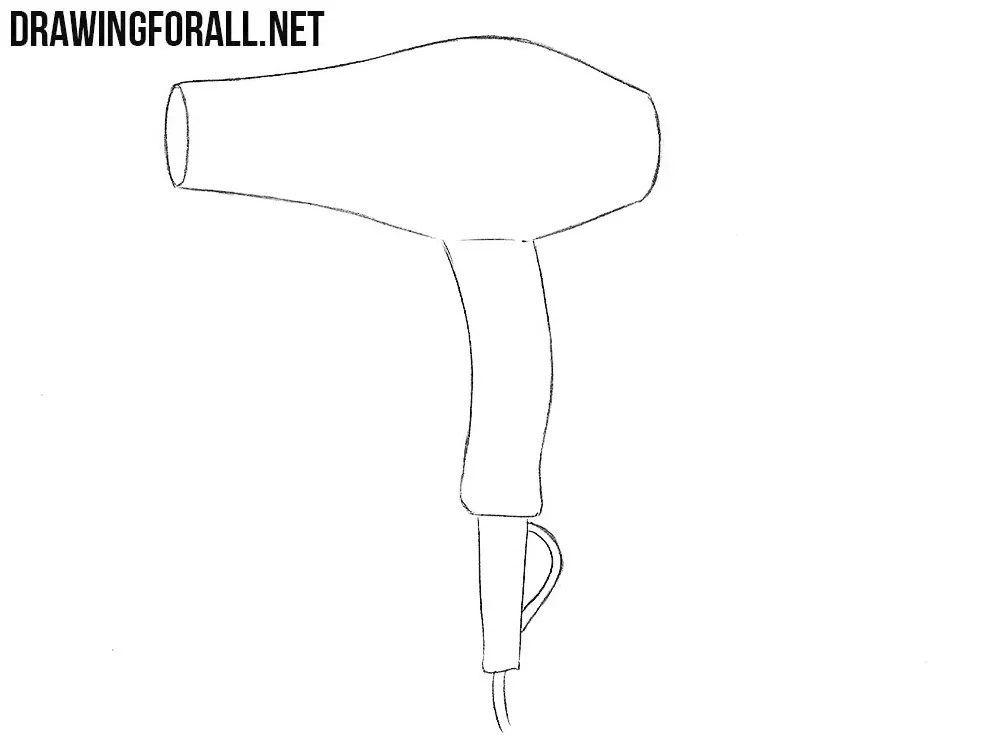
Here we draw the bottom of the handle and a part of the wire (you can draw the entire wire by the way).
Step 4
Draw a grille in front, control buttons and lines of design on the body of our hair dryer.
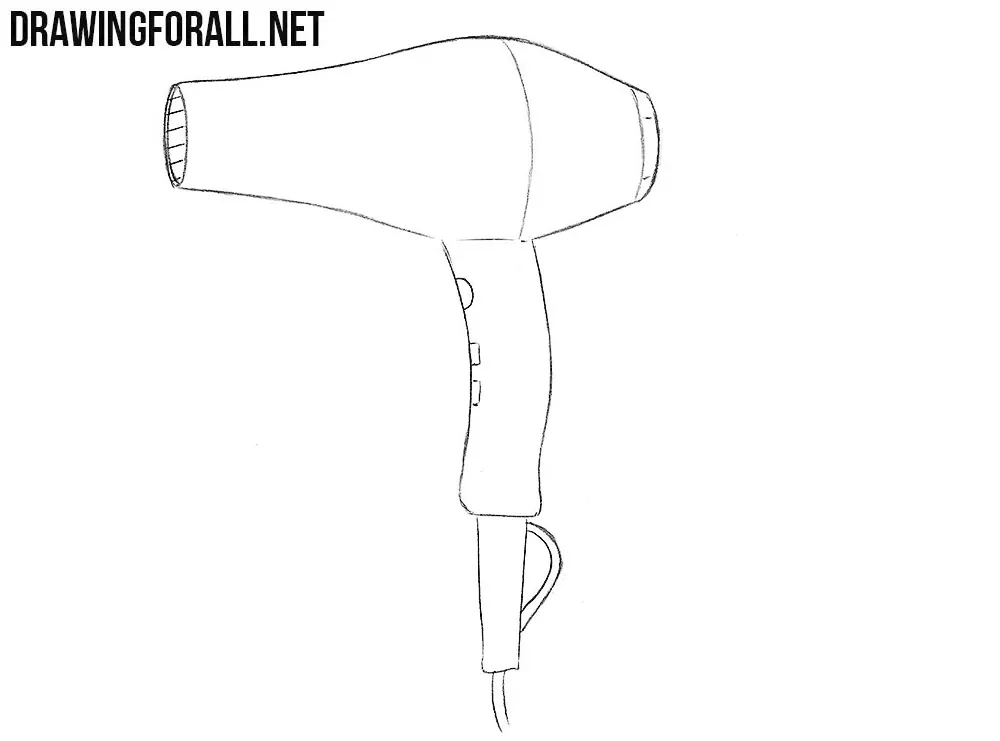
Step 5
Now we need to make our drawing more voluminous. To do this we will use hatching (as we always do).

Today we showed you how to draw a hair dryer. If you like this lesson, visit the category “Electronics” on our website.



here is the filaments i asked for filamets not a blow drier its self