How to Draw a Thermos
Hello everybody. On our site there is already a huge number of drawing lessons about different types of supplies for storing liquids. We have already drew a jug and a vase, in today’s lesson we will show you how to draw a thermos.
Step 1
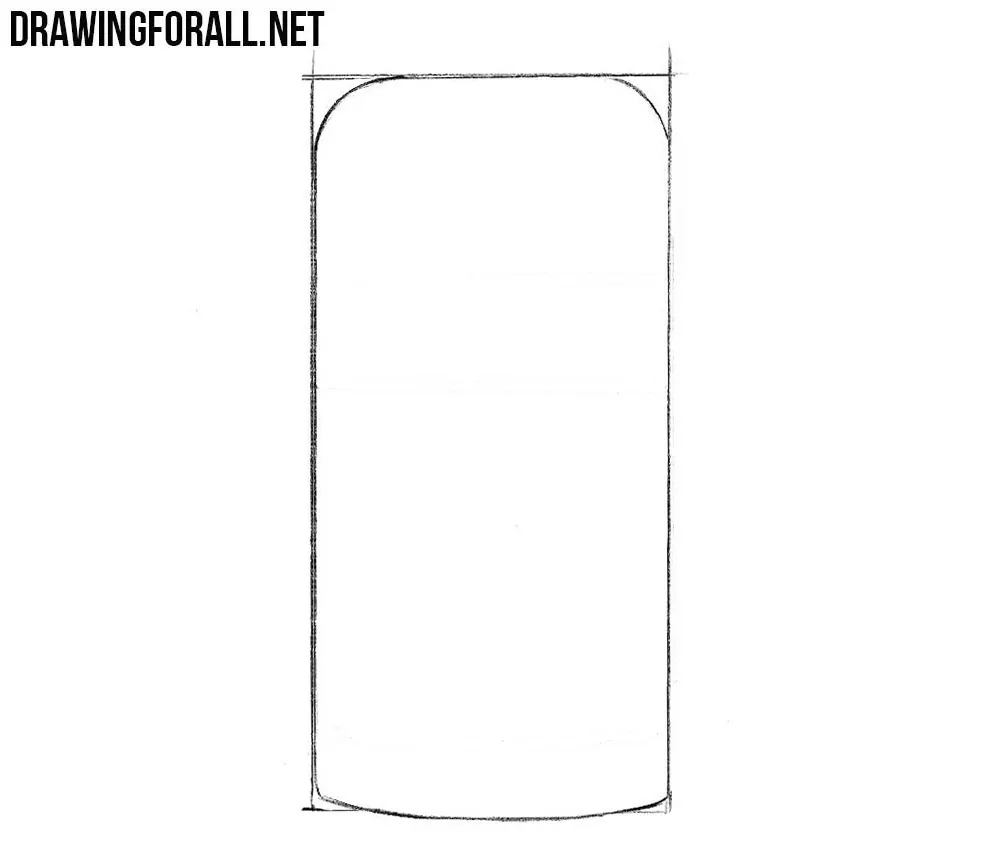
So, first of all sketch out a rectangle using clear and light lines. Note that in this step our thermos is similar to the first step of the lesson about a smartphone.

Step 2
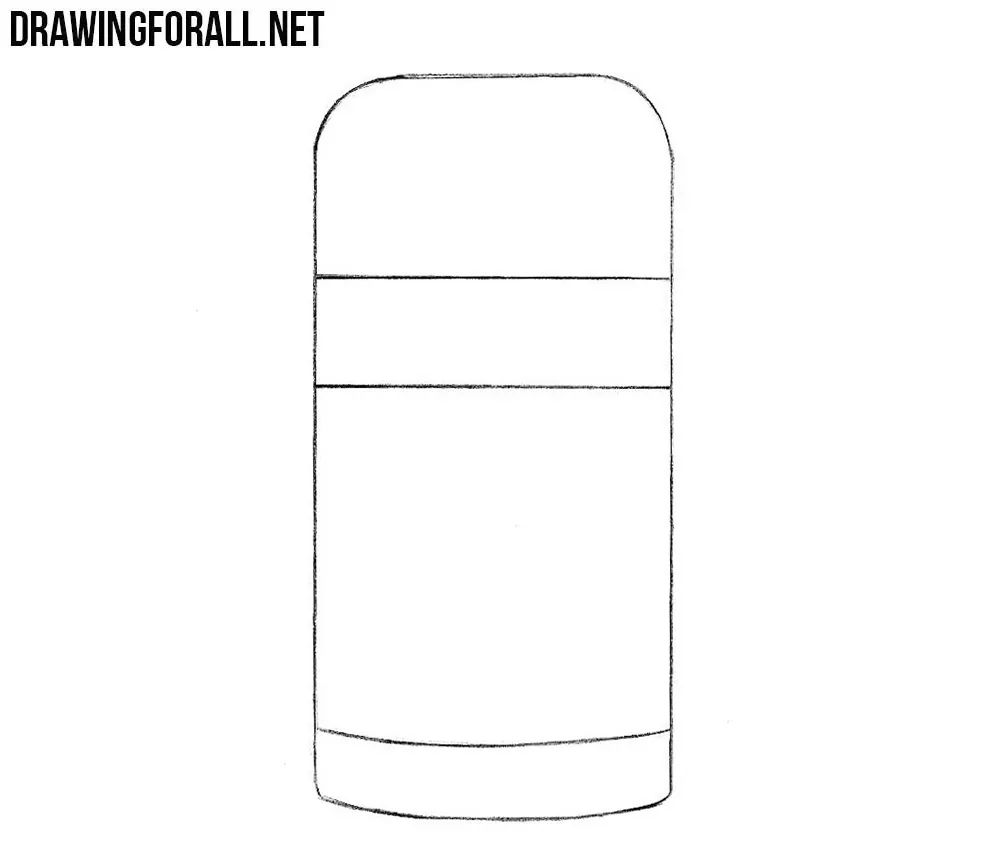
Round the upper corners of the rectangle. Make the bottom edge curved as in our example.
Step 3
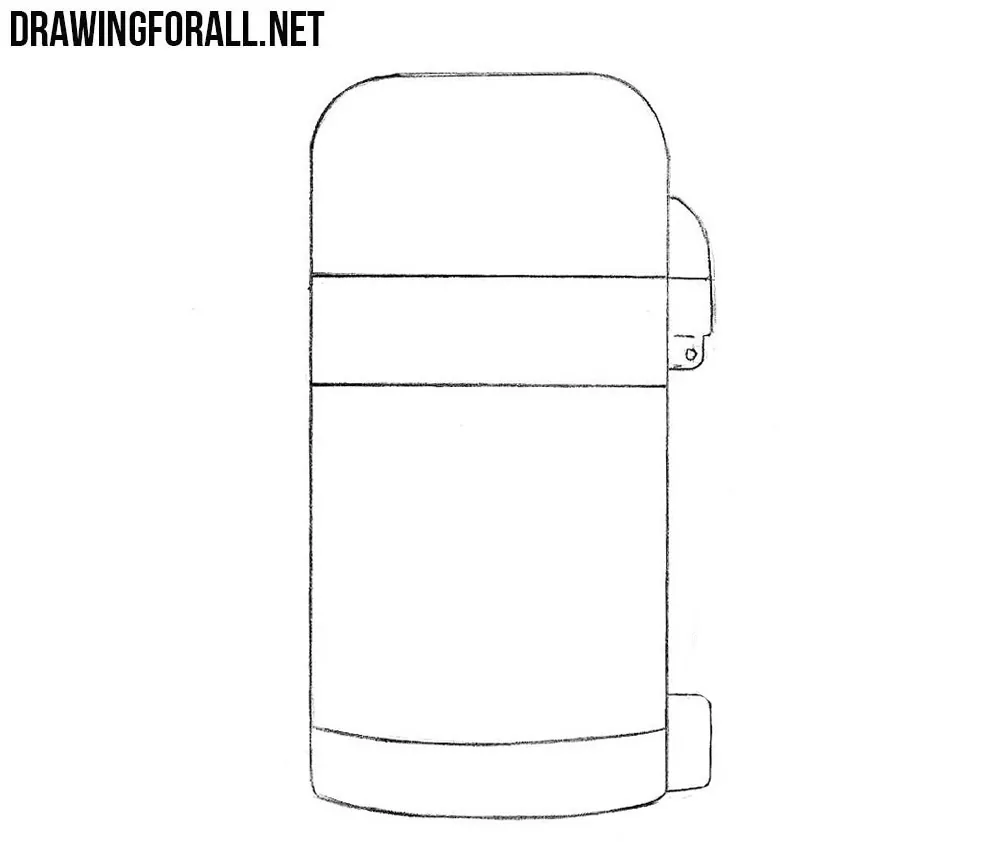
Erase all additional lines. Draw the transverse lines on the thermos body. Circle the drawing using dark and clear lines.
Step 4
On the right side of the body draw out the mounts for the handle. Note that thermoses can be without handles, and in general of any other form. We chose this particular form, because it is the most common.
Step 5
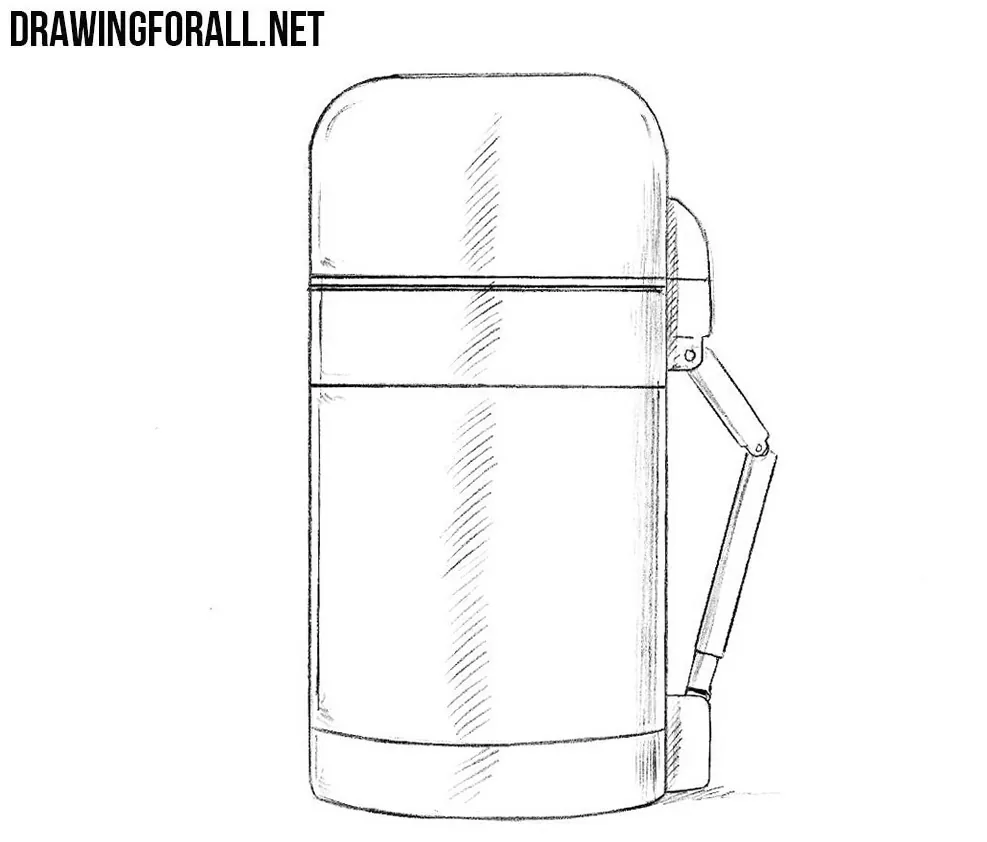
Draw out the handle and line separating the cover and the rest of the body. We have drawn a solid handle, but you can make it curved, for example made of rubber or soft plastic.

Step 6
Using hatching add some glare and shadows on the surface of the thermos body. That is we need to create the impression of a metal surface.
It was a lesson about how to draw a vacuum flask step by step. Tell your friends about us and subscribe to us in social media.