How to Draw a Phone Step by Step
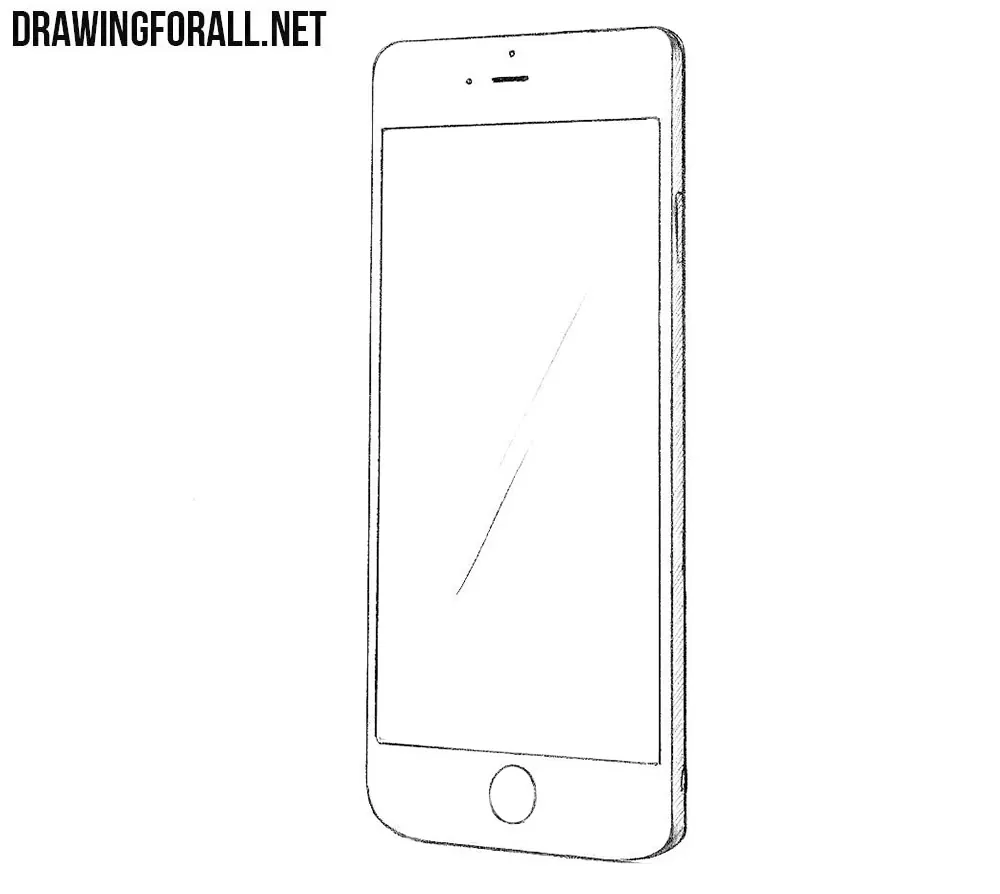
Hello, dear artists. If you often visit our site, then perhaps you know that our site is full of drawing lessons about various electronics. We already drew an iPhone, iPad and a landline phone. And today we want to show you another one lesson on how to draw a phone.
Step 1
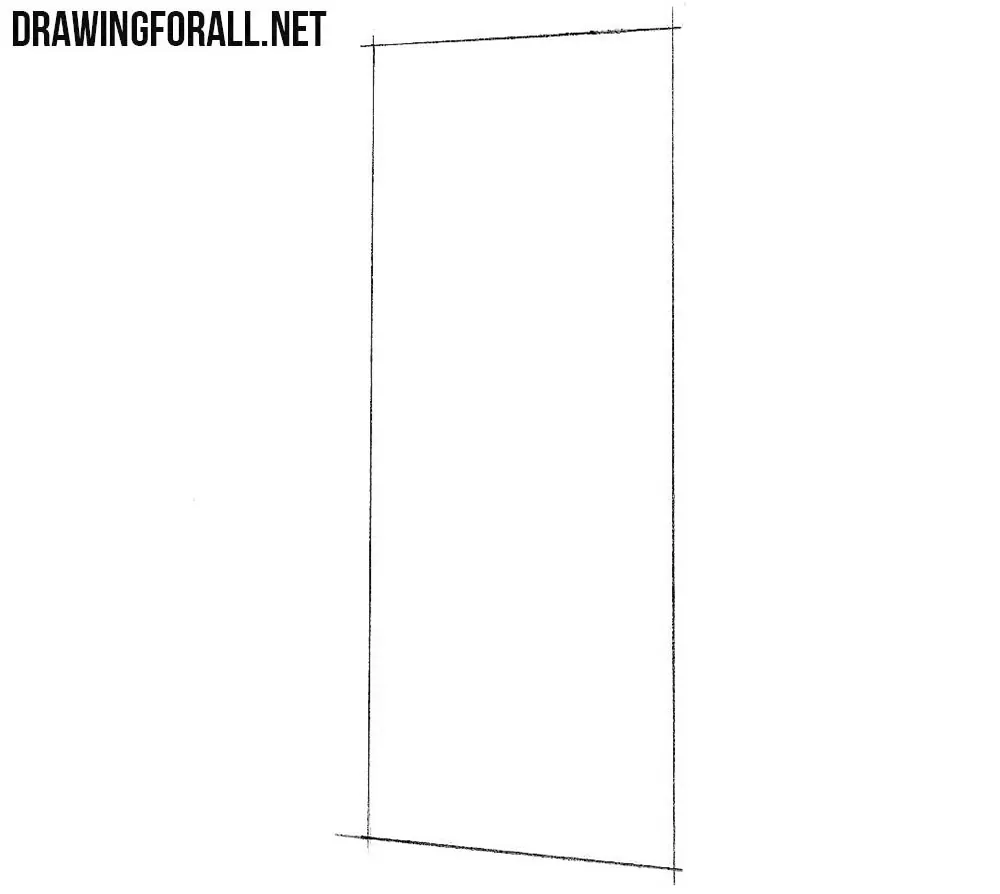
So, using clear and straight lines sketch out a high rectangle. This will be the main outlines of the body of our phone.
Step 2
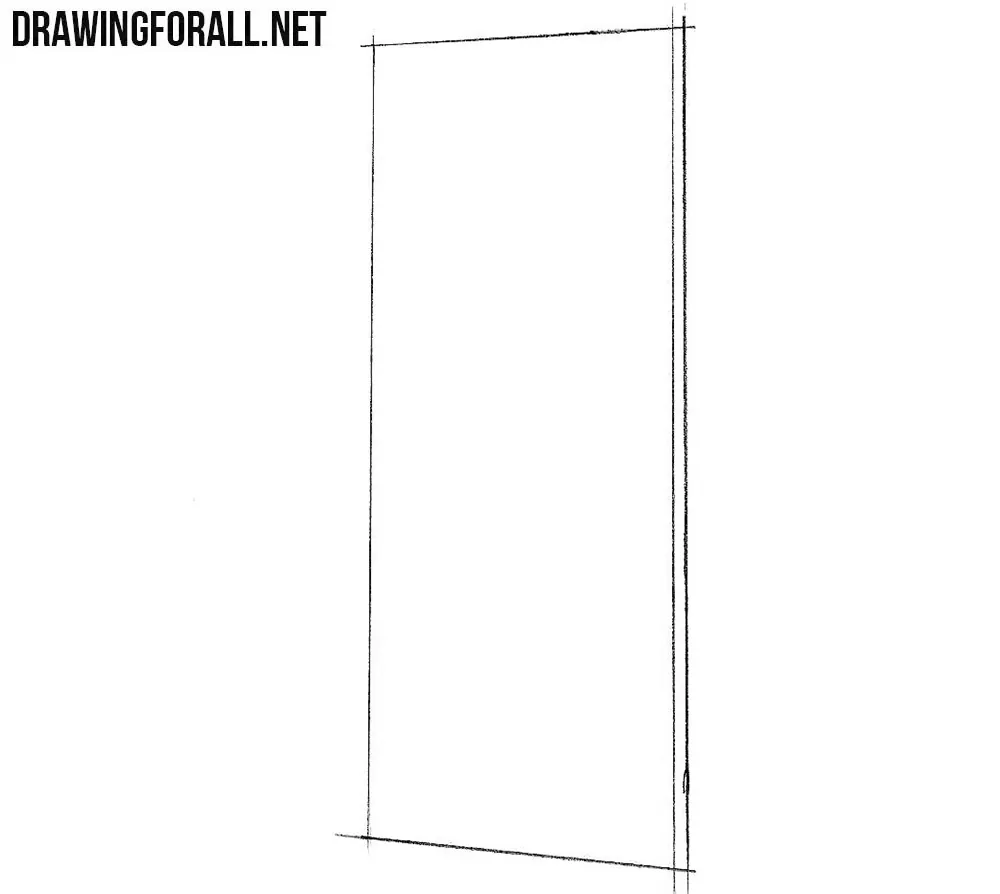
A very simple step in which, using one long and two short lines, we will outline the side panel of our smartphone.
Step 3
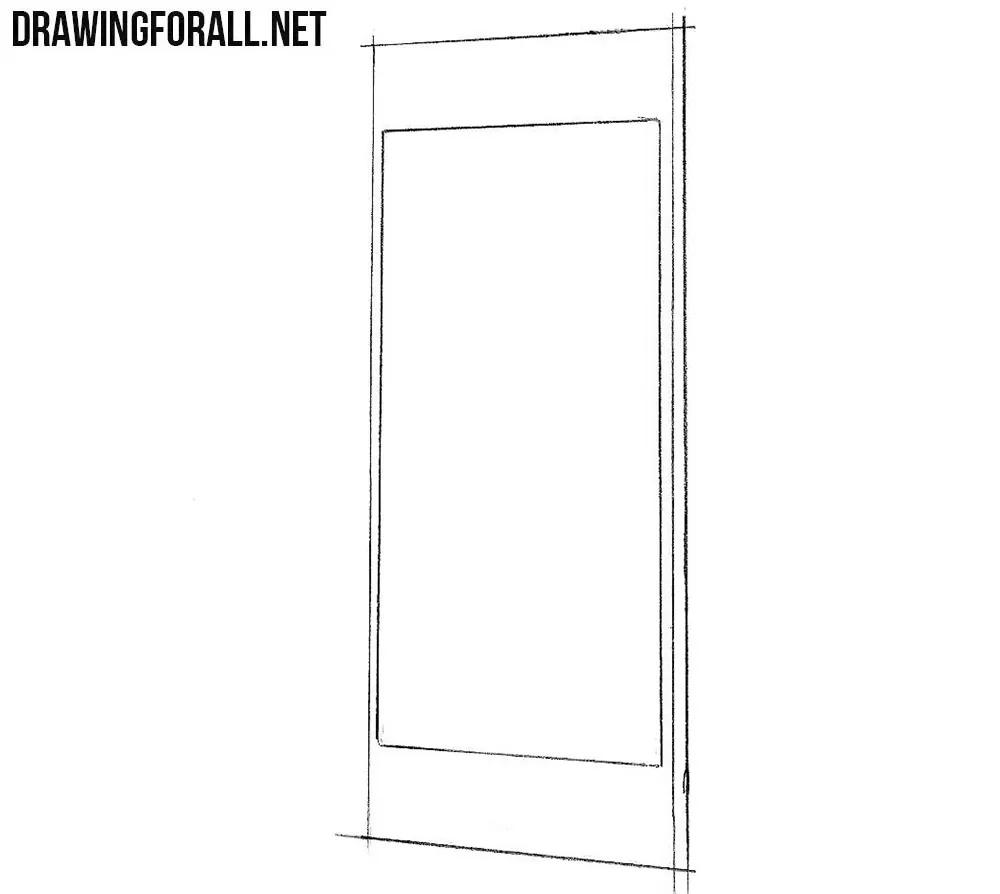
Here we sketch out the screen of our smartphone. We draw a classic smartphone, but you can draw a smartphone without frames.
Step 4
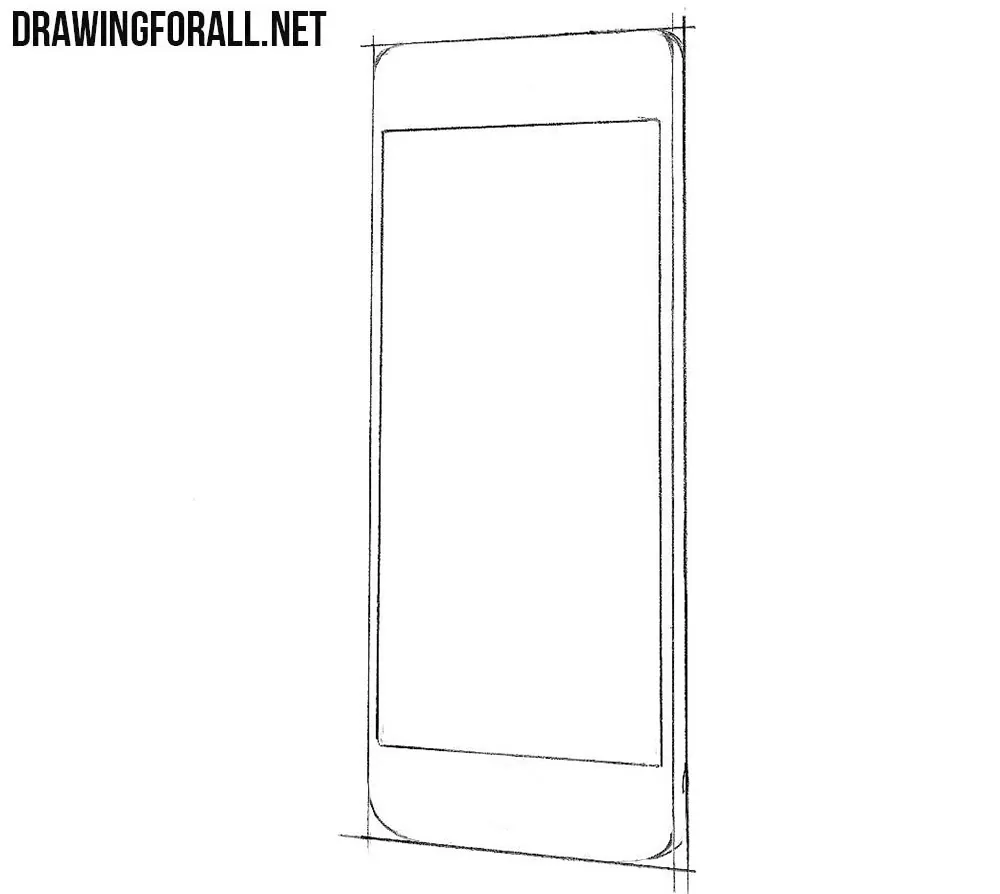
Smartphones are of different shapes, but most often they have rounded edges. So make the edges round like in our example.
Step 5
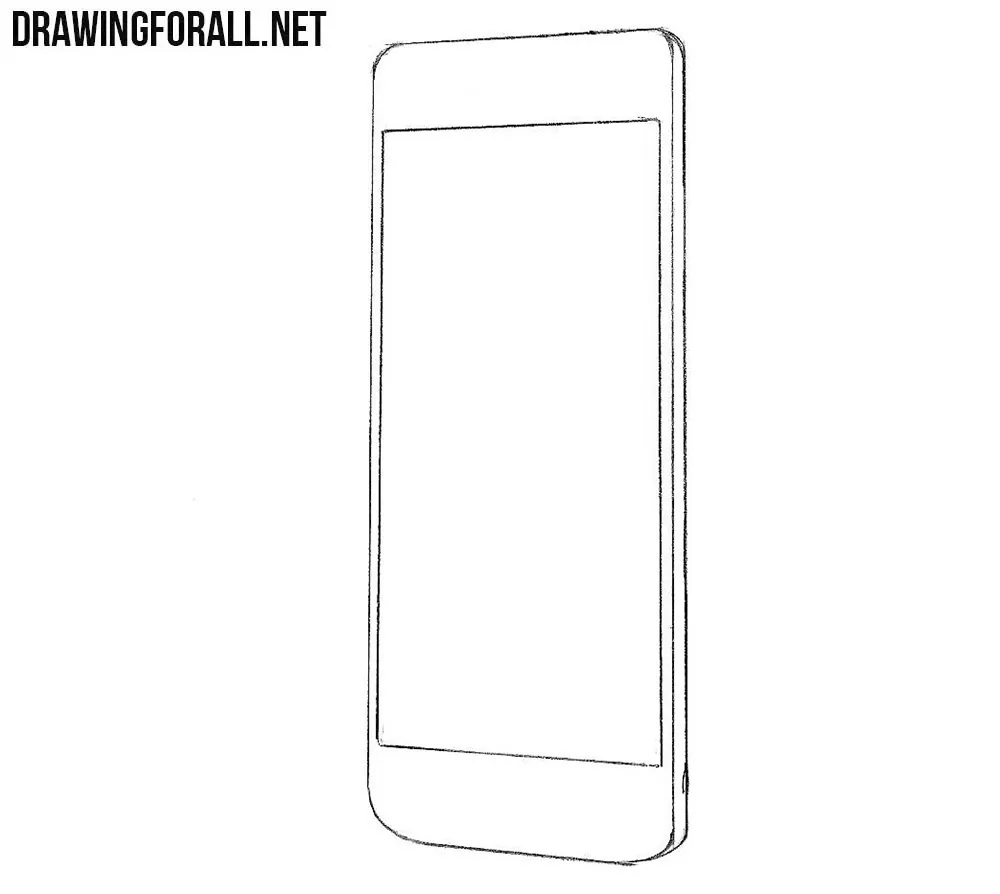
We continue the lesson about how to draw a phone. Just take the eraser and delete all unnecessary lines from the body of our smartphone.
Step 6
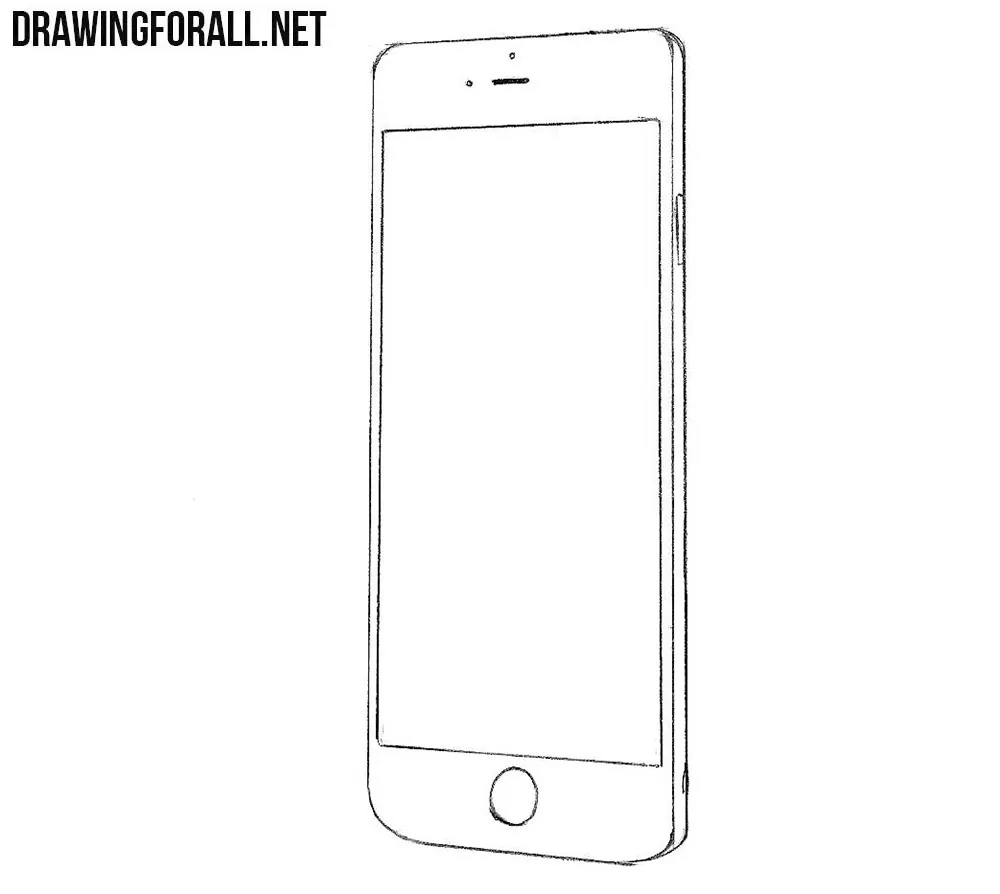
Let’s add some details to the body of our smartphone. In the upper part of the skreen draw a speaker, a camera and a sensor. At the lower part draw a home button. On the side of the phone draw a sleep/wake button.
Step 7
It remains only to add shadows. It will make our phone drawing more realistic and voluminous.

So, another drawing lesson about how to draw a phone came to an end. We would be very happy if you find us on the pages of social networks, there we have a lot of interesting things.




I tried this and it worked pretty well, there was more straight lines in this one (that I can’t draw right right right rightfully) but the result was actually a little better than my previous drawing with the other tutorial in how to draw a smartphone.
Not too fat, not too large nor too long!
Nice.
eeee
Too Difficult for me to do
I am horrible at drawing, and I tried this one and it worked pretty well! It doesn’t look perfect but it does look like a phone!
I am ok with drawing just need to do it more