How to Draw a Squirrel
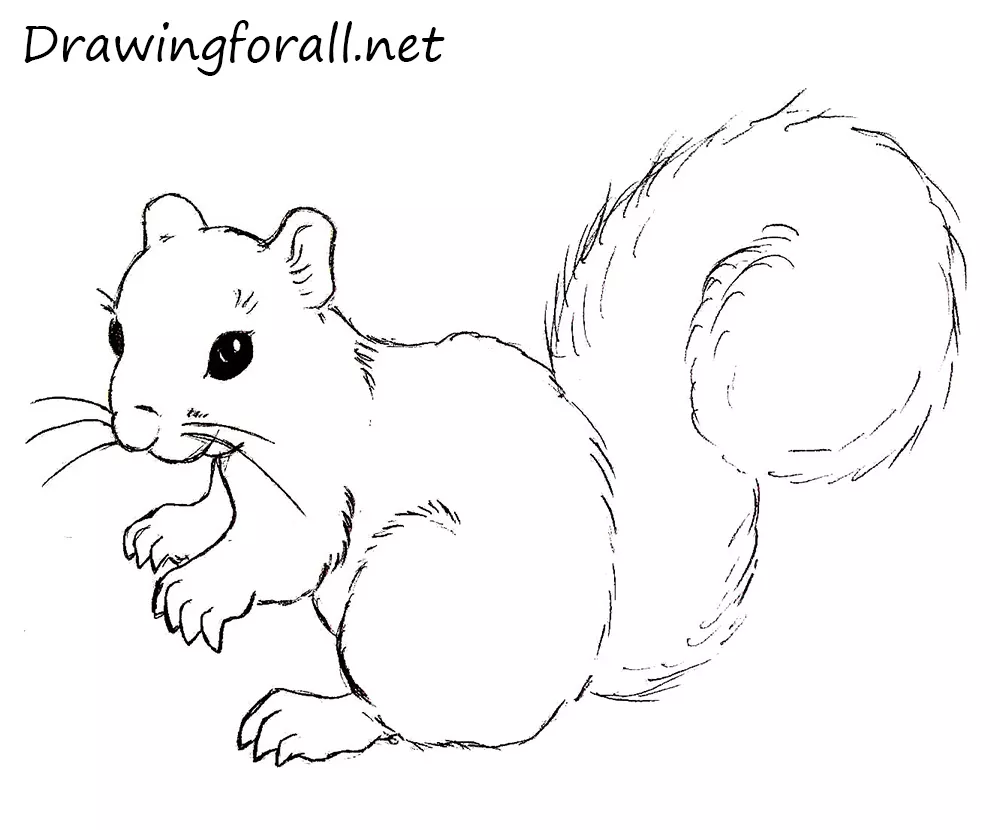
Hello! Today we’ll show you how to draw a squirrel. This drawing lesson is very simple, but despite this, it looks quite realistic. The most important thing here – do not mix up proportions in the first two steps. So let’s start the lesson and learn how to draw a squirrel!
Step 1
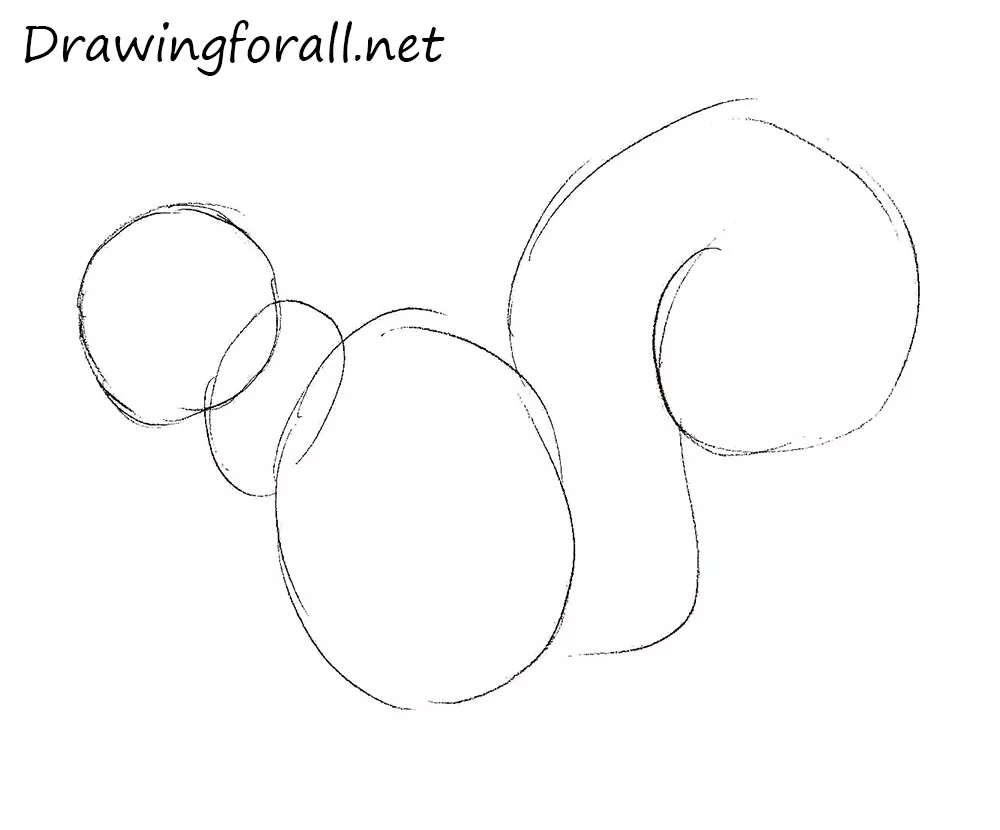
Begin with the head, body and tail of the squirrel – in this step we need to sketch out these parts of body, using very light lines. Notice that the drawing at this stage is very similar to a snowman. Also sketch out the contours of the hip.
Step 2
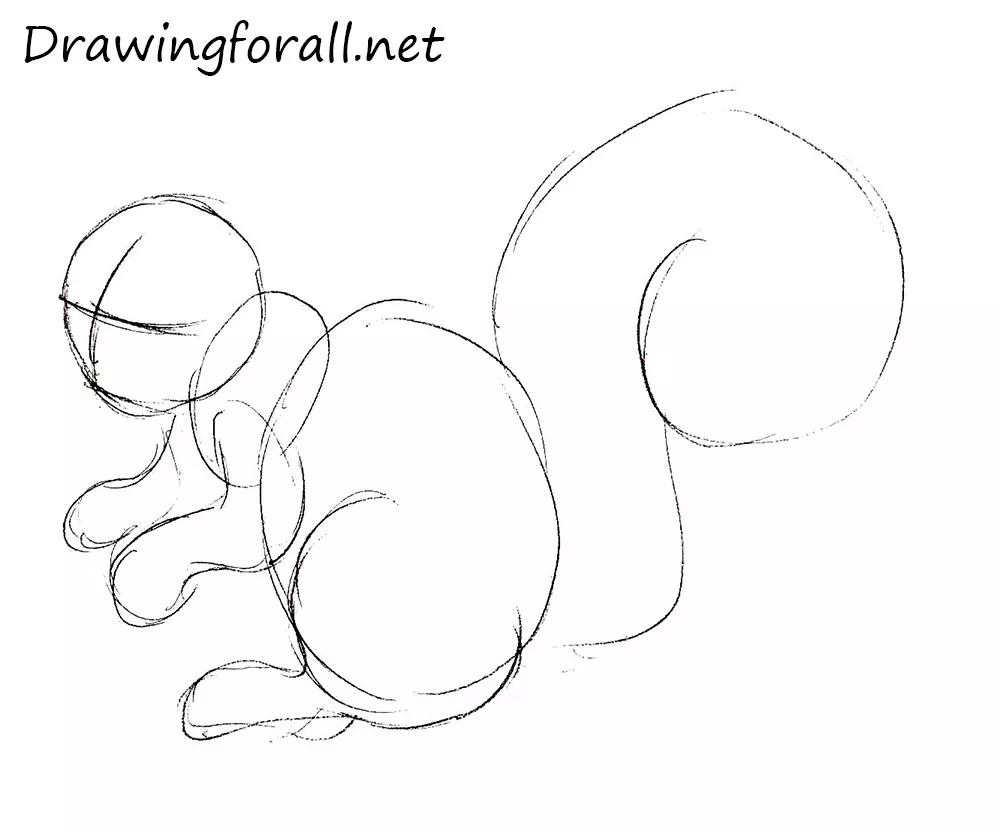
Using smooth, rounded lines outline the paws. the same step, mark up the head using two lines – horizontal and vertical. Horizontal will denote the position of the eyes, and the vertical – facial symmetry.
Step 3
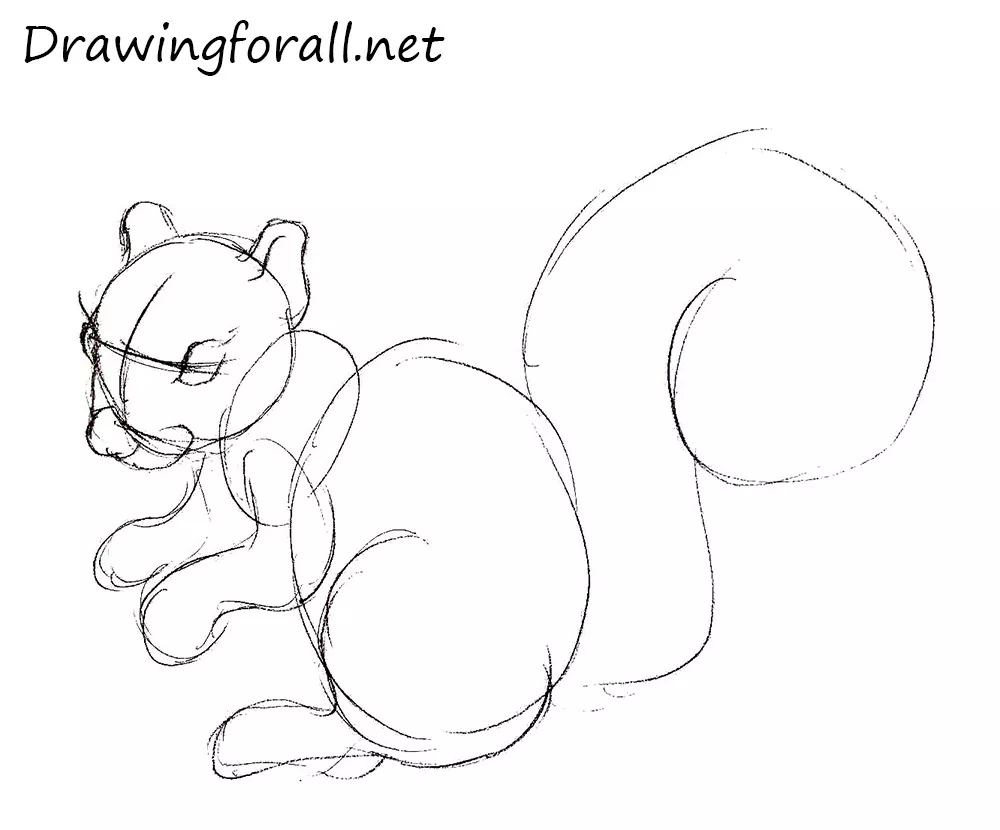
Using the marked lines from the previous step we draw the eyes, ears, nose and mouth of the squirrel.
Step 4
Silhouette of the squirrel is ready, proceed to details. Add details from the top downward (as in all other lessons, for example the lesson how to draw a girl). Erase the guidelines from the face and darken the lines. Paint the eyes leaving glares.
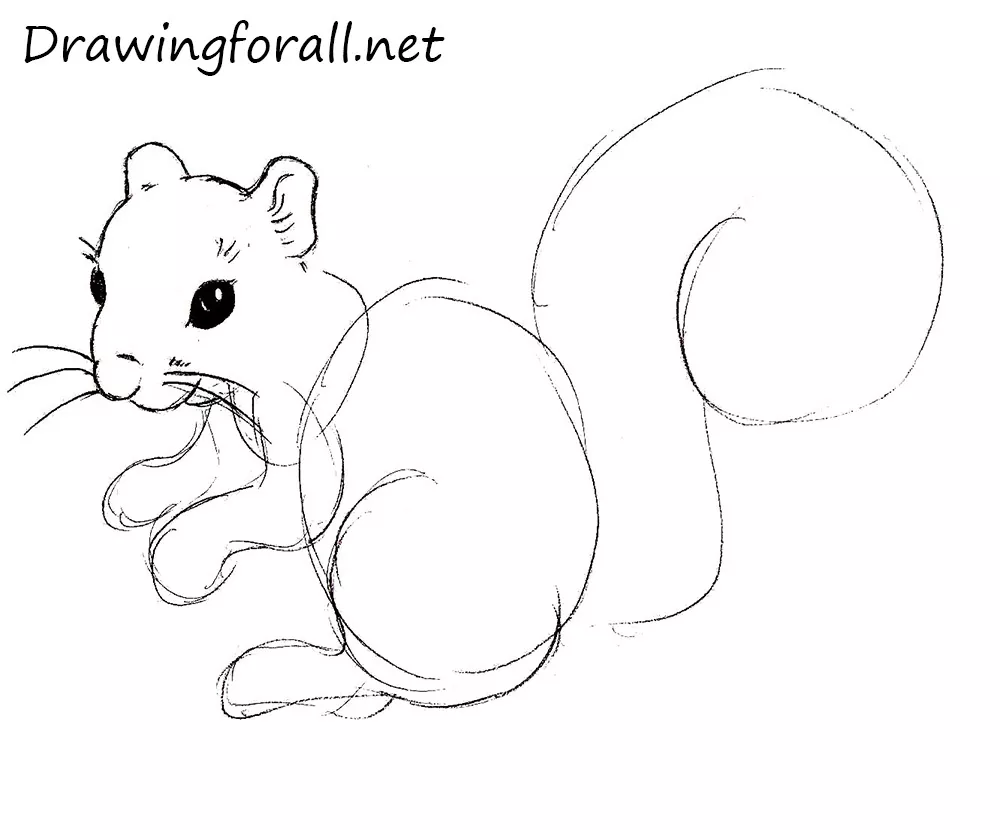
Step 5
Let’s add details to the arms of the squirrel. Erase the guides, circle the arms and draw the sharp claws. Using hatching add fur texture.
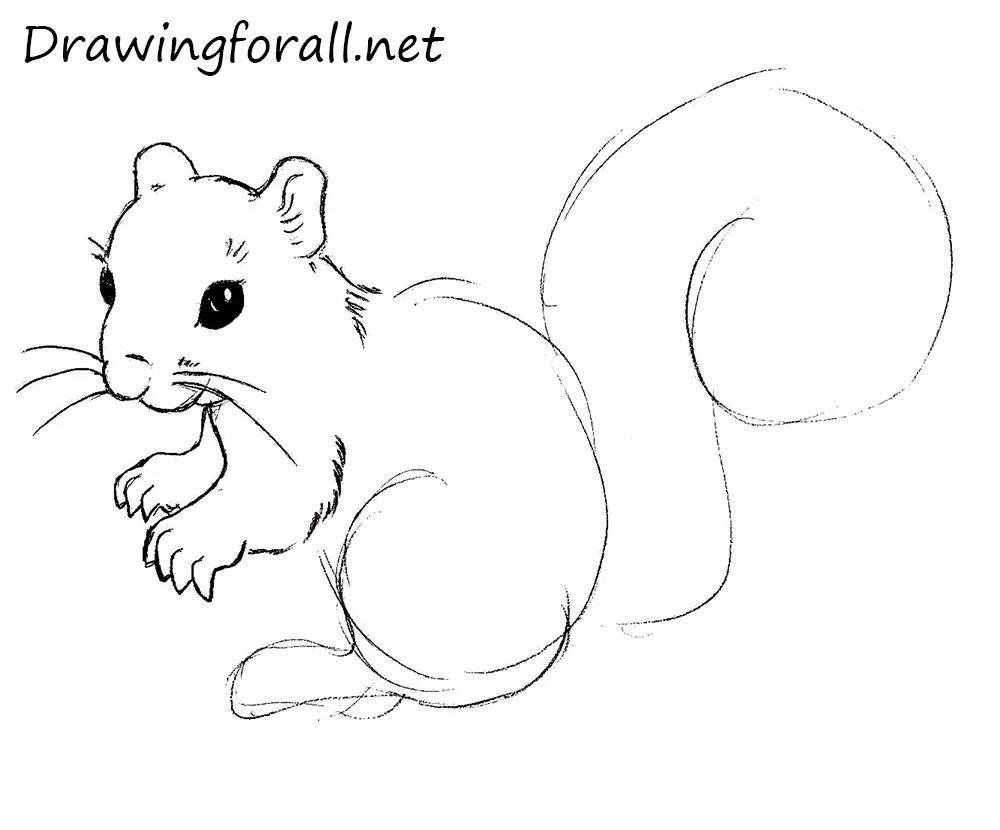
Step 6
Circle the lower torso and legs of the squirrel erasing the guidelines. And as in the previous step use short hatching to draw the texture of fur.
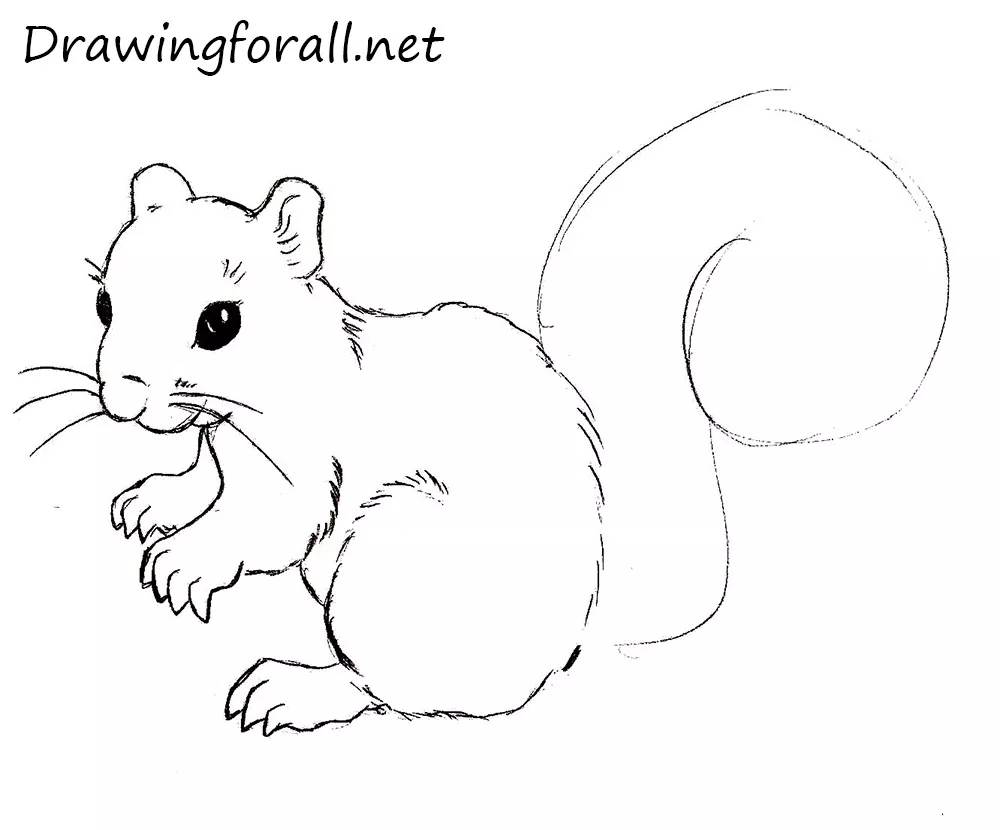
Step 7
Now the tail, which, in contrast to the previous steps of the body, is composed entirely of hatching. But since the hair on tail is longer, so the hatching lines should be longer than in the previous steps.
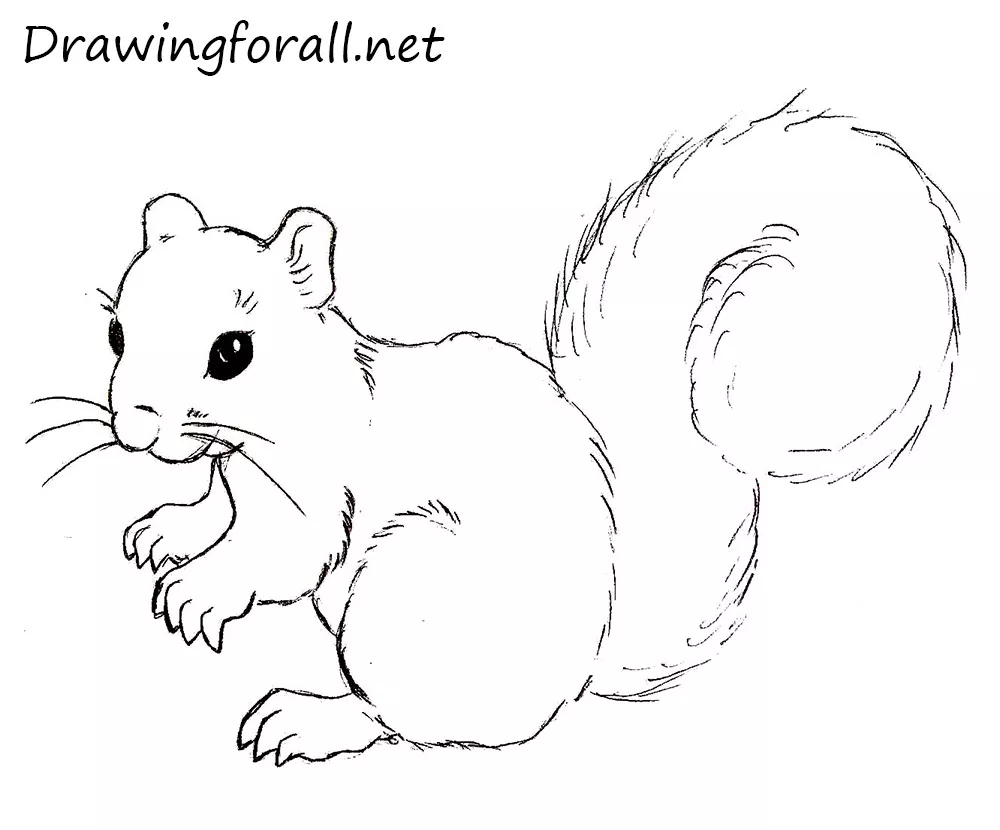
It was a drawing lesson, which we told you about how to draw a squirrel. Lesson prepared for you by drawingforall.net. Visit our Facebook and Google Plus, share this lesson with your friends!



I think The steps are really easy
why arent there pictures?
Sorry, The pictures were not loading. So sorry!😬