How to Draw a Policeman
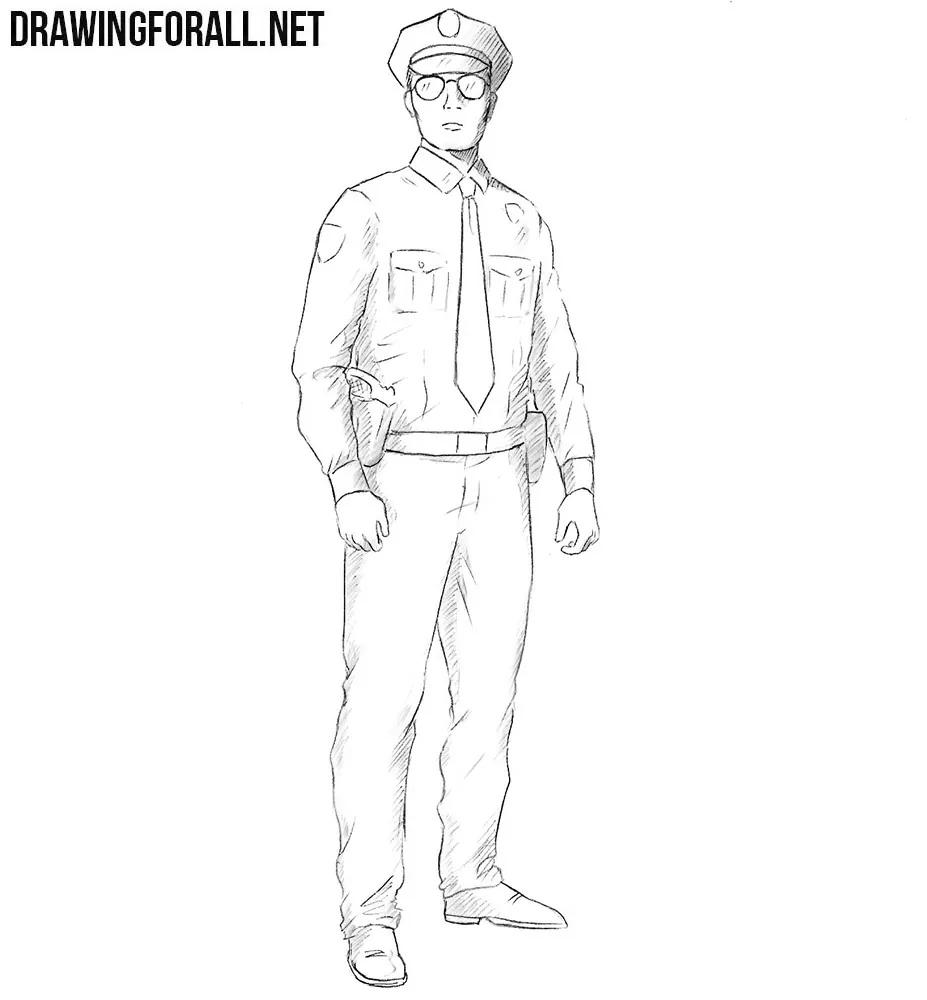
The most complex and extensive category on our site is a category called “People”, where we mainly publish drawings about the representatives of different professions. We already drew a doctor, football player and many others, and today we want to show how to draw a policeman.
Step 1
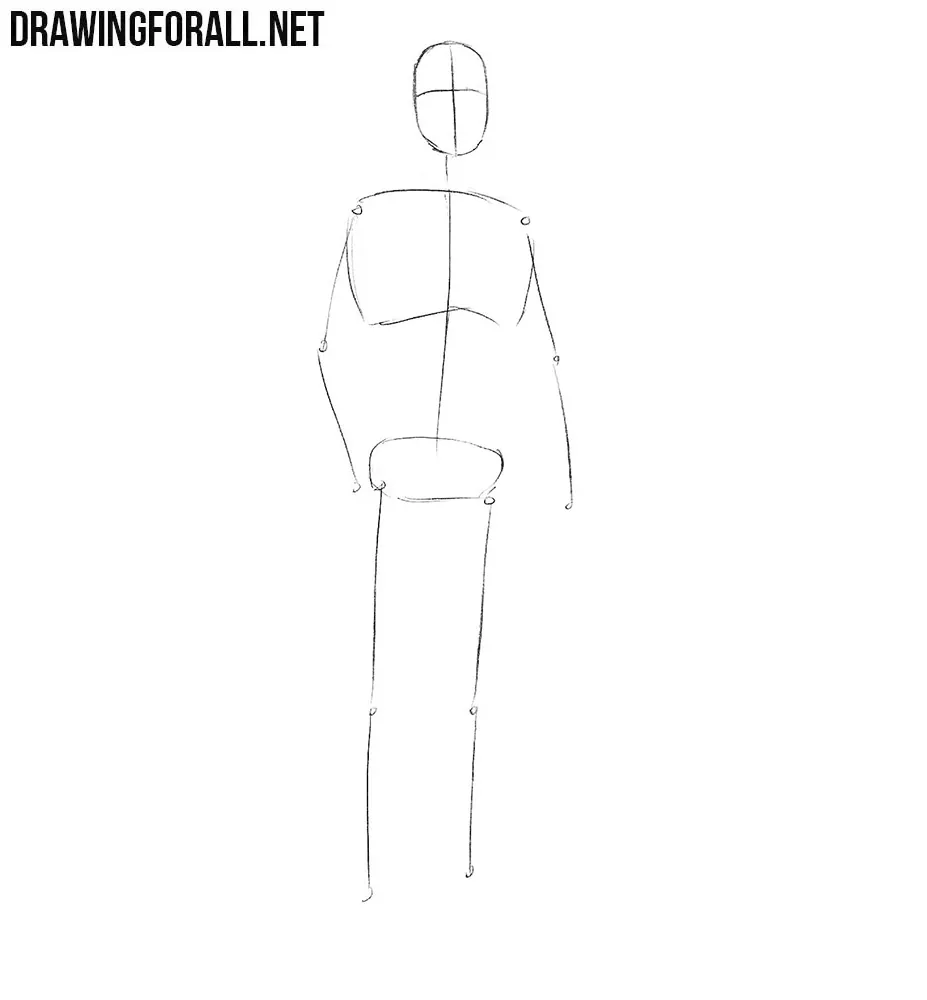
First of all, sketch out the outlines of the oval head and neck line, which passes into the spine. Next, we draw a chest and a pelvis. With the help of simple lines, sketch out the arms and legs. To learn more about the proportions of a human body, visit the lesson on how to draw a man for beginners. Sketch out two lines on the head and move to the next step.
Step 2
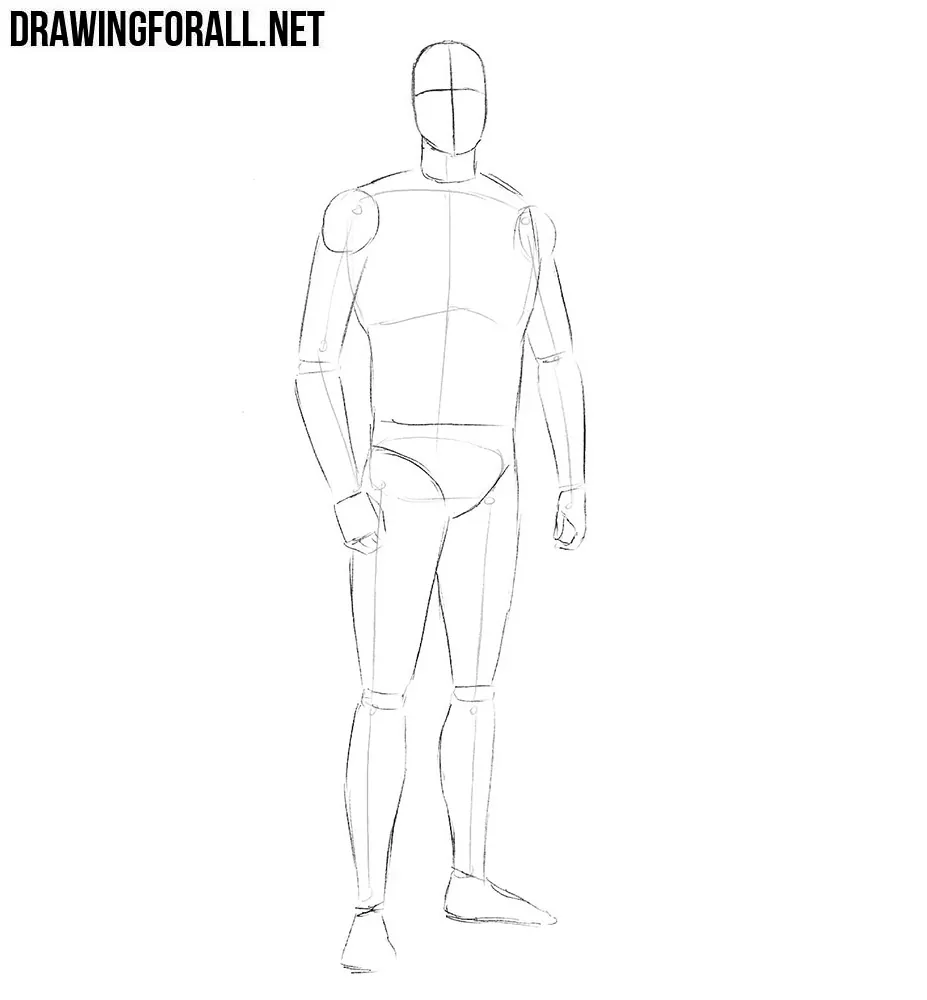
Sketch out the shape of the neck and torso, which slightly narrows at the waist. Outline a triangular pelvis as shown in our example. Next, sketch out the arms and legs with very simple geometric figures. This stage is also described in great detail in the lesson about how to draw a man. Recall that in the first steps we should use very light lines.
Step 3
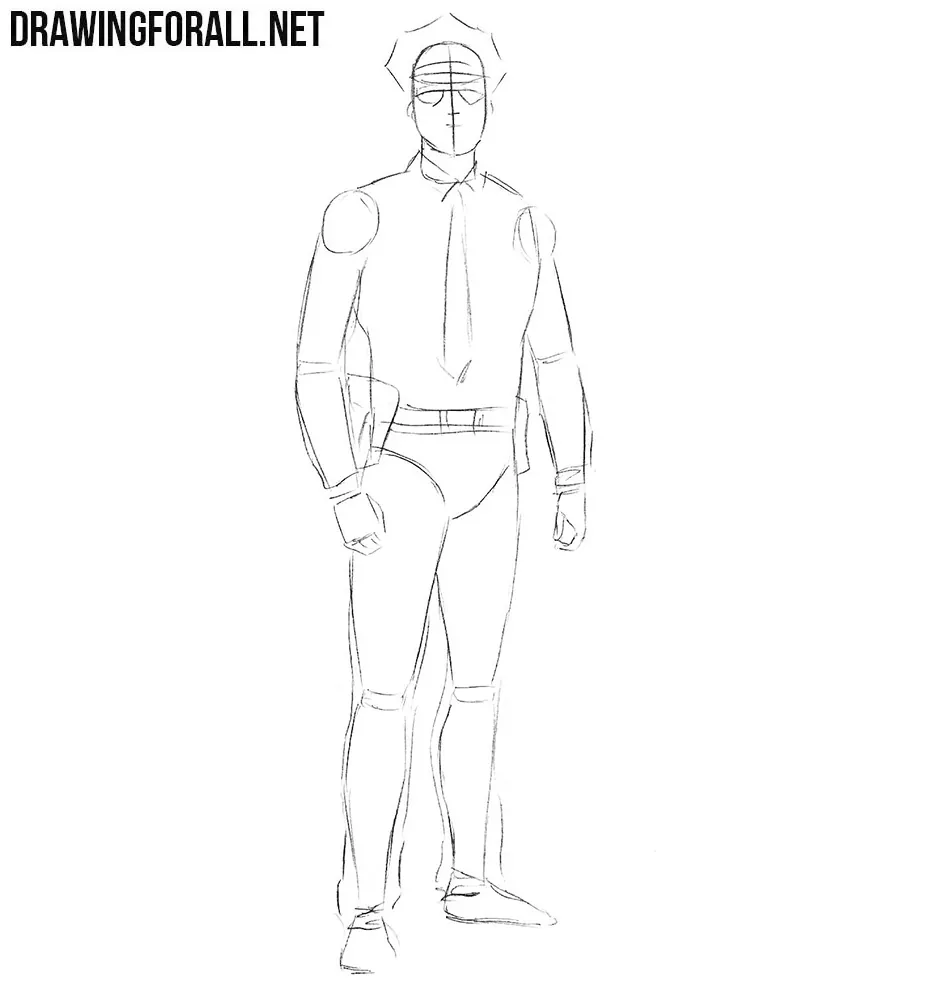
Let’s now add some details to our drawing of the policeman. Let’s start with the head, outlining glasses, nose and mouth. On the head also sketch out a police hat and ears. Further we move lower and sketch out the outlines of the collar, tie, belt, pants and holster on the belt.
Step 4
If the “dummy” of your policeman is similar to ours, then let’s start drawing the final datails, gradually removing unnecessary guidelines. We will start with the head and we’ll move down. First carefully draw out the glasses, nose and mouth. Next, draw out the outlines of the face and angular police hat.
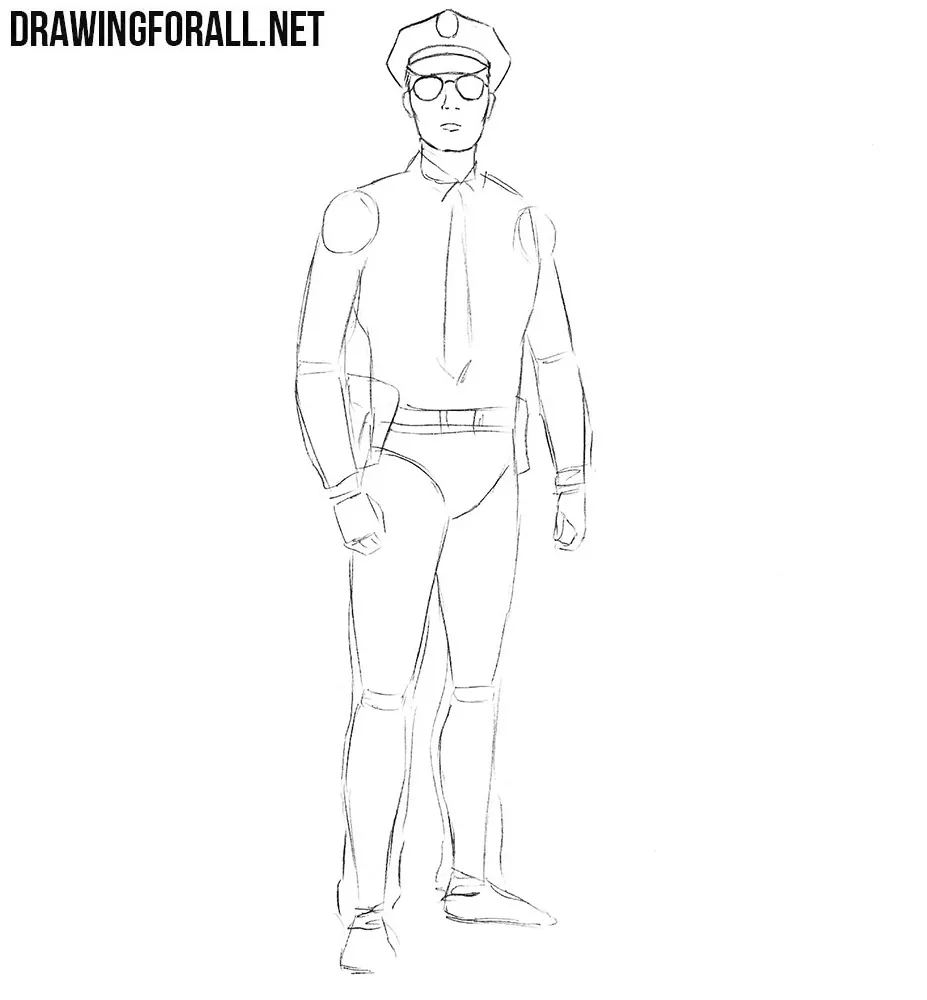
Step 5
With the help of a couple of short strokes we draw the outlines of the neck. Next, draw a collar and a long tie. Draw the outlines of the shoulders and torso, not forgetting to draw the folds of the fabric, as shown in our example. On the chest we draw pockets and on the belt a gun in the holster.
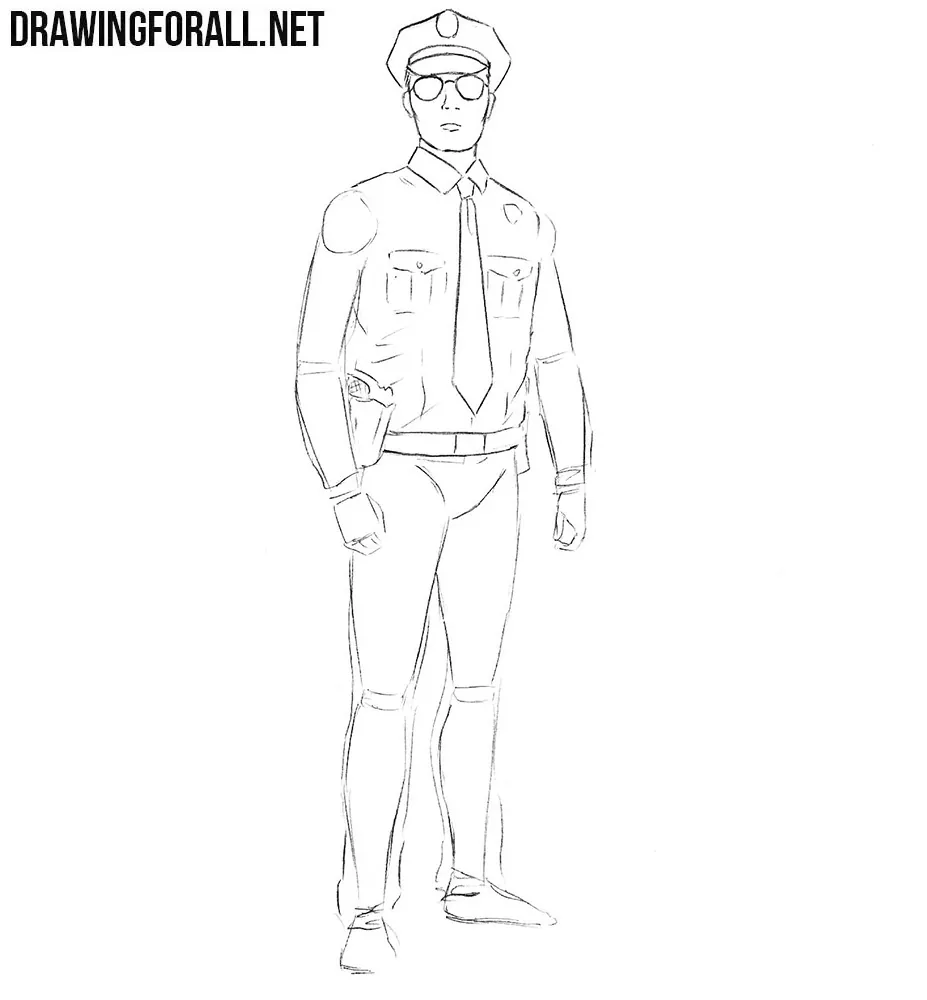
Step 6
Now let’s work with the limbs. Carefully draw out the contours of long sleeves, considering the folds of fabric and bends of arms under the sleeves. Draw the hands like in our example and a badge on the shoulder, not forgetting to remove unnecessary guidelines from the arms.
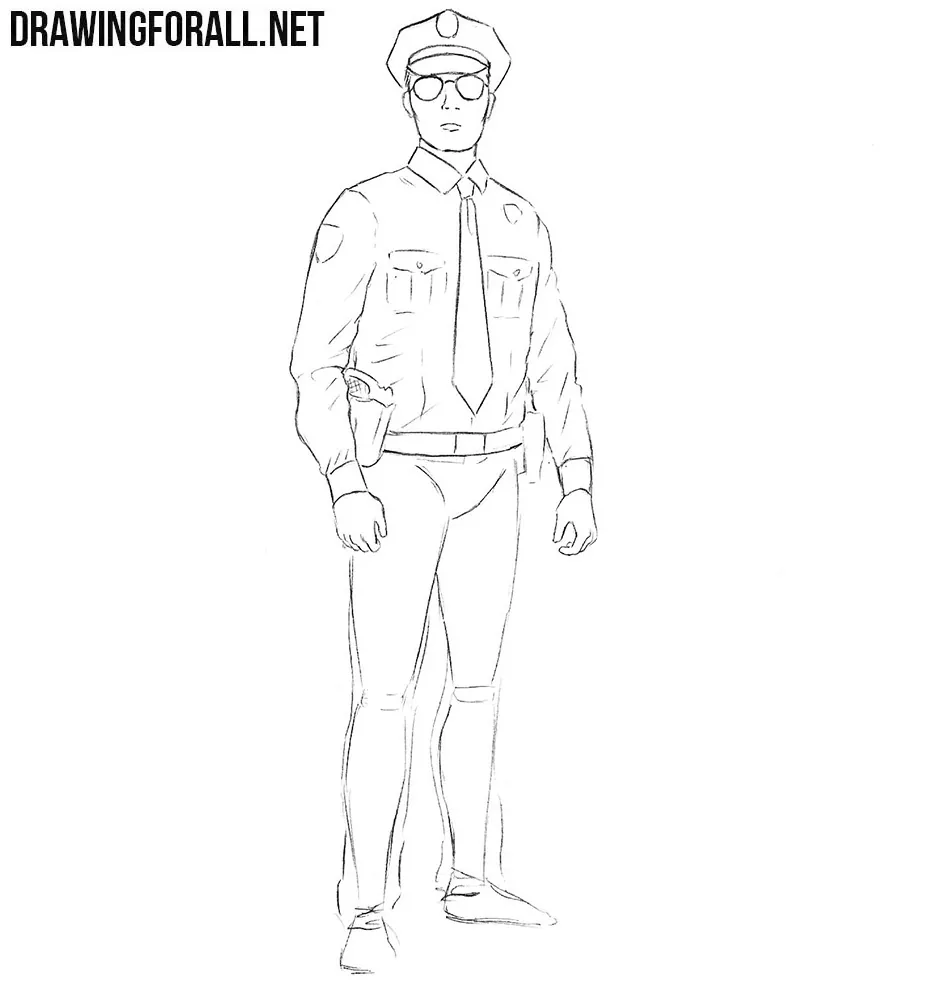
Step 7
If you drew the upper part of the body, then it’s time to draw the lower part too. In this step we will draw out the outlines of the pants, considering the folds of the fabric and the curves of the legs under the clothes. That is, the pants should not look like two flat boards. Draw the outlines of the shoes and remove all the remaining unnecessary guidelines from the policeman drawing.
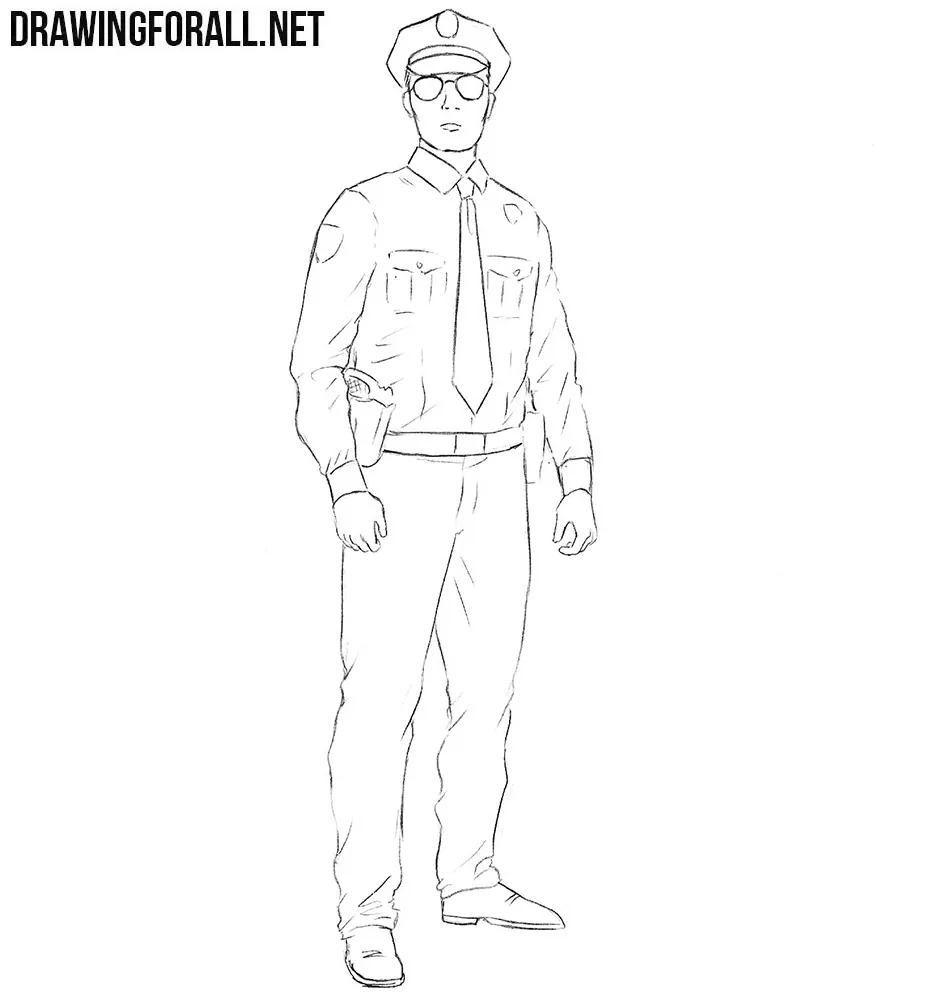
Step 8
The lesson about how to draw a policeman is almost complete, and we only need to add some shadows, making our drawing more realistic and voluminous. First we determine the light source, then we draw shadows in the least lit areas by hatching of different intensity. More dense hatching for darkest areas, and less intensive for less shaded areas.

If you liked this lesson and would like to learn how to draw representatives of other professions, then be sure to visit the category called “People” on our DrawingForAll.net. Также мы ждем вас в других категориях на нашем сайте и на страницах наших социальных сетей.



hay