How to Draw a Plug
If you want to learn how to draw, you should not only run with lessons on drawing characters from comics and video games. It should not be a problem for you to draw any object from the world around you. To practice drawing ordinary objects we created a drawing guide on how to draw a plug step by step.
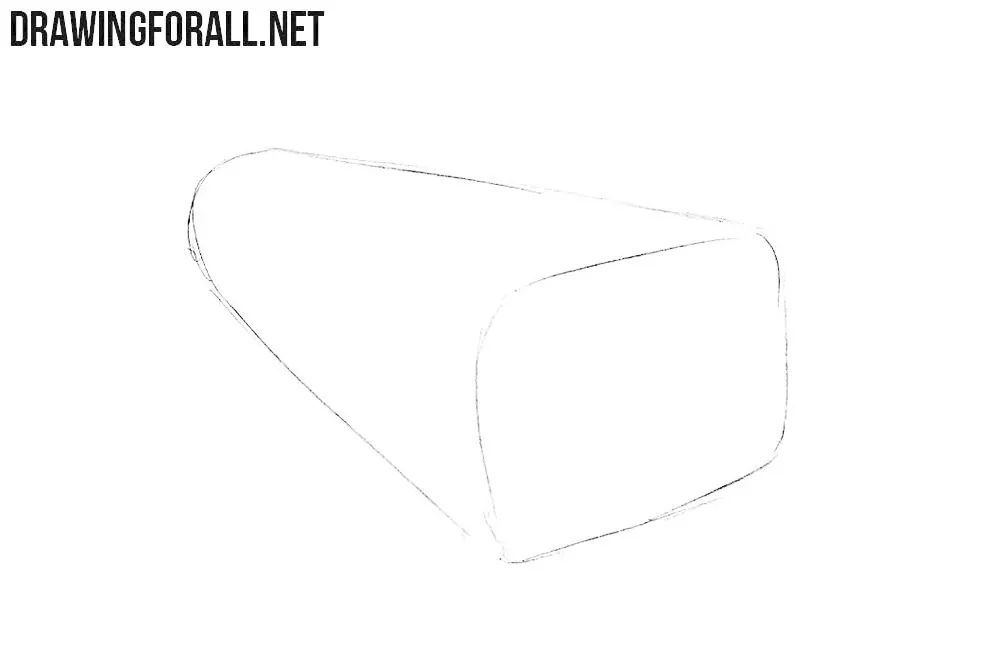
Step 1
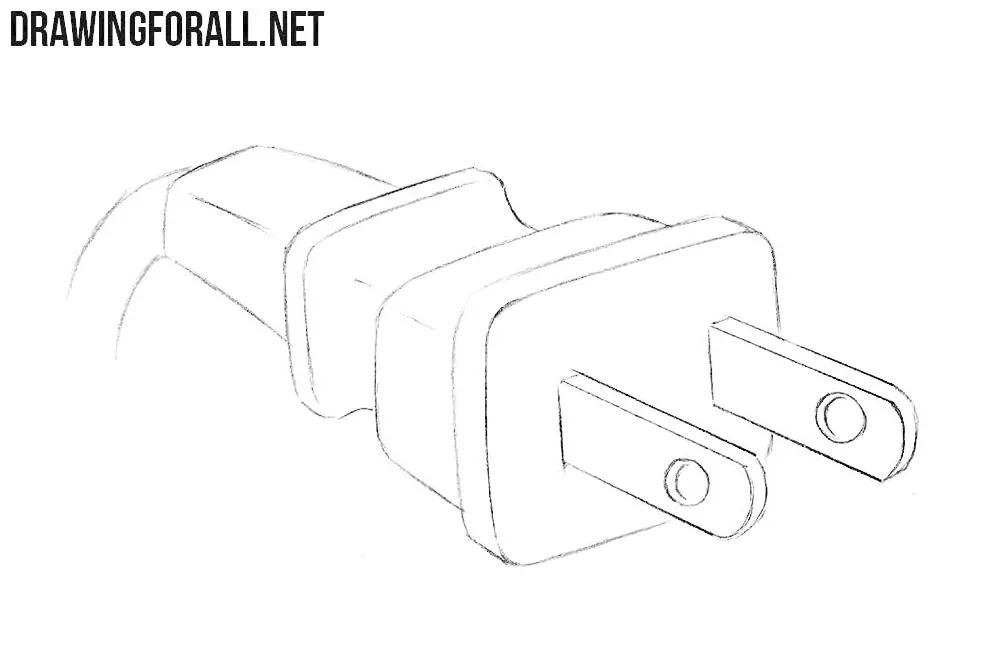
First, draw a figure that looks like an inverted cone. Do not try over perfectly flat lines in this step. However, basic symmetry should be present in this figure.
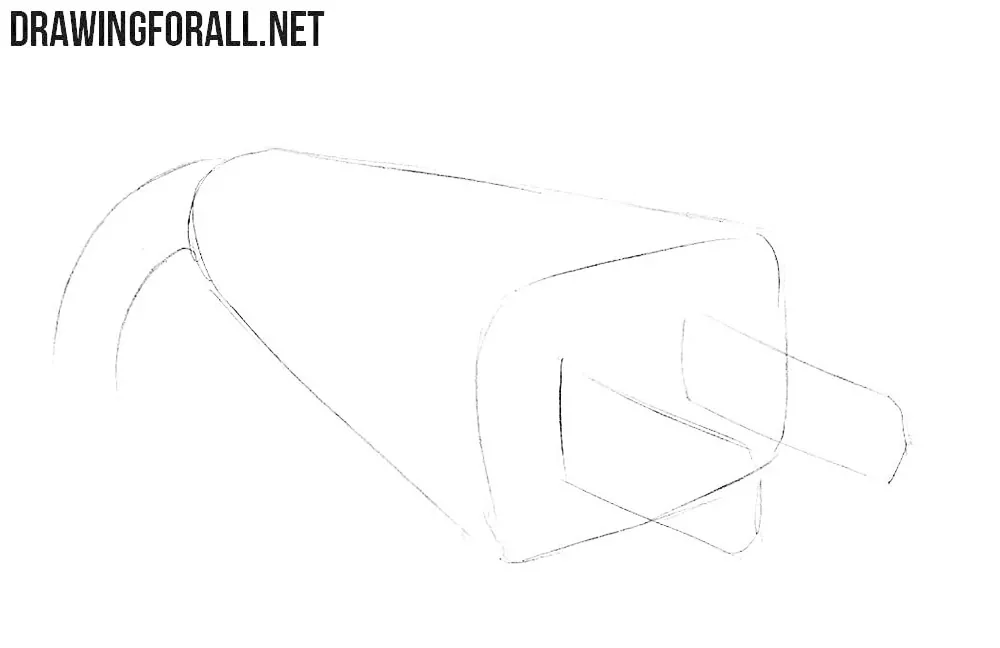
Step 2
Now let’s draw the contours of the wire and electrical contacts. Only smooth lines should be used in this step. If you want this you can draw round-shaped electrical contacts.
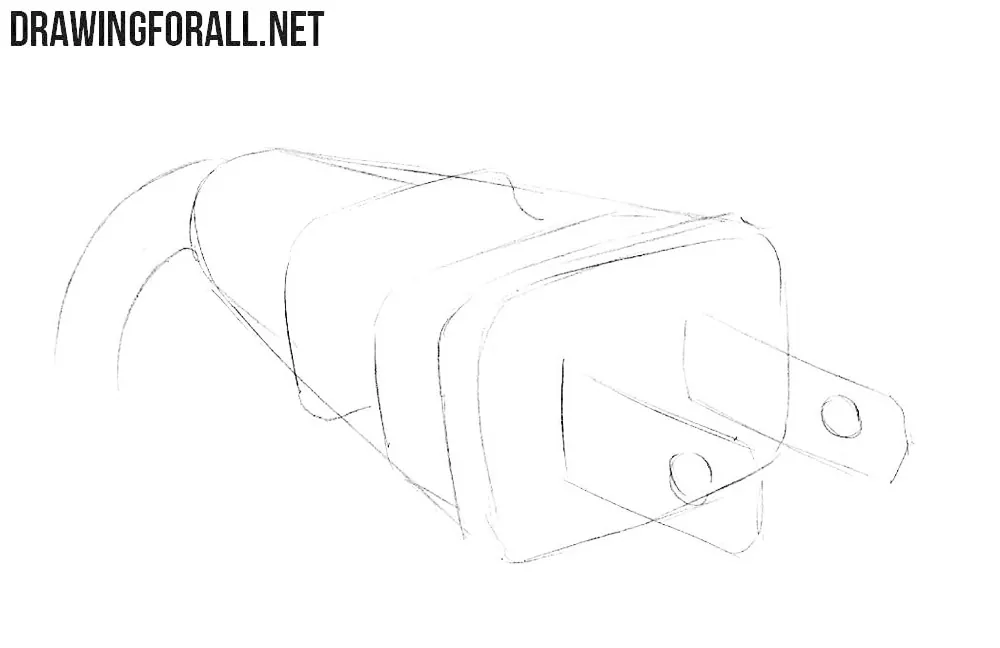
Step 3
You can see that our plug doesn’t look like a regular bar with two electrical contacts. Therefore, we need to draw the contours of a smooth bend and several edges that are located in front of the plug.
Step 4
We erase the extra lines from the plug and from the wire. Outline the entire drawing as straight lines as possible. At the end of this step, we draw the holes and the edges of the electrical contacts.
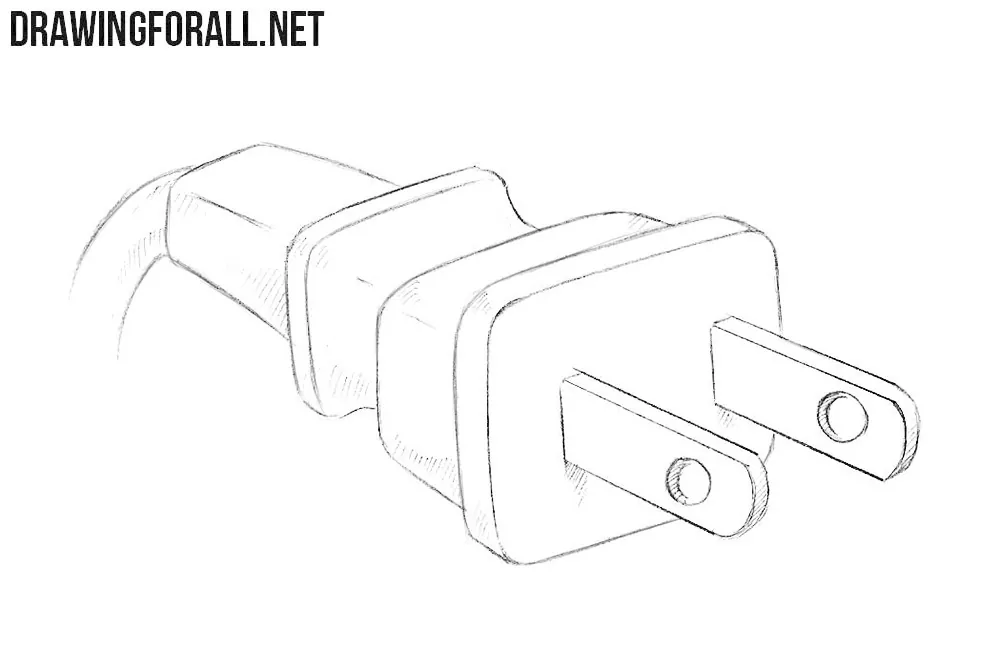
Step 5
This plug drawing is almost finished, and we just have to add a little volume to it, and make it not look flat. To do this, you need to draw the shadows using hatching in areas that are shaded in our drawing.

Was there a drawing guide on how to draw a plug very easy? Write to us in the comments and let us know what you want to see in new posts of Drawingforall.net. Also do not forget that only you can help us develop and create new drawing tutorials. Just share our drawing guides with those who want to be able to draw like a professional artist. Follow us on social networks and visit Drawingforall.net as often as possible, because we create new drawing lessons every day.


Some how easy but i could draw. It was maybe nice.
Move to a different location.