How to Draw a Ninja Step by Step
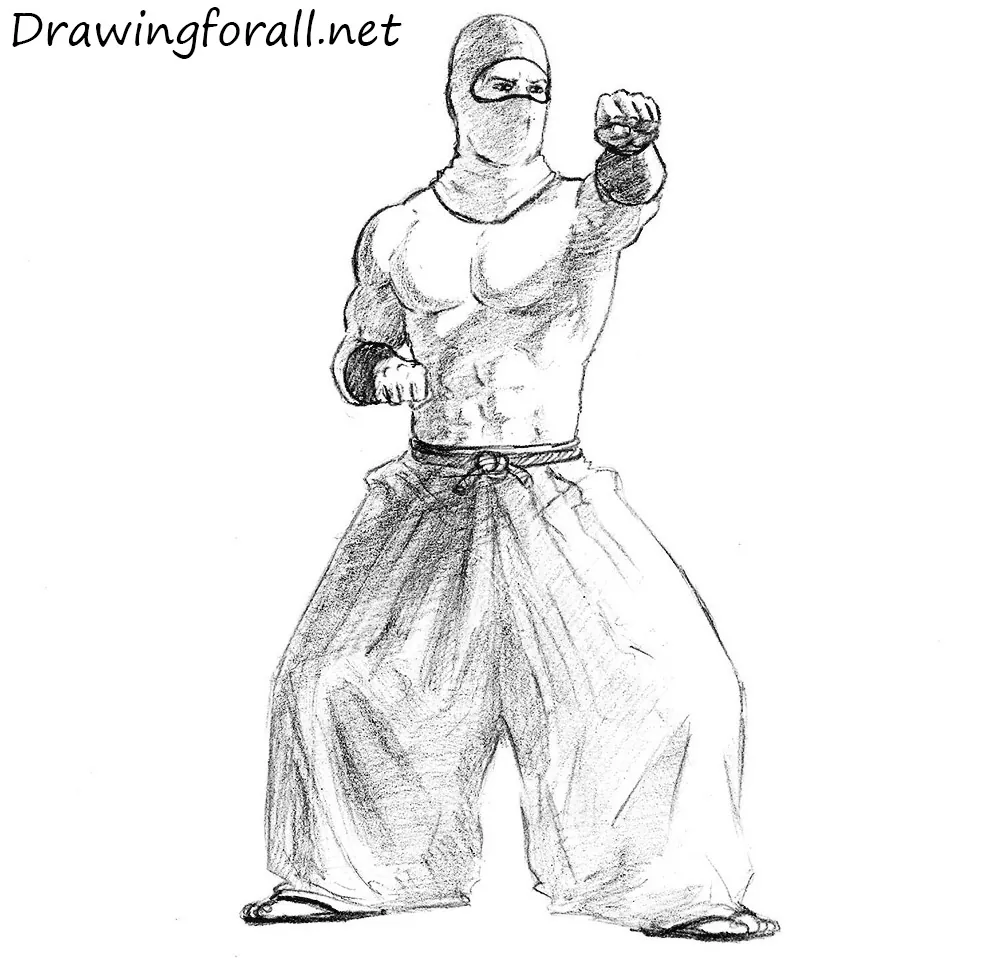
Hello! In today’s drawing tutorial we’ll show you how to draw a ninja from Mortal Kombat movie. In fact it’s not the first drawing tutorial about ninja – we drew a classic ninja, ninja in sumo style, and Leonardo from Teenage Mutant Ninja Turtles. But today’s ninja will be as realistic and close to the real image of the warrior as it possible. Incidentally, the famous black and tight-fitting costumes of Ninja is a myth – a warrior ninja never been so dressed.
Step 1
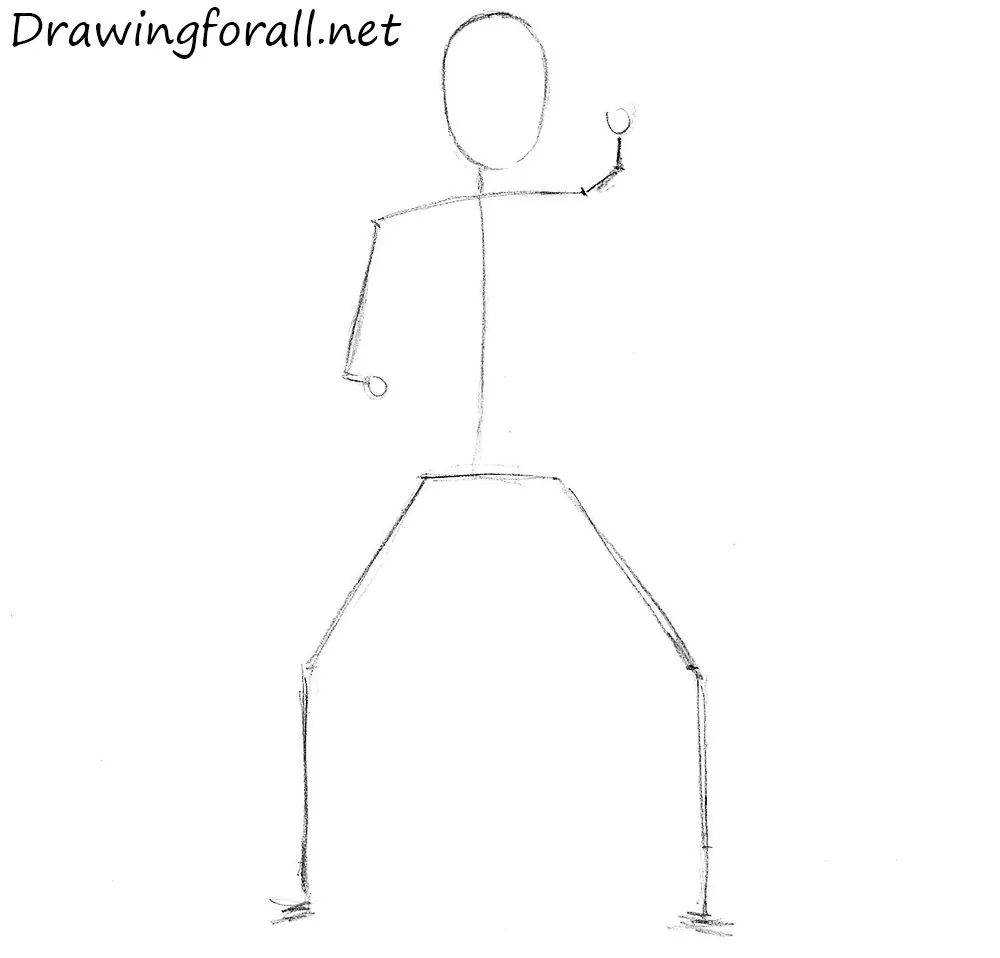
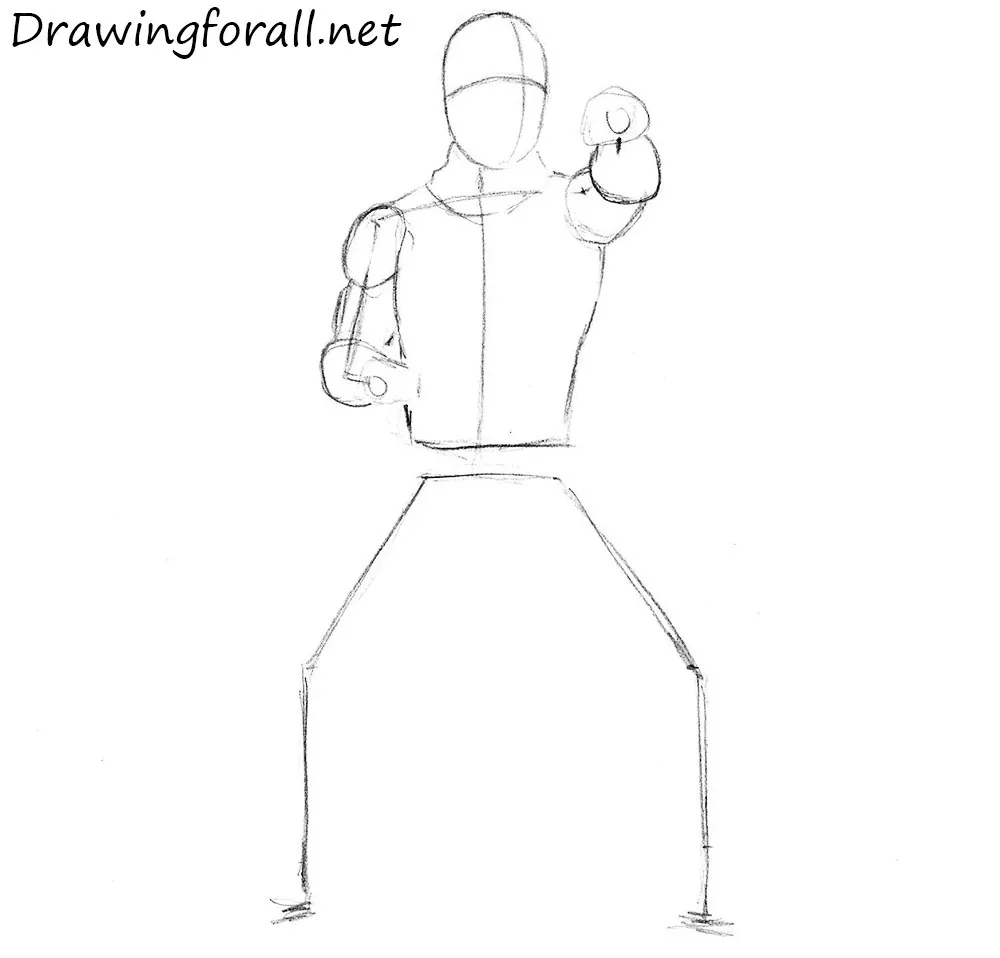
So we take all for drawing and start the lesson. We begin this drawing tutorial with a stickman, man made of sticks and circles, which we draw in order to indicate the proportions, stance and position on the sheet of paper.
Standard height of human is equal to the sum of seven heads, our ninja will be a little lower due to the fact that he is in semi-crouch position. In fact we need to sketch out the head in a shape of oval, and draw the “skeleton” of ninja using straight lines.
Step 2
In this step we draw the silhouette of the ninja, giving it the correct anatomical contours. Let’s start with the head – mark up using two lines, one of which is denote the vertical symmetry of the face, and the second – the position of the eyes. Note, that the “eye” line is curved to convey a slightly raised position of the head, and the symmetry line is shifted to the side to pass a turn of the head. Next draw a neck, hidden by the mask.
Then draw the shoulders, and draw out the contours of the body, which greatly narrows down, due to the broad chest muscles, and a narrow waist. The arms clearly divided into four parts (top to bottom):
- shoulder;
- upper arm;
- forearm;
- hand.
Note, that the left deltoid of ninja is not visible to us due to the position of the arm.
Step 3
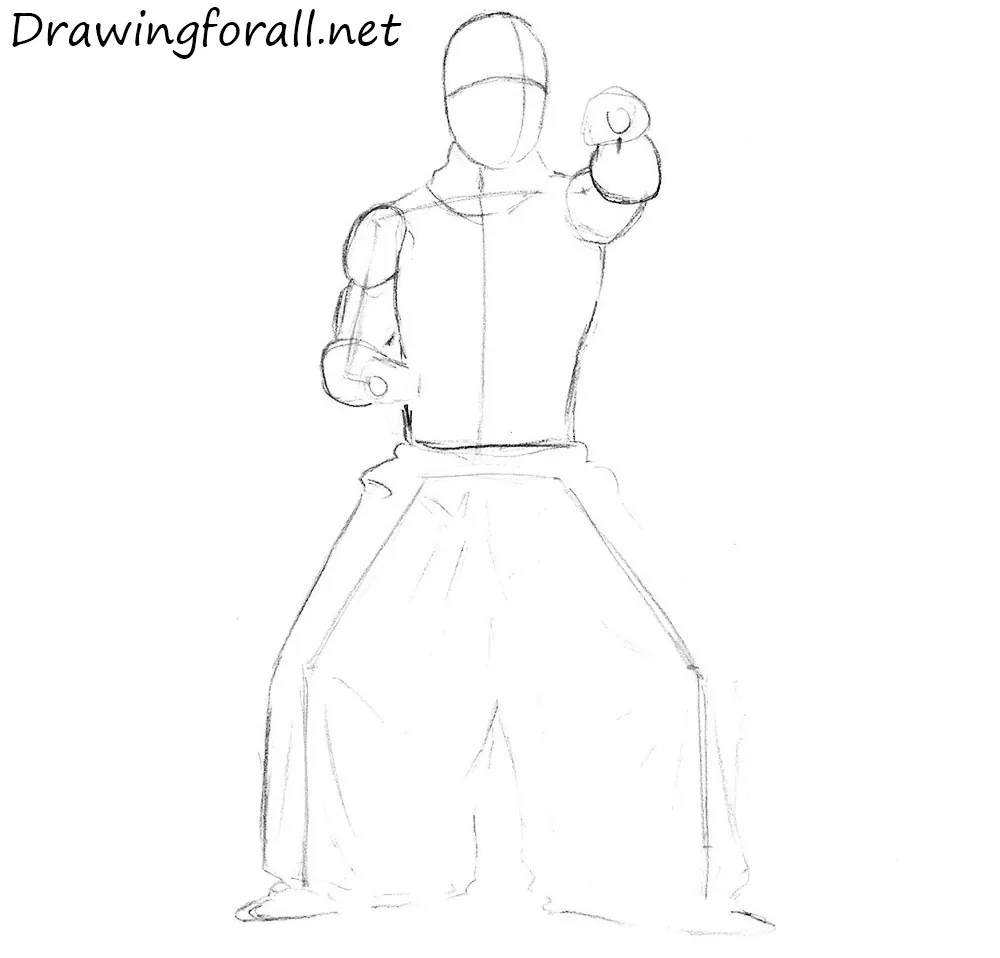
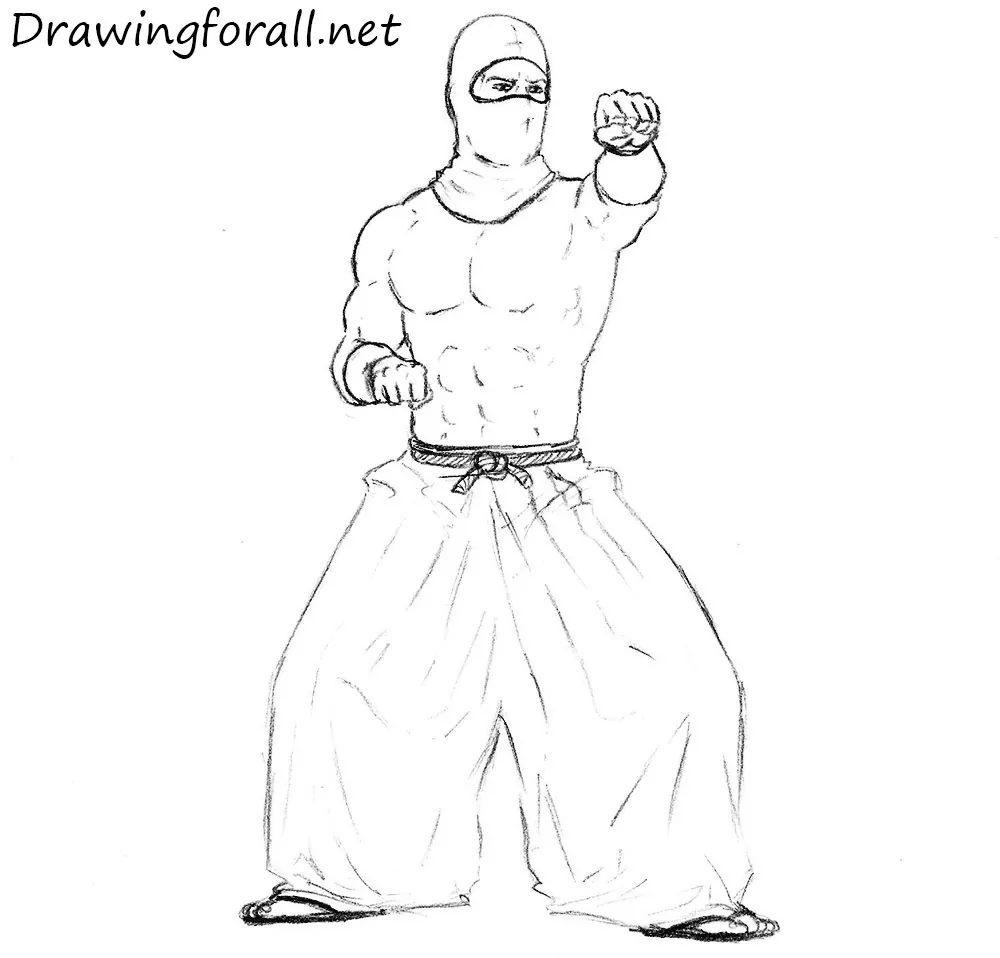
Draw the outlines of wide trousers of our ninja, denoting them appropriate folds. Please note that the folds are present here as external (deform the outer contour of pants) and internal (line inside the contours of pants). So when you draw the contours of trousers, don’t forget to draw the folds in the area of the belt, inside of knees and ankles. Sketch out the outlines of the feet.
Step 4
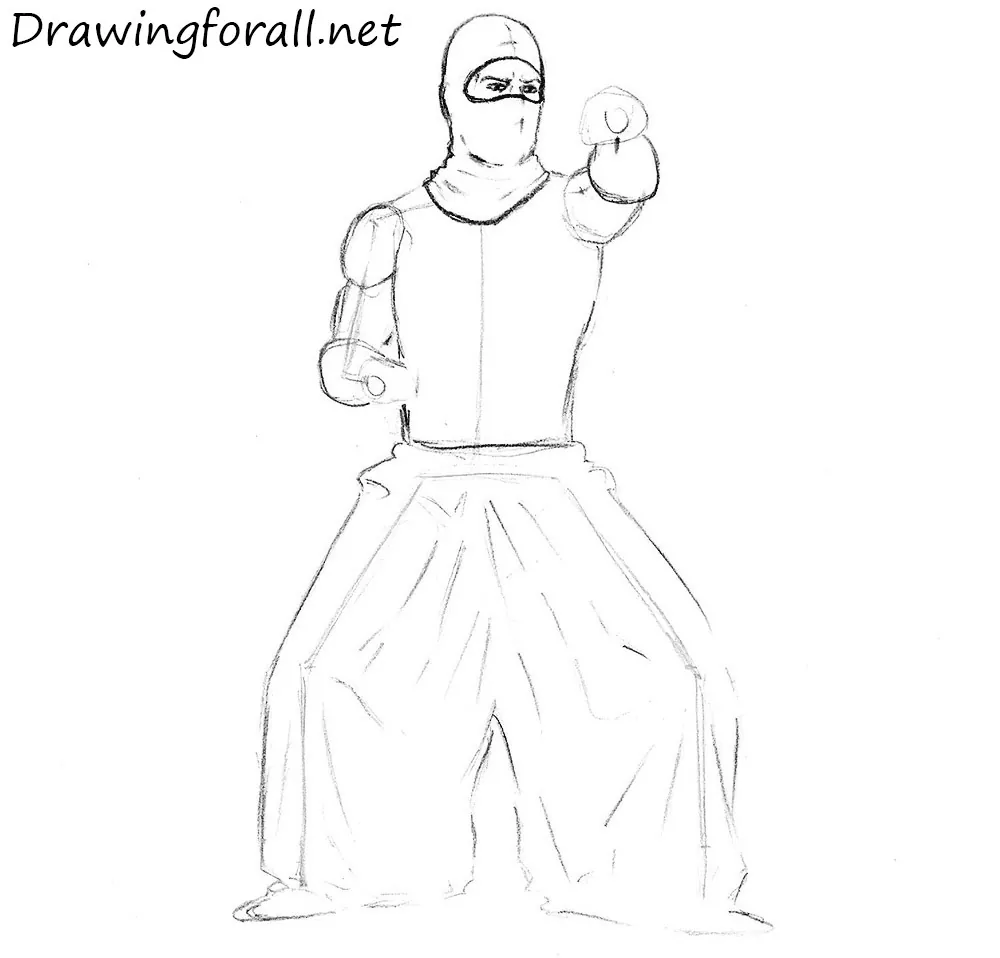
Using guidelines from the previous steps we draw the contours of the mask, an opening for the eyes and the eyes themselves. Note that the eye opening is slightly bent in shape and it resembles a bean.
Draw out the eyes, contours of the nose, eyebrows and wrinkles. Also sketch out the folds of the fabric on mask – internal and external, outline the chin and cheekbones, which are hidden under the mask.
Step 5
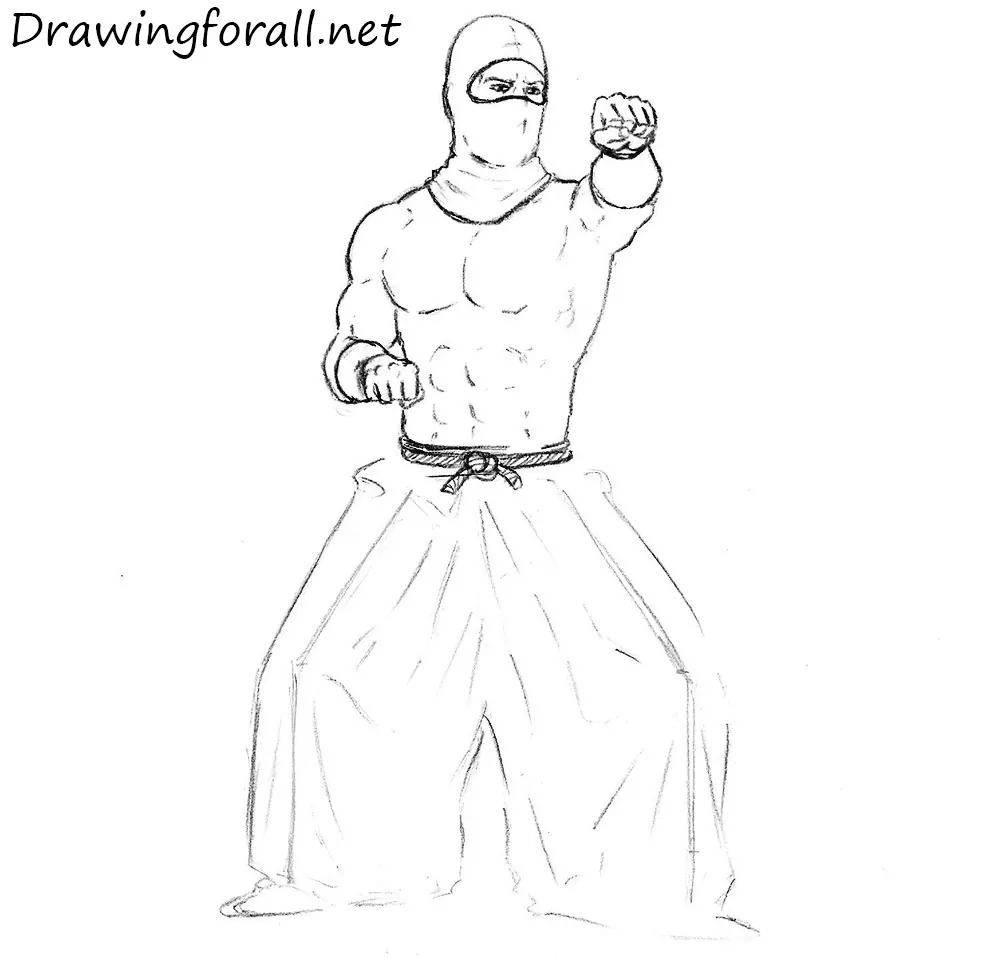
Detailing the torso and arms of ninja. On the torso we denote sufficiently powerful and well-defined pectoral muscles, obliques and abdominal muscles. Erase extra guidelines from the arms, circle the contours, and draws the muscles. With a couple of curved lines draw the bracers. Draw the hand clenched in fists (to learn more, visit lesson on how to draw hands), and move next.
Step 6
Draw out the contours of the legs, erase lines of stickman and other extra touches and guideline. Draw the feet, which are dressed in waraji – light Japanese footwear that resembles woven slippers (we have already encountered with such flip-flops in a difficult lesson on how to draw a samurai).
Step 7
In this step of the tutorial on how to draw a ninja we add the shadows. First, determine the direction of incidence of light – as you can see, the light comes from the upper right side. The shadows in this lesson are very realistic, unlike the the comics style shadows (as in the drawing lesson on how to draw Captain America).
Once you have identified the source of the light, apply the shadows on those areas where light does not fall. To get thick shadows you must add another layer of hatching. In addition, you can adjust the thickness of the shadow using different pressing on a pencil.


