How to Draw a NES
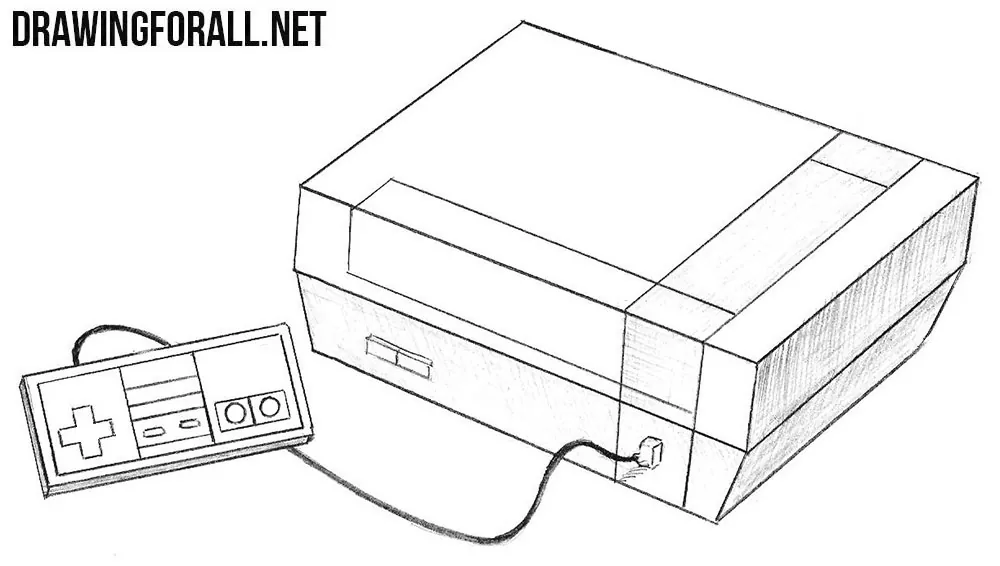
A long time ago, in the mid-80s, the gaming industry was suffering very hard times, and this is called the video game crash. And the subject that we will draw today, saved the game industry and breathed new life into it. So, let’s start the lesson about how to draw a Nintendo Entertainment System (NES).
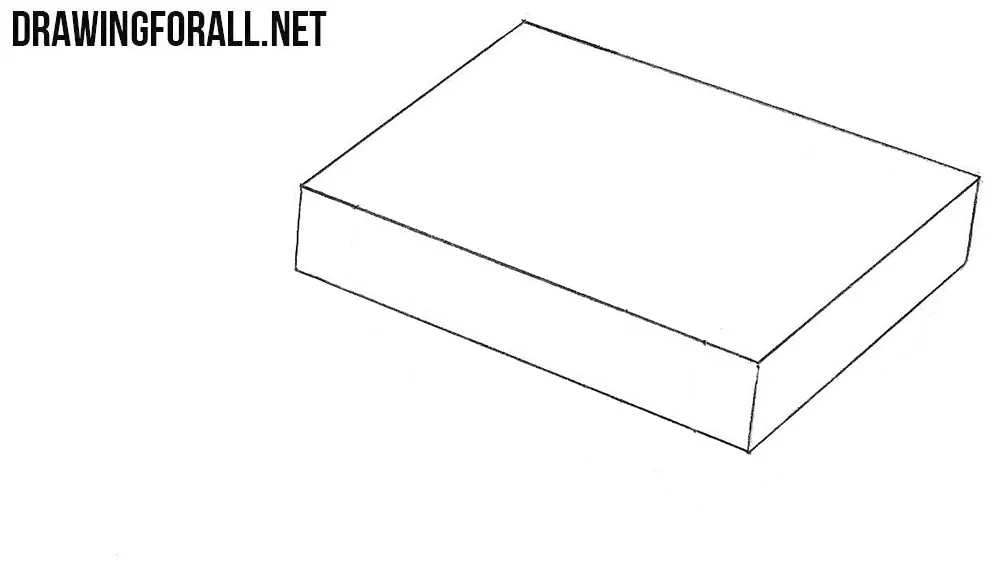
Step 1
First things first we draw the most simple flat rectangle. This is the top part of the body of the Nintendo Entertainment System.
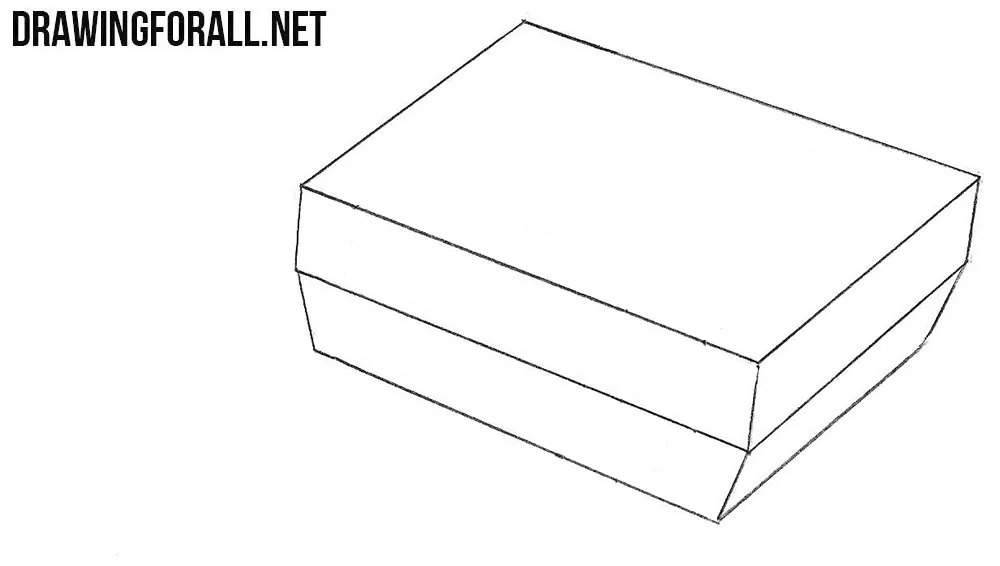
Step 2
Another very simple step in which we will draw the bottom part of the body of Nintendo Entertainment System.
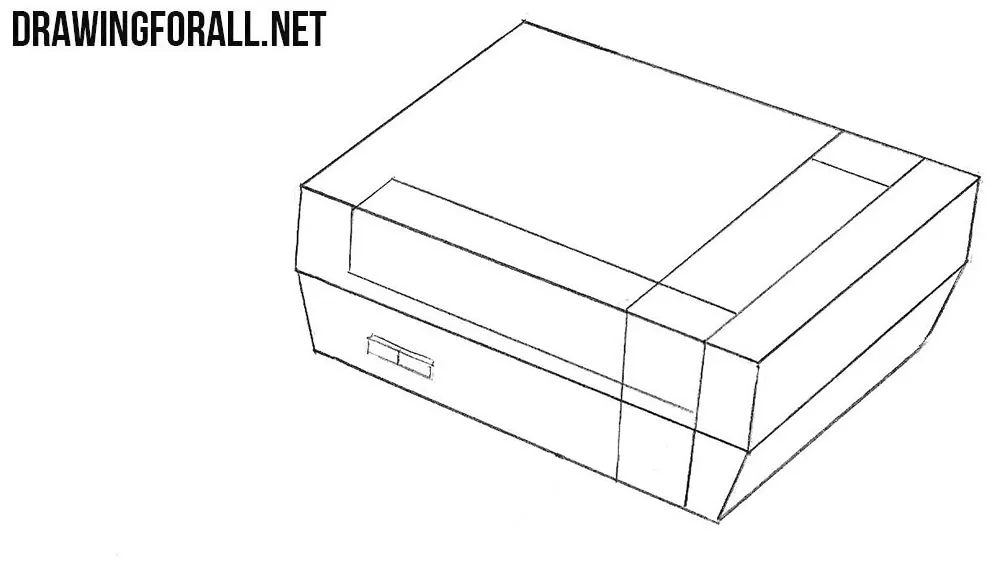
Step 3
This step will be a little more difficult. Here we need to draw all the necessary buttons and lines on the body of NES.
Step 4
Now we draw the basic outlines of the legendary controller in the form of a flat rectangle and a long thick wire.
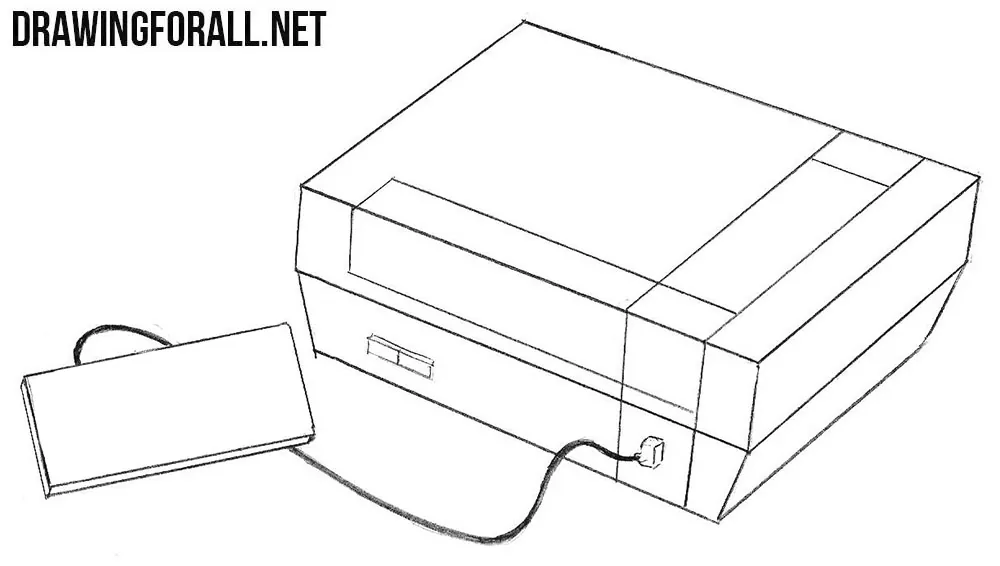
Step 5
Now let’s draw out the legendary D-Pad, two circle buttons, start and select buttons and lines on the controller.
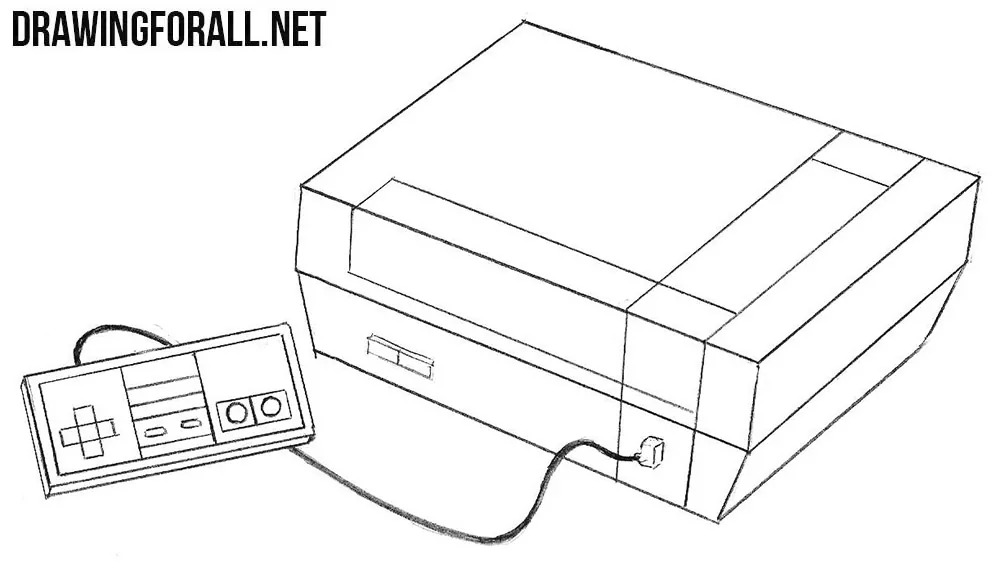
Step 6
Erase all unnecessary guidelines and use hatching of different intensities to draw shadows, as shown in our example.
Nintendo Entertainment System – a classic representative of objects from the eighties, which consists mainly of straight lines. In order to be able to draw all these straight lines without using a ruler, you need to have a good enough skill in drawing. If you really want to learn how to draw one of the best gaming consoles from the nineties, then visit the lesson about how to draw a SNES. Or, visit our lesson about Nintendo’s main rival from the nineties – Sega Genesis (or Mega Drive). And if you love electronics, then visit our category, which is called “Electronics”, where you will find a whole sea of different lessons about different electronics.