How to Draw a Pecan
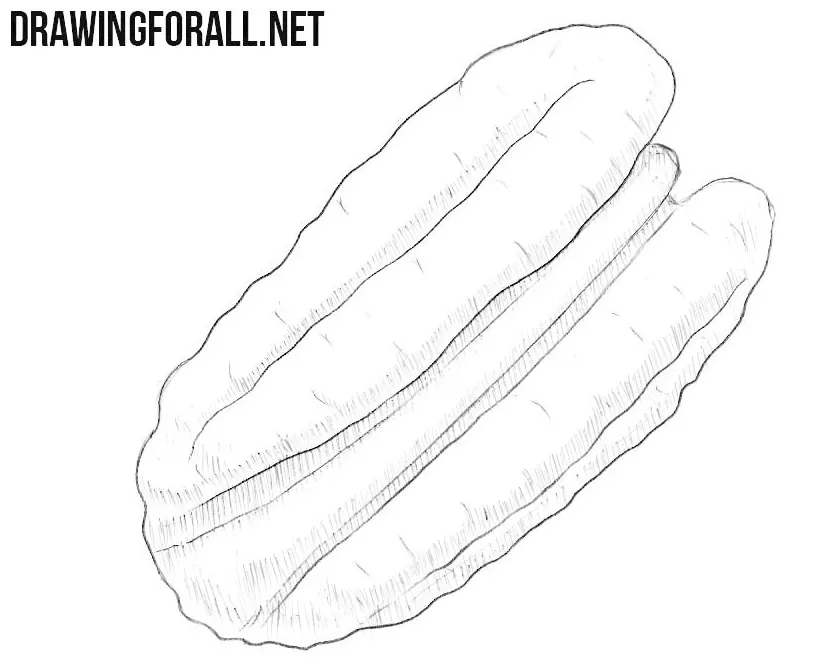
With each drawing tutorial, we introduce you to more and more different types of nuts. In this tutorial, we will show you how to draw a pecan step by step. A pecan is very similar to a walnut in appearance.
These nuts are quite different in taste, but we cannot show taste in a drawing. So if you are good at drawing a walnut, this pecan drawing tutorial should also be quite simple for you.
How to draw a pecan step by step
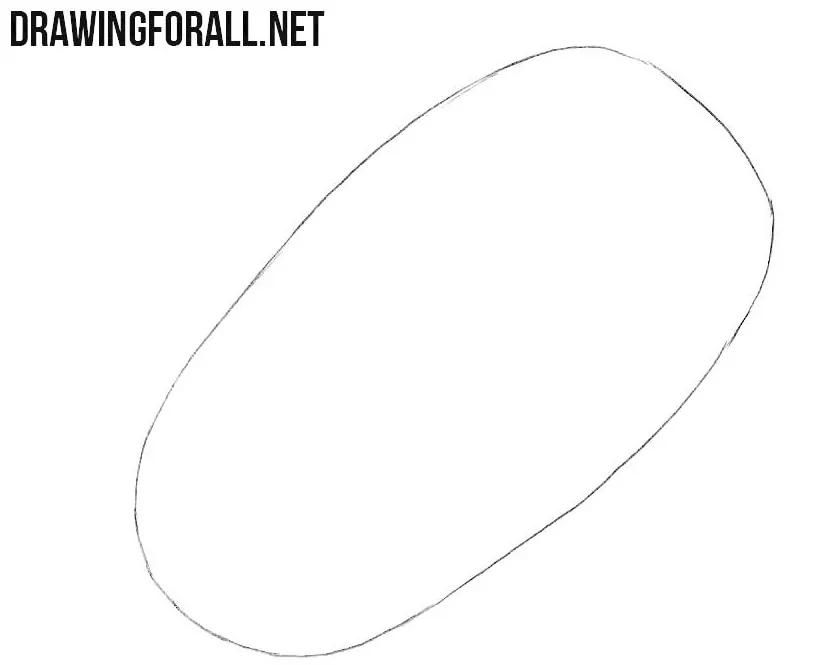
Step 1: Sketch the pecan outline
In the first step, we very rarely draw complex shapes. Begin by sketching the general outline of the pecan. It should have an elongated, rounded shape with narrower ends. Place this shape diagonally on the piece of paper, as in our example.
Step 2: Add the surface grooves
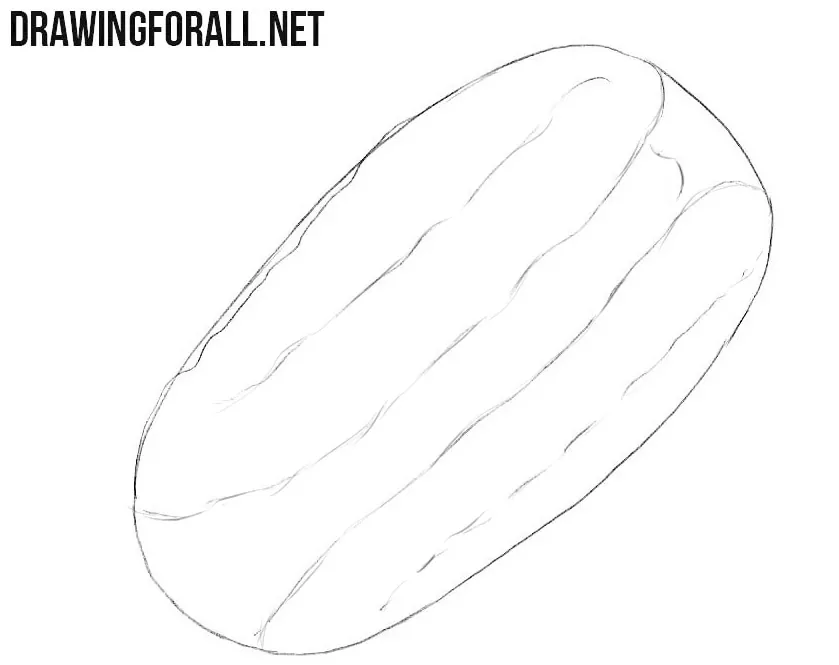
Now draw the main grooves along the surface of the pecan. You can see two large grooves located along the sides of the nut and a narrower groove in the center. Follow the curved form of the pecan as you draw these lines.
Step 3: Draw the pecan texture
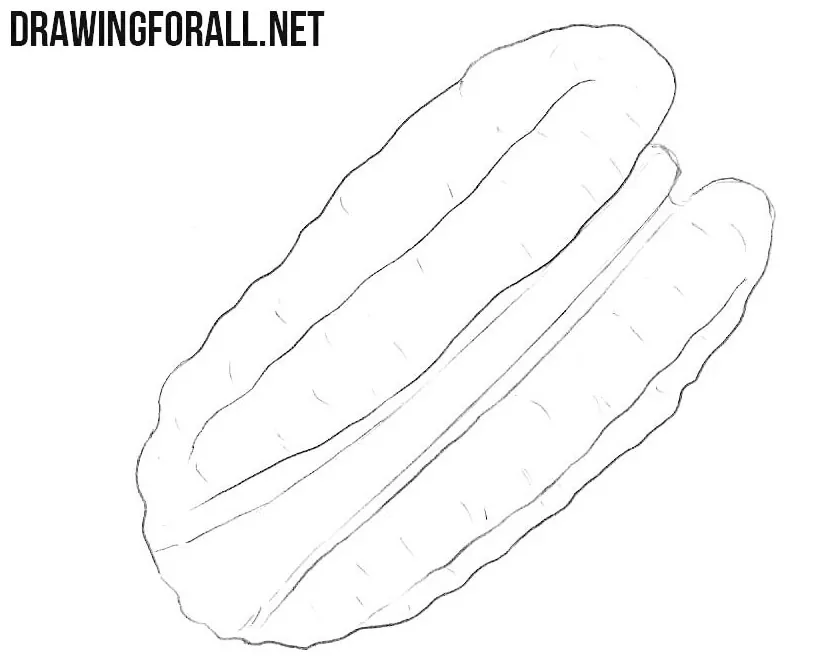
Erase the unnecessary lines at the top of the pecan and refine the contours. It is not necessary to draw a large number of lines to create the texture. Add several short transverse lines to the separate sections, as in our example, to give the pecan its characteristic surface.
Step 4: Add shadows to the nut
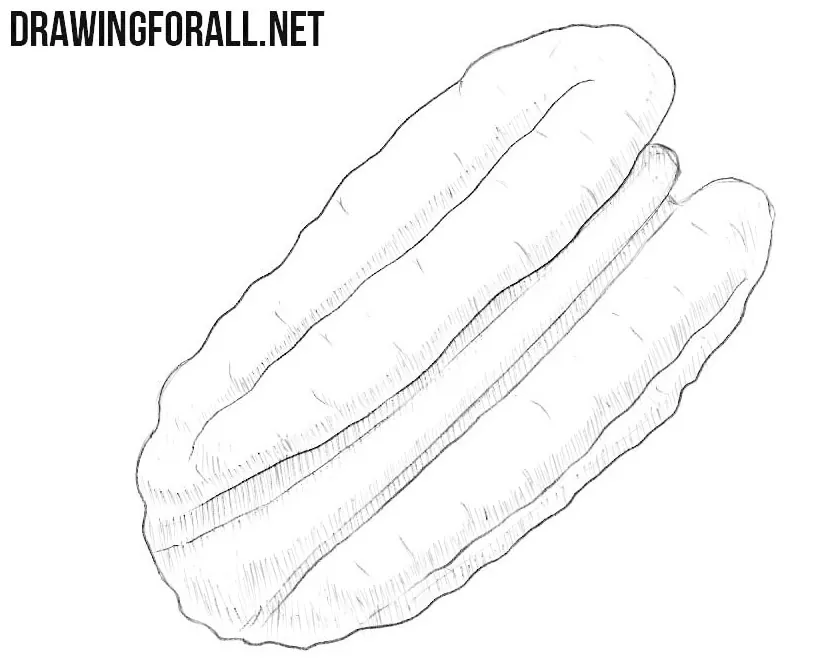
Now add shadows to make the pecan drawing look more realistic. Use short hatching strokes near the bottom edges of the bumps. Make the hatching slightly darker in the deepest areas to convey the curved form of the nut.
It was not a particularly difficult nut drawing tutorial. Pecans share many visual features with other nuts, so the same basic approach can be useful for similar subjects.
For further practice, try to draw an almond, or draw a peanut – these nuts have completely different appearance.