

How to Draw a Necron
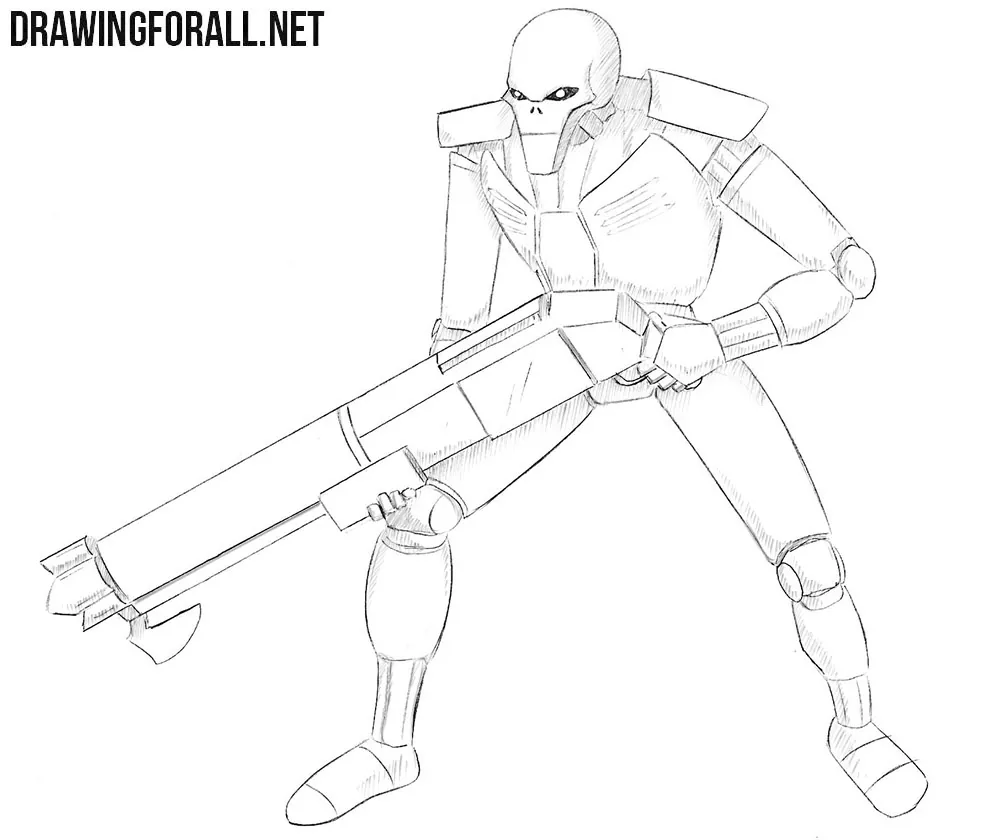
One of the most interesting-looking and unusual characters in the Warhammer universe is the Necron. We created this tutorial to show you how to draw a Necron in a characteristic pose with authentic weapons and basic shadows.
Here, although we follow the fundamentals of drawing the male figure, we change the entire form quite significantly, since a Necron has very characteristic proportions.
How to draw a Necron step by step
Step 1: Sketch the Necron figure
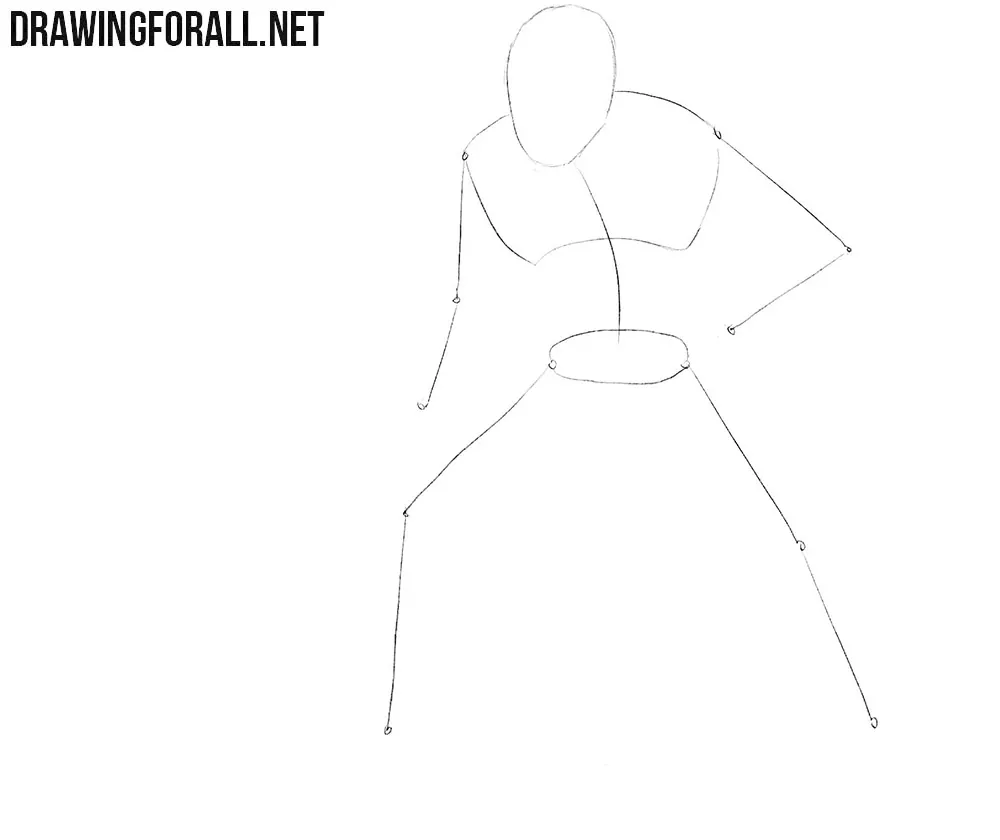
First, draw the basic figure of the Necron. It should be thin and slightly hunched. Place the head forward from the chest. Draw the head and a curved line for the spine. On this line, sketch the chest and pelvis. With simple lines, mark the arms and legs. Spread the legs wide. Mark the chest leaning forward. This curved construction is important for the characteristic hunched silhouette of the Necron.
Step 2: Build the Necron body
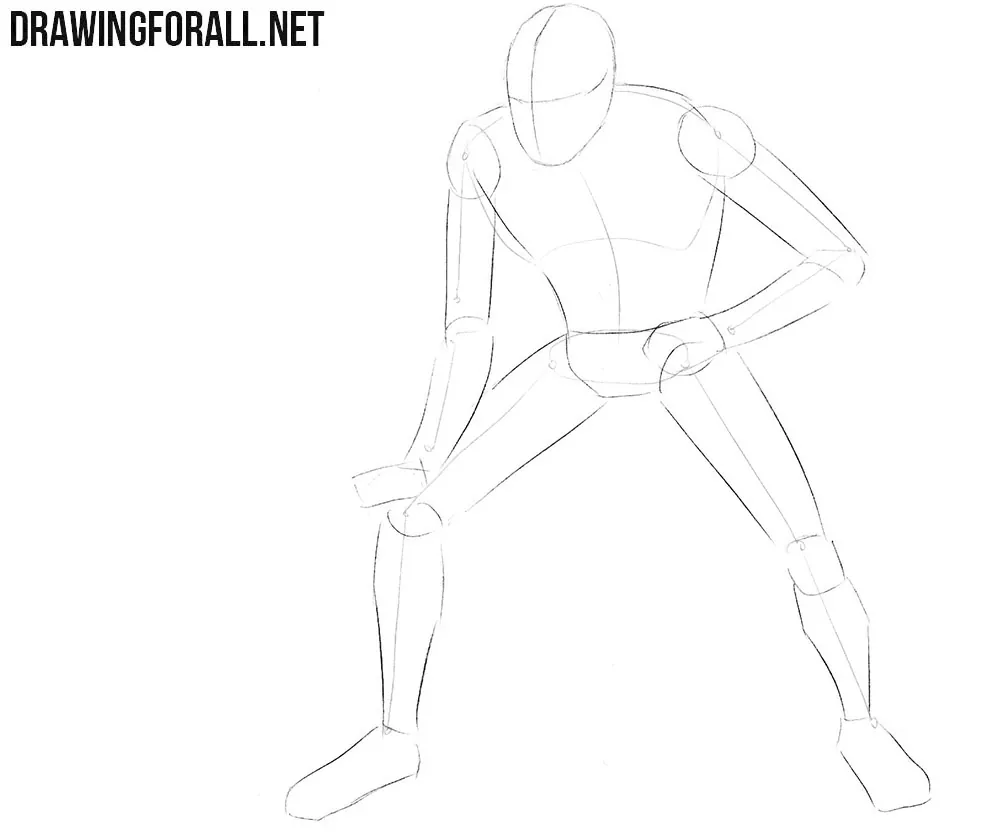
Now let’s add some volume to the body of our Necron. On the head, draw two crossing lines that meet in the center of the face. Next, sketch the torso narrowing toward the pelvis. Draw the arms and legs using simple geometric forms, such as circles and elongated cylinders. Mark the shoulder, elbow, and knee joints with small forms. Make the cylindrical sections relatively thin.
Step 3: Sketch armor and weapon
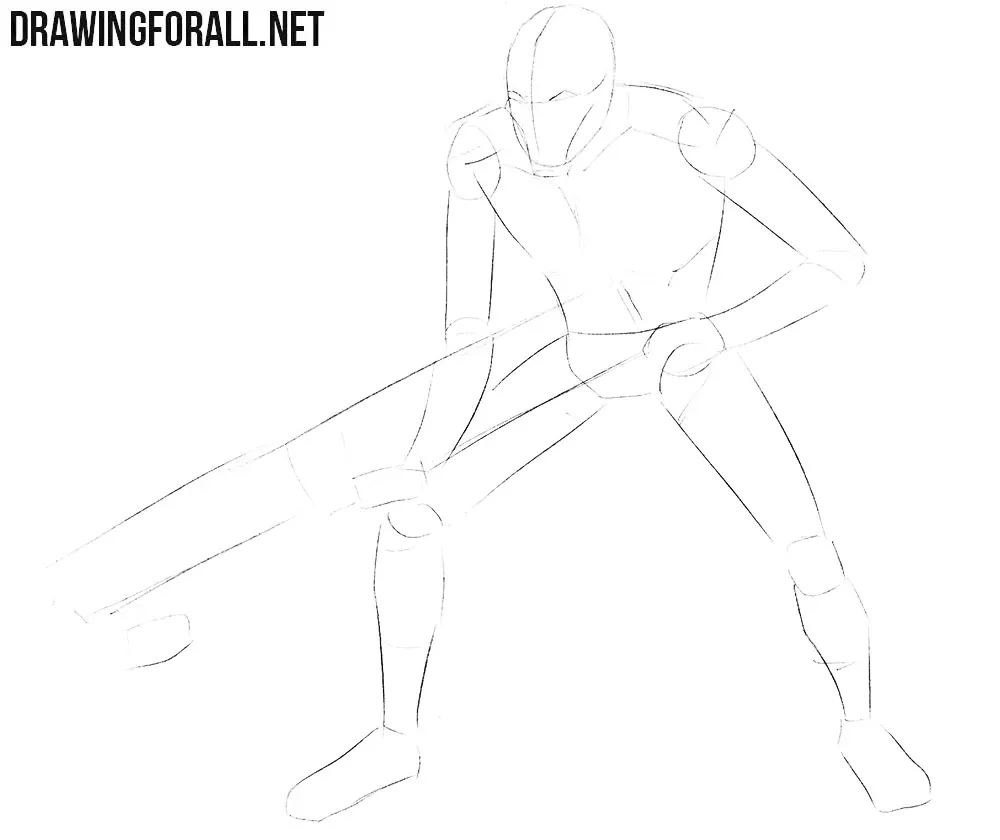
Sketch the Necron’s eyes and cheek areas on the head. Add the armor on the torso and shoulders. Make the shoulder armor broad and angular, and place several large plates over the chest and abdomen. Do not forget to outline the large gun with light lines. Build the weapon from long straight lines and large rectangular forms. Mark the positions of both hands around the gun.
Step 4: Refine the Necron head
Let’s start working with the final details. As usual, begin with the head and gradually move downward. First, draw the angry eyes in detail. Next, refine the skull-like facial features with clear lines. Visually divide the head into the large rounded cranium and the much more angular lower facial part. Add the small openings in the nose area and refine the long contours of the lower face. Erase the facial guidelines after the head is complete.
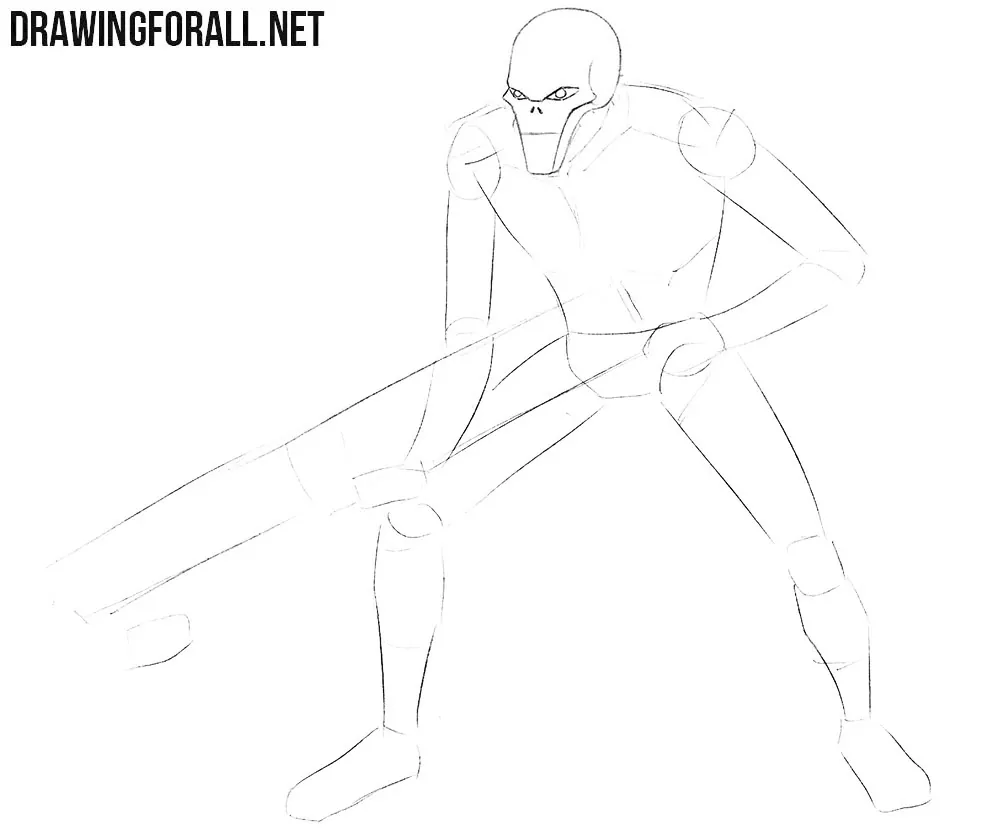
Step 5: Draw the torso armor
Refine the three large plates across the chest and abdomen and the broad plate on each shoulder. Use mostly straight lines and sharp angles for these armor parts. The chest armor should look like several broad planar sections. Extend the shoulder plates past the upper arms and make the torso armor narrower as it approaches the pelvis. Erase the unnecessary guidelines and add short lines around the neck.
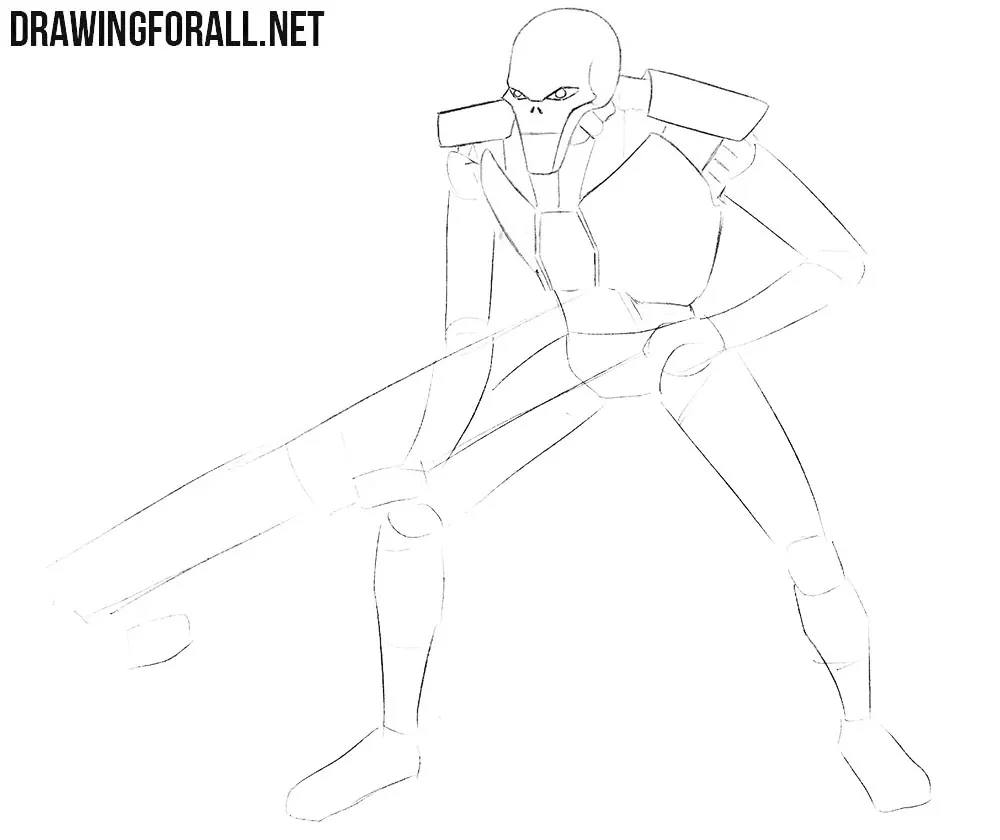
Step 6: Refine arms and weapon
Continuing from the shoulders, carefully draw the mechanical arms and forearm armor. Mark the elbow joints as rounded forms between the upper arms and forearms. Next, draw the hands in detail. Draw the weapon with clear lines. Use long straight contours for the gun and divide its large body into several angular sections. Remove the unnecessary guidelines from these areas.
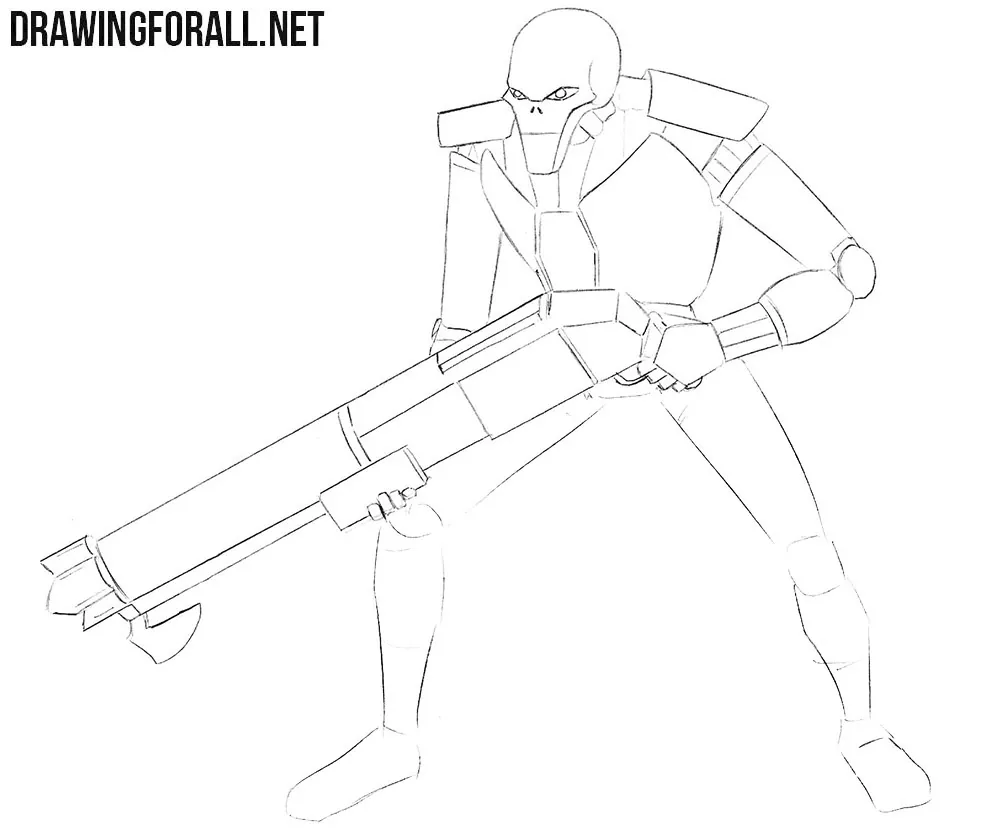
Step 7: Draw the Necron legs
Now move on to the legs of our Necron. Carefully draw the thigh armor and knee joints. Make the thigh armor wider at the top and narrower near the knees. Below them, refine the lower legs and feet. Add narrow vertical details to the lower legs and divide the front of each foot with short curved lines. Erase the remaining unnecessary guidelines from the drawing.
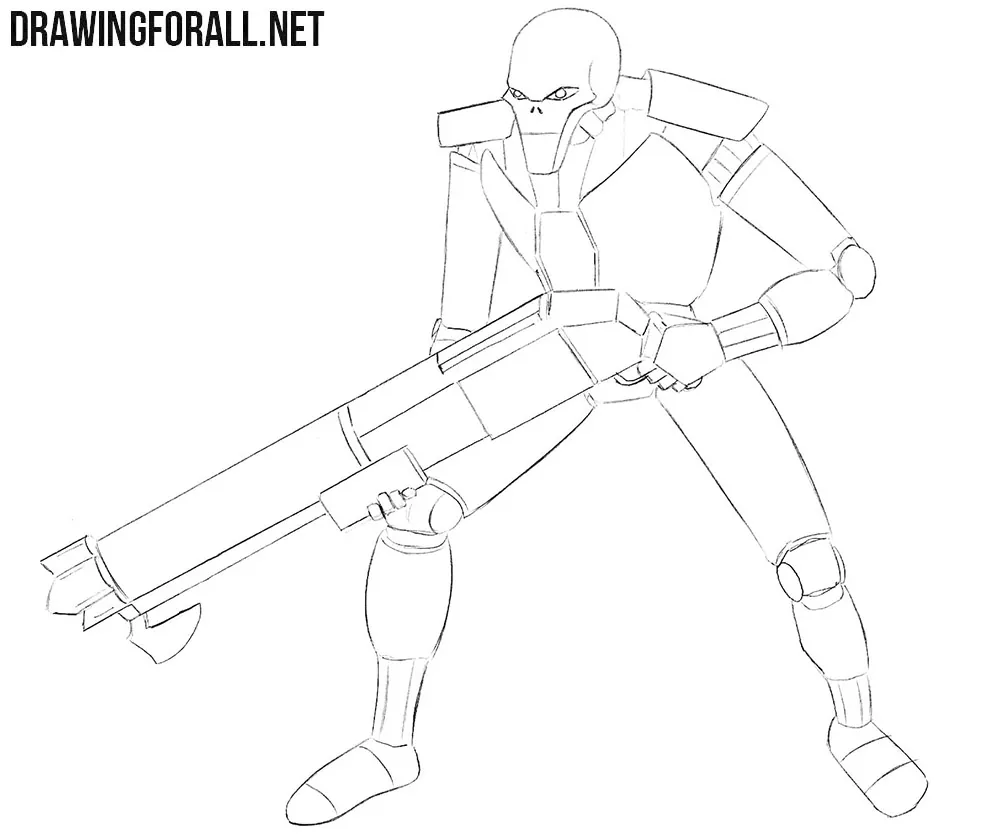
Step 8: Add shadows to the Necron
In the final step, draw the shadows. First, determine where the light comes from. Then use hatching of different density in the areas where the light does not fall. Place the darkest hatching in the narrow areas between the armor plates, under the shoulder armor, and on the parts of the limbs turned away from the light. On the round head, joints, and cylindrical limbs, direct the strokes according to the form.
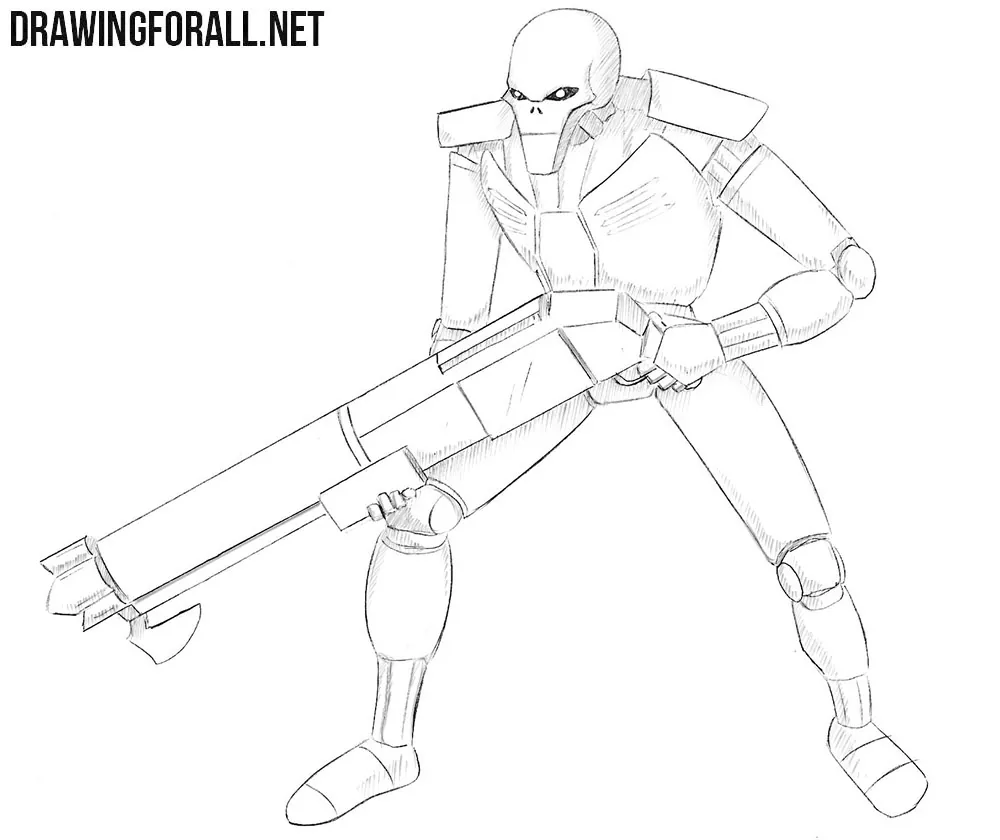
When drawing a Necron, it is very important to remember that his figure has a highly unusual and characteristic appearance. It is thin and skeletal.
We used a somewhat similar outline and approach to conveying form in our tutorial on drawing a skeleton warrior. In terms of creating volume this differs quite noticeably from drawing a Space Marine with his much heavier and more massive forms.




Finally, A person who knows Warhammer!!!!
The gun is called Gauss Blasters