How to Draw a Musketeer
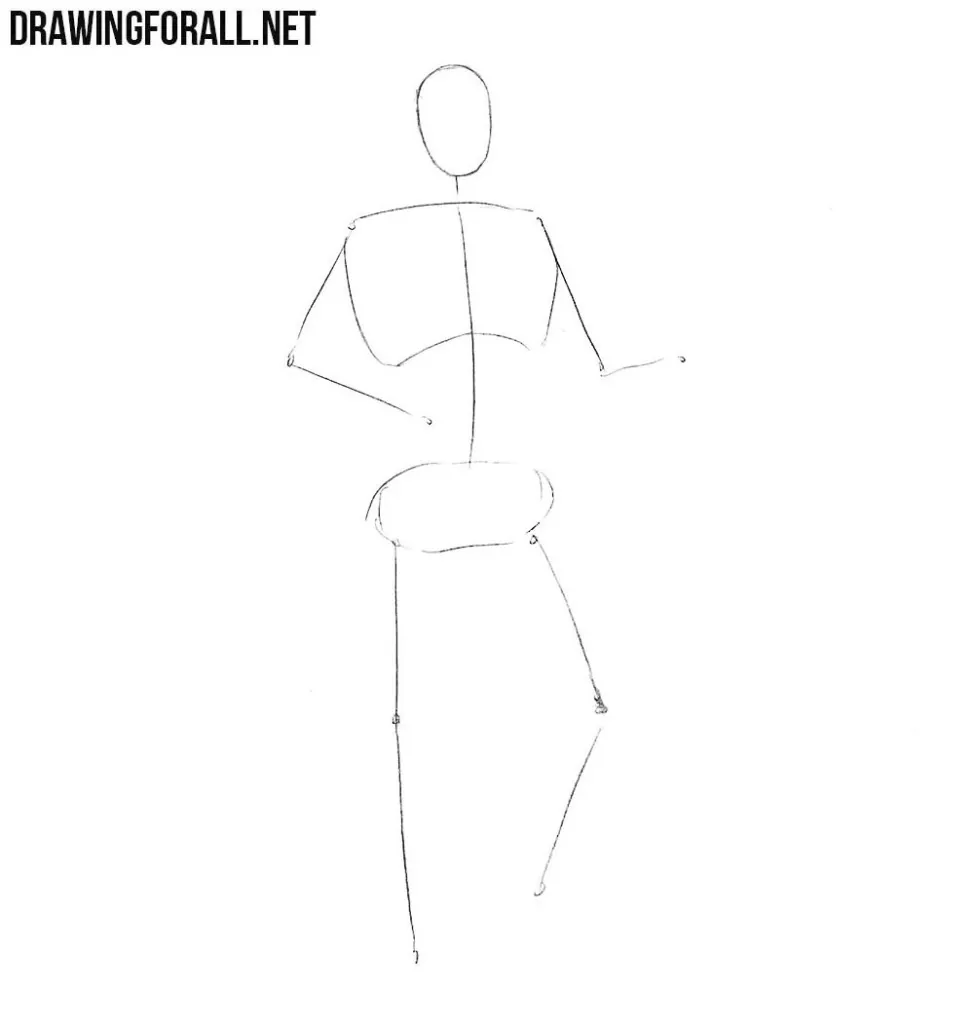
First we use the light lines to sketch out the skeleton of our musketeer. Then draw the head in the form of an oval, from the head draw a long line of the spine on which placed is a thorax and pelvis. With the help of light lines sketch out arms and legs. Recall that a body of a man height is approximately seven or eight his heads.
Step 2
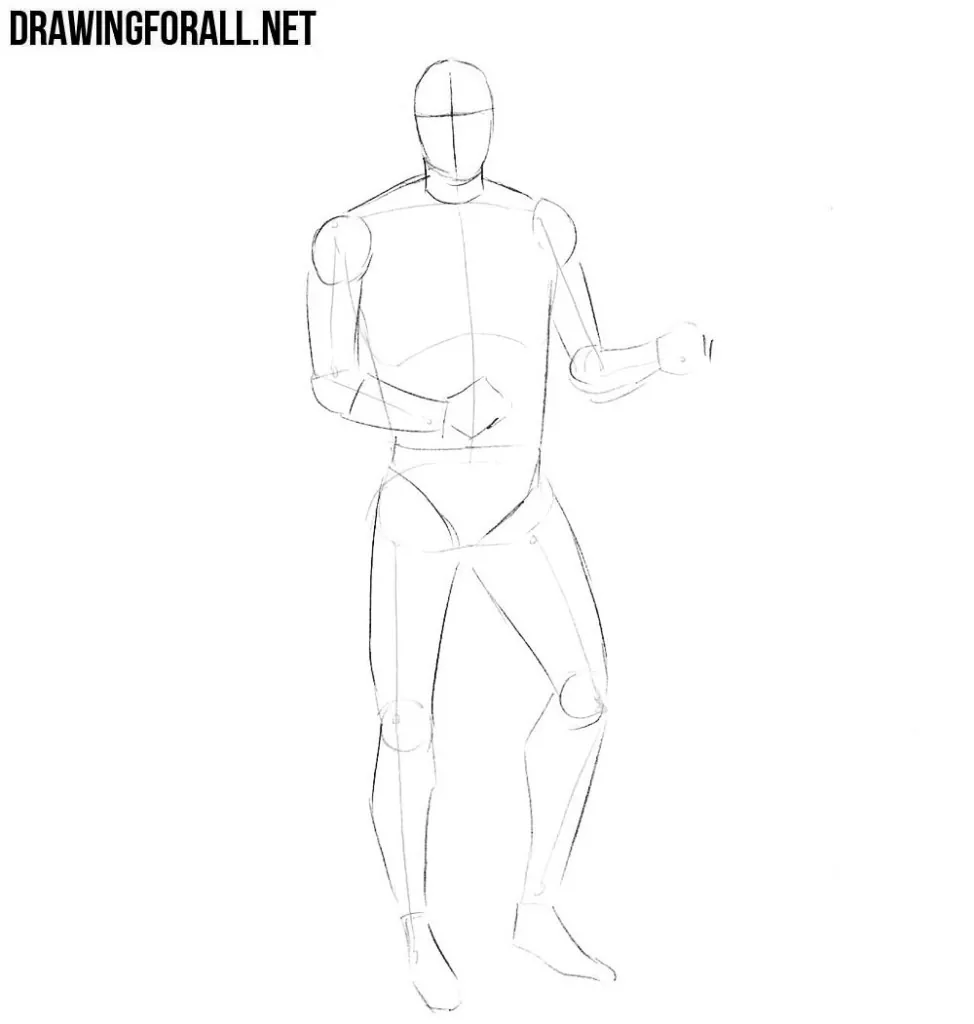
In the second stage we usually draw the lines of symmetry of the face and make the body more voluminous, and this lesson is no exception. So draw two light lines on the face and useing simple geometric shapes sketch out the body of our musketeer. Circles as guidelines for shoulders and knees, cylinders for arms and legs.
Step 3
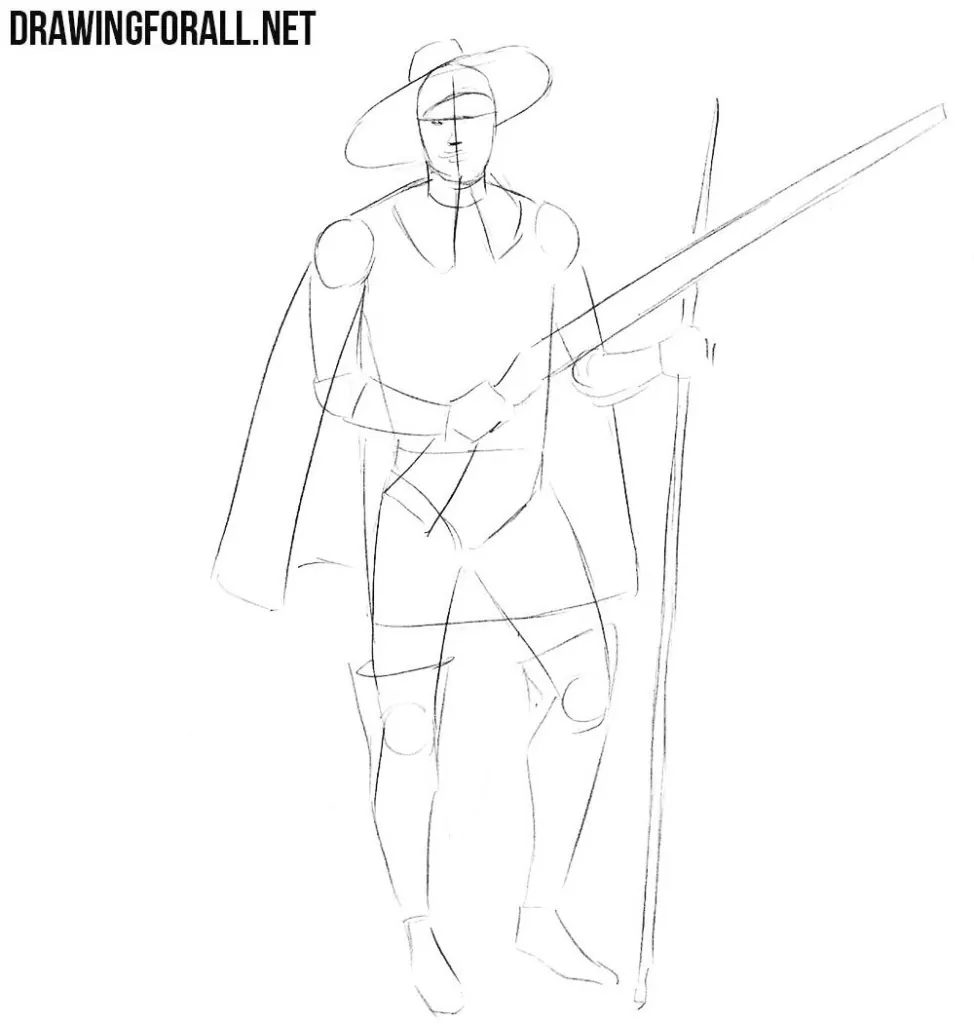
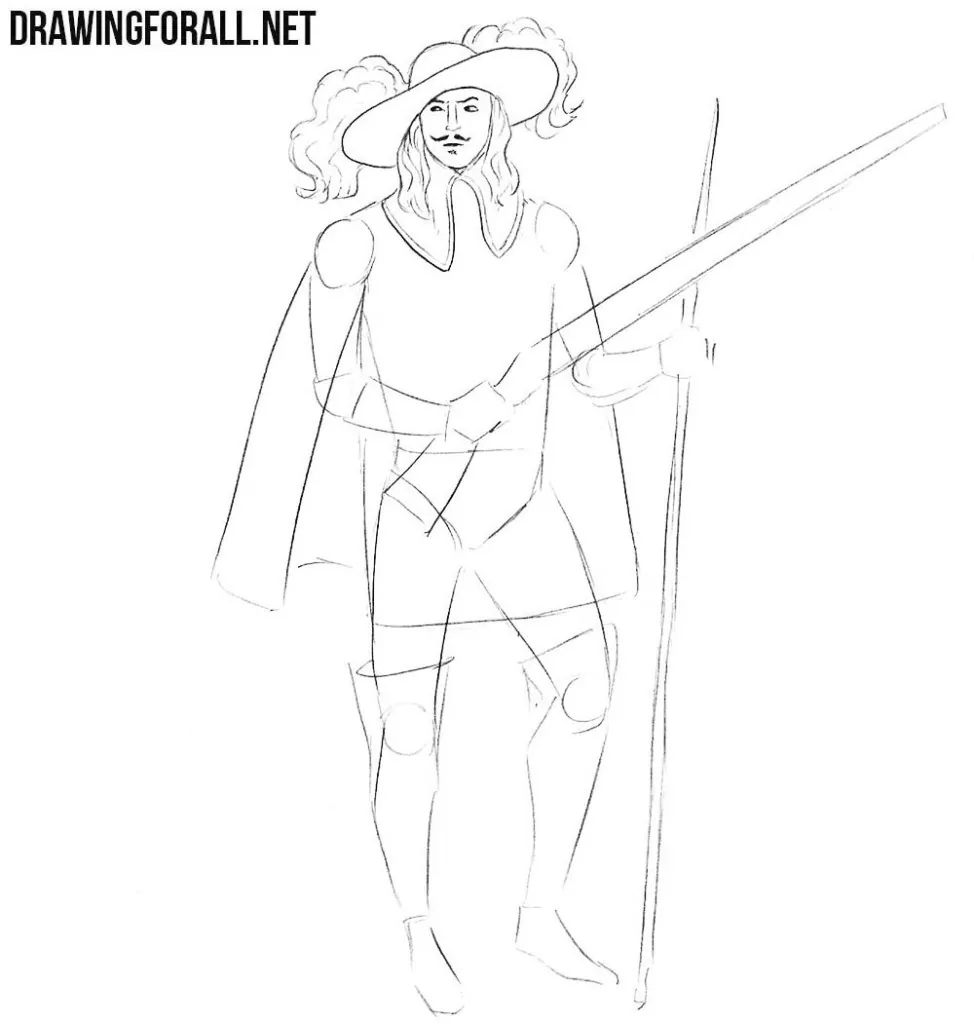
If you did everything right, then you have such a schematically drawn man. And in this step we will make this figure more similar to a musketeer. In the right hand draw a musket (a weapon in honor of which our musketeer is called) and in the left hand draw a swedish feather. We go down a little lower and sketch out high boots.
So, let’s move on to the details. Erasing all the extra lines neatly draw out the hat with magnificent feathers. Next, draw the features of the face, using the markings from the previous step. Do not forget to draw a magnificent hairdo and the characteristic mustache and beard of our musketeer.
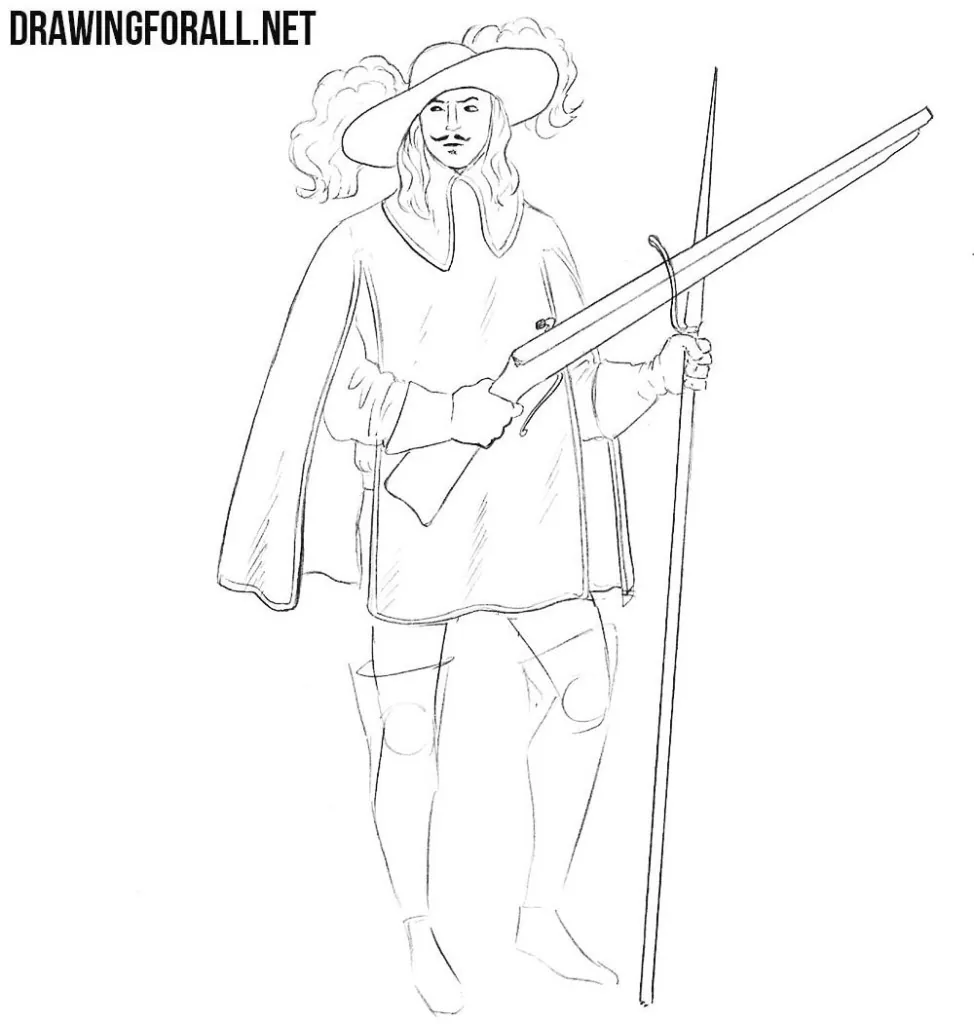
We continue to add details to our warrior. Here we draw clothes with folds and large gloves. Next, draw a musket and a Swedish feather (by the way it is such weapon similar to a halberd or spear).
Step 6
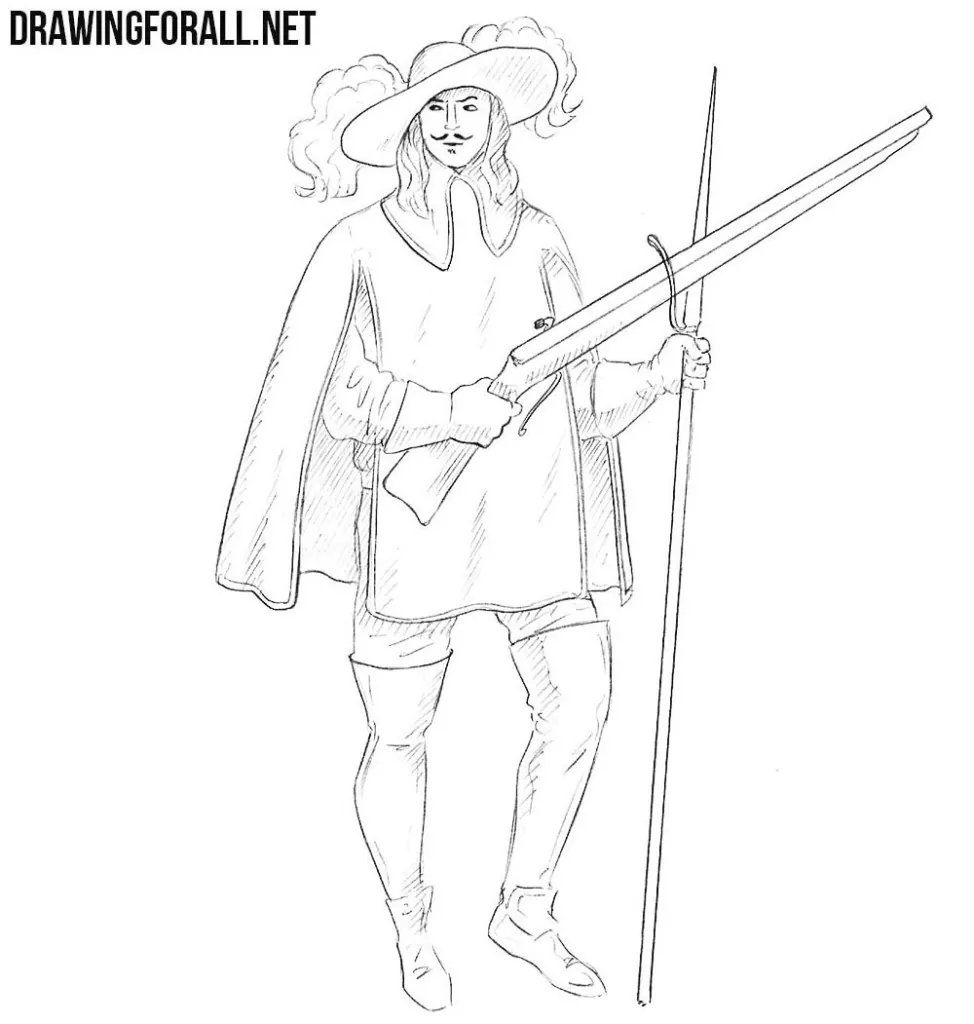
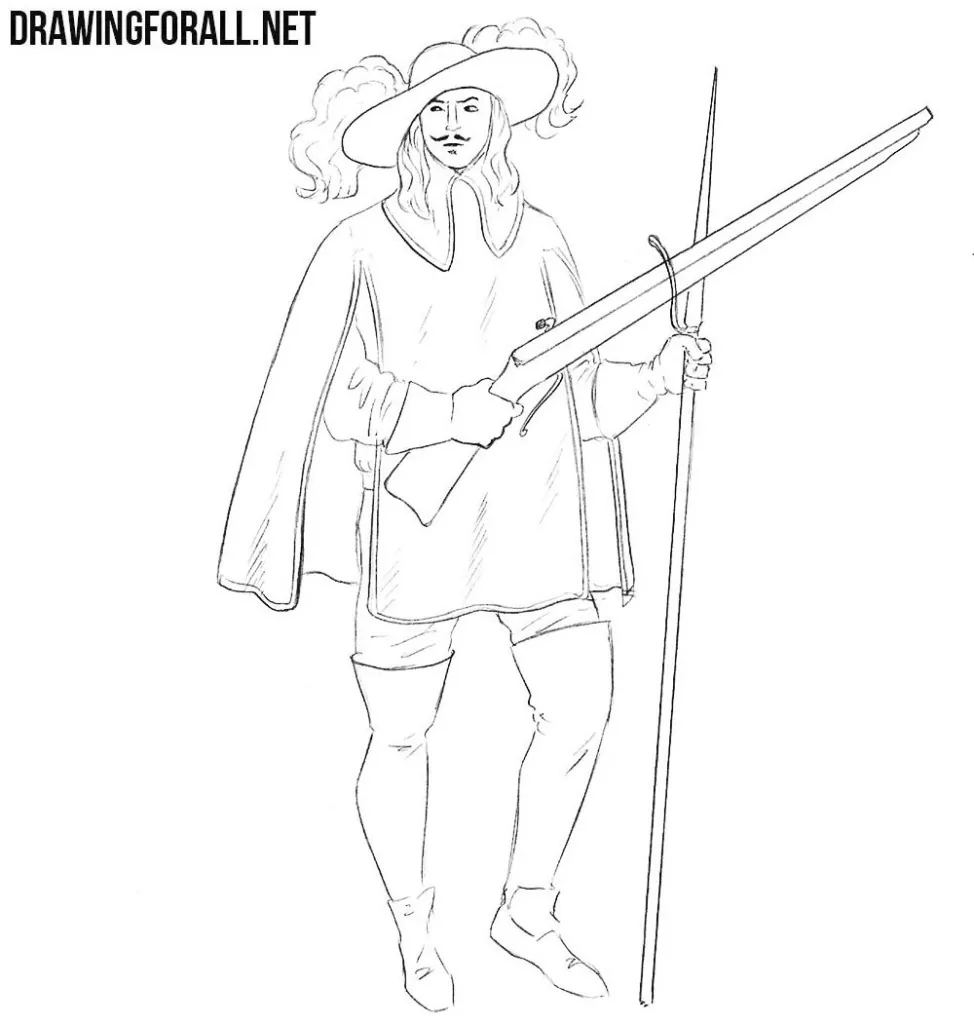
Now a very simple step of the drawing tutorial about how to draw a musketeer. Erasing all unnecessary guidelines draw long boots with folds and visible part of the pants. Our musketeer is almost ready, it only remains to add shadows.
Step 5
So, we need only draw shadows. Using a simple single-layer or two-layer hatching we apply shadows in those areas where the light doesn’t falls. In order to make it easier to do this, you can first outline the basic contours of the shadows and then hatch the inner area of the shadow itself.

This was not the easiest lesson on our site, but it is not the most difficult one either. If you like drawing warriors, then do not forget to visit lessons about a samurai, a Soviet soldier and a knight.


Very good