How to Draw a Palm Tree

Hello! Today, we have prepared a new drawing lesson, which will tell you how to draw a palm tree. Let’s begin our drawing lesson!
Step 1
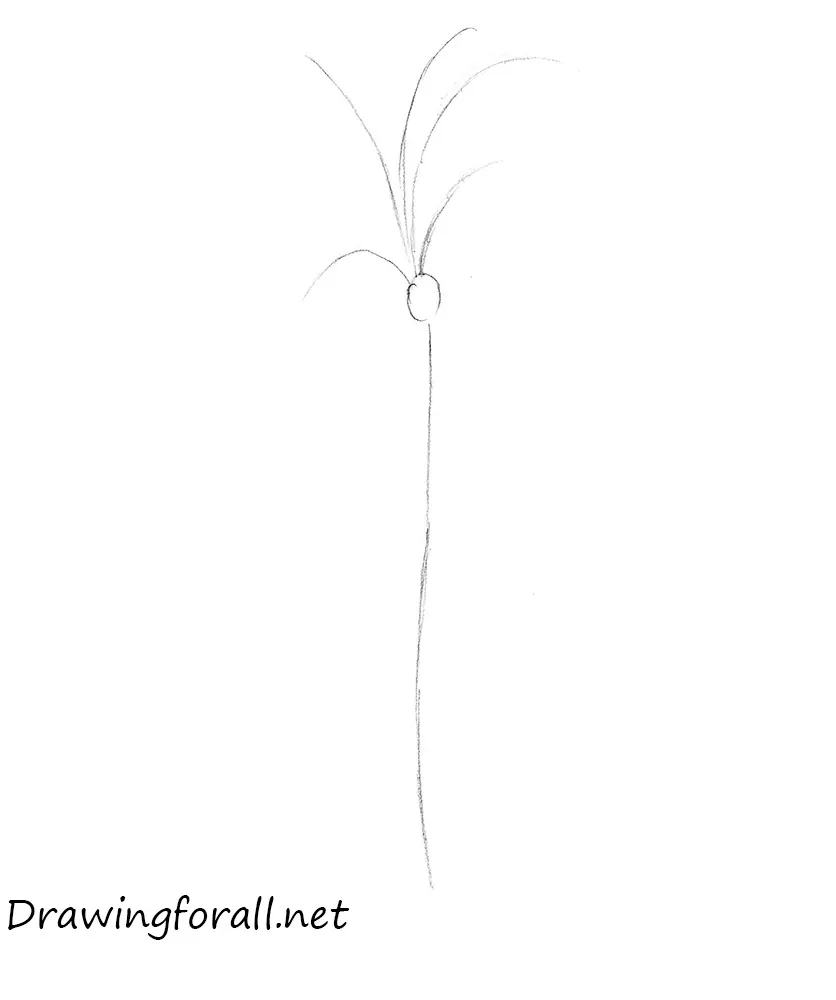
First, draw the outlines of the palm tree. Draw a long and slightly curved vertical line. At the top of the line draw an oval, as a guide for the coco. Also, draw guides for palm leaves, using slightly curved lines.

Step 2
Continue to draw a palm tree. Draw another vertical line parallel to the first. The trunk of the palm tree is almost ready. Then draw two more small ovals at the top of the palm trunk. Draw a few (or more precisely – eight) lines at the top of the palm tree, as guides for leafs.

Step 3
Okay, now add some short horizontal stripes to the trunk of the palm tree. Circle the lines of the leafs, and draw short strokes near each leaf. Using horizontal hatching, add the shadow under the coconuts.

Step 4
Now, using very light and loose lines, circle the outlines of the leafs. Add some more short strokes to the leafs, as in our example. Add some more shadows to the leaves and upper part of the trunk. Draw another one coconut, which located behind the leaves.

Step 5
Using vertical hatching add the shadow to the one side of the trunk. Then, using light diagonal strokes, add soft and diffuse shadow in the area of dense shade, which is located under the coconuts. Also, using light touches, add some shadows to the leaves. Using hatching add shadows to the coconuts. In the same way, we added shadows in the lesson on how to draw grapes.

Step 6
Our drawing lesson, on how to draw a palm tree, comes to an end. Add shadows and some final strokes to the leaves from right. Delete extra touches if they stayed, and make the final touches.

We very much hope, that this drawing lesson helped you learn how to draw a palm tree.


Very nice article, just what I needed.
awesome
It’s perfect!!! Thank you sooo much!
This is the best website ever
Thank you so much!
Thank you for the lesson
love your drawings