How to Draw a Female Face Step by Step
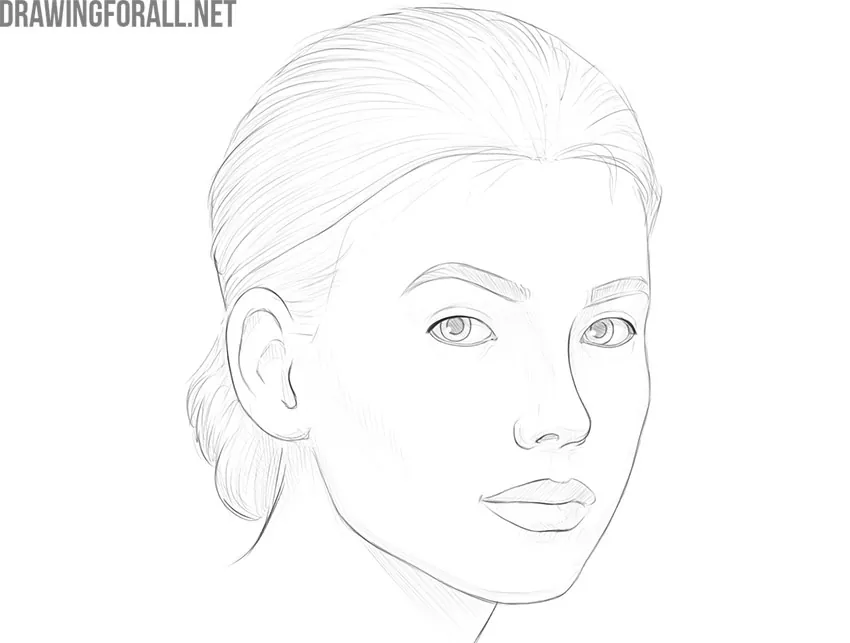
Today we will tell you how to draw a female face step by step. Just follow the steps in this drawing guide and you will get great results. To consolidate your skills, try also drawing a few characters with different facial features.
Step 1
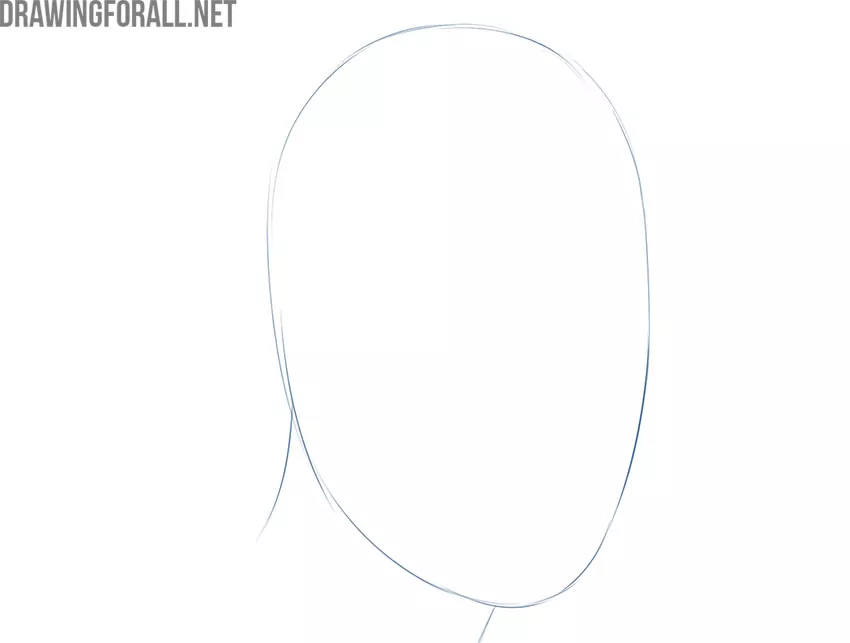
First, draw the approximate contours of the oval of the face. It looks a bit like an elongated egg with a flattened top. Add the contours of the neck in the form of two smooth lines.
Step 2
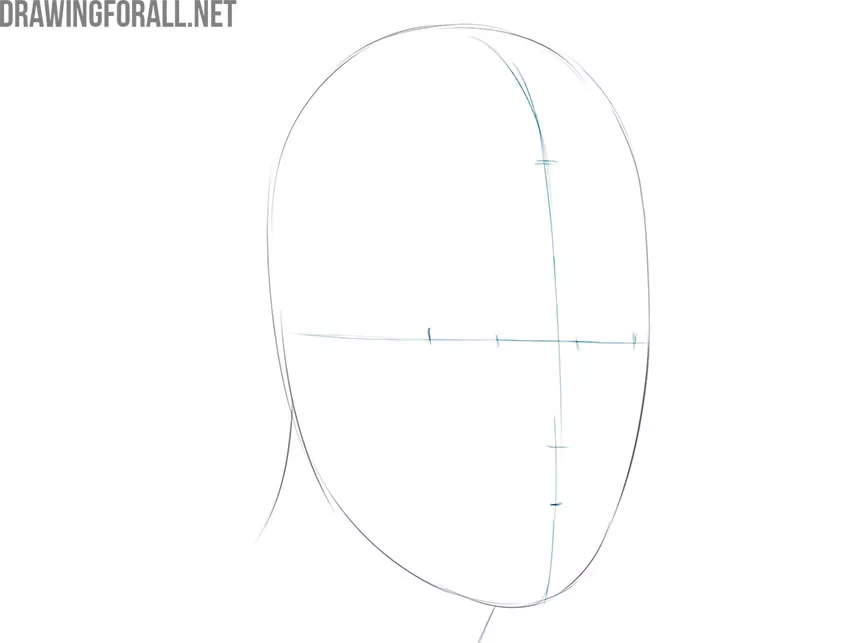
So, we continue the lesson about how to draw a female face step by step. You may think that this step is really very simple. However, the final result depends on the correctness of the actions here. So, mark up the vertical line (this is the hairline and the lip line) and the borders of the eyes on the horizontaт line.
Step 3
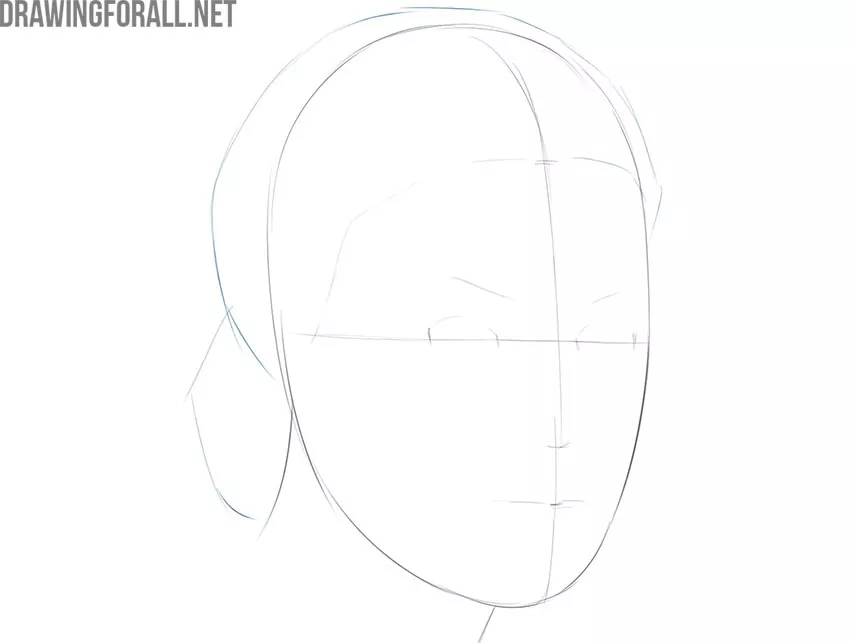
Add hair outlines. In our case, these are the rounded contours of a neat business hairstyle. You can come up with any shape and appearance of hair according to your imagination. Also don’t forget to draw the outlines of the eyes, eyebrows, and nose.
Step 4
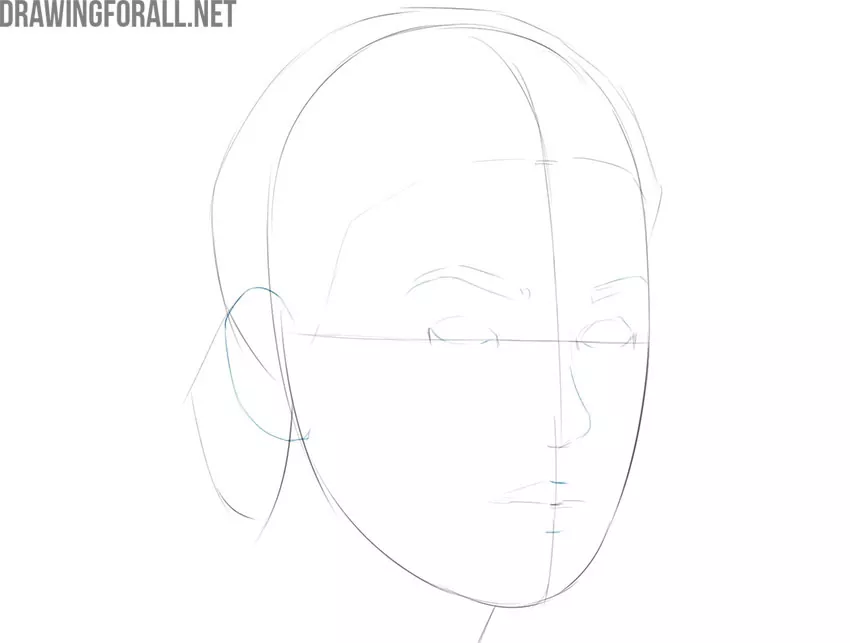
And now let’s draw the contours of the ear. The top edge of the ear matches the eyebrows while the bottom edge of the ear matches the bottom of the nose. By the way, draw also the curve of the nose and small lines of the upper and lower lips.
Step 5
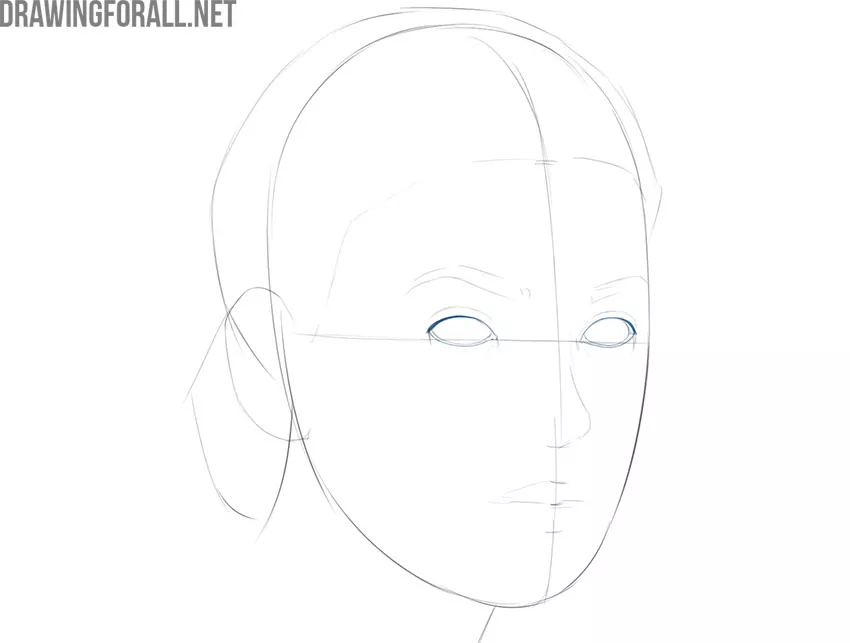
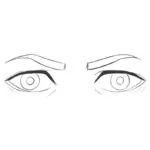
Draw the final contours of the borders of the eyes. Be sure to read our guide about the anatomy of the eyes to understand exactly what you are drawing. After that, read a separate guide about academic eye drawing.
Step 6
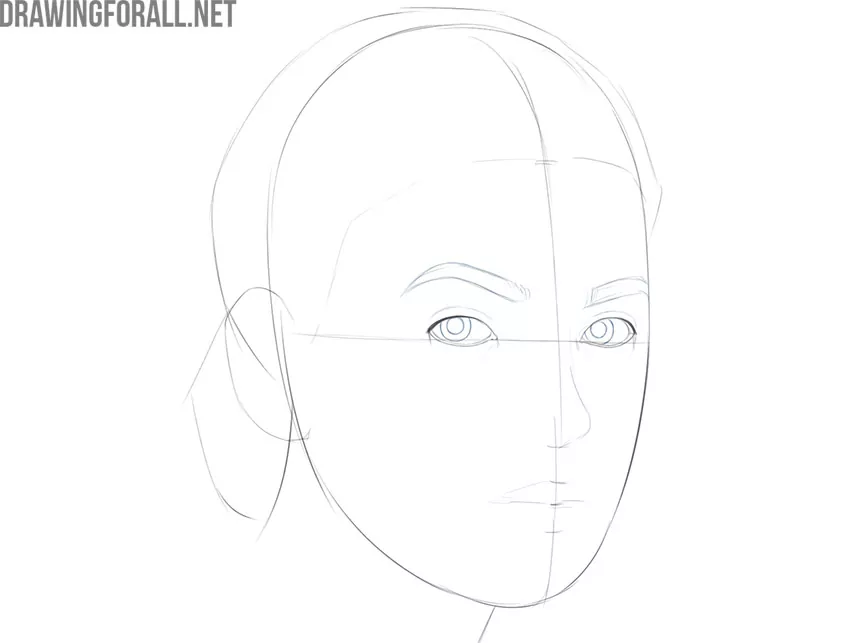
Depict the pupils and eyebrows. Pay attention to the fact that the localization of the pupils conveys the mood and atmosphere of the entire portrait as a whole.
Step 7
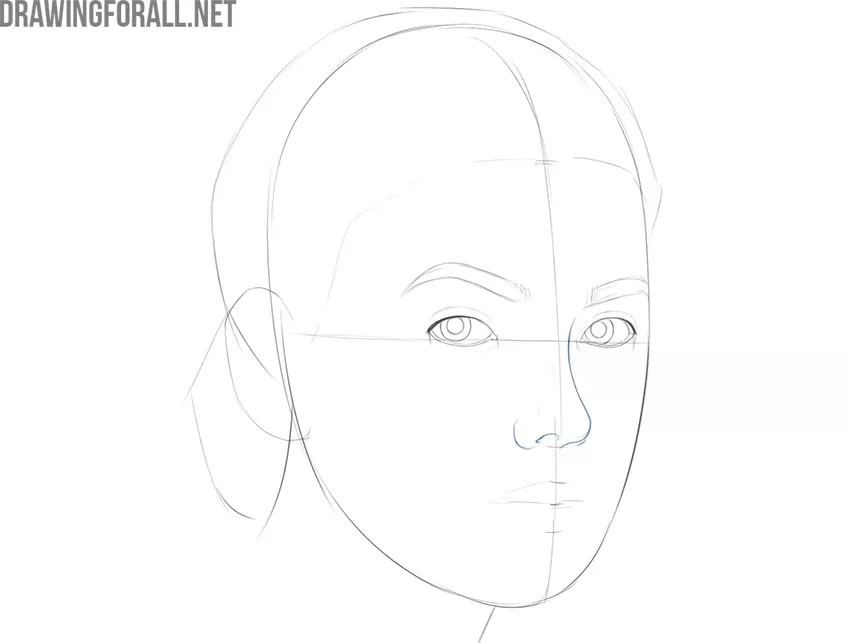
Use smooth rounded lines to form the final outline of the nose and nostrils. You can draw any shape of the nose you want. A thin, pointed nose forms a determined and penetrating gaze. Rounded lines make the drawing more feminine.
Step 8
Ok, now we have an almost completed sketch. Draw the contours of the lips according to the markup from the beginning of this lesson. Choose any lip shape you like. Any change in the shape of the lips relative to the lines of symmetry can drastically change the character’s facial expression.
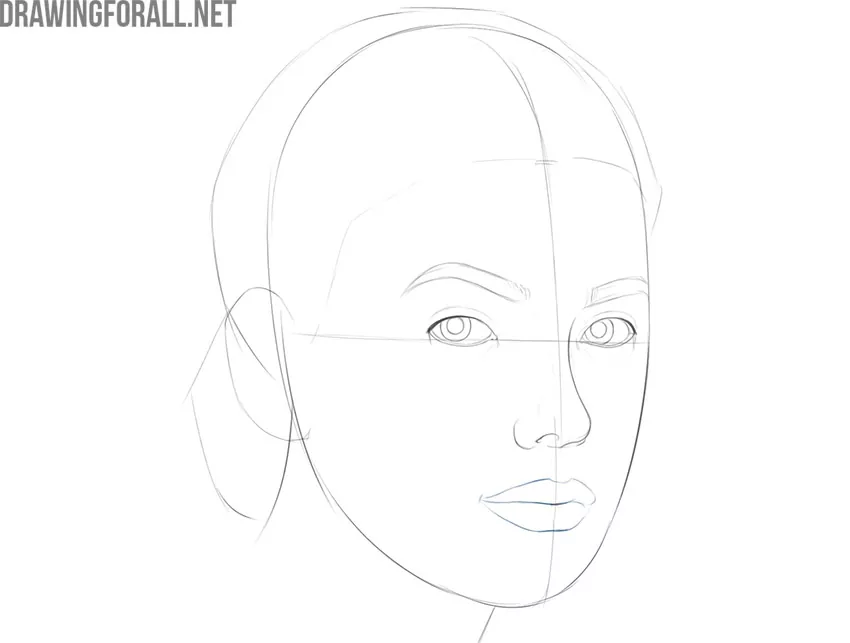
Step 9
You can skip this step if you have drawn a perfectly even outline of the face. However, if you see bumps, you can fix it now. Notice the smooth angle of the lower jaw that was missing in the previous steps. Also, draw the auricle. As before, a special ear anatomy lesson for artists will help you.
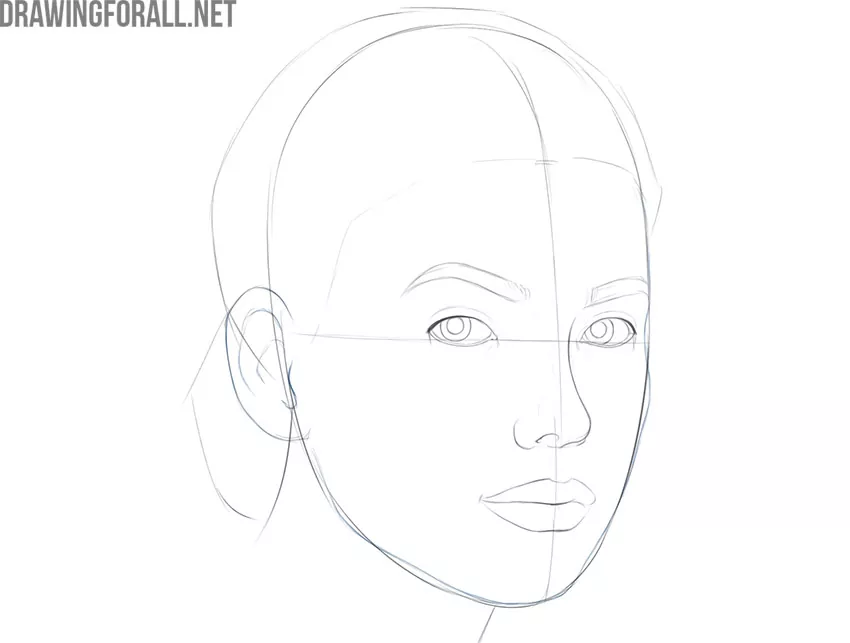
Step 10
Erase the extra lines inside the hairline. Draw some lines from the hair to the roots like in our sample. Avoid too much detail if you want to do the same hairstyle. In fact, you can choose any hair shape or no hair according to your imagination. After this action, you can remove all extra lines from the entire drawing as a whole.
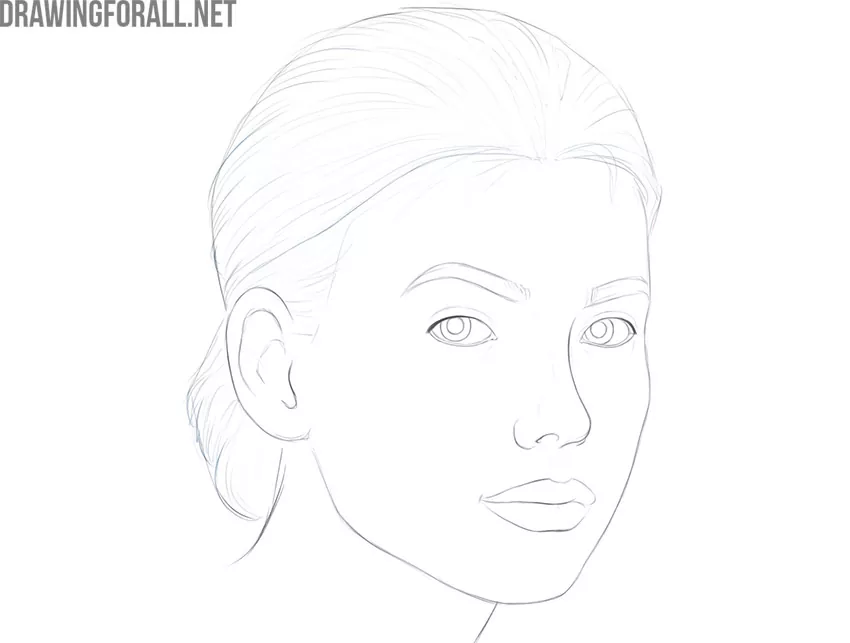
Step 11
Use dense hatching to fill in areas inside the contours of the eyebrows and pupils. Small light highlights in the lower parts of the pupils will make your drawing more alive. Also, add some shadows that look like single-layer hatching areas.
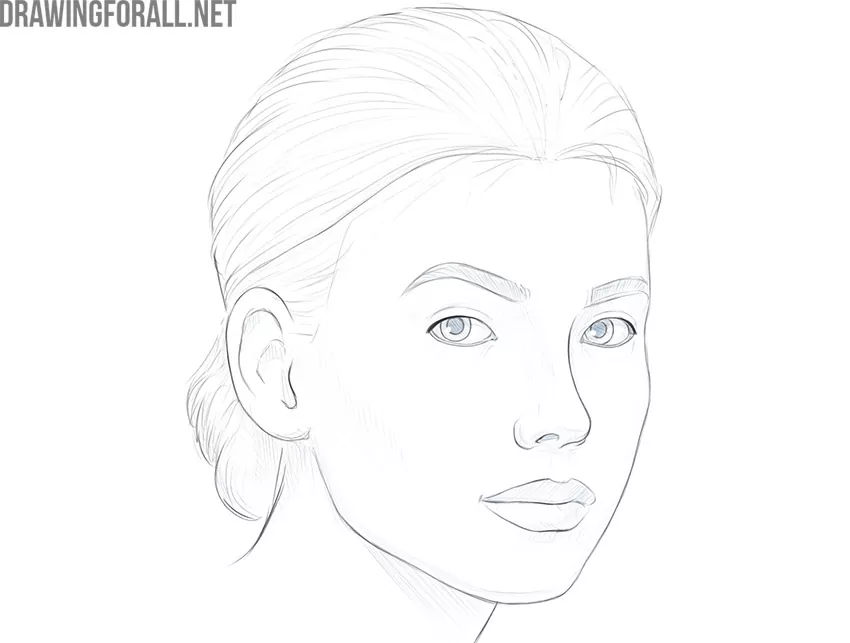
Step 12
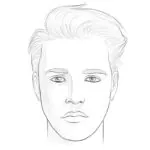
So, this is the end of the tutorial. In the end, you should get something like this.


😊😊😊😊your work helps me a lot
What a wonderful website. You make it so easy to draw! Thank you
Thanks! this helps me a lot! NOT!
Thanks! this helps me a lot! NOT!
i am a beginner and i am getting it wow thank alot