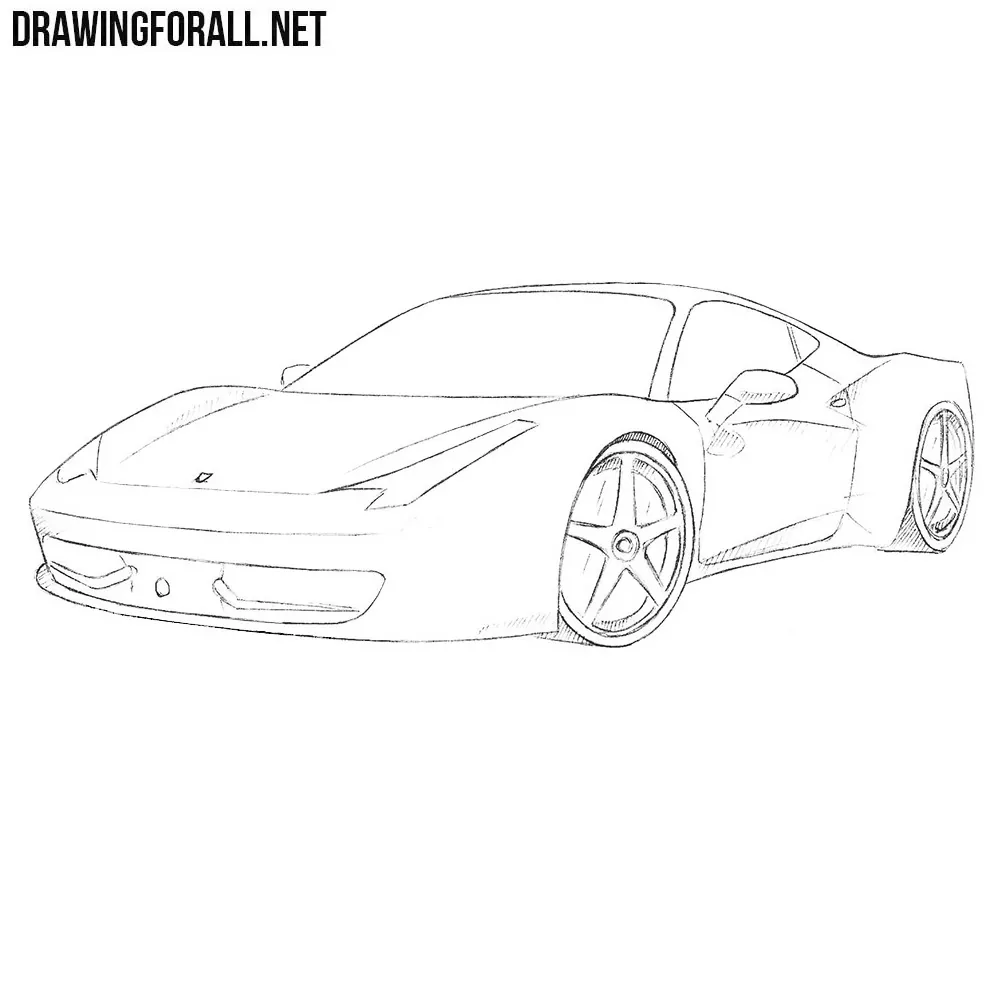
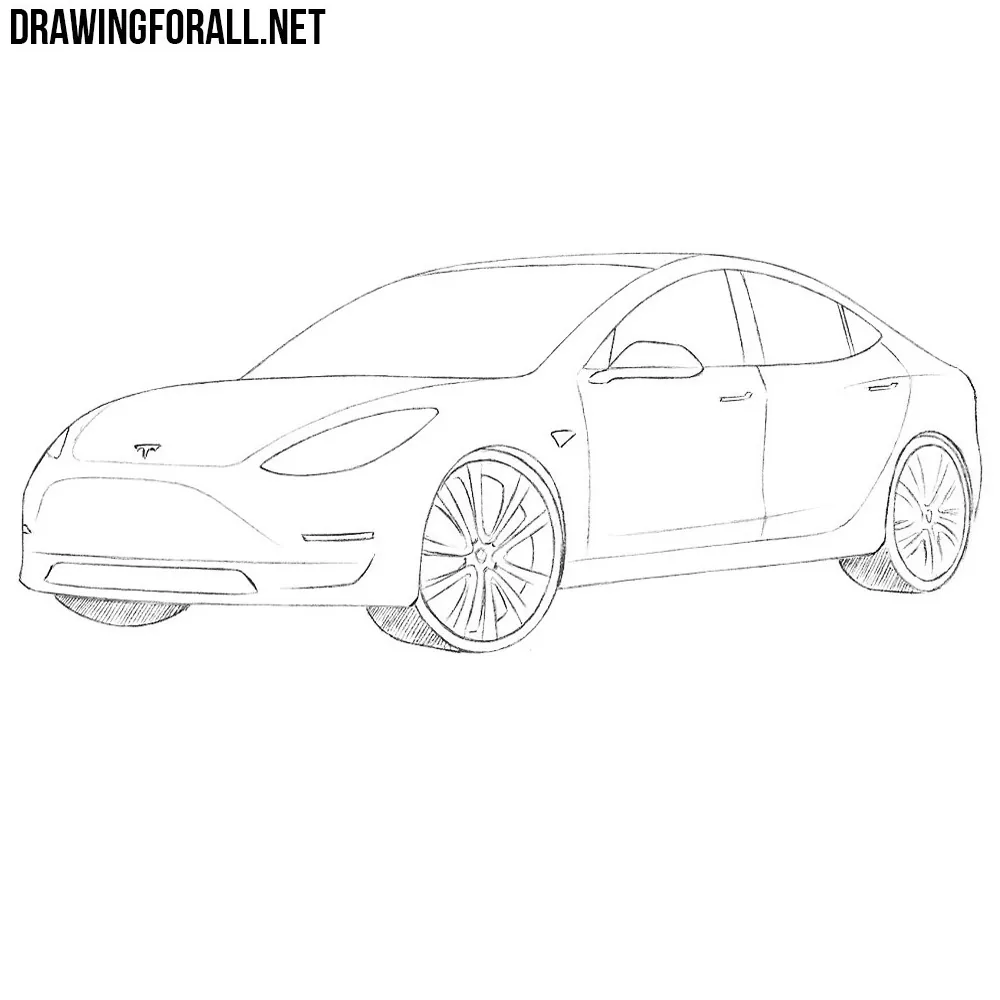
How to Draw a Car Side View

Using this step-by-step tutorial, you will learn how to draw a car from a side view and give it a realistic sense of volume.
We previously showed you how to draw a car in a three-quarter view using all the classic academic methods for creating a volumetric and realistic drawing on paper.
Here we want to show how to apply those same skills when drawing a car from the side. The most important thing to remember in this angle is that you are still drawing a three-dimensional form, not just a flat image.
This means that even though we see only the side surface of the car and its individual parts, each of these masses, as well as the overall mass, is a three-dimensional structure.
This understanding should stay in your mind throughout the entire drawing process so that the side-view car drawing does not look flat and lacking volume.
How to draw car side view step by step
Step 1: Sketch the outline of the car side profile
Use light strokes to mark the left and right sides, as well as the top and bottom edges of the car body on the paper. Then carefully sketch the general outline within these boundaries, trying to use easily erasable lines and only indicating the overall symmetry of the car without the wheels. Leave a little space below for them.

Step 2: Draw the window frame and wheel arches
In the upper part of the body, where you marked the outline of the cabin, indicate the elongated shape of the car’s window frame. It should partially repeat the outline of the roof. Then below, on the left and right, sketch the wheel arches as semicircles.

Step 3: Draw the headlights and wheels
At the front, mark the outlines of the headlights, and at the back, the taillights of the car. Inside the wheel arches, sketch the outlines of the wheels themselves with general rough lines. Try not to concentrate on one point, but work alternately on the left and right and upper and lower parts, that is, work on the car as a whole.

Step 4: Draw the rims of the car
Determine the central points of the wheels and mark the outlines of the hubs there as circles. Then draw the edges of the car rims, trying to make the front and rear wheels absolutely identical in size and shape. Check the overall proportionality of the drawing and the symmetry of the parts, as well as how the details relate to the overall mass.

Step 5: Draw the car headlight and bumper
If all the general forms and masses are correct, then begin adding details, starting with the front part of the car. First, outline and refine the front headlight with clear and clean lines. Then draw the visible part of the car front bumper and the side edge of the air intakes.

Step 6: Trace the hood and front wheel arch
Continue the line of the bumper and the front surface of the car, and carefully draw the hood. Give it a smooth and clear appearance. Then carefully draw the contour of the front wheel arch of the car, trying to make it smooth and clean.

Step 7: Refine the hood and window frame
Extend the hood line farther and carefully draw first the front pillar of the car, then the roof, and the rear pillar, giving the side profile of this part a more finished look. Then outline the contour of the window frame, trying to place it neatly within the roof contour.

Step 8: Draw the car trunk and rear bumper
The line that ended in the previous step should now continue farther, forming the outline of the trunk and the rear bumper. After you do this, carefully draw the taillight, also keeping in mind that all of these are three-dimensional forms, not just flat lines on paper.

Step 9: Refine the rear wheel arch and bottom edge
Outline and refine the contour of the rear wheel arch, trying to give it the same size and shape as the front one. Then connect these two arches with a long smooth line, forming the lower edge of the car body.

Step 10: Draw the doors and handles of the car
With a pair of slightly inclined lines, mark the central pillar of the car. Then, with a long line, draw the division between the front and rear doors through the center of this pillar and down to the lower edge of the car. From this line, draw the front and rear doors with smooth and clean lines. Within the contours of the doors, closer to the window frame, mark the handles.

Step 11: Draw the side mirror and body lines
At the front corner of the front window, draw the side mirror, keeping in mind that this is a three-dimensional form that projects toward us. Then on the side surface of the car, mark the body character lines, trying to make them lighter than the main contours of the car.

Step 12: Refine the wheels of the car
Working alternately on the front and rear wheel, carefully first outline their contours, trying to give them an ideally even and clear appearance. Then inside, outline the contours of the rim edges and the hubs in the central part. The wheels should ultimately have the same even, clean appearance.

Step 13: Draw the spokes of the car rims
From the central hubs, now draw the spokes of the car rims extending outward, also trying to work alternately on the front and rear wheel, comparing them with each other regularly and trying to step back from the drawing and look at everything as a whole so that both parts look as symmetrical as possible.

Step 14: Clean the lines of the car drawing
Carefully erase the lines of the auxiliary forms and contours that show through the main drawing. Strengthen and darken those lines that serve as the final contours of the car body and wheels. Be sure to check once again the proportional symmetry of the car, its individual parts, and their relationship to the overall mass.

Step 15: Shade the vehicle to show volume
Keep the basics of drawing and the rules of light and shadow in mind, and begin shading the car starting from the darkest areas and moving toward the lighter ones. Draw the shadows and highlights, remembering that you are doing this on three-dimensional planes, and the shading should emphasize this. It is precisely the shadows and shading that will help give your car drawing an even more volumetric appearance.

Step 16: Finalize the car side profile
Finally, check the accuracy of your car drawing, the proportionality of its parts, as well as the tonal relationships of colors and shadows. Increase the contrast in those places where it is necessary in order to give your side-view car drawing an even more volumetric appearance.

The side surface of a car is only one of the sides of the vehicle that we see when the car is turned toward us with that side.
This seemingly simple idea is not always kept in mind while drawing a car. A beginner artist may forget about volume and about the fact that a car has other sides, and start drawing a flat surface on flat paper.
This will lead to the drawing looking flat and lacking volume.
When you draw a car from the side, always remember that it has other sides. Keep the volume and the form in mind, try to look through the car and remember that you are drawing a three-dimensional object.
How does this appear in practice?
For example, when drawing the front and rear headlights, remember that they slightly turn away from us, toward the front and rear sides of the car.
The same thing happens with the front and rear bumpers. The same situation applies to the hood, the roof, and the trunk.
These slight changes in direction should be shown on paper so that the car looks volumetric and realistic.
In addition, when we think about a car from the side, we usually remember only the wheels that face our side.
But there are also two more wheels that remain behind those facing us. By indicating them on the far side with light contours, you can convey the volume and three-dimensional structure of the car.
However, all of these are only specific examples of volumetric thinking that should always be present while you draw anything, including a car from the side.
To further develop your spatial thinking and your understanding of perspective as applied to vehicles, be sure to study our lesson on drawing a car in perspective.
In that lesson we explain in detail all the basic principles and artistic techniques that will help you understand how to draw volumetric cars.

this was very helpful, as I had to use it as a guide to help draw my daughter’s homework, Thank You
thanks helped a lot
Hi, am artist it really helps.
That helps a lot thank you so much.
This was super
It is realy cool
really good one aye
I was trying to draw a race car but this was awesome
Great drawing tutorial! I love to draw cars!
We are preparing another tutorial on how to draw a car for beginners. It will be even easier than this, so do not forget to visit our site soon.
i like how there’s all these bot-looking comments
Lol I know right 🤣🤣
This was not helpful at all
hi real need help can someone help me ? this is for my home work pleasl help me
im tying to draw a elctric car can you draw that?
Hello. There is a tutorial on our site called How to Draw a Tesla, go to this page through the search and draw this electric car.
try harder and believe in yourself
Yes try harder and believe believe you can do it drawer
keeping going don’t give up yet
It’s not that hard
Yes yes. it is but if you practice it won’t be so hard after all
Hey thanx a lot i mean mine looks great urs looks great and it help a ton
really good thx 🙂
As the admin of this site is working, no question very rapidly it will be famous, due
to its quality contents.
Perfect!
this was the one ever😶😐😑😤😠😡🤬🤬
This is really helpfull but im not good at art but im proud of what i did 😀
I have really liked this thanks a lot I will fertilize my drawing skills
I love it well i didn’t get the drawing well but i’m proud😎😎😎😎👈
Great drawing tutorial!
chandler would pay you 100 dollars for your drawing
I am bad at drawing but it worked out pretty good thank you so much whoever you are.
happy birthday……..i guess…..
Not too hard
It was really easy for me
This is a great tutorial for beginners!
not hard at all just get good
Get good everyone u guys are so bad