How to Draw a Strawberry
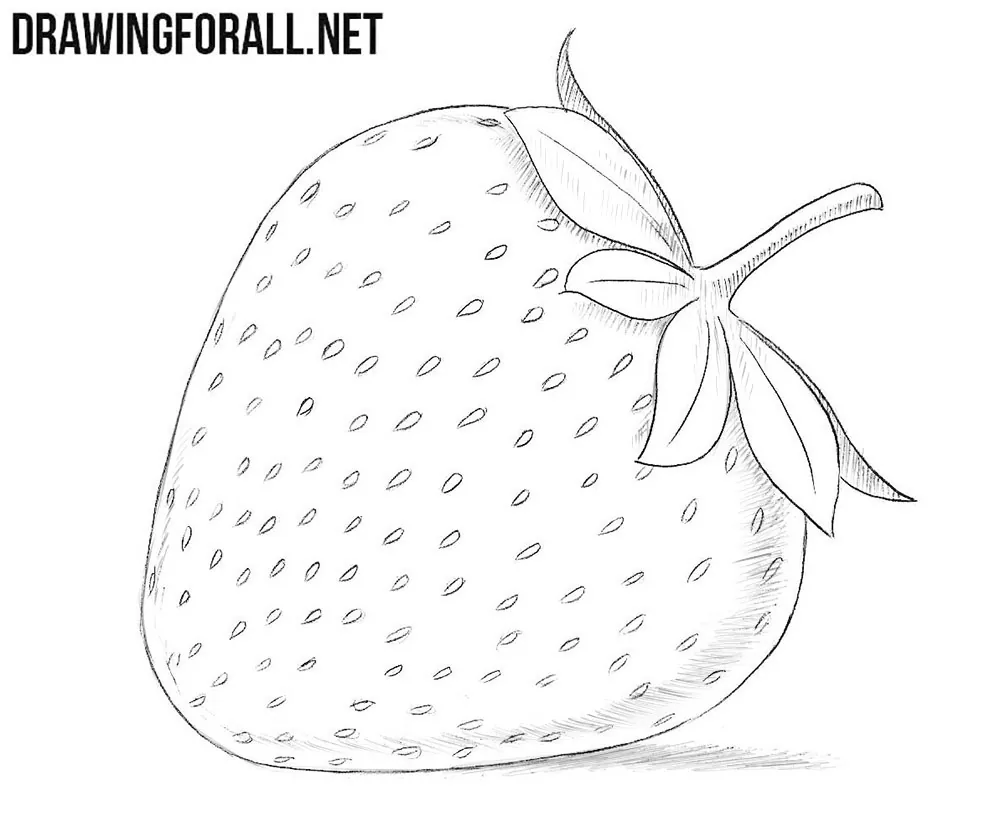
In this tutorial, we will show you how to draw a strawberry step by step. It will be very easy, but by the end of the tutorial, we will have a realistic-looking berry.
How to draw a strawberry step by step
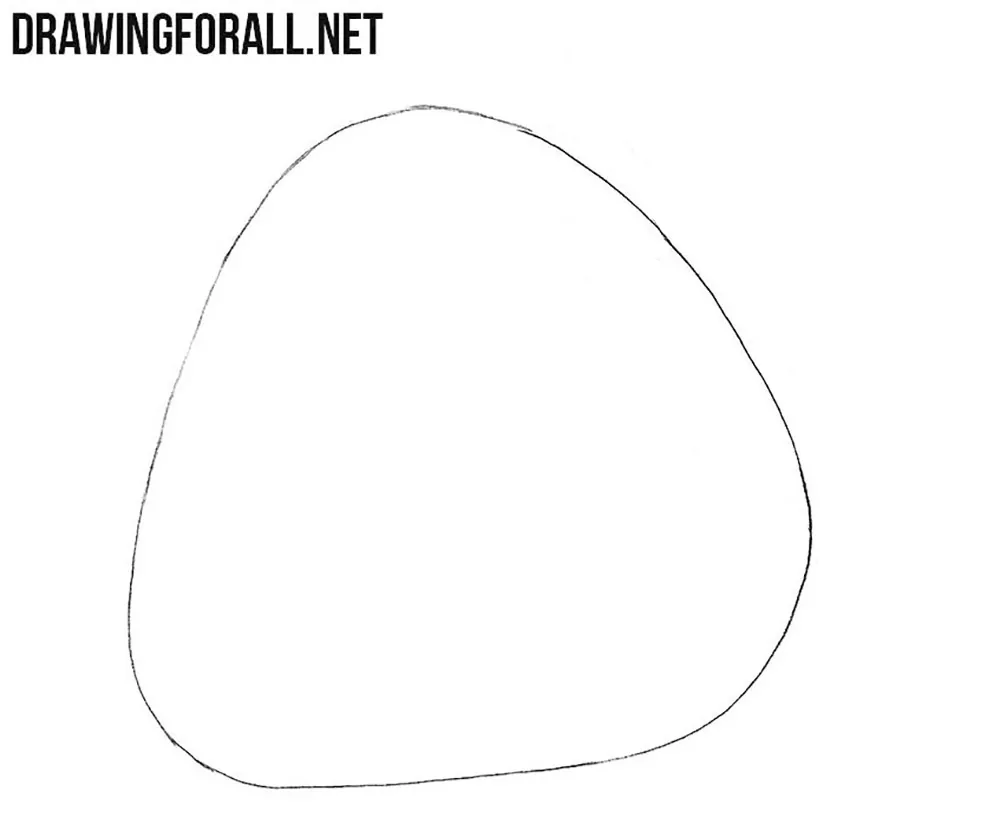
Step 1: Sketch the strawberry shape
First, draw a shape that resembles a triangle. However, it is not a true triangle because it has no sharp corners. Sketch this rounded shape to form the basic outline of the strawberry.
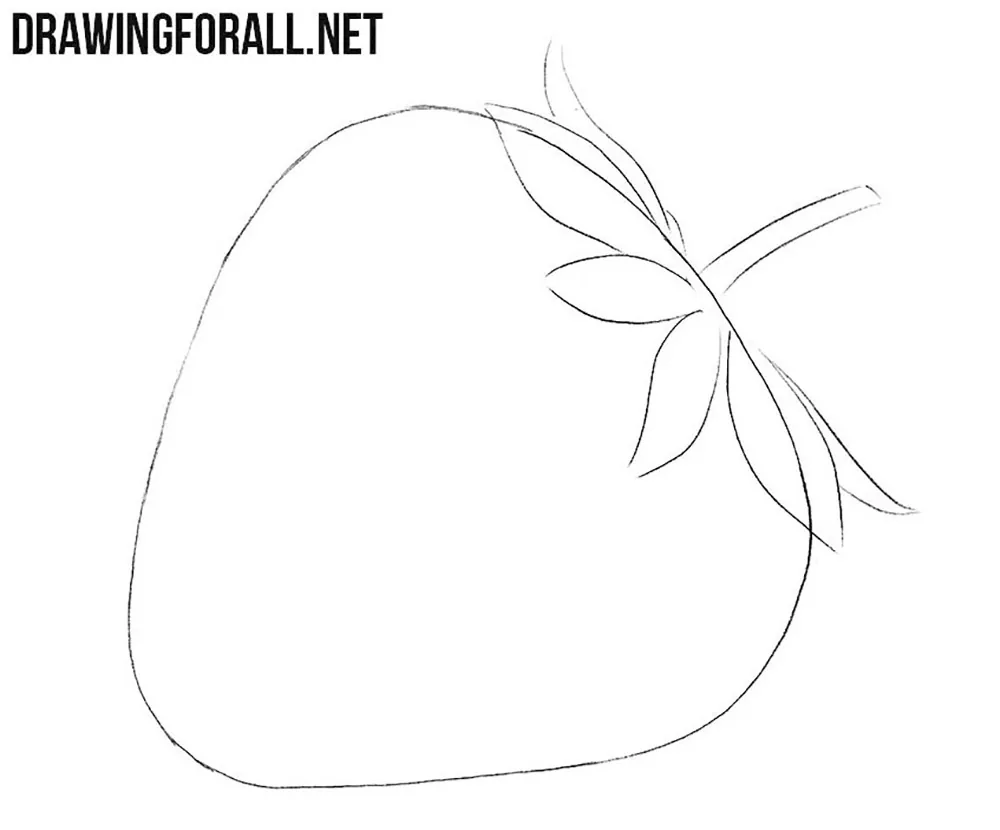
Step 2: Draw the strawberry leaves and stem
Now draw several leaves and a short section of the stem. Note that the longest leaves should be positioned along the sides because of the viewing angle.
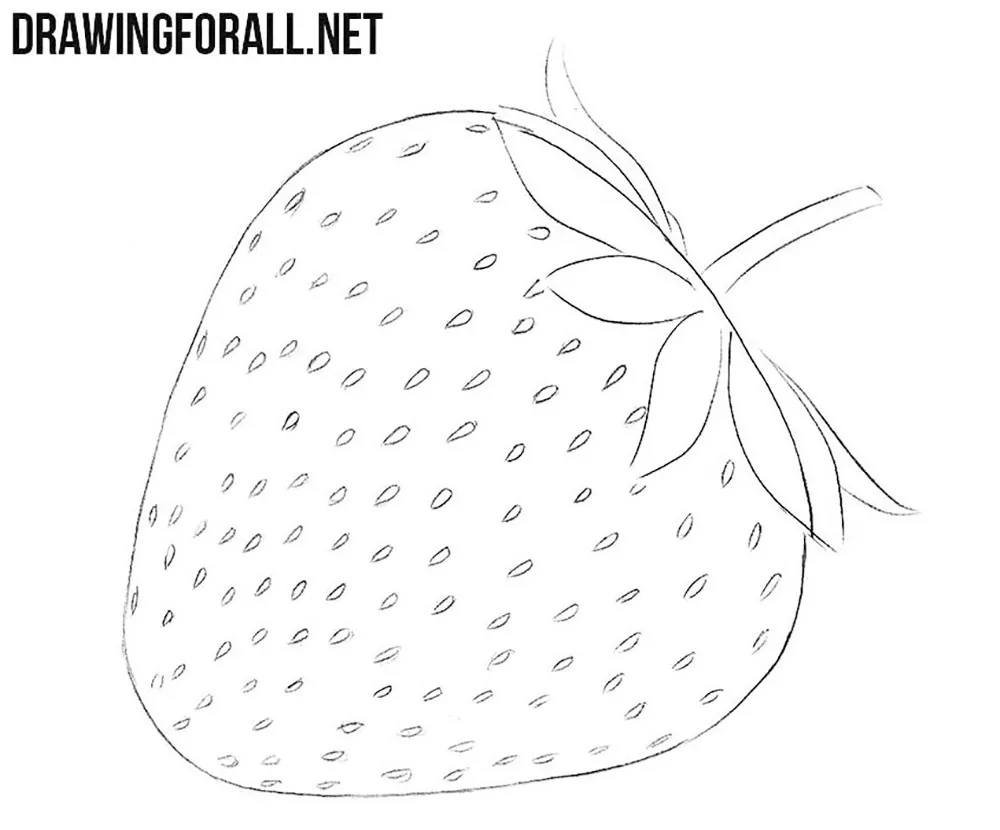
Step 3: Mark the strawberry seeds
This is the easiest part of the tutorial. Place many small dots inside the outline of the strawberry.

Step 4: Outline each strawberry seed
Outline each dot from the previous step to create small shapes that resemble strawberry seeds.
Step 5: Detail the strawberry leaves
Draw a central vein along each leaf. After that, erase all the unnecessary guidelines from the leaves.

Step 6: Add shadows to the strawberry
Draw shadows to make the strawberry look more three-dimensional and realistic. Do not forget to add the cast shadow on the surface below it.

This tutorial showed you how to draw a strawberry in a realistic style. Now let’s take the next step and learn how to draw a strawberry plant with several ripe berries, leaves, and flowers.
How to draw a strawberry branch
Outline the berries and mark the main leaf veins, placing the largest berry in the center. Sketch the leaves, stems, sepals, and a few partially hidden berries.
Add the remaining stems and leaves of different sizes, then refine the jagged leaf edges, draw the seeds and flowers, and apply the first shadows with hatching.
Continue shading the berries and leaves, adding soft mid-tones while leaving small highlights unshaded. Finish the strawberry branch drawing by shading the remaining berries and leaves until the entire composition looks complete.

Further drawing practice
A strawberry is a popular berry that often appears in still-life compositions. This tutorial can therefore be useful for anyone who wants to practice drawing a bowl of fruit or drawing a still life.
To improve your skills, visit our Food category, where we have published many tutorials on fruits, vegetables, and different vessels.
Do not forget to visit our Pinterest page, where we publish shortened versions of our drawing tutorials. You can also visit our YouTube page for video tutorials.
If you liked this strawberry drawing tutorial, write about it in the comments. It helps us greatly in our work.


Thanks for the tutorial ☺It wasn’t helpful