How to Draw a Bird
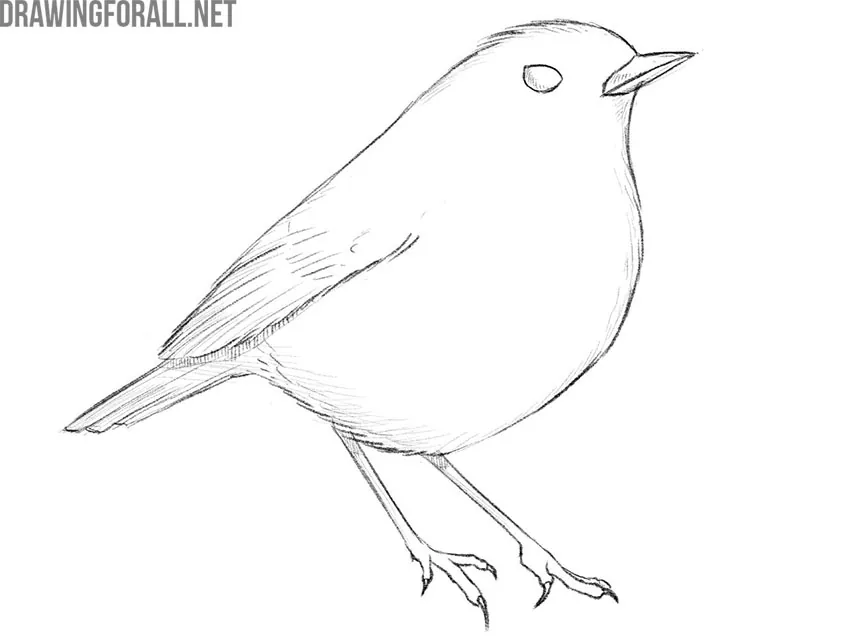
In this drawing lesson we will tell you how to draw a bird. This is a fairly simple tutorial because we have chosen a very simple bird for it. We hope you get really cool results with our tutorial.
Step 1
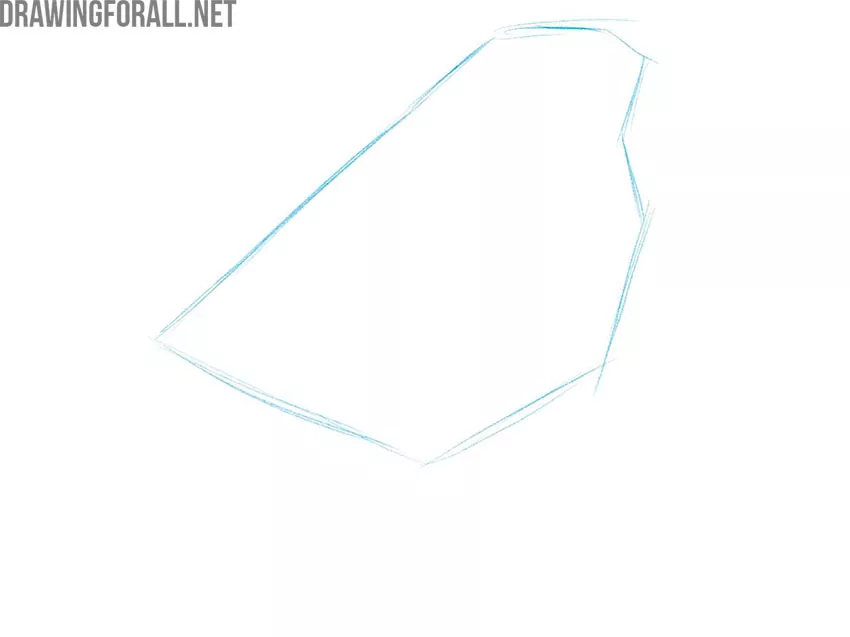
Draw the basic contours of the body of this beautiful bird. Firstly, draw the back part which is formed by two long lines. After that, add the front part of the torso and head.
Step 2
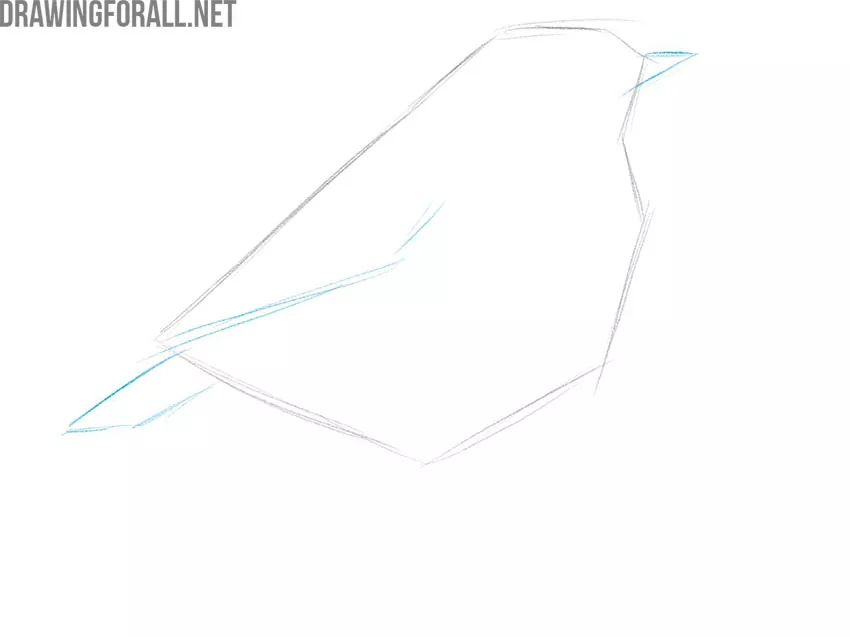
Secondly, add the outlines of a small beak. Also, draw the tail and wing with oblique long lines. Use light oblique lines, this is especially important in the first steps.
Step 3
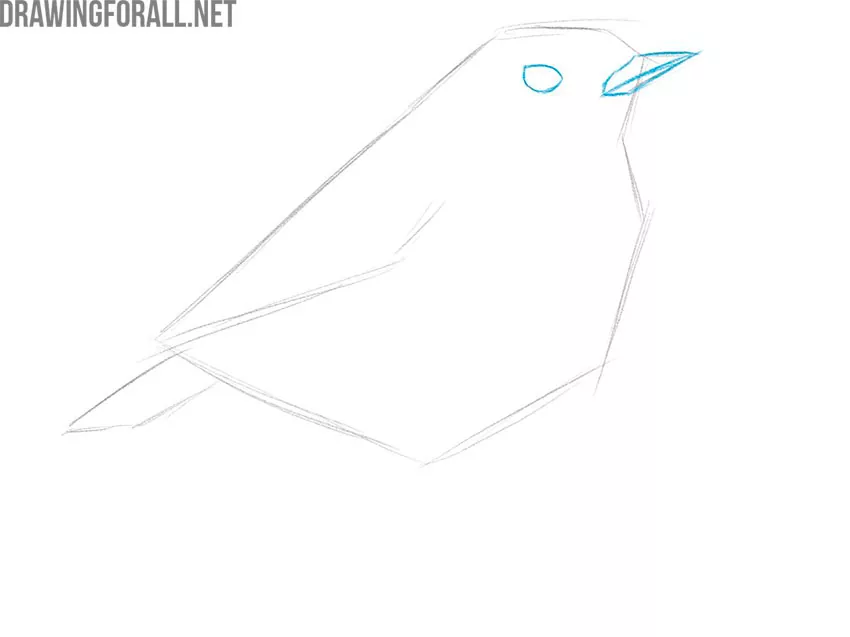
Small details always form the whole picture. Therefore, draw a fairly large rounded eye and a beak in the form of a long rhombus.
Step 4
Let’s make a clearer outline of the body and wings of our bird. Create a slight feather effect with hatching at the back of the torso.
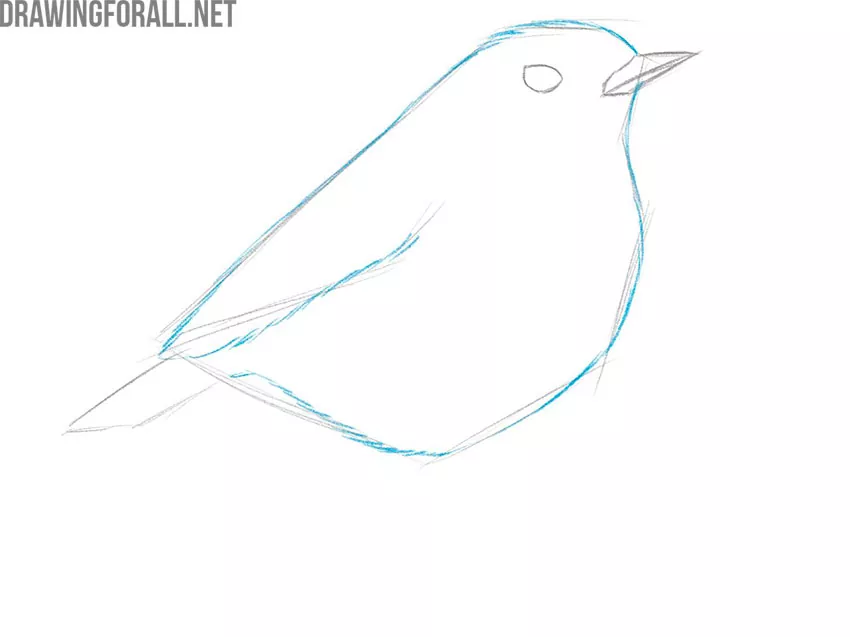
Step 5
With the help of several diagonal lines draw the tail. The same lines should be located inside the contour of the wing.
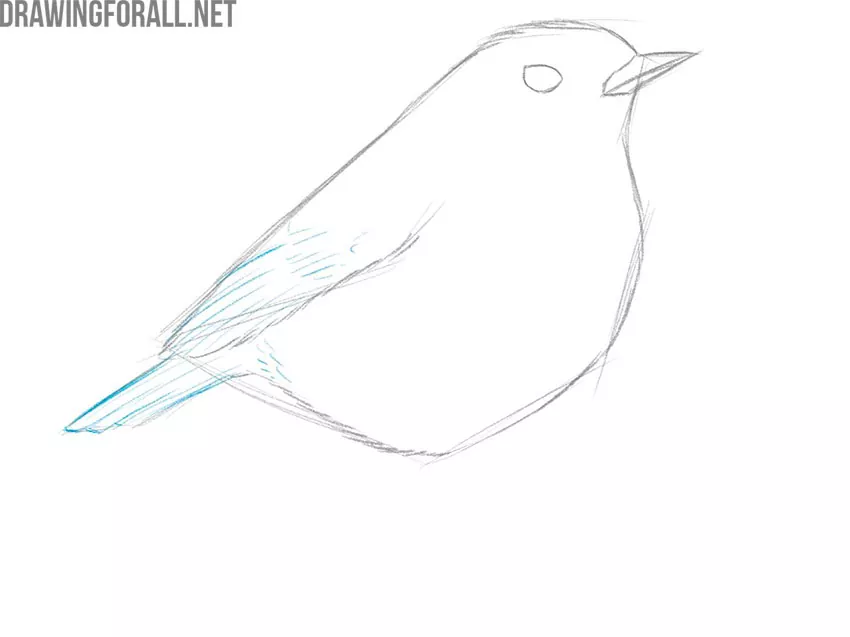
Step 6
Draw long, thin paws. As you can see, these figures expand downward at first very smoothly and imperceptibly, and then very clearly.
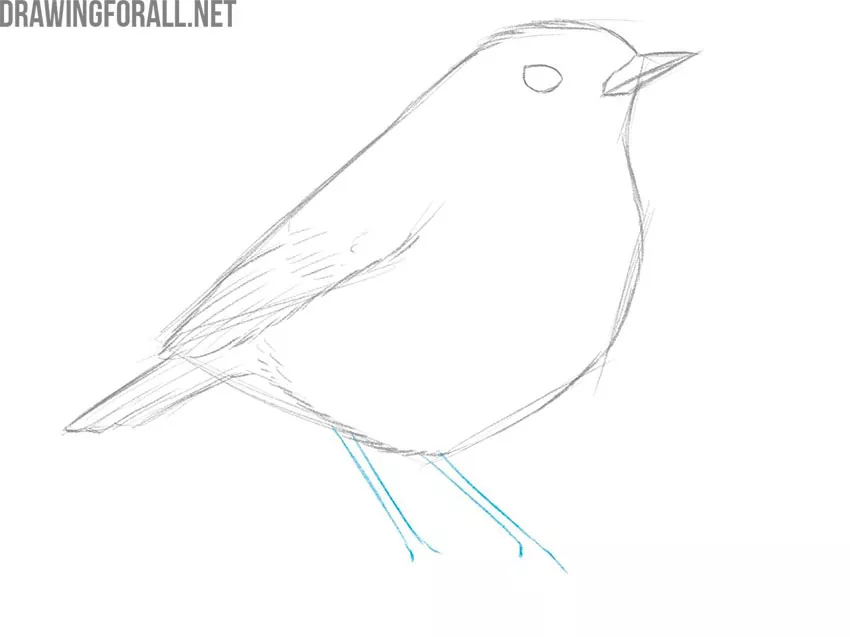
Step 7
This is already very similar to an ordinary city bird, isn’t it? You can see these birds every day. Let’s add some more details and draw paws with long nails.
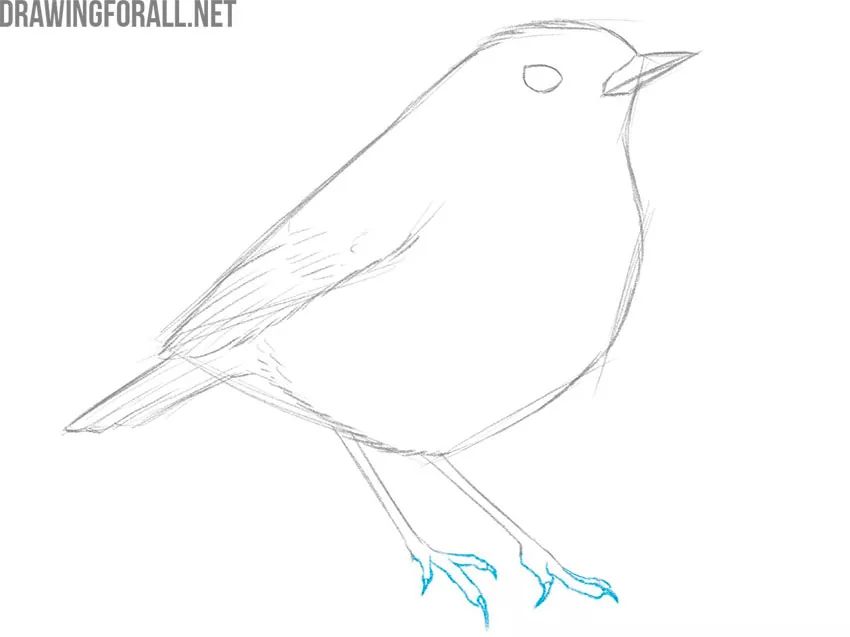
Step 8
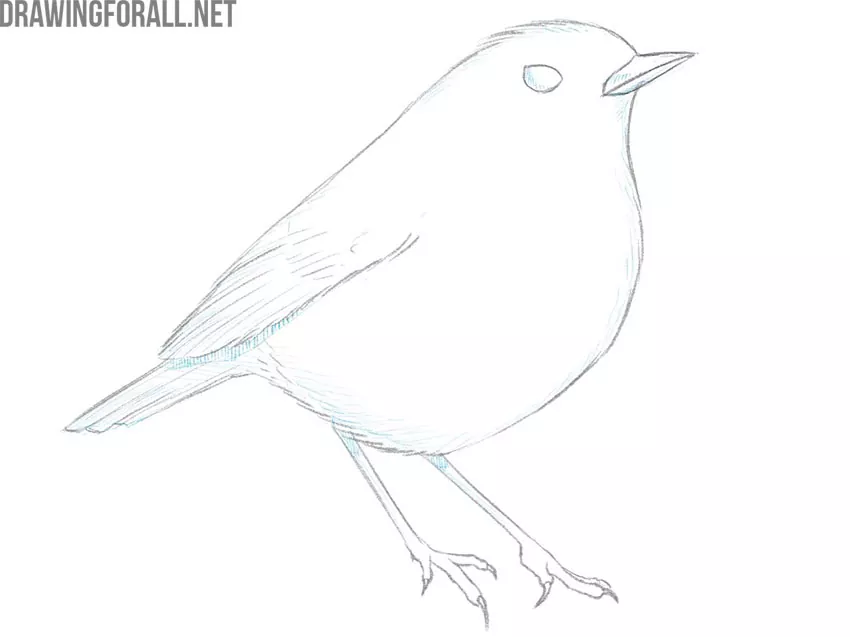
In general, this can be the end of the drawing lesson. If you want to make more realistic art, you can add some lines like in our sample.
Step 9
Erase the extra lines from your lesson. Delete all irregular shapes. If you see any mistakes, find the necessary step and fix it.

So, if you followed our steps, then in the final you should get such a realistic bird. Using the tips from this drawing lesson you can draw a bird in any pose, so practice it, depict more often and improve your drawing skills.


