

How to Draw a Crow
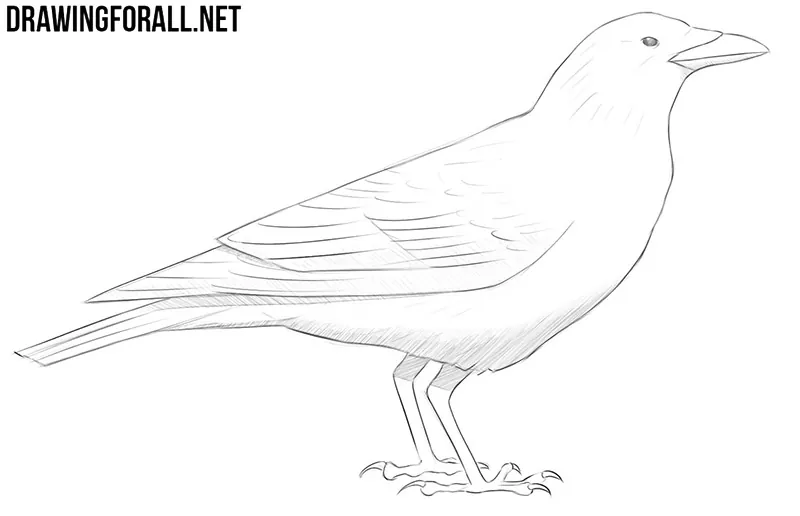
In our basic tutorial on how to draw a bird, we showed the general principles that can be used to depict almost any bird. Now let’s apply them to a more specific example and learn how to draw a crow.
According to the tradition of our site, we will show a very realistic way of drawing a crow, but we will do it in the simplest way.
How to draw a crow step by step
Step 1: Sketch the crow skeleton
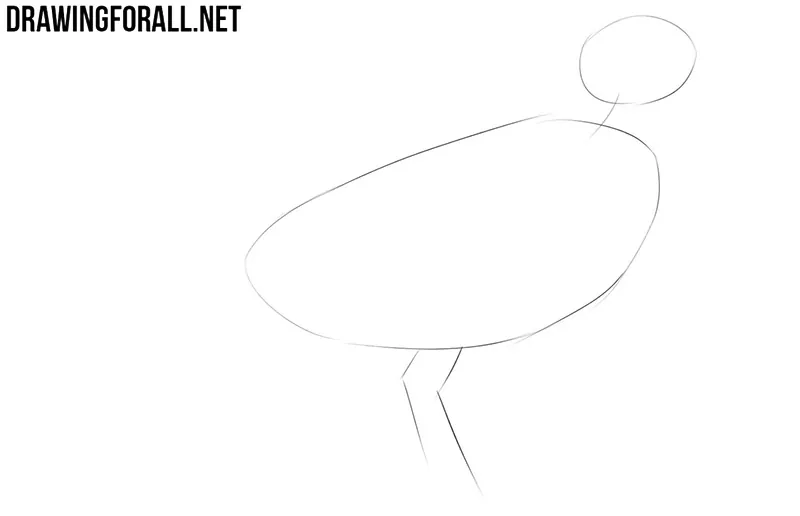
When creating a crow drawing, the first thing we need to do is sketch a simple skeleton. Depict the head and torso as simple ovals, connecting them with a line for the neck. Next, sketch the legs using a few simple lines. Make all the contours and liens very light.
Step 2: Add the beak and neck
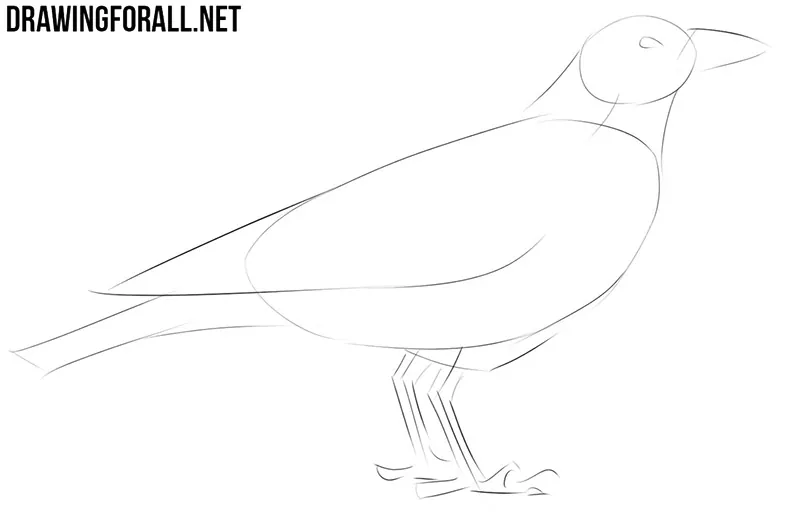
In the upper-middle part of the head, draw the crow’s eye with a couple of light lines. Next, draw the large triangular beak projecting forward from the head. Connect the head and torso with a pair of smooth lines, forming the neck.

Step 3: Sketch the wing and tail
Using a long and smooth line, draw the crow’s wing extending slightly beyond the back of the torso. Next, sketch the general shape of the tail with a pair of light lines. Connect these lines at the end with a short stroke. Mark the overall shapes without adding the individual feathers.

Step 4: Build the crow legs
Now outline the upper parts of the legs where they connect to the bird’s body. Next, using the lines from the first step as a basis, add volume to the legs with simple contours. At the bottom, sketch the toes with a few general shapes.
Step 5: Add the main details
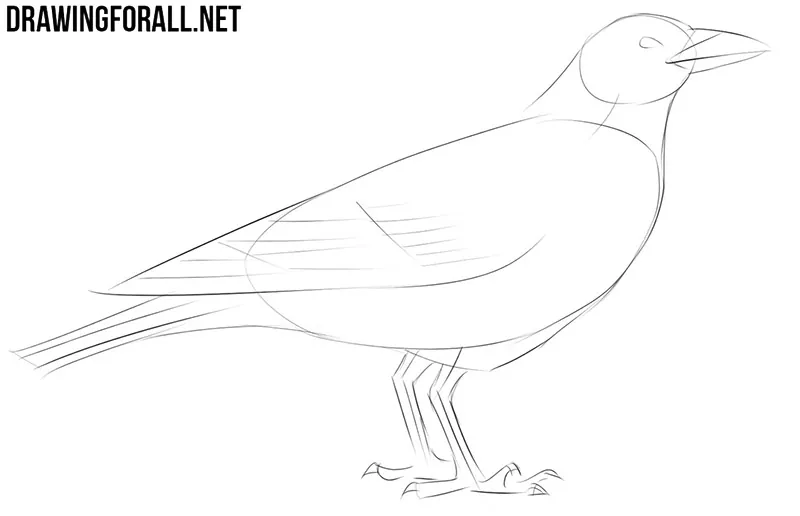
Let’s add the most crucial details to the crow drawing. First of all, form the correct shape of the head and torso, making their contours more smooth and natural. Next, add the basic feather shapes to the wing and tail. At the bottom, refine the toes and mark the sharp claws.
Step 6: Refine the crow head
Starting from this step, we will work on the final details of the crow drawing. With the help of clear and dark lines, trace the outlines of the head and carefully draw the beak and eye. Add the small feather contours on the head and neck. Remove all unnecessary guidelines from this area with an eraser.
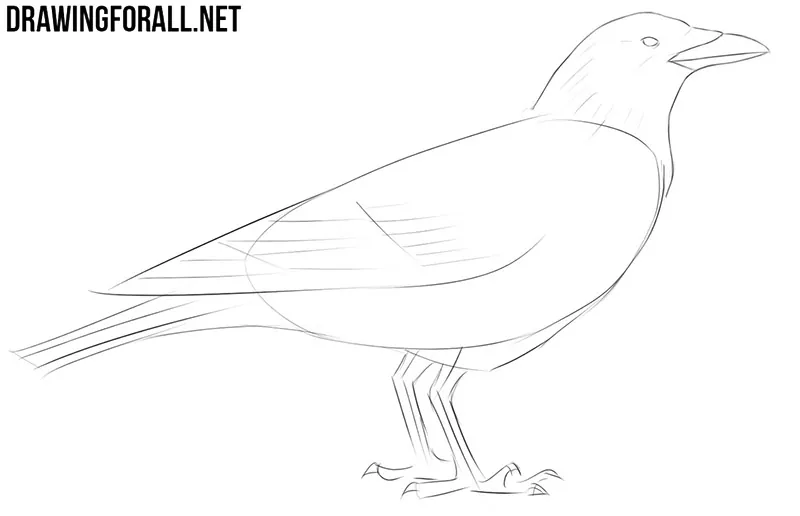
Step 7: Detail the body feathers
Now do roughly the same thing with the body of the crow. Trace the torso with clean and dark lines, gradually removing the unnecessary guidelines. Carefully draw the feathers on the wing and tail, separating the larger feathers with smooth lines.
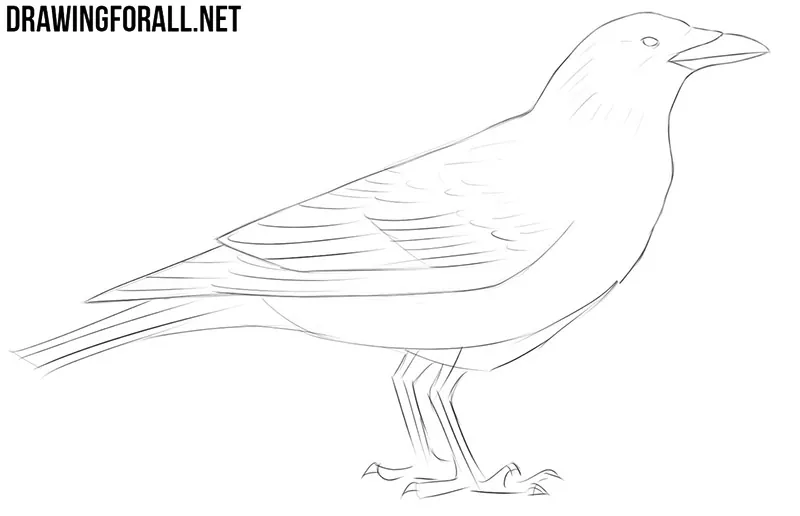
Step 8: Finish the legs and claws
To complete the outlines of the crow drawing, we need to work on the lower part. Make the lines of the legs clean and neat, following the shapes created in the previous stages. Form the correct outlines of the toes and carefully draw the sharp claws. After that, remove all the remaining unnecessary guidelines.
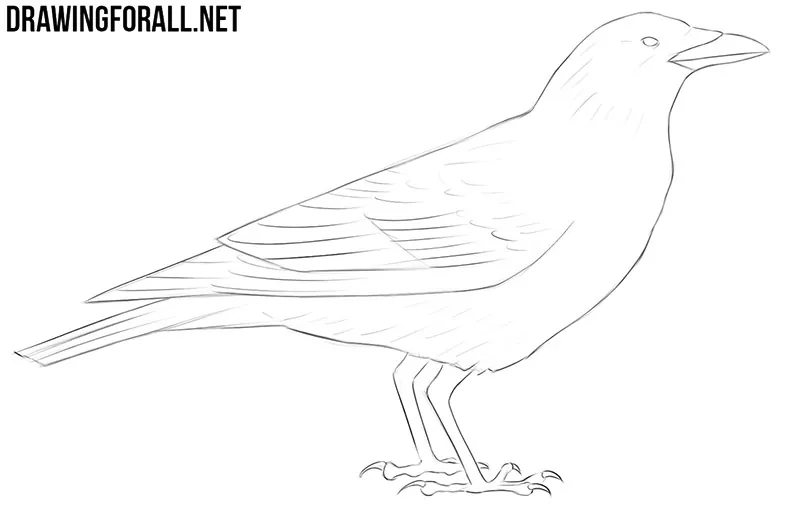
Step 9: Draw shadows on the crow
If you want the crow drawing to have more volume and mass, add some shadows. Use hatching in the areas that receive less light. Add denser hatching under the wing, along the lower body and beak. This will make the crow look more dimensional.
Above, in nine fairly simple steps, we showed you how to draw a crow easily and quickly. This is certainly not the first or last tutorial on how to draw animals.
Now try to draw the same bird sitting on a branch or turn its head in another direction. You can also change the position of the legs or wings. Just try to follow the construction method you already know.



If the lesson seems too difficult, try starting with the simpler lessons from our For Beginners category.
I can draw way better now to this website
idk yeah my looks like a chicken
I am a kid
HI