How to Draw a Samurai

This step-by-step lesson will show you how to draw a samurai and convey the canonical image of a Japanese warrior.
The samurai is arguably one of the most iconic figures in both world media and history. We have seen this image in countless films and other popular works, including Kurosawa’s classic Seven Samurai.
This is the type of samurai we will draw today, giving him a realistic, volumetric appearance and depicting him with detailed accuracy.
The lesson follows the basic principles of drawing the male figure and incorporates a number of advanced techniques, so by the end you will have a highly realistic samurai drawing and significantly improve your artistic skills.
How to draw a samurai step by step
Step 1: Illustrate the initial human figure
At first, outline the general proportions and pose of the samurai. The stance is very typical for the beginning of a battle: the head is slightly tilted forward, the hands hold the sword, and the legs are set wide apart. Start by sketching an oval as a guide for the head. Then, using straight, smooth lines, outline the neck, spine, arms, and legs. Keep the basic principles of the human figure proportions in mind, and remember that in the first steps you should not press too hard with your pencil.

Step 2: Sketch the profile guidelines
To draw the face correctly, you first need to mark the guidelines for the main features. In this example, we are drawing the samurai in profile, so the central vertical facial line is not used. So first, sketch a horizontal line across the head to indicate the position of the eyes. Slightly above it, add a light guideline for the eyebrows and the hairline. Below the eye line, place soft marks for the nose and the mouth.

Step 3: Sketch the kimono and vest shapes
Now begin outlining the samurai’s clothing, working gradually from top to bottom. Using light, angular lines, sketch the contours of the kimono collar, the wide sleeves, and the shape of the kataginu, the traditional samurai vest. At this stage, also place light guidelines to indicate the placement of the folds. Additionally, outline the basic shapes of the hands, which will later hold the katana.

Step 4: Sketch the katana and wakizashi shapes
Now let’s outline the shapes of the katana, the long samurai sword, and the wakizashi, the shorter one. Start with the katana, sketching it with long, smooth lines and avoiding detailed work for now – just indicate the overall boundaries of the weapon. Then, using similar light strokes, outline the visible part of the wakizashi.

Step 5: Draw the wide samurai hakama trousers
Samurai wear very wide trousers called hakama, designed to allow free movement during walking and, most importantly, during combat. Using long, broad strokes, outline the shape of the samurai’s spacious hakama. At this stage, also mark the placement of the folds with light strokes. Then, with very basic shapes, outline the visible parts of the feet.

Step 6: Start drawing the samurai’s face
The general outlines and shapes of the samurai are ready, so begin adding the details. Start working on the head. Using the guidelines from the second step, define the facial features. First, draw the eye from the side along the middle line. Slightly above it, add the eyebrow and place a few wrinkles around the eye. Next, draw the nose and the cheekbone, then depict the mouth.

Step 7: Draw the ear and hair of the samurai
Using the head guidelines, draw the ear and begin outlining the hair. Start with the hairline, then use quick strokes to add texture to the hair. With short, dark strokes, draw the beard. After that, define the lines of the neck and move on to the next step.

Step 8: Detail the kimono and vest of the warrior
Now begin detailing the samurai’s clothing, starting with the upper part. Using clean, confident lines, refine the samurai vest and the wide sleeves. Add folds in the areas where the fabric is compressed or stretched, using smooth, precise strokes. As you draw and introduce more details, gradually erase the unnecessary construction lines to give the drawing a cleaner appearance.

Step 9: Draw the folds on the samurai hakama
Now continue the outlines from the previous step and carefully refine the samurai’s pants, giving them a smoother and more finished look. Add the folds and trouser creases, trying to place them in the correct areas. Next, use smooth, clean lines to draw the scabbards the katana and wakizashi, gradually erasing the remaining construction lines from these parts of the samurai drawing.

Step 10: Add dark shading to the hair mass
When drawing the human figure, it’s important not to focus on one specific area for too long, so we work on different parts of the body alternately, returning to them and refining details as needed. With that in mind, go back to the head and give the hair a finished look. Use dark shading to fill in the mass of the hair, leaving a strip of highlights to create a more realistic appearance.

Step 11: Draw the hands and swords of the samurai
Now return to the arms and the katana, and use clear, confident lines to draw the hands and fingers, showing the tendons and small folds. Then outline the distinctive handles of the katana and the wakizashi with their recognizable texture. As with the other parts of the drawing, gradually erase all construction lines as you add detailed contours.

Step 12: Add shadows to the face and neck
Add shadows to the upper part of the body. We recommend applying them with hatching and cross-hatching. Before adding any shading, determine the light source; in our example, the light comes from the upper part of the drawing. First, use light, short strokes to place the shadows on the face. Then apply the same method to the neck. Gradually darken the shaded areas and add highlights where needed.

Step 13: Draw shadows on the vest and kimono
Next, keeping the principles of light and shadow in mind, begin shading the upper parts of the clothing, making certain areas darker or lighter for a more natural result. For example, you can darken the two stripes on the samurai’s sleeve to give the costume a more distinctive look. You can also add a chest emblem, such as a clan crest (mon), to make the character even more unique.

Step 14: Shade the hands and swords
Keeping in mind that the light falls on the samurai from above, begin adding shadows to the katana, the wakizashi, and the arms. Use clear, deliberate strokes to convey the volume and form of these parts. Remember that the contrast between midtones, shadows, and highlights is what creates a convincing sense of three-dimensionality.

Step 15: Draw shadows on the samurai hakama
Now, in the same way, begin shading the pants. Use a range of midtones to convey volume and fill out the form. Add darker areas to emphasize the shadows, and lighter areas to create highlights that give the pants volume and form. With small shadows and highlights, you can also enhance the folds and creases, making them appear more dimensional.

Step 16: Add shadows to the feet
Finish the samurai drawing by adding the final volume to the legs. First, draw the traditional samurai sandals. Then add dimensional shading to the feet, taking into account the direction of the light. After that, place a cast shadow beneath the samurai so he does not appear to be floating in the air. Finally, review the entire drawing, checking the overall symmetry as well as the proportions of each individual part.

This samurai drawing was quite advanced and included many higher-level techniques for shading, highlighting, and building three-dimensional forms.
Using the samurai as an example, we aimed to show you the fundamental principles of academic drawing, figure construction, and creating a realistic human form.
All of these principles can later be applied to drawing any other human figure. For instance, you can draw a ninja and give him the same sense of volume and shape.
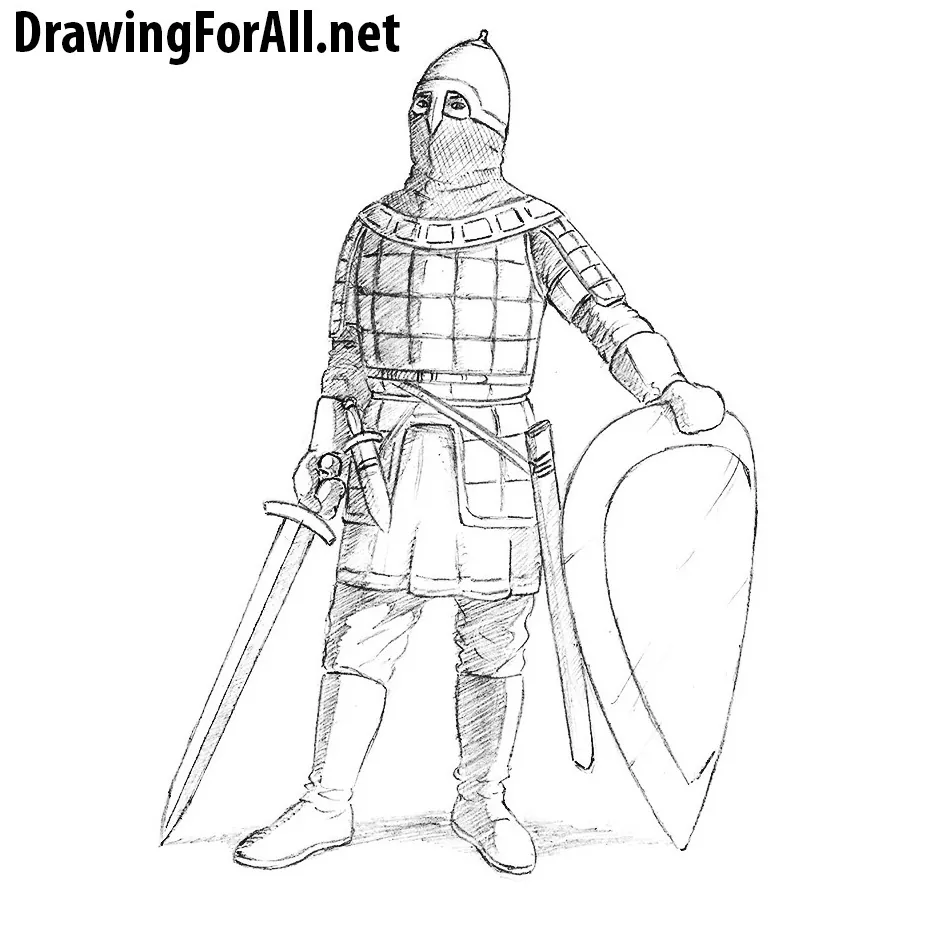
In the same way, you can draw a knight or a medieval warrior from another culture. And of course, these principles are fully applicable to any modern person, animal, or even object, because the fundamentals of constructing volume are essentially universal.


THIS HELPED ME A LOT WITH MY SCHOOL PROJECT THANK YOU!
Glad this tutorial helped.
Great!
Thanks for the feedback.
cOOL!
Glad you liked it.
This was actually helpful
this was super helpful
Thanks, appreciate it.
cool samuri
Thank you very much!
I can draw like this from no image but pretty nice man or woman i give it a 8 and 1/2 out of ten.
simple but very effective, highly recomended
Thanks, that’s exactly the goal.
Okay so step 1, draw shapes
Step 2, draw everything else, you should already know how
If this drawing lesson seems difficult for you, then try our tutorial on how to draw a samurai for beginners.
this is not for kids
This is a detailed and advanced tutorial, but we also have a simpler version on our website where we show you how to draw a cartoon samurai.
noice
yoooo
Bravo!
Thank you, James.