

How to Draw a Feather
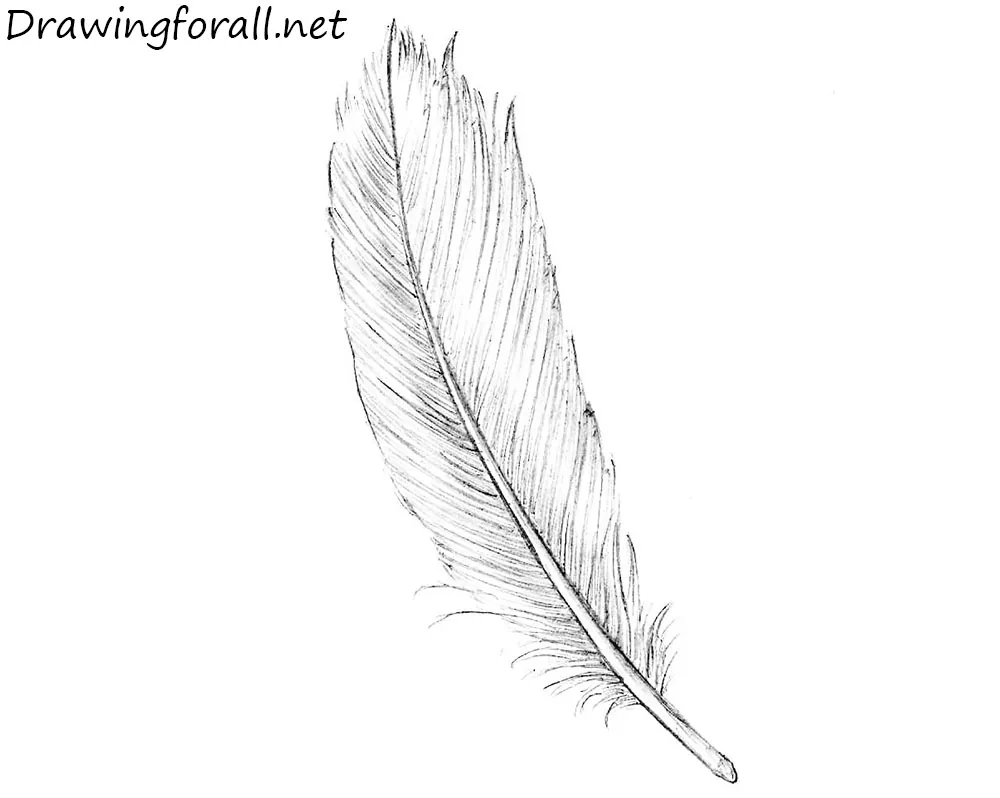
This tutorial will show you how to draw a feather step by step and create a realistic result with simple pencil shading.
By the end of the tutorial, you should have a fairly realistic feather. The process is not particularly difficult, but following the steps in the correct order is important.
How to draw a feather step by step
Step 1: Sketch the feather shaft
First, sketch the central part of the feather, which is called the shaft. At this stage, it looks like a simple curved line.
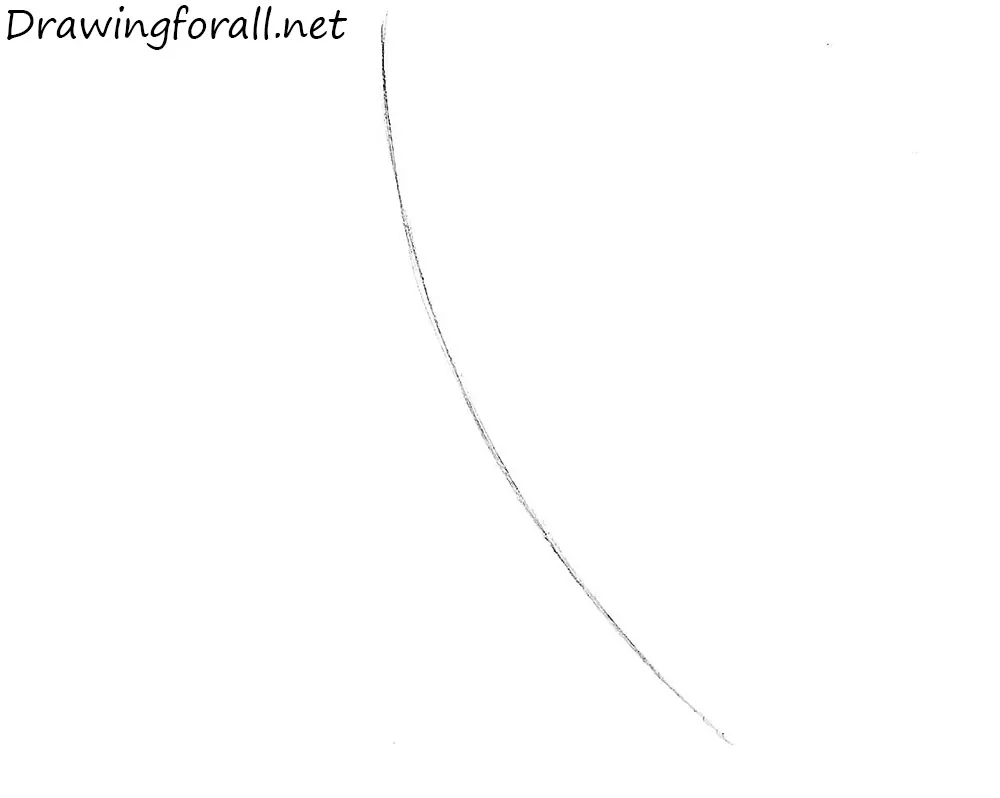
Step 2: Refine the central shaft
Replace the simple line from the previous step with a more natural outline of the feather shaft.
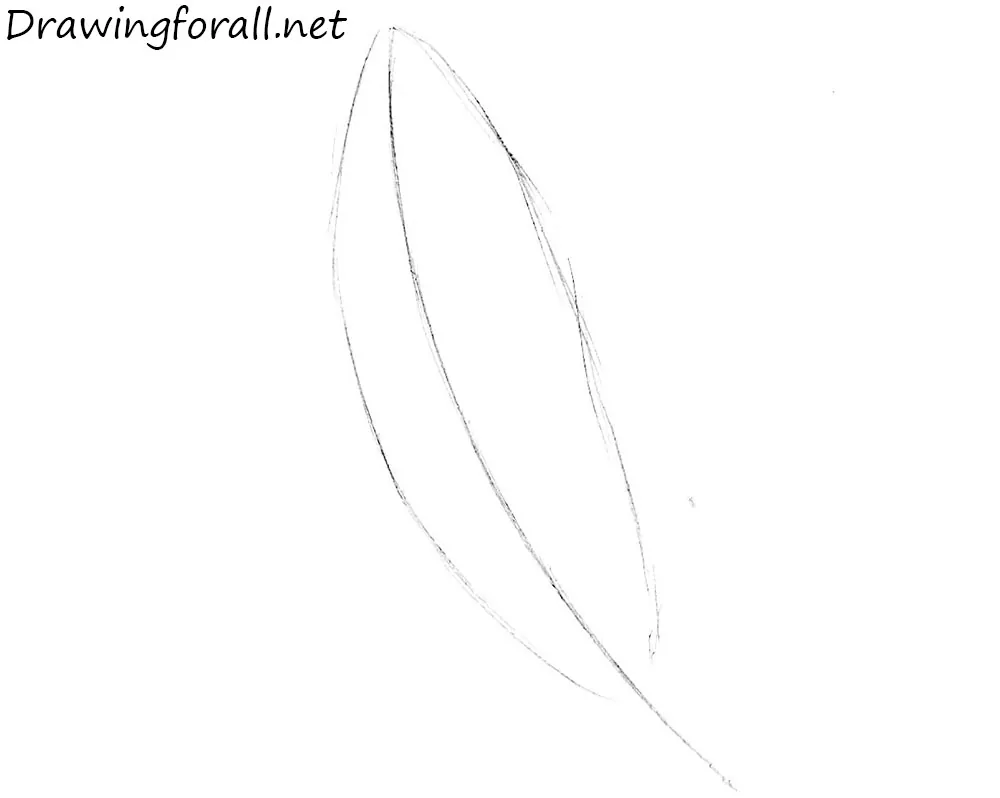
Step 3: Outline the feather vane
The soft part of the feather is called the vane. Outline its overall shape so that it gradually widens from the bottom and then narrows more sharply toward the tip.
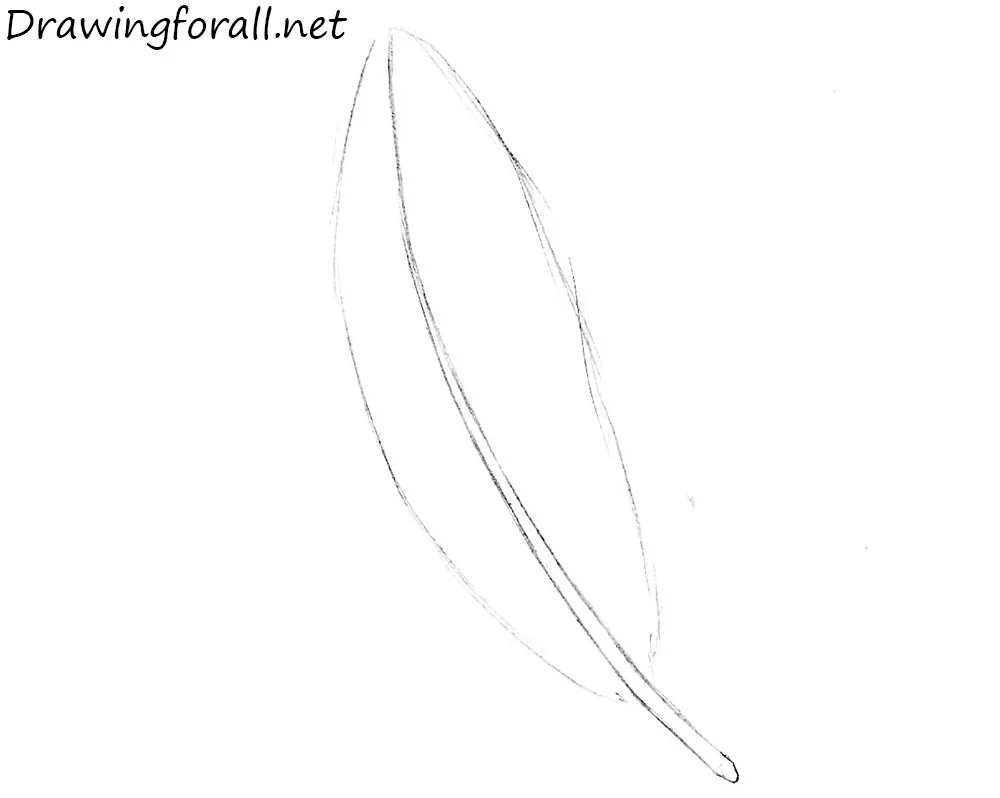
Step 4: Draw the feather barbs
Draw several lightly curved lines across the feather. These lines should extend from the outer edges toward the shaft. Unlike human hair and animal fur, the barbs are drawn from the tips toward the center.
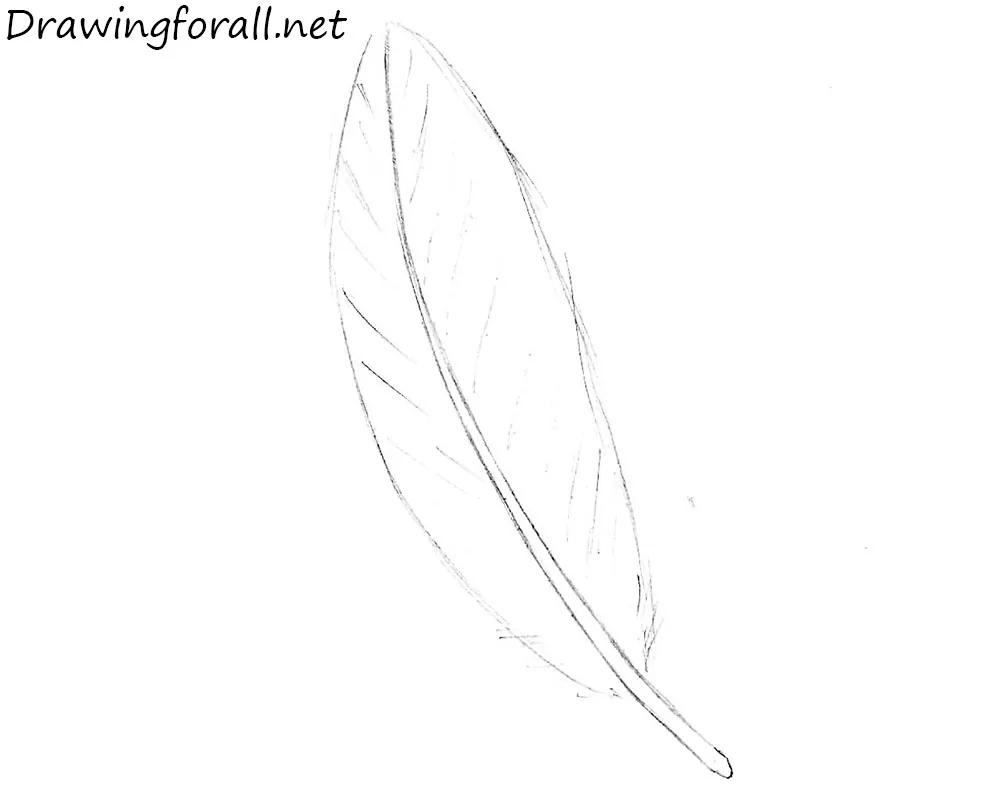
Step 5: Refine the outer edges
Erase the smooth outer contours of the feather and replace them with slightly wavy, pointed lines.
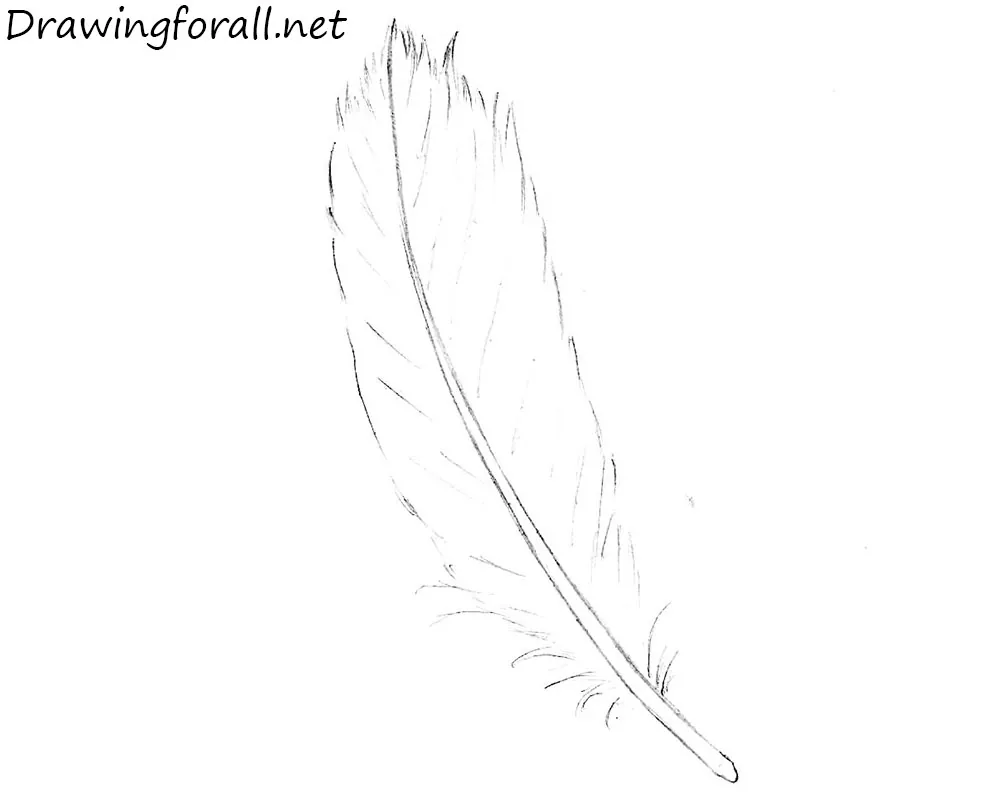
Step 6: Darken the feather lines
Make the main lines of the feather darker and more distinct.
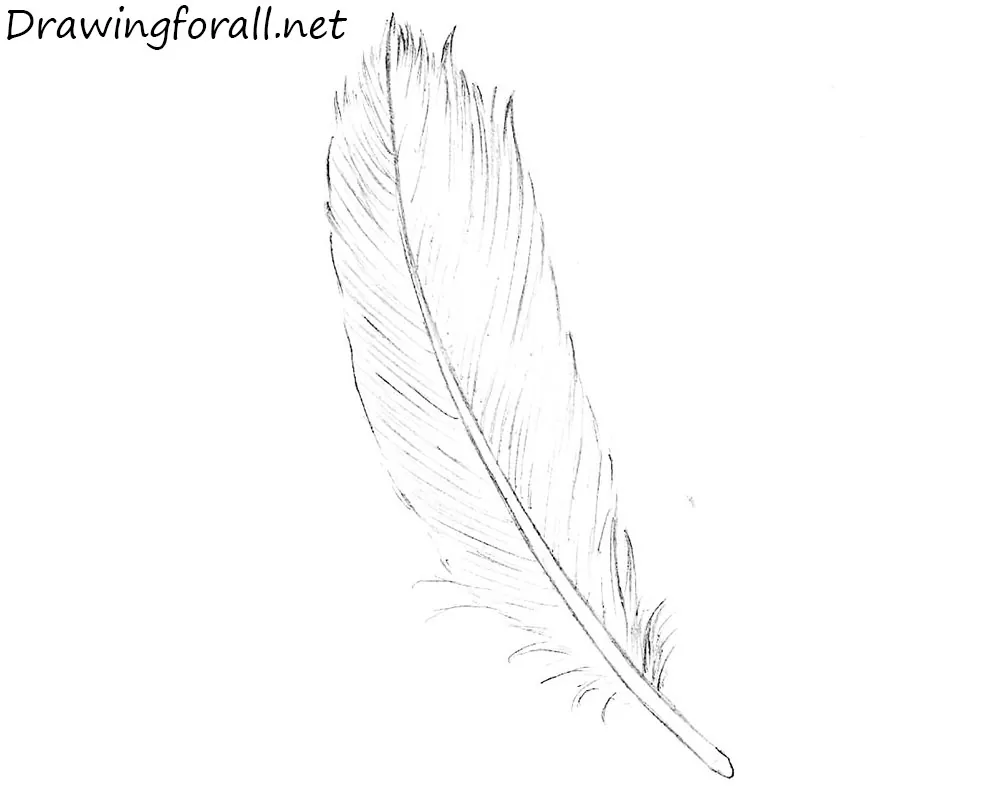
Step 7: Add shading and texture
Add light hatching along both sides of the shaft. Then place a few darker, wavy lines throughout the inner and outer areas of the feather.
This tutorial showed you how to draw a feather. This guide will be very useful for drawing an eagle, where feathers form one of the most important parts of the wings.
You can also try sketching an owl to practice another bird with a completely different feather arrangement.
If you’d like to continue drawing individual natural details, practice drawing a leaf or illustrating a rose. These tutorials also show how to draw familiar objects using realistic techniques.



Cool, this is fun.