

How to Draw a Fox Face
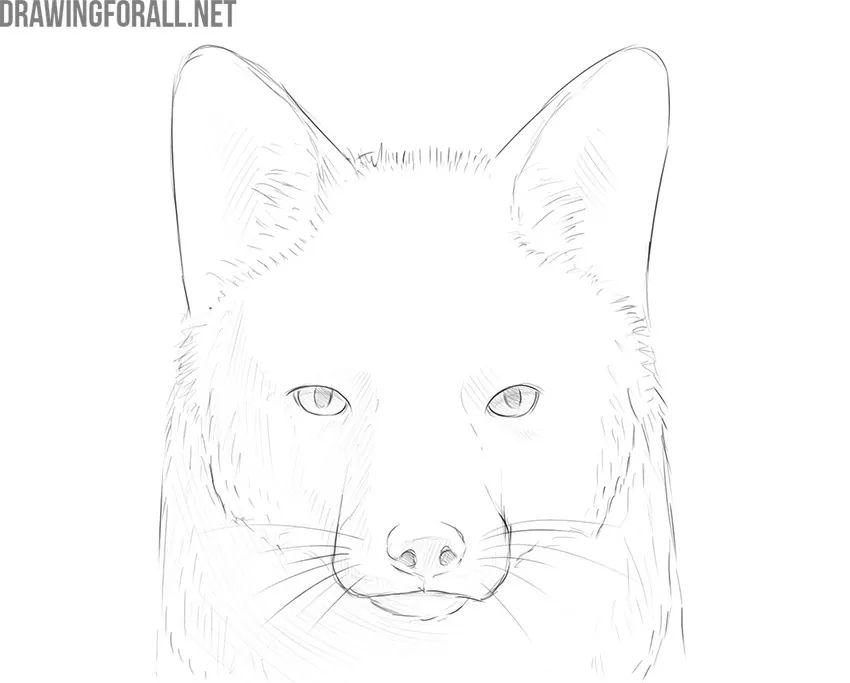
How to draw a fox face? We will try to answer this question right now. To do this, we have prepared for you a convenient short drawing lesson, which consists of nine easy steps.
With this drawing tutorial on how to draw a fox face, you can portray absolutely any fox head. There are many varieties of foxes in the world, but their appearance and general body structure, and anatomy are very similar.
Step 1
So, we start a guide on how to draw a fox face. We see in front of us an example of a portrait. Do you think that artists only paint portraits of people? In fact, animal portraits are also very cool and effective.
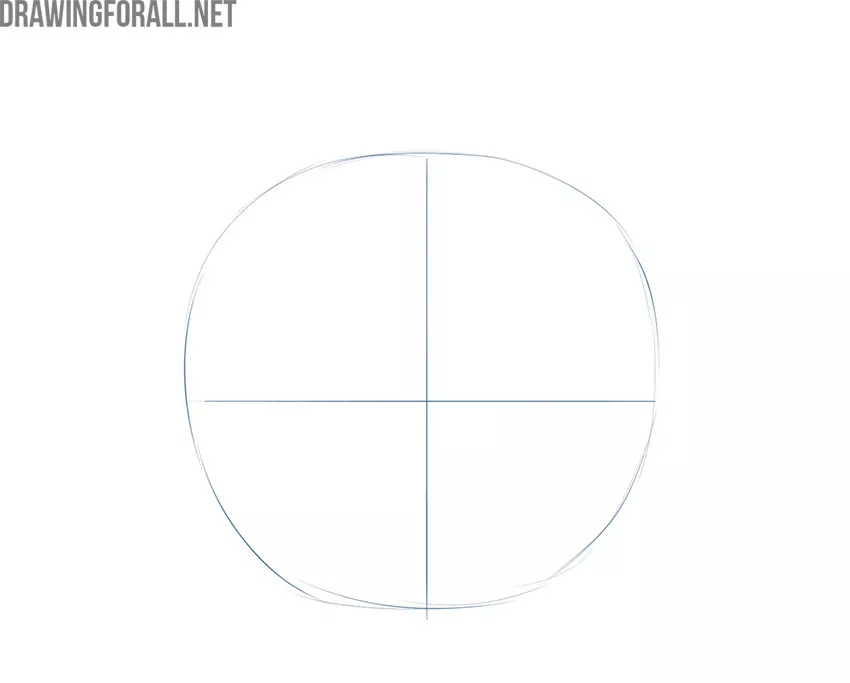
First, let’s draw a large oval, which is located in the very center of the sheet. Then we draw two intersecting lines. A vertical line is needed for facial symmetry, and a horizontal line is needed to indicate the location of the eyes.
Step 2
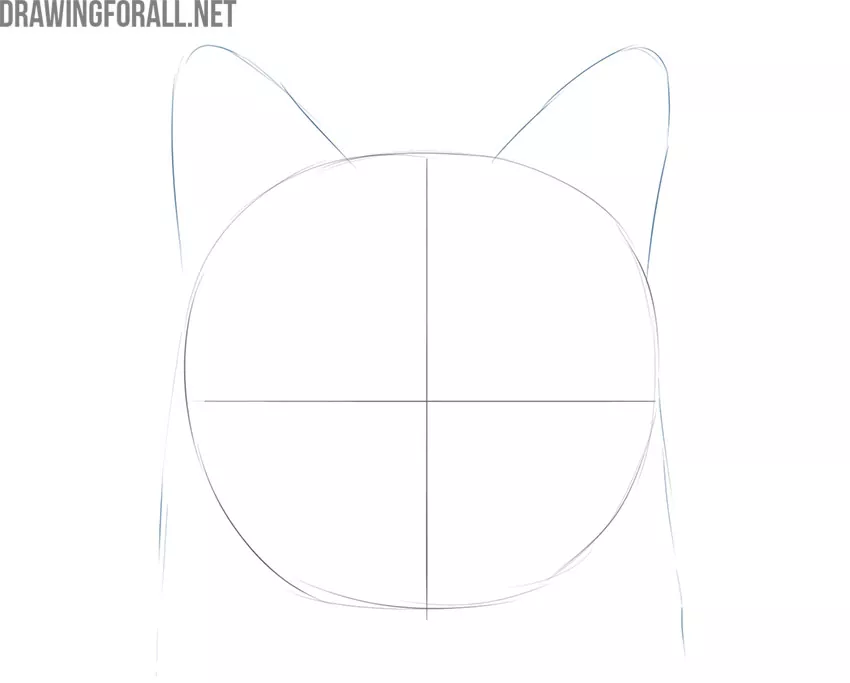
As you know foxes have excellent hearing, so foxes need large, sensitive ears. Now let’s draw the outlines of these ears. These ears look like two triangles with rounded corners. And also draw two oblique lines that are located at the bottom of the head. This will outline the basic outlines of the neck.
Step 3
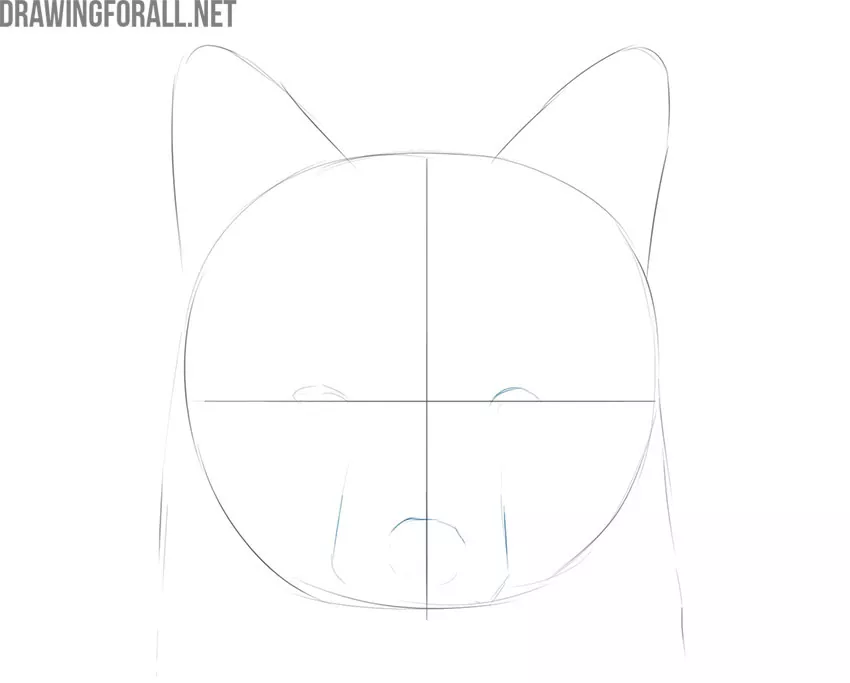
To make our fox face drawing more lively, let’s create the outlines of the facial features. In order to outline the eyes, we will use the auxiliary horizontal line in the center of the oval. Let’s draw two small arcs that are localized above this line. Now let’s sketch out the narrow nose of our fox.
Step 4
In this step, we will continue working with the eyes. Close the two arcs from the previous step and form two small ovals on the horizontal line. Also, don’t forget to add a pair of pupils. As you remember, the expression and direction of gaze depend on the location of the pupils.
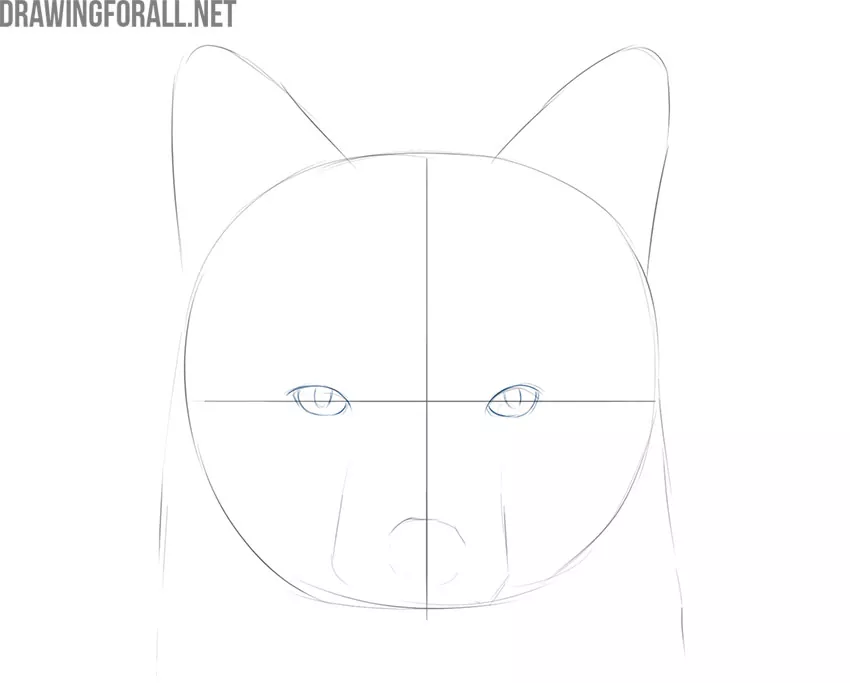
Step 5
It’s time to finish the work on the lower part of the face. Let’s add some more details to the nose and mouth of our fox. Add the outlines of the cheeks, which are formed by short lines that look like strokes. Then we will draw in more detail the nose, which resembles a mushroom. And at the end of this step, we will depict a wide arc, localized under the nose.
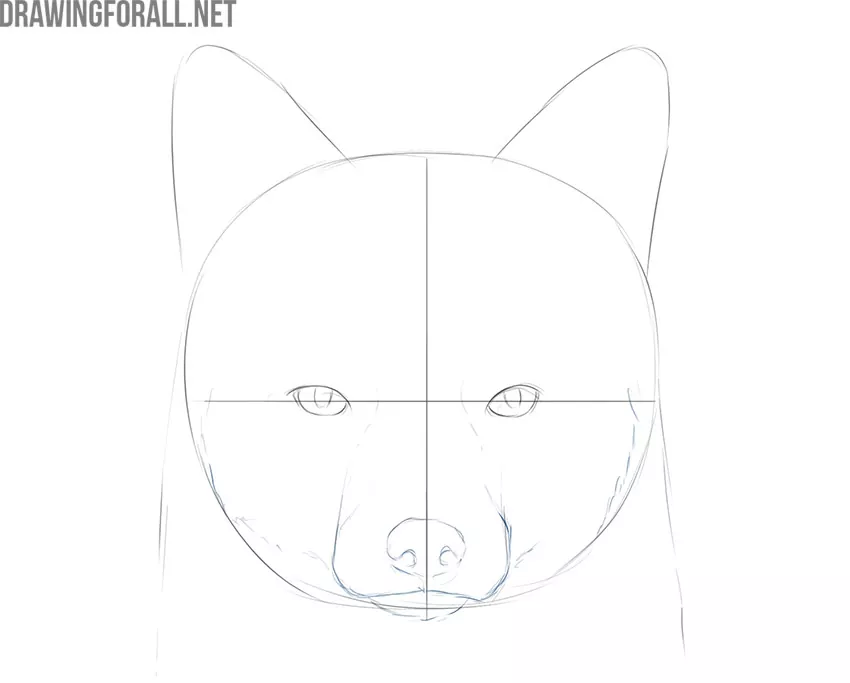
Step 6
As you know, the fox has a very thick, warm fur that keeps it warm on winter evenings. We will not be able to draw this fur in very detail, but we will try to delineate this fur, using short, clear strokes, as in our sample.
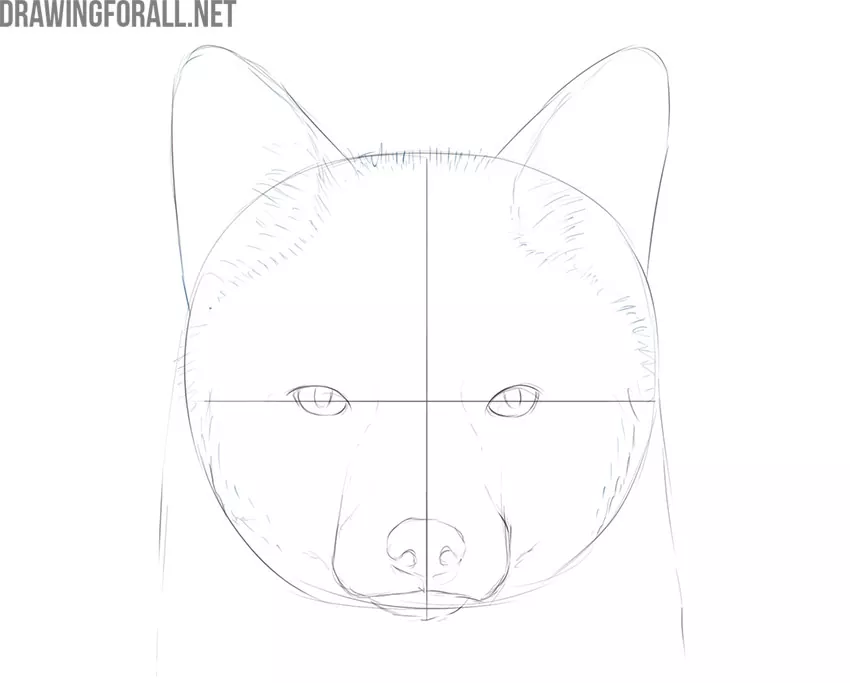
Step 7
We are nearing the end of our guide on how to draw a fox. And in this step, we will remove the extra guidelines from the previous steps. After that, we can add some more shading in order to depict the fur of this fox and draw a mustache.
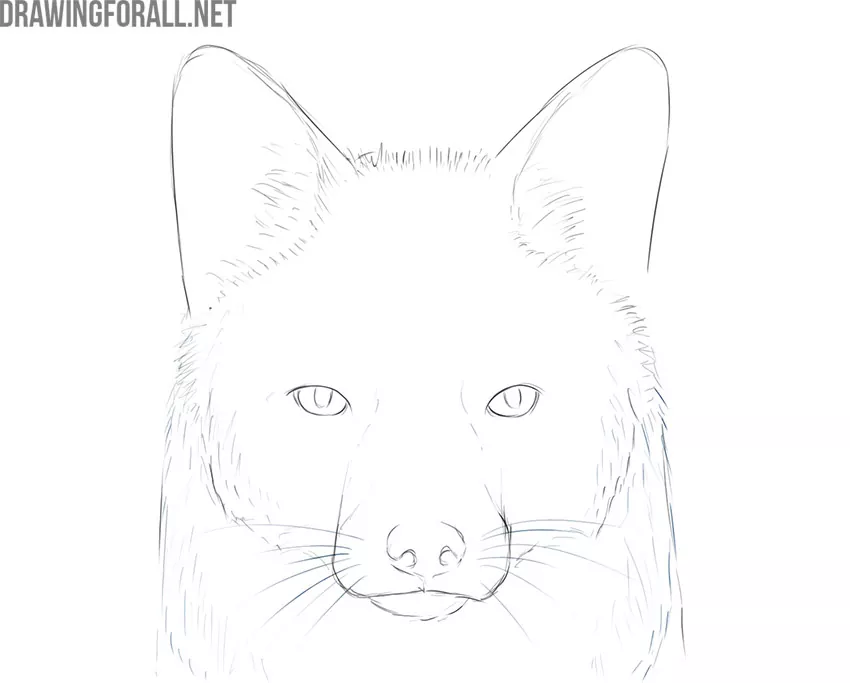
Step 8
Shadows make any lesson more realistic and complete. Therefore, let’s add small shadows that are localized on the inside of the ears, in the eyes, and on the nose. Also, do not forget about the large areas of the neck and cheeks.
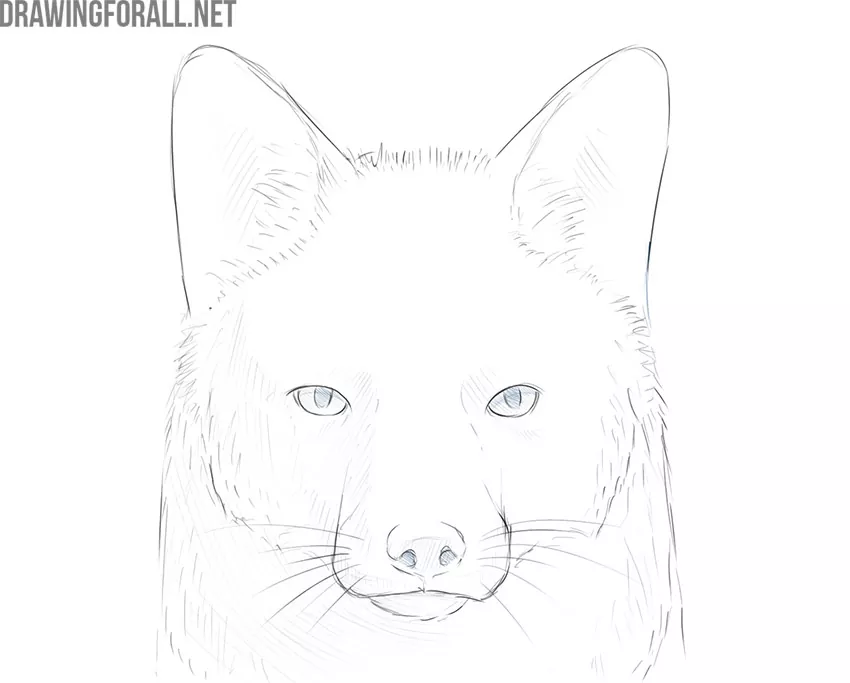
Step 9
If you followed the correct sequence of steps and followed all our advice, you will end up with something like the fox face drawing created by the artists of Drawingforall.net.
We hope this tutorial about drawing a fox face was really helpful to you. At least we tried very hard to create something like this. If you find any mistakes in our tutorial, please write to us about it.




this is awesome
cool
Super hard but looks so good
It is fantastic and looks beautiful.