

How to Draw a Tiger Face

In this drawing tutorial, we will show you how to draw a tiger face. This tutorial will be useful if you want to learn how to draw both a tiger’s face and the entire body of this animal.
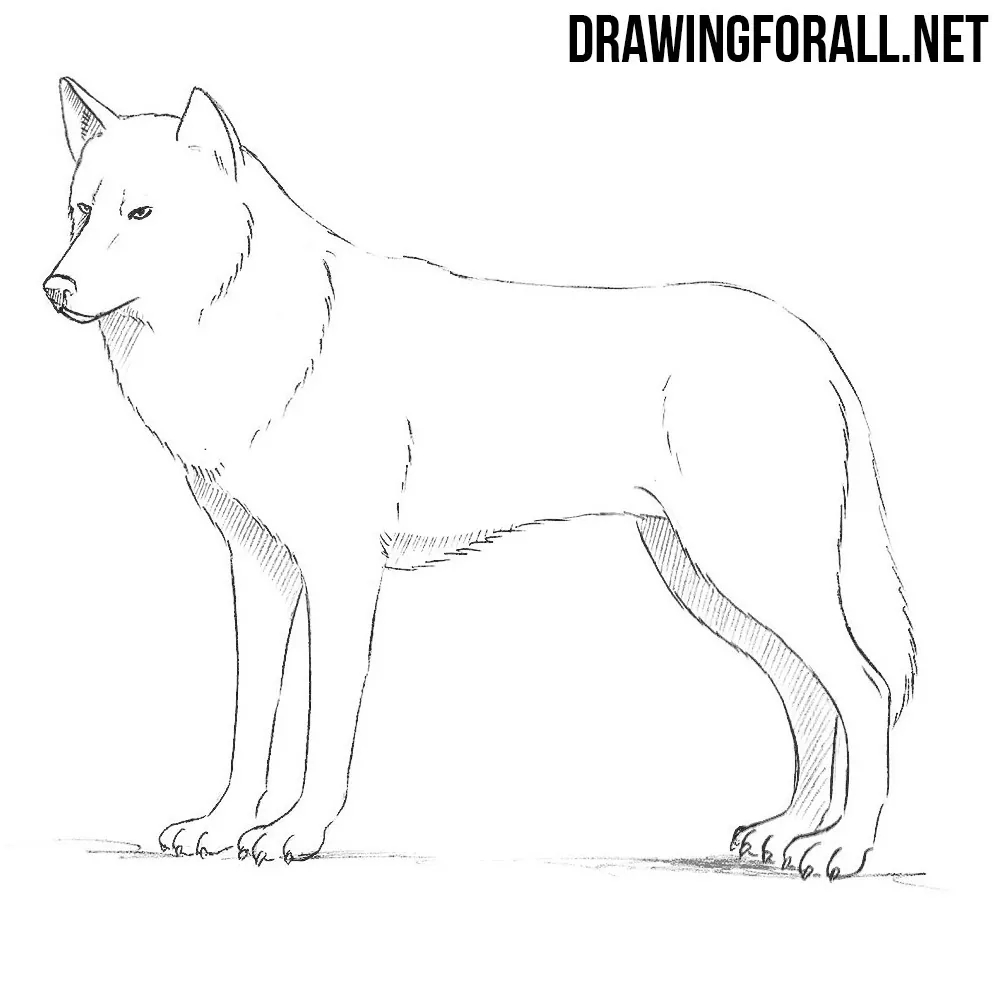
The process of drawing a tiger’s head is very similar to drawing a wolf’s head, a cat’s head, or even a human head.
If you already know how to sketch the heads of other animals, this tutorial on how to draw a tiger face will seem very simple.
How to draw a tiger face step by step
Step 1: Sketch the head guide
Sketch a large circle to create the base of the tiger’s head. Then draw two intersecting guidelines that will help you position the facial features.

Step 2: Draw the tiger’s eyes
Using the horizontal guideline, draw the tiger’s eyes. Sketch the upper eyelids first, then the lower eyelids, and finish by adding the small round pupils.

Step 3: Sketch the tiger’s nose
Draw the tiger’s nose just below the eyes. Build the left and right sides gradually to keep the nose symmetrical.

Step 4: Outline the tiger’s mouth
Draw the tiger’s mouth. Sketch the upper lip with two curved broken lines, then add the chin using a similar contour.

Step 5: Add the tiger’s whiskers
Use long, light lines to draw the tiger’s whiskers. Start each whisker at the base and taper it naturally toward the tip.

Step 6: Refine the fur texture
Give the tiger’s face a more realistic appearance by adding short strokes to create the fur texture along the cheeks.

Step 7: Draw the tiger’s ears
Draw the tiger’s ears with smooth, rounded lines. Check the symmetry by viewing the drawing in a mirror if necessary.

Step 8: Clean the facial outlines
Erase the unnecessary construction lines. Then darken the final contours to give the tiger face drawing a more three-dimensional appearance.

Step 9: Draw the tiger’s stripes
Use many short lines to create the tiger’s facial stripe pattern. Vary the length and thickness of the stripes for a natural appearance.

Step 10: Shade the tiger face
Add shadows to give the tiger’s face a more three-dimensional appearance. To learn more about this technique, visit our tutorial on light and shadow.
We hope you found this tiger face drawing tutorial helpful. If you did, be sure to follow us on social media and share your thoughts about this tutorial in the comments.



nice
nice
nice.
Nice
ty so much