

How to Draw a Dumpling
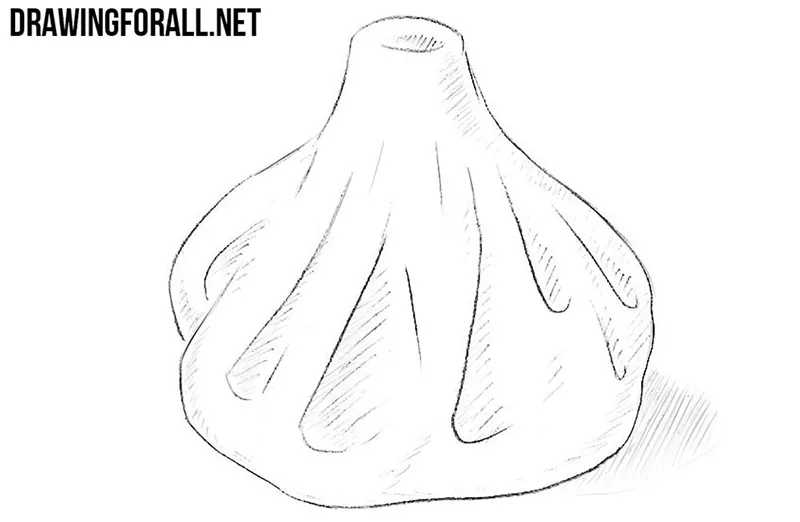
Dumplings come in many different shapes, but most of them have characteristic folds along the edges of the dough. In this tutorial, we will show you how to draw a dumpling step by step using this characteristic appearance.
We chose a simple rounded shape for our drawing. First, we will sketch the general form of the dumpling, then add the folds and finish the drawing with light hatching.
How to draw a dumpling step by step
Step 1: Sketch the dumpling shape
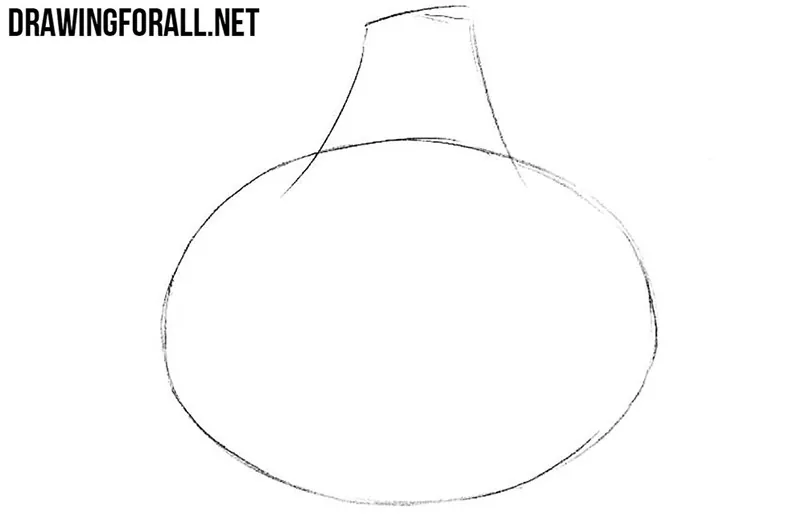
Dumplings appeared many centuries ago, and as they spread throughout the world, they took on a variety of forms. To start, sketch a simple circle or oval and then draw the upper part of the dumpling with a couple of light lines.
Step 2: Refine the dumpling outline
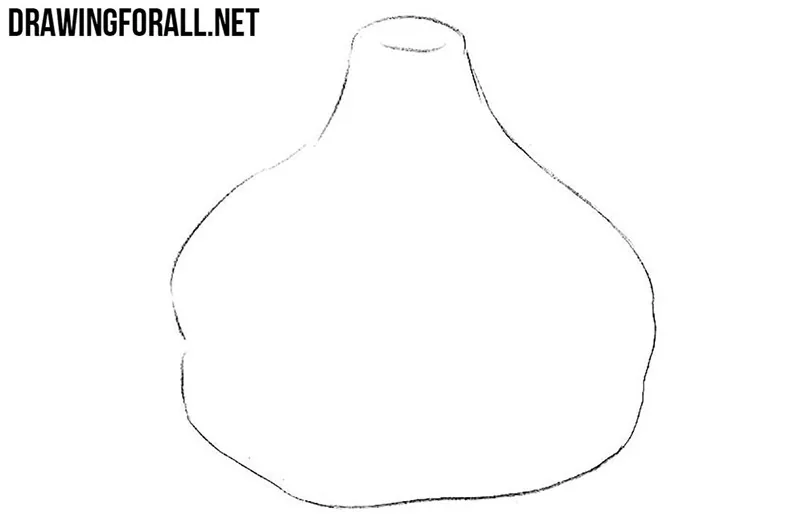
Now give the dumpling a more natural shape. Using clear and dark lines, trace its outer contours. Then erase all the unnecessary auxiliary lines from the drawing.
Step 3: Draw the dough folds
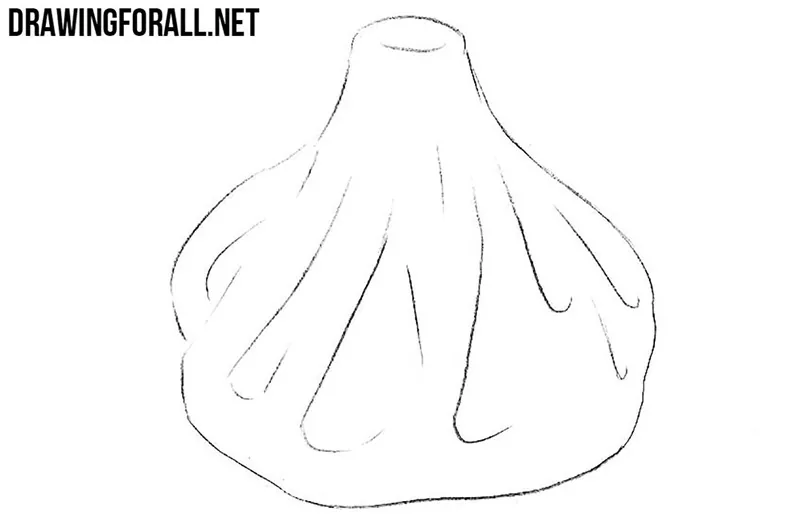
So far, we have drawn only the outer contours, and the dumpling still lacks its most characteristic details. Draw the folds along the upper part of the dough using short curved lines. These folds will give the dumpling its characteristic appearance.
Step 4: Add shadows with hatching
Now add shadows to make the dumpling drawing look more three-dimensional. Using inclined and uniform hatching, draw the shadows on one side of the dumpling and between some of the folds. Then add a cast shadow underneath.
As we mentioned above, dumplings have spread throughout the world and have acquired many different shapes and names.
For example, manti, gyoza, khinkali, and pelmeni differ in appearance, so you can use the principles from this tutorial to draw dumplings of different forms.
If you want to practice drawing other dishes, visit our tutorial on how to draw food. There you can learn the basic principles that are useful for depicting different types of food.


