How to Draw a Peanut
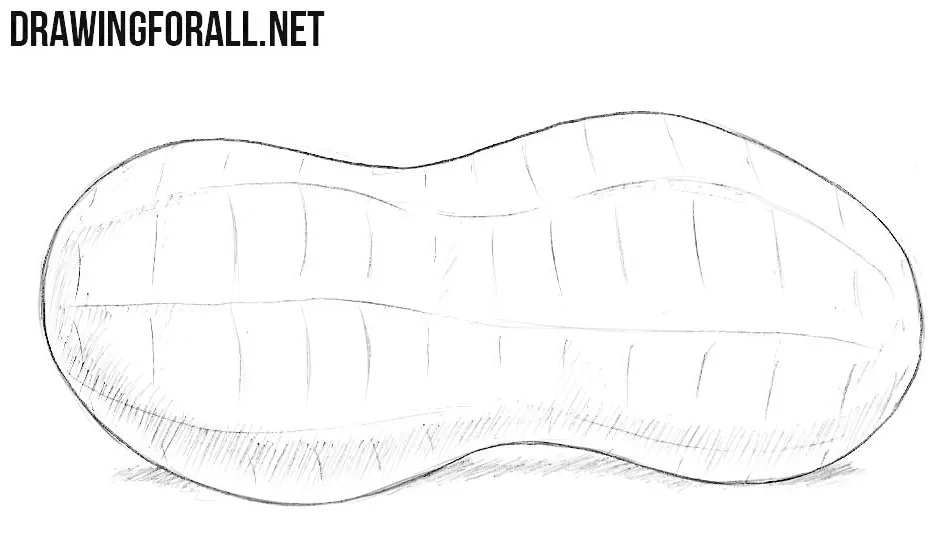
Do you know people who don’t like salted crispy peanuts? We have not heard of such people really. Today we have prepared a new drawing tutorial in which we will tell you about how to draw a peanut. This will be a new lesson from the section of very simple drawing lessons for beginning artists.
Step 1
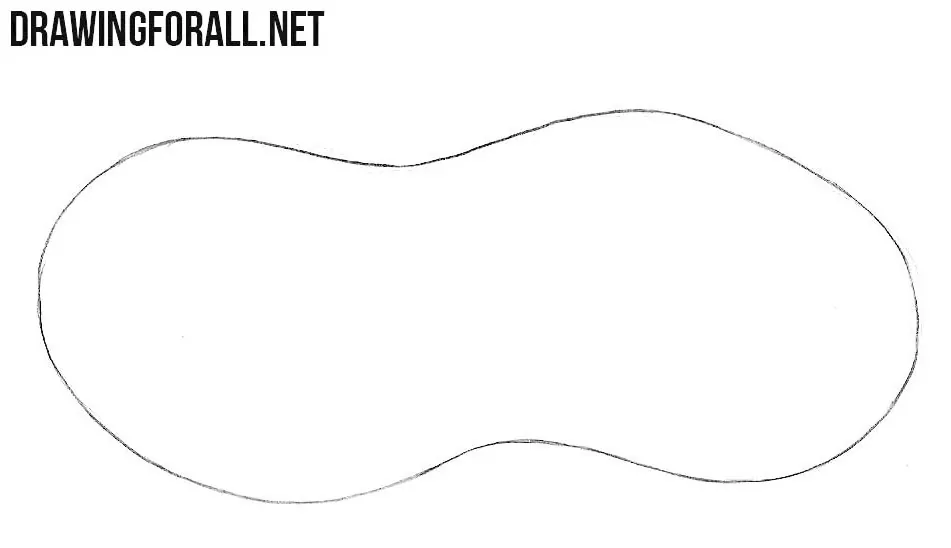
First, we draw a rounded shape that looks like an hourglass. As you see this figure is asymmetric. Try to make the most smooth lines, avoiding ragged and broken edges and shapes. Also, do not try to repeat the shape of the shell exactly as in our example, because in reality you rarely find exactly the same peanuts.
Step 2
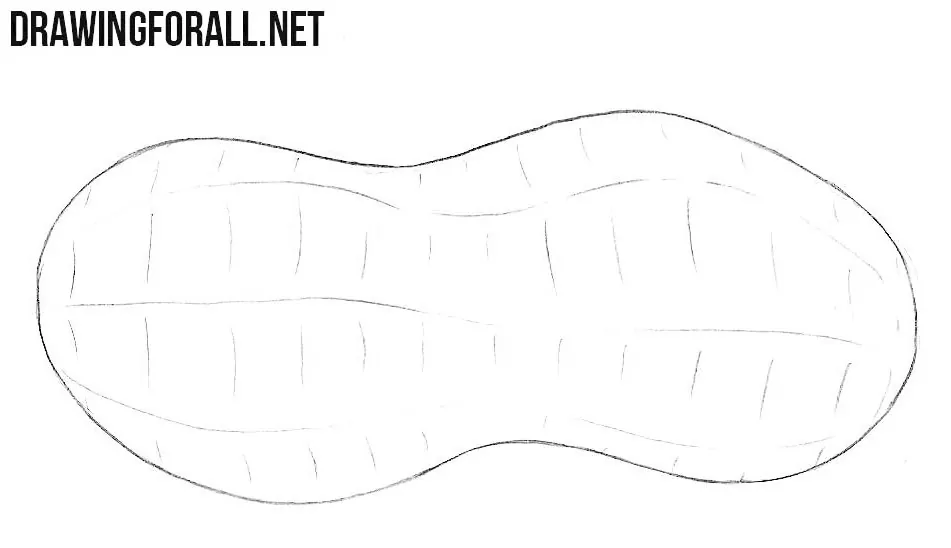
Now let’s work on the texture. It is much easier than it seems. We draw long wavy horizontal lines. Between them, draw short vertical lines with a slight bend. Do not try to make these lines too dark if you want to get the structure of a nut shell, not a web or a grating. If you did everything right, then you get such a drawing.
Step 3
And as always in the last step, we use hatching to draw shadows. Please do not forget to sketch some simple shadows on the surface, so as not to create a view of an object suspended in the air. When drawing shadows, consider bends and unevenness on the nut surface. It will make your peanut drawing more realistic.
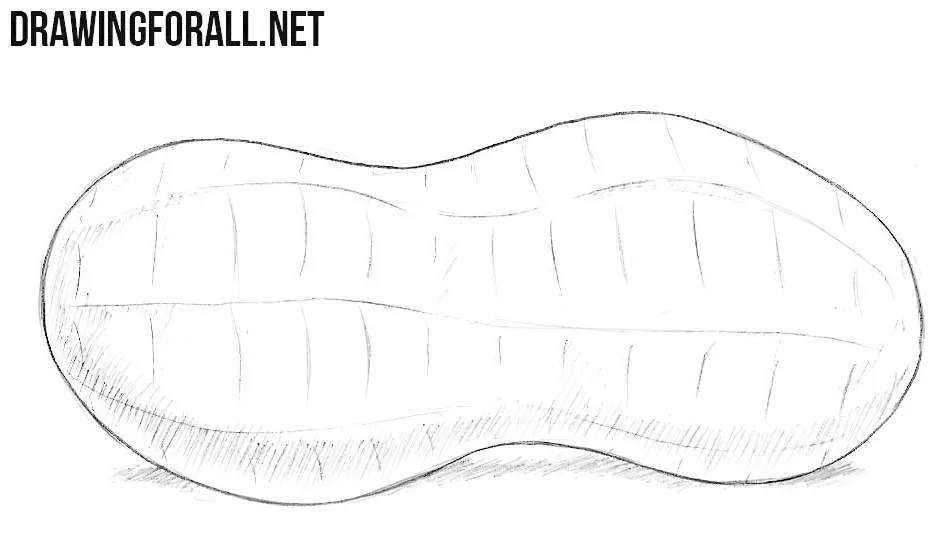
We hope you have a great result. If you had any difficulties with drawing, please write about them in the comments. We will take this into account in the next drawing lessons. By the way, just do not forget about our social networks, for example about Pinterest. The fact is that there we publish greatly simplified versions of all our drawing lessons (and this lesson as well), which you can save as an image and use it as a kind of cheat sheet during difficult moments for drawing.


I am allergic to peanuts so I don’t know how they taste like. lol