

How to Draw a Cucumber
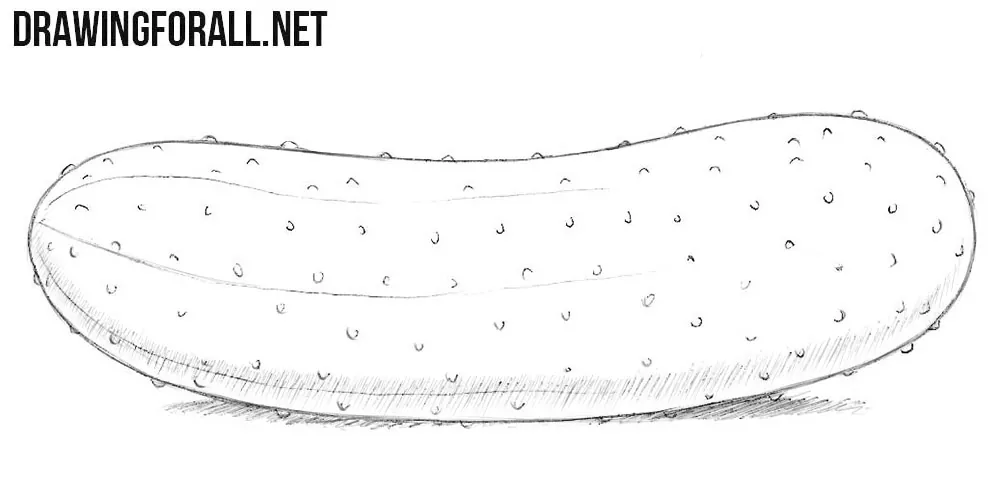
We believe that every artist should be able to draw plants, so we prepared a tutorial on how to draw a cucumber – probably one of the most famous vegetables in the world.
A cucumber is actually not a very complex subject to draw, because it does not have many complicated parts or details.
But, as we said in one of our previous guides, even something as simple as scrambled eggs will turn out differently depending on whether they are cooked by a chef or by someone who does not know much about cooking.
We want you to be able to draw cucumbers and other simple objects with the same confidence that a good cook prepares the simplest dishes.
How to draw a cucumber step by step
Step 1: Sketch the cucumber form
To properly draw a cucumber, first sketch its general form as an elongated and slightly curved oval. At its core, this is a simple cylindrical form with rounded ends. Cucumbers, like many other vegetables, come in very different shapes. You can see long and smooth Armenian cucumbers, small and bumpy Kirby cucumbers, or even yellow and round lemon cucumbers.

Step 2: Draw the longitudinal lines
Now sketch three long longitudinal lines beginning near the edge of the cucumber. Their shape should follow the overall bend of the vegetable. These lines should describe the cylindrical form. Vary the pressure on the pencil as you draw, and do not try to make the lines perfectly even. You can also add more longitudinal lines if you want to make the surface more detailed.

Step 3: Add the cucumber surface texture
Since we are drawing the cucumber in its classic form, now add the characteristic bumps and irregularities. Draw a large number of small bumps across the surface. The bumps should follow the shape of the cucumber, that is, they should look in different directions from the center. Do not place these details too regularly. Their size and arrangement should vary so that the texture looks natural.

Step 4: Add shadows to the cucumber
The cucumber drawing is almost complete, and now we will add shadows to show its volume. Since the main form is rounded and cylindrical, the transition from light to shadow should be gradual. First, add hatching along the lower part of the cucumber, leaving a narrow strip of reflected light near the lower edge. Then draw the cast shadow beneath it. Make it darker close to the cucumber and softer as it moves away from the object.

So, in this simple four-step drawing tutorial, we showed you how to draw a cucumber quickly and easily. We hope you did not encounter any difficulties and can now add this vegetable to a larger composition and draw a complete still life with other simple objects.
You can also try drawing a zucchini, which has a similar elongated form but different contours and surface details.


