How to Draw a Croissant
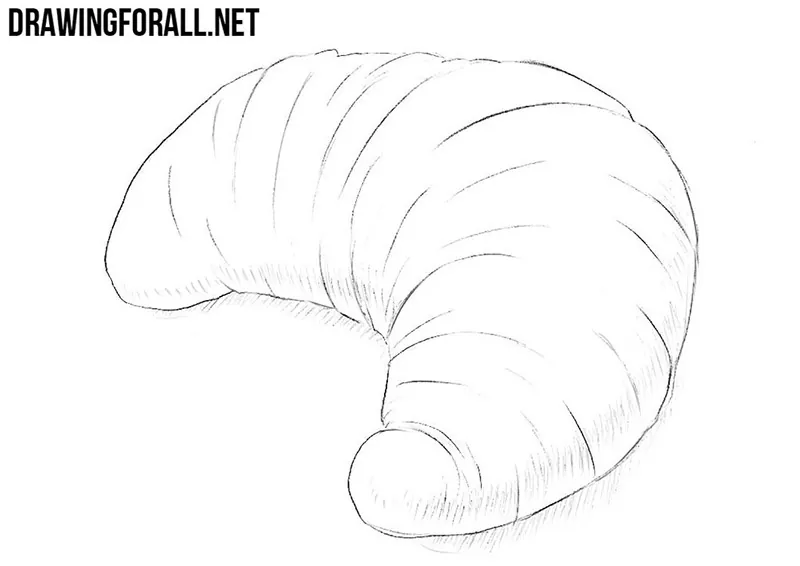
A croissant has a characteristic curved shape formed by a large number of folds and layers of dough. In this tutorial, we will show you how to draw a croissant step by step and convey its shape and texture.
To correctly depict a croissant, it is important to first draw its general curved form and then add the details that create its characteristic appearance.
As always, we will start with a simple shape and gradually add the folds, uneven contours, and shadows.
How to draw a croissant step by step
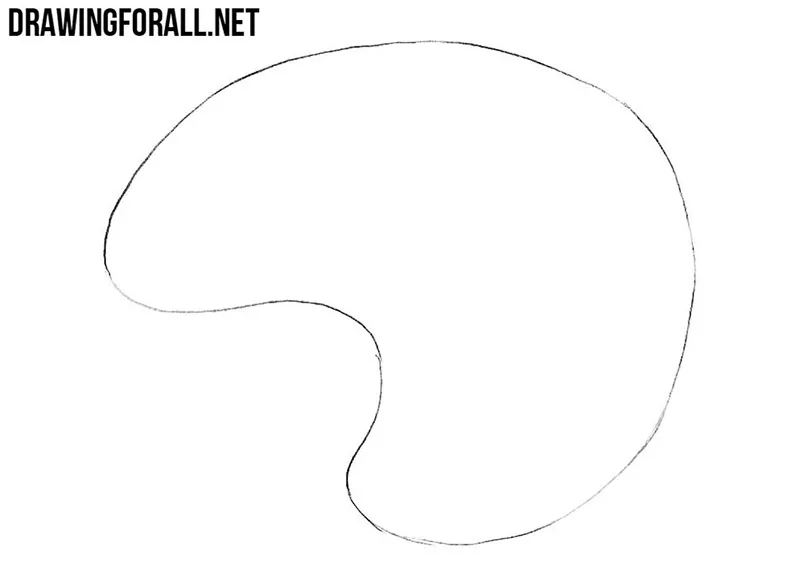
Step 1: Sketch the croissant shape
First, sketch a curved oval or bean-like shape to indicate the general form of the croissant. Use very light lines at this stage and do not try to make the contours perfectly smooth. You will refine them in the following steps.
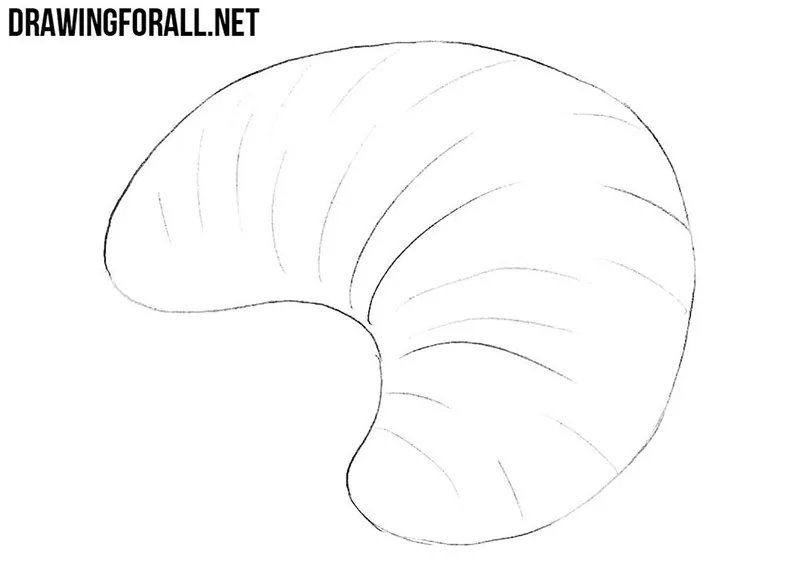
Step 2: Add the curved sections
Now draw a series of slightly curved transverse lines across the croissant. These lines should follow the overall bend of the croissant and divide it into separate sections. Do not make the lines perfectly even or identical to each other.
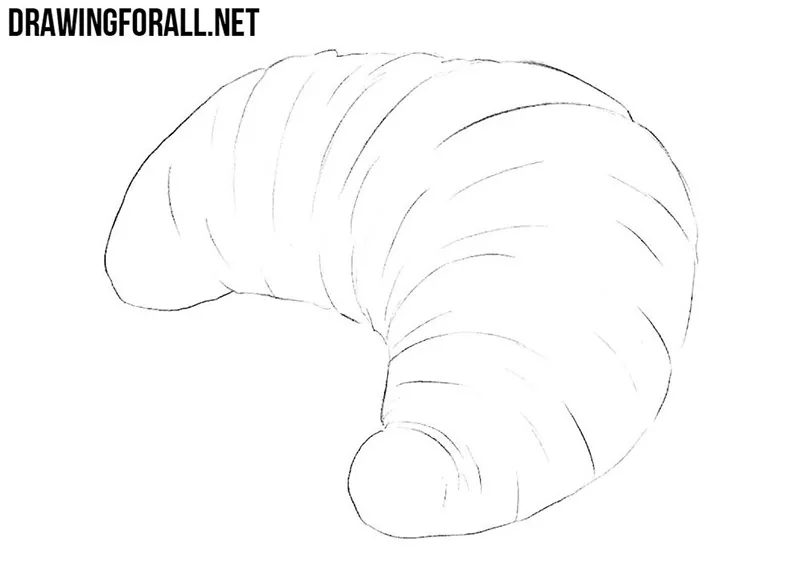
Step 3: Draw the croissant folds
Using clear and dark lines, refine the outer contours of the croissant and make them slightly uneven. Then add the folds between the sections drawn in the previous step. These details will help convey the layered structure of the dough.
Step 4: Add shadows to the croissant
Finally, add shadows to give the croissant drawing more volume. Use light hatching to shade the lower parts of the folds and other areas where the light does not fall. Then draw a cast shadow on the surface beneath the croissant.
The shape of a croissant may vary noticeably, so your drawing does not have to repeat our example exactly. You can change the overall curve, make the ends longer or shorter, and slightly change the shape of the individual sections.
Next, you can draw a donut and depict a completely different form of baking.