

How to Draw a Clothes Iron
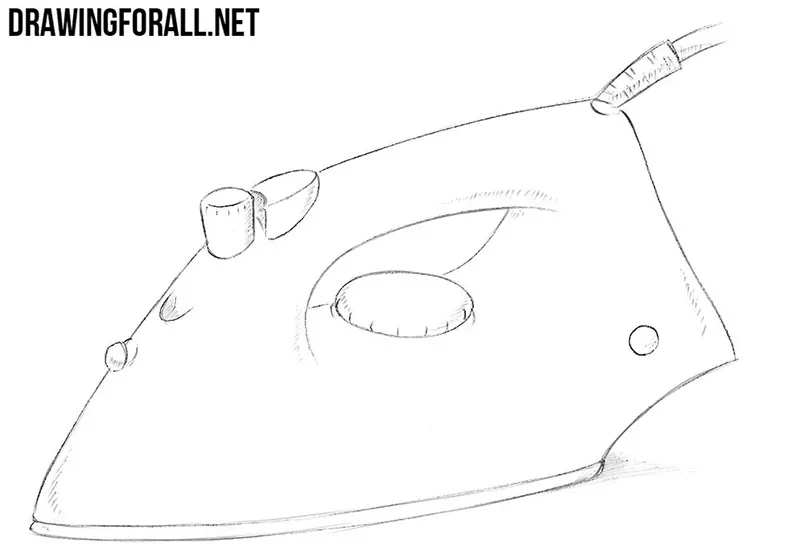
We have drawn many complex and simple subjects, but any artist should be able to draw everyday things, such as a clothes iron. Here you’ll learn how to draw an iron and look at the basic features of drawing simple objects that we see around us every day.
Despite its simple appearance, an iron has several different forms and surfaces.
The main body of an iron can be understood as a low geometric volume with a pointed front, and the handle can be constructed as a separate form rising above it.
How to draw an iron step by step
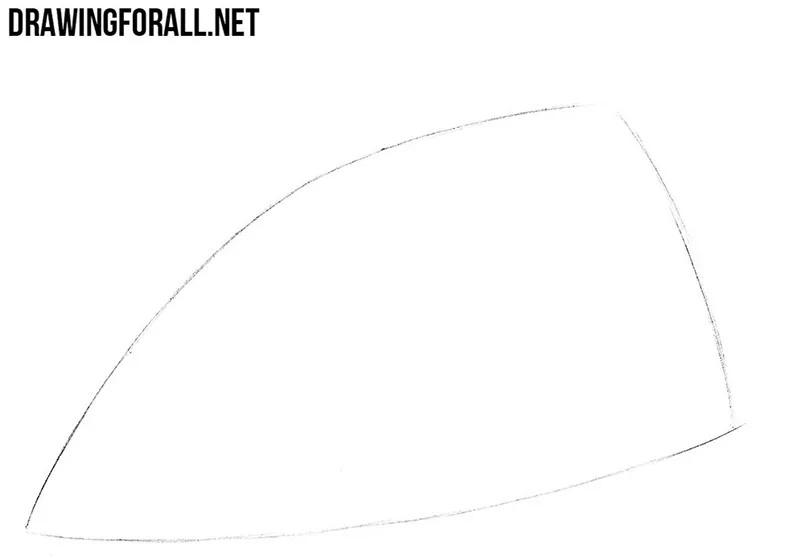
Step 1: Sketch the iron outline
The shape is familiar to everyone and has changed very little over the years. Using very light, almost invisible lines, sketch a triangular contour. Although we see this contour as a flat shape, keep the three-dimensional form of the iron in mind from the beginning. Do not try to make the iron’s contours too perfect at this stage.
Step 2: Add the handle and cord
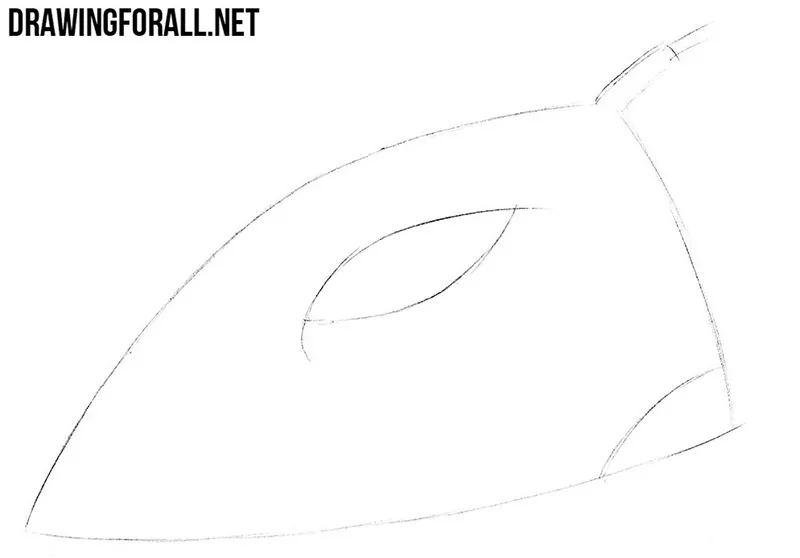
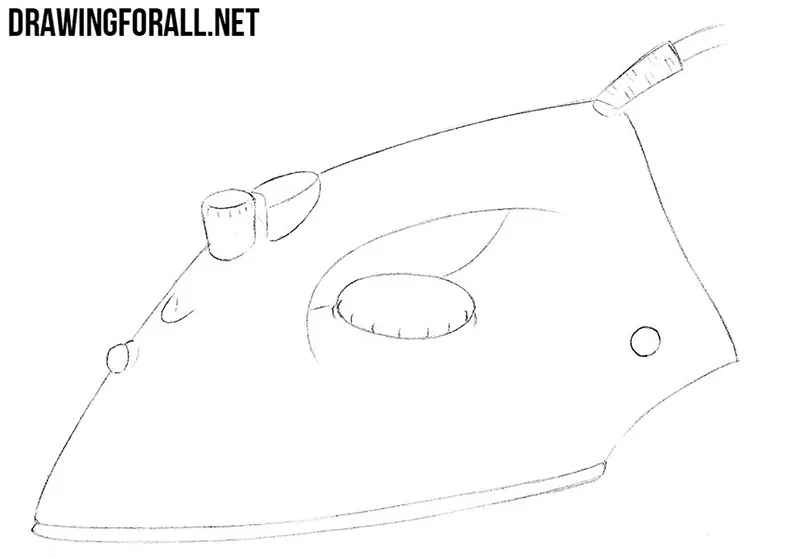
At the top, mark the iron handle, or rather the opening in the body of the iron that forms the handle. The inner and outer contours of the handle should follow the same general direction. In the upper right corner, sketch the cord, and in the lower right corner draw a small curved line.
Step 3: Draw the basic details
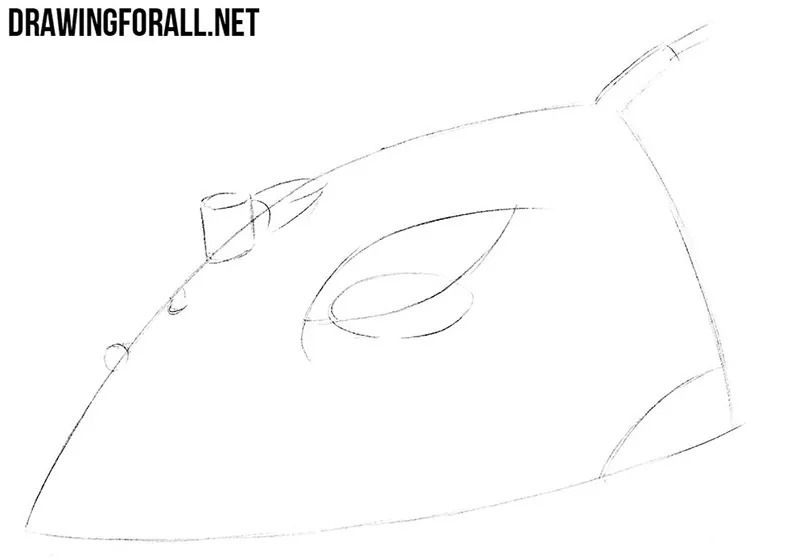
On the inner surface of the handle, draw a round temperature dial. Since the dial is located on the surface of the iron, its visible shape should correspond to the angle of that surface rather than look like a flat circle pasted onto it. On the front, mark the buttons and water holes. Since there are many different types of irons, you can change the location of these parts at your discretion.
Step 4: Refine the iron drawing
Now it is time to stop using light, rough lines and start working with darker, clearer lines. Carefully trace all the lines and details so that the iron drawing looks clean and complete. Pay attention to the transitions between the main parts of the body, handle, and smaller details. Erase all unnecessary guidelines and add some more details, such as lights and small inscriptions.
Step 5: Add shadows to the iron
To make the iron drawing look natural and complete, we need to add shadows. First determine the light source, then add shadows to the areas where the light does not fall. Use the direction of the hatching to emphasize the form of the iron: straighter strokes convey flatter surfaces, and slightly curved strokes should follow the rounded parts of the body and handle.
Drawing irons and other household objects
As we said at the beginning, irons come in many different shapes and designs. Try drawing several variations, changing the shape of the body and handle, the placement of the controls, and other details.
Despite these differences, the basic principles remain the same. Think of the iron as a three-dimensional form and draw all the smaller parts according to the surfaces on which they are located.
You can practice these principles further by drawing a stove, another everyday object constructed from simple geometric forms.



Now I know how to draw a clothes iron. Great job