How to Draw a Toaster
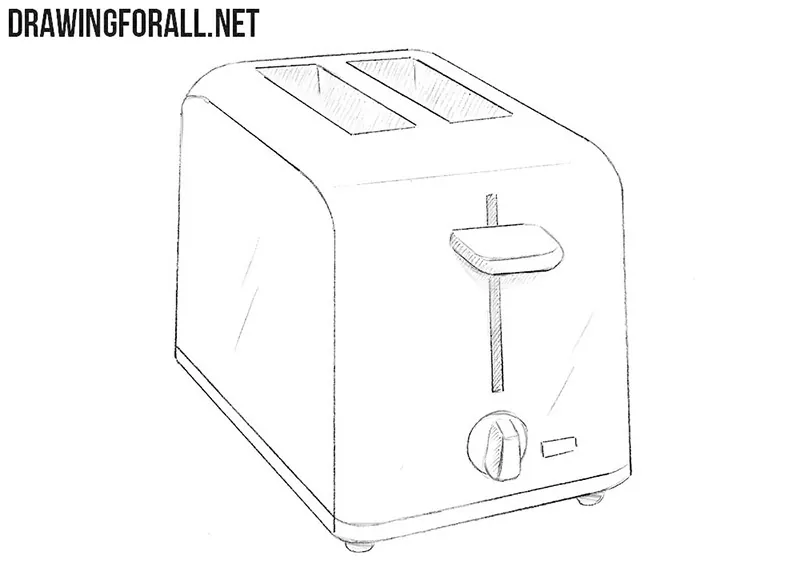
Home appliances are very easy to draw. In this step-by-step tutorial, we will show you how to draw a toaster with its characteristic shape and two slots at the top.
Drawing home appliances and everyday objects is a very simple exercise, since most of them consist of basic forms.
At the same time, such quick sketches or more detailed drawings allow you to train your hand. In addition, we often draw such objects as parts of more complex scenes or as elements in the background.
How to draw a toaster step by step
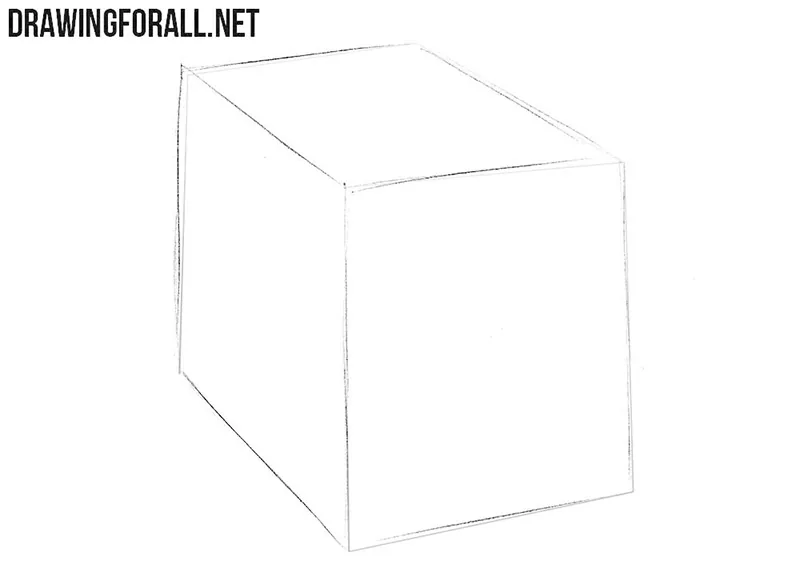
Step 1: Sketch the toaster body
We’ll start the toaster by sketching a box-like shape. Draw it using very light and rough lines because this is only the base for the following steps. Try to keep the sides even and pay attention to the angle of the top surface. There is no need to make the contours perfectly clean at this stage.
Step 2: Add slots and controls
Now round the upper corners of the toaster and draw two slots on the top surface. Next, mark the handle and toggle switch on the side. Add the line near the bottom of the toaster as well. Make the details simple and continue using fairly light lines.
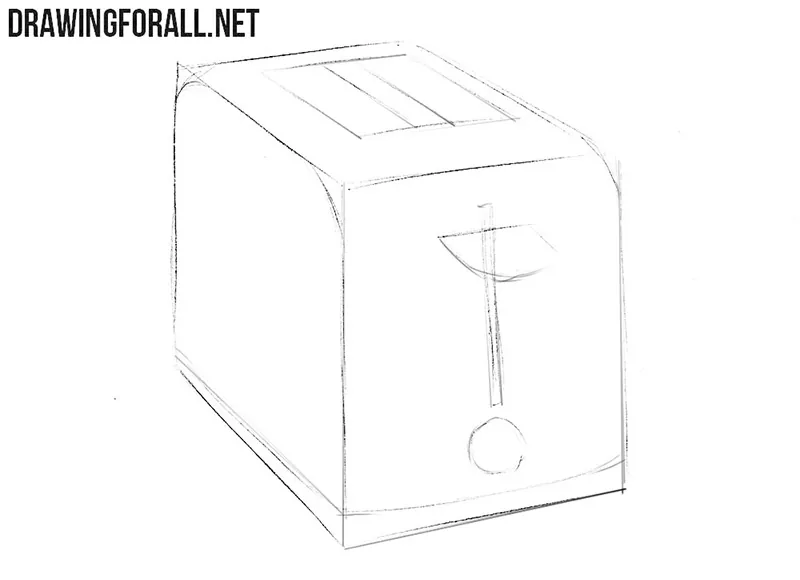
Step 3: Refine the toaster contours
Now let’s make the toaster drawing cleaner and more complete. Using darker pencil or ink lines, carefully trace the main contours and all the details from the previous steps. Make the edges clear and smooth. At the same time, erase all unnecessary guidelines created in the initial stages.
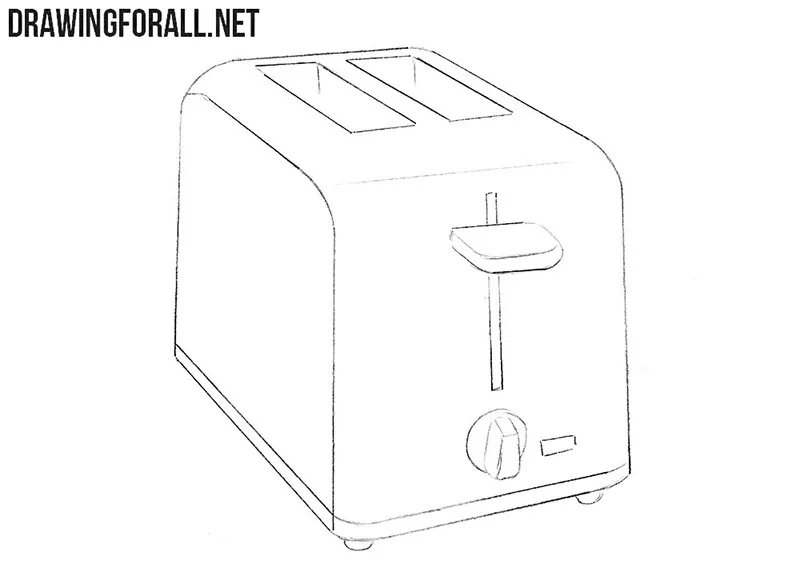
Step 4: Add shadows and highlights
To make the toaster drawing look more complete and realistic, add shadows and highlights. Place the shadows on the sides that receive less light and use light hatching to show them. You can also add extra details, such as buttons, switches, or simple decorative elements.
Here we came to the end of the tutorial on how to draw a toaster. We tried very hard to make this guide not only useful but also interesting.
We also tried to make each step simple and accessible. After you have learned how to draw this familiar object, proceed to our other categories to find new ideas for drawing.