How to Draw Chibi Yondu
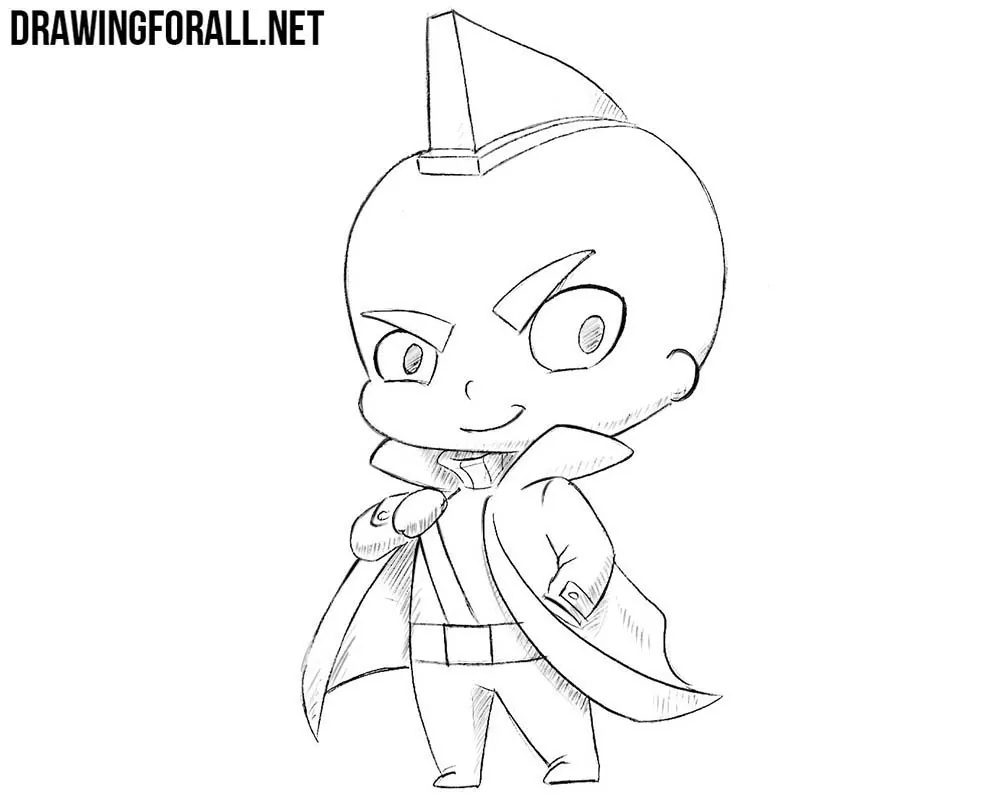
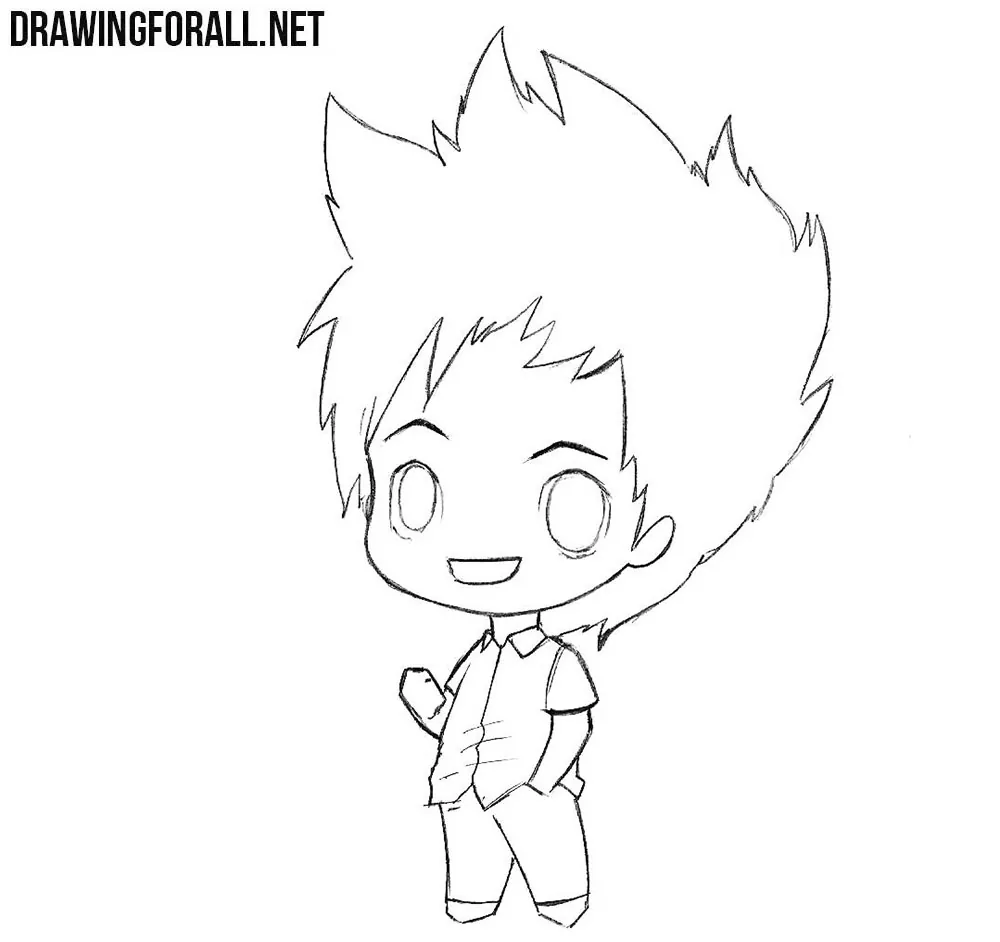
Did you miss chibi characters? We really missed these funny little characters. How about practicing drawing them again?
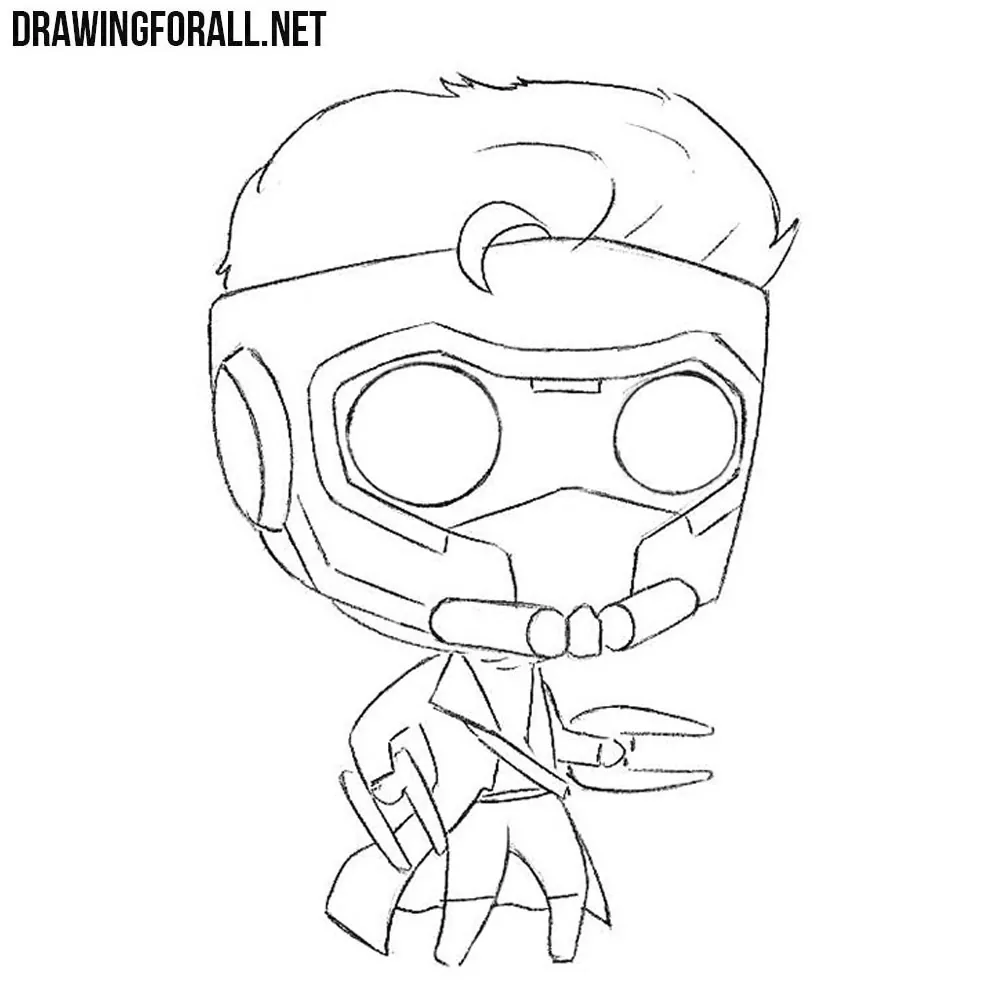
We recently created a chibi Star-Lord drawing from the Guardians of the Galaxy team. We noticed that this drawing tutorial became very popular and realized that you love the Guardians of the Galaxy. That is why we decided to create a tutorial on how to draw chibi Yondu step by step.
How to draw chibi Yondu step by step
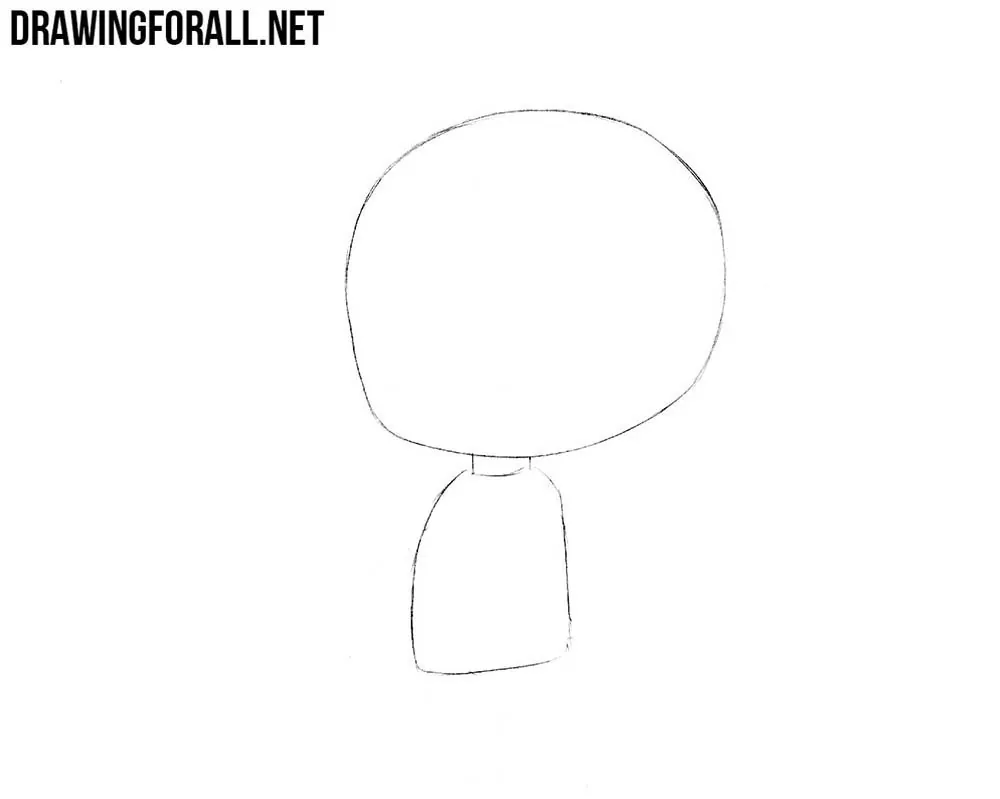
Step 1: Sketch chibi Yondu’s body
If you have already drawn chibi characters with our tutorials, you roughly know the sequence we use. As always, first draw the contours of Yondu’s large head and small body. After that, use a narrow strip for the neck to connect the two parts.
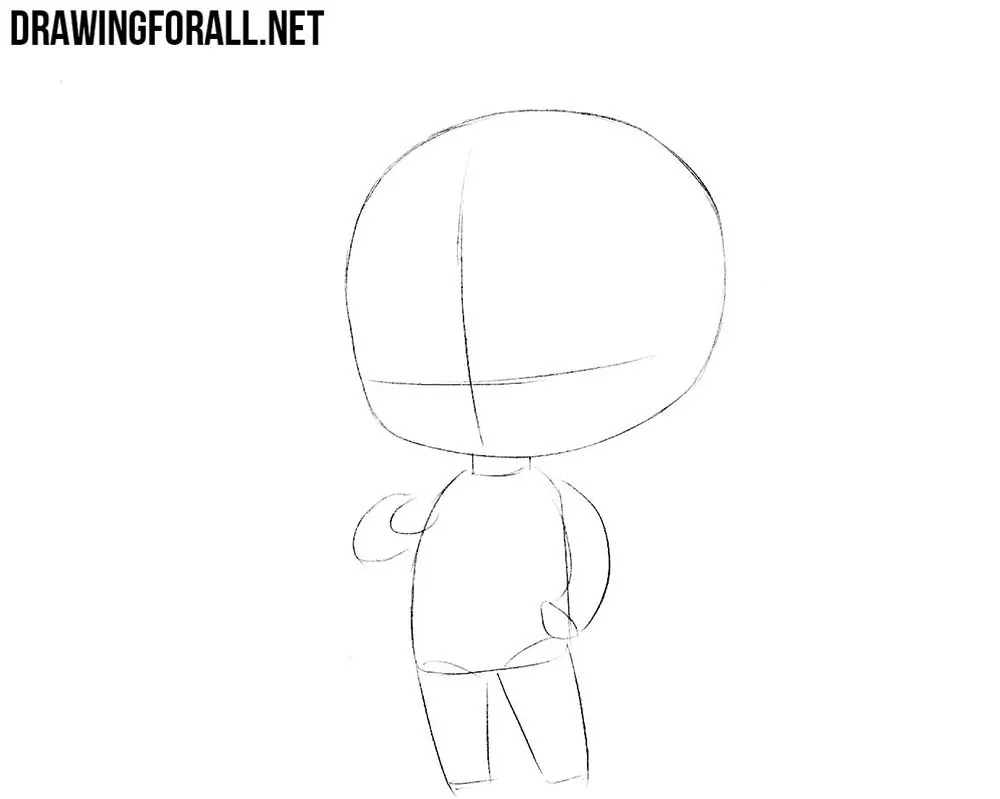
Step 2: Add the limbs and facial guidelines
As you know, classic human anatomy does not apply to a chibi body in the usual way. Therefore, draw simple curved and rounded shapes for the arms and a pair of rectangles for the legs. Also draw two intersecting facial guidelines. Note that the eye line is very low. This is another characteristic feature of the chibi style.
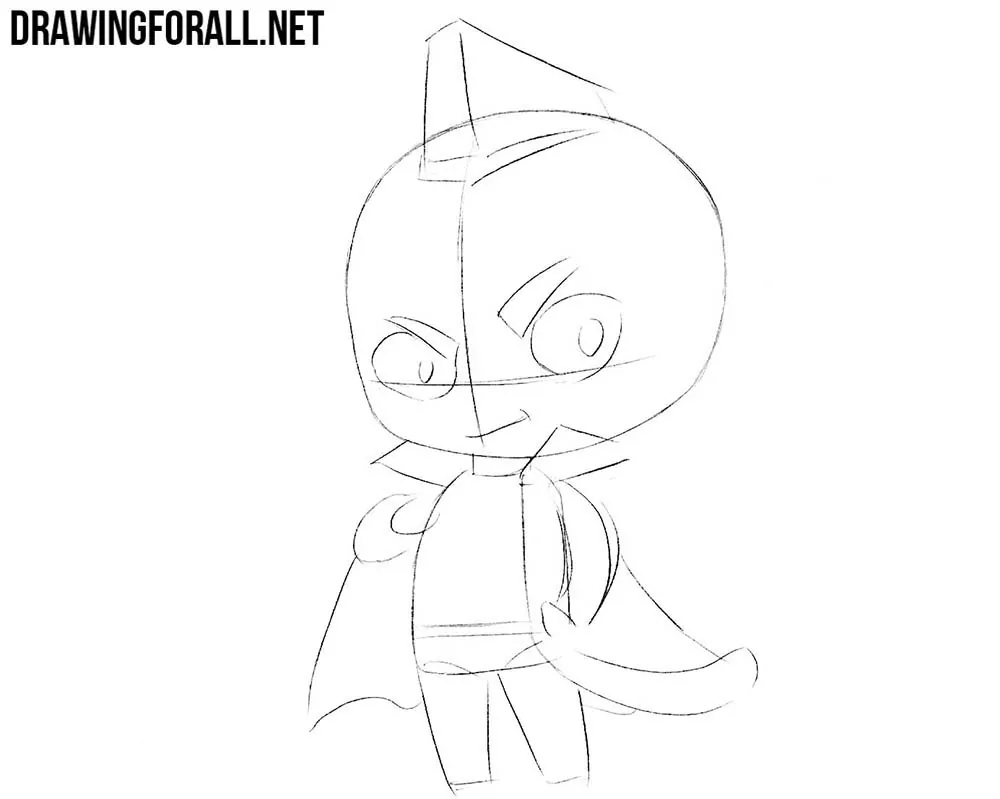
Step 3: Draw Yondu’s facial features
You know the unusual features of Yondu Udonta’s appearance. Now draw these distinctive details. Using the guidelines from the previous step, draw Yondu’s large chibi eyes. Under the eyes, add a small dash for the mouth. On top of the head, sketch his characteristic mohawk.
Step 4: Refine the chibi head
Proceed to the final details of Yondu’s chibi head. First, draw the chibi eyes in detail, outline the pupils and thicken the eyelashes. Next, draw the eyebrows and small mouth. By the way, a nose is very rarely depicted in the chibi style. In this case, indicate it schematically with a small dash. Trace Yondu’s mohawk and ears, then remove all unnecessary guidelines from the head.
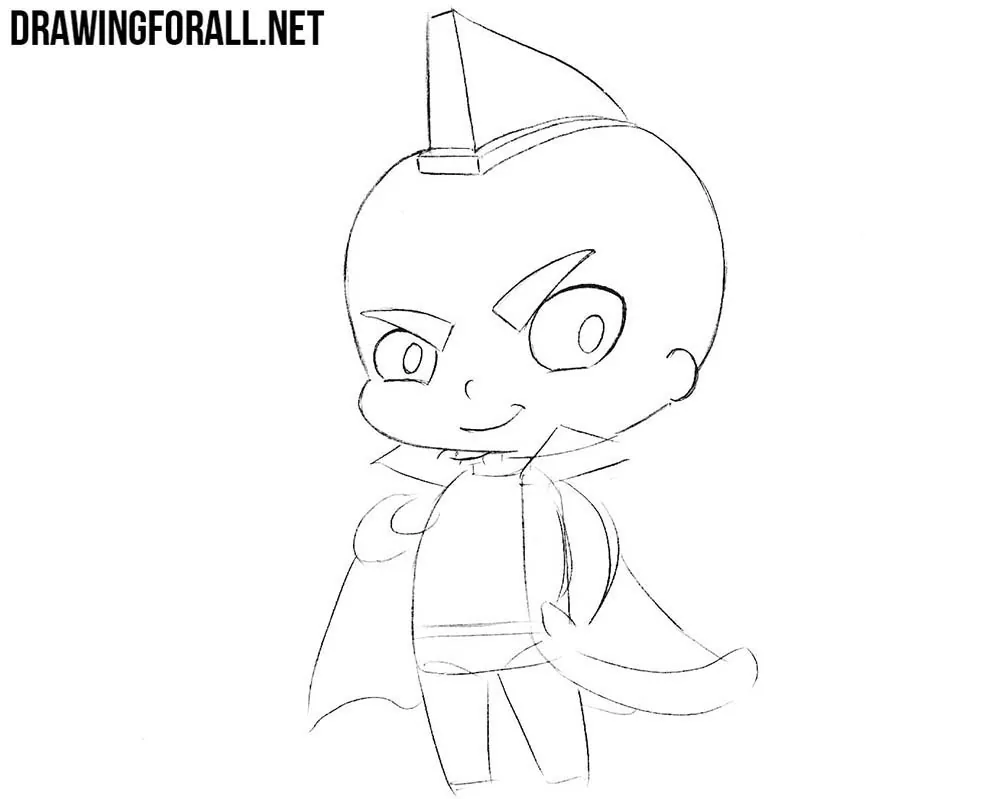
Step 5: Refine Yondu’s small body
Now outline the body of chibi Yondu. Draw the details of his clothing, arms, and legs with dark and clear lines. By the way, you can outline your chibi Yondu drawing with a marker or ink, which will make the drawing look more like a comic.
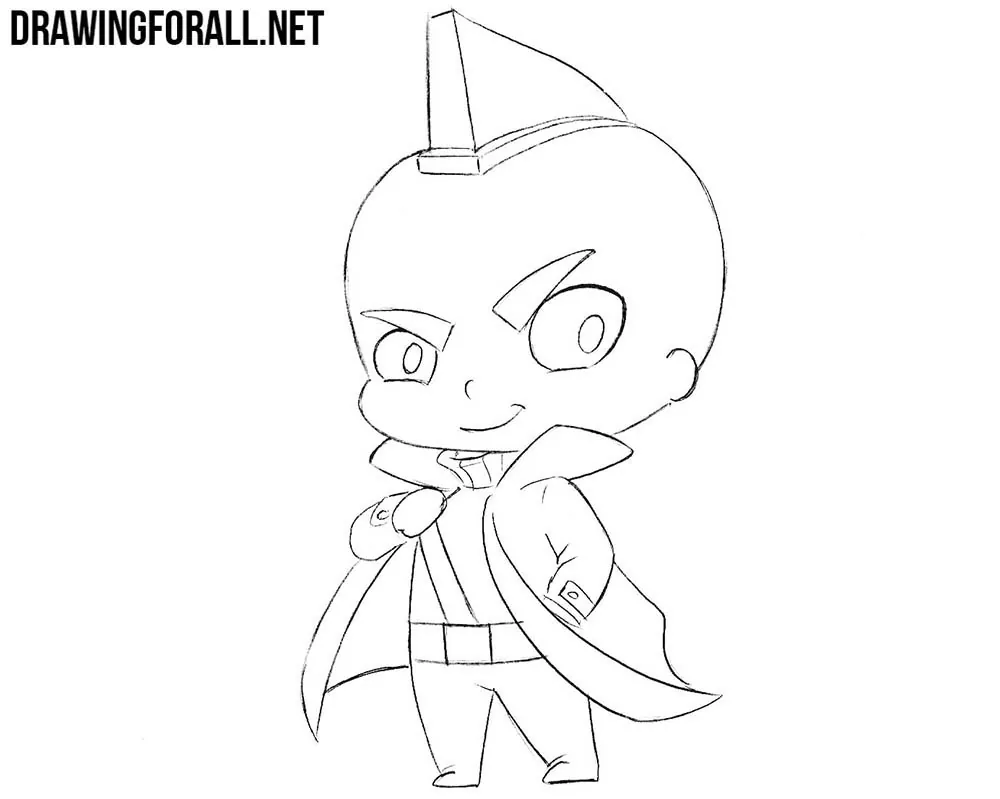
Step 6: Add shadows with hatching
The chibi Yondu drawing is practically finished, and we just have to give it a little more volume by adding shadows. Begin with the eyes, shading the pupils and leaving small highlights. Next, use hatching to add shadows under the mohawk, on the cape, and along the side of the pants.
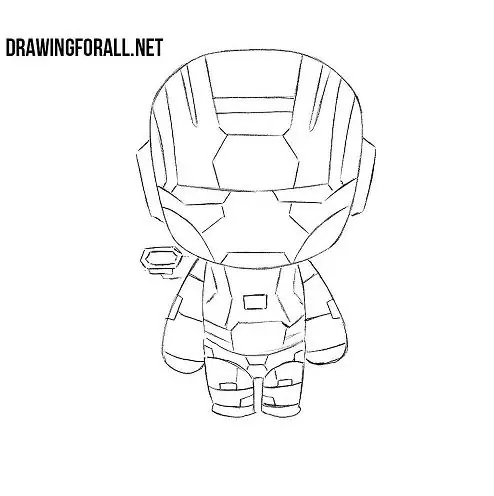
If you want more tutorials about chibi characters or the Marvel universe, you can continue practicing with our chibi Iron Man drawing tutorial.