How to Draw Chibi Yellowjacket
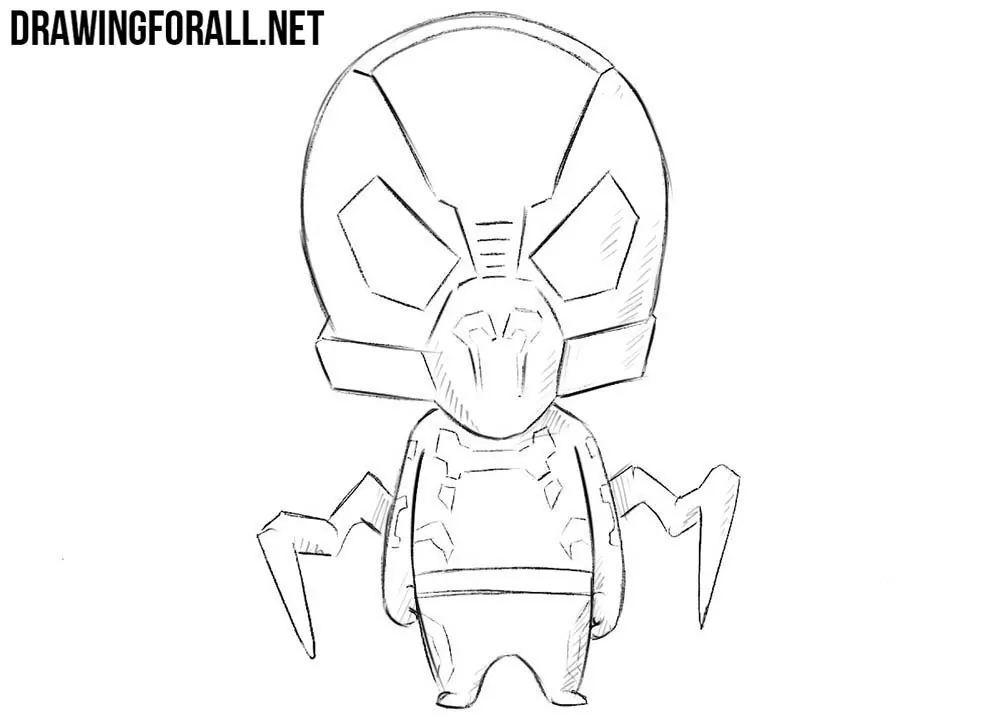
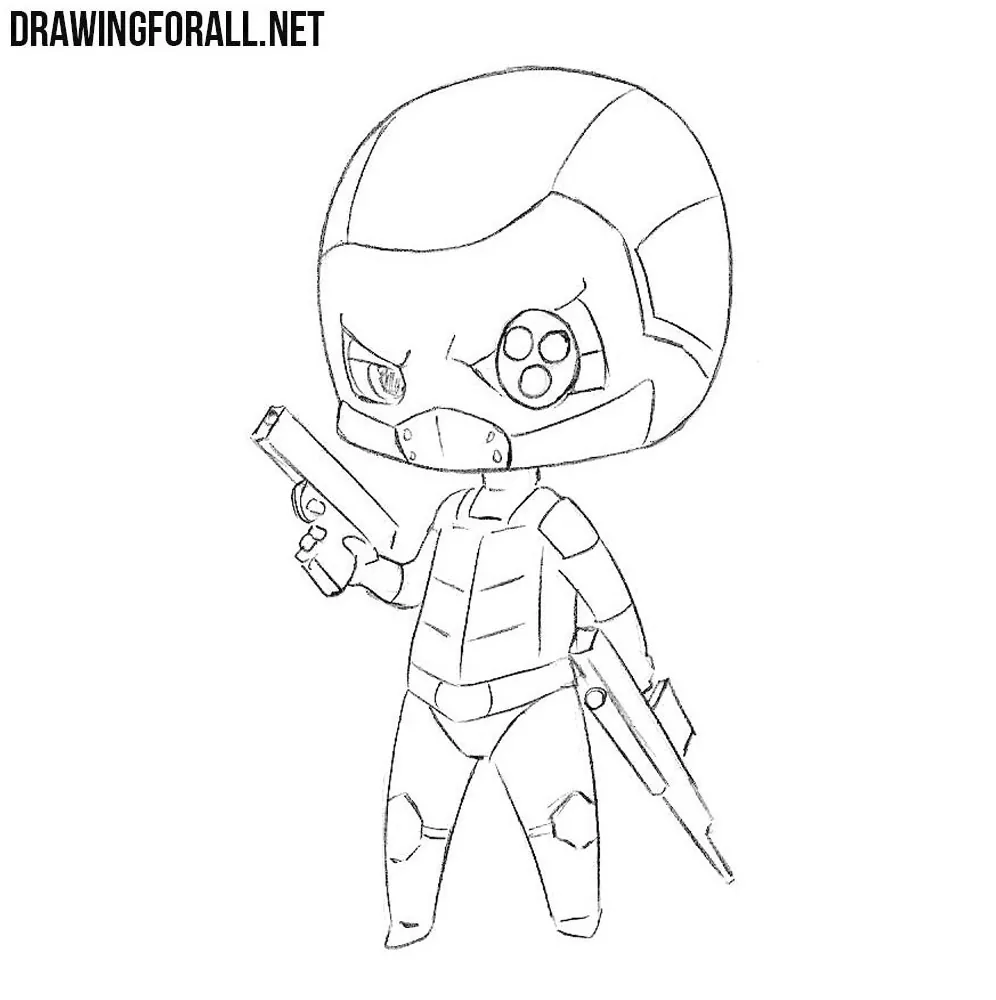
Yellowjacket has a rather complex appearance in the original comic books. In this tutorial, we will show you how to draw chibi Yellowjacket, simplifying all these details.
As in our other chibi character drawing tutorials, we will use a large head and a very small body. At the same time, we will preserve the main features of Yellowjacket’s costume and simplify them according to the principles of the chibi style.
How to draw chibi Yellowjacket step by step
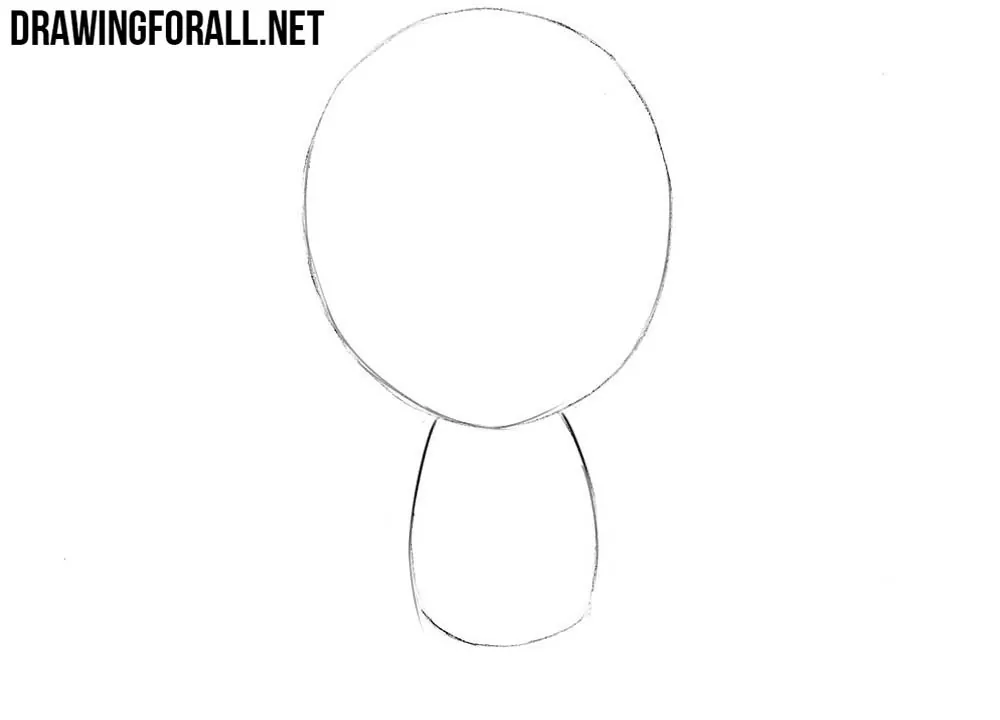
Step 1: Sketch the head and torso
The most noticeable feature of any chibi character is the ratio between the head and body. In the initial stage, mark a large rounded head and a much smaller torso for chibi Yellowjacket. Draw these shapes using very light lines because they will serve only as a basis for the following steps.
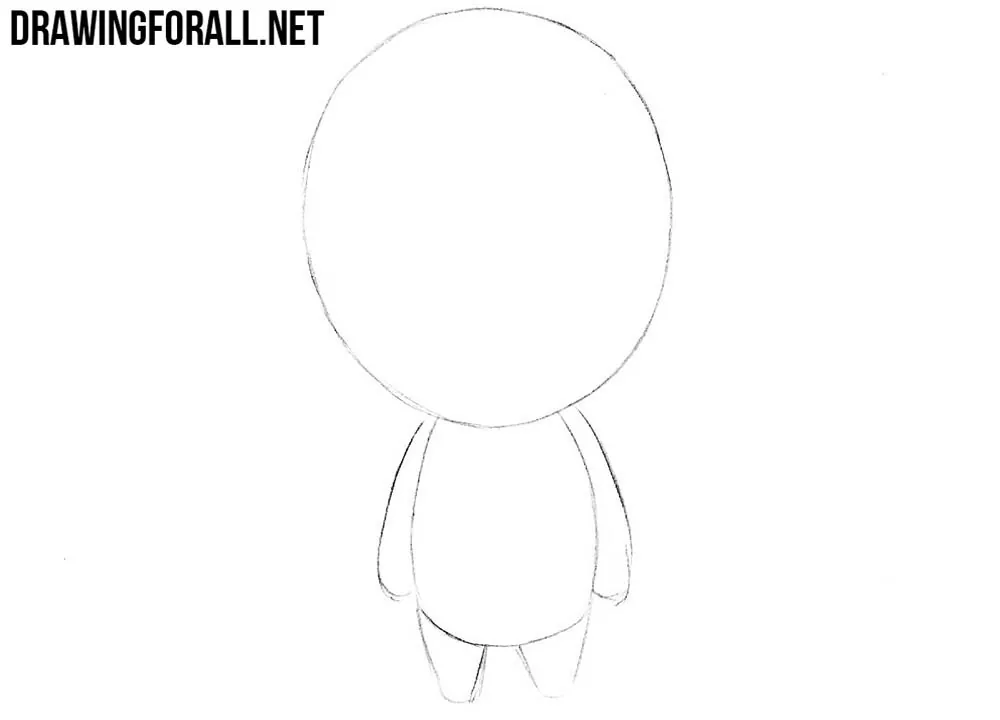
Step 2: Add the chibi arms and legs
Now, with the help of a few simple lines, sketch the arms and legs. Note that here their relative size also differs from that of an ordinary person. Make the arms noticeably longer than the legs, which helps create the characteristic chibi appearance. Keep all the limb lines light and simple at this stage.
Step 3: Mark Yellowjacket’s mask and limbs
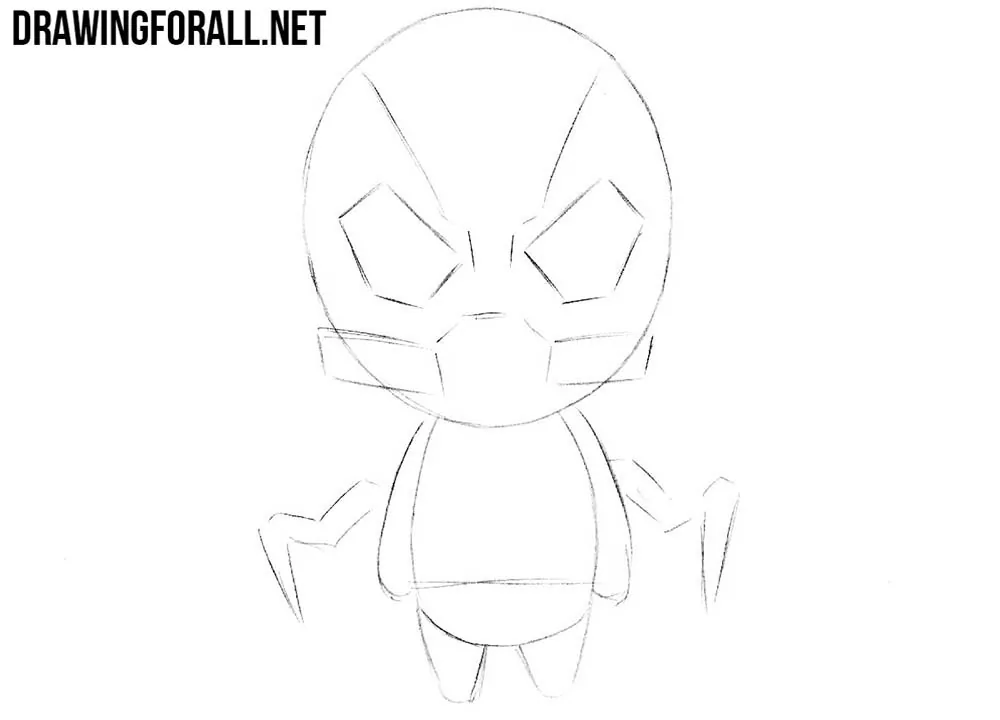
Now let’s add some important basic details to the chibi Yellowjacket drawing using light and rough lines. Mark the angular eyes and the breathing apparatus on the mask. Next, sketch the mechanical insect-like limbs extending from behind the back. Do not add small details yet, because we only need to create their general shapes and placement.
Step 4: Refine the helmet and mask
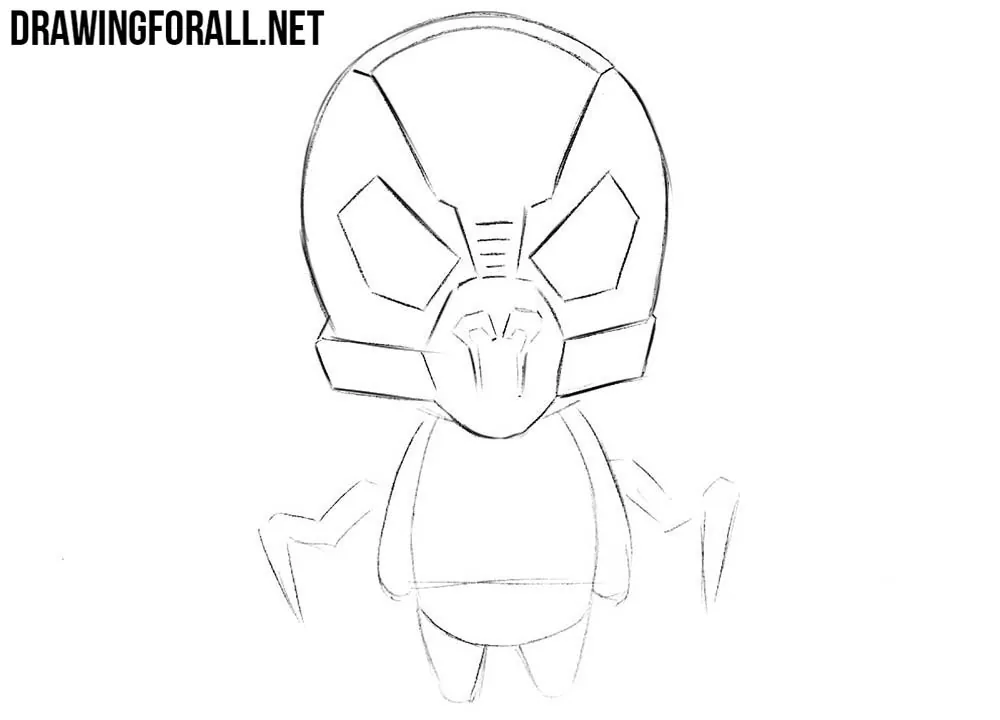
The rough sketch of chibi Yellowjacket is complete, and starting from this step we will work with clear and dark lines. Carefully trace the large head and outline the contours of the helmet. Next, draw the angular eye openings and the details of the breathing apparatus. Remove the unnecessary guidelines from the head after finishing these elements.
Step 5: Detail the armored body
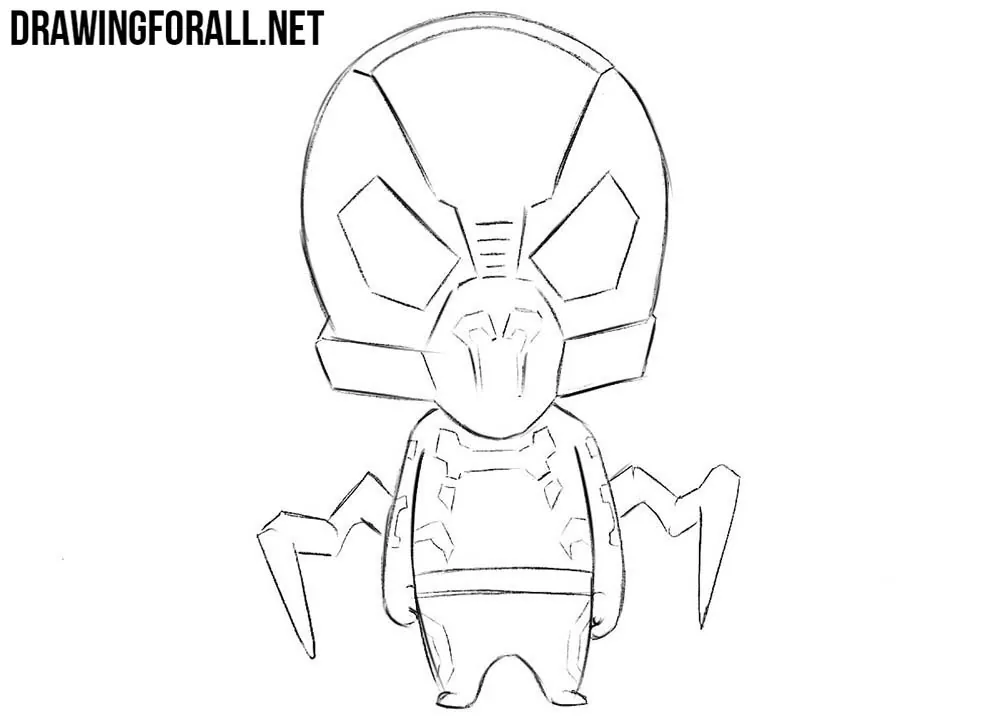
Now do the same with the body of Yellowjacket. Trace the torso, arms, legs, and mechanical limbs using clear comic-style lines, and remove all remaining guidelines. In the same step, carefully draw the intricate pattern and armor details on the costume.
Step 6: Add the final shadows
To make the Yellowjacket drawing look more dimensional and complete, add simple shadows. Use classic hatching and place it on the areas that receive less light. Make some parts of the armor slightly darker to separate the different forms more noticeably. You can also add denser hatching in the deepest shadows to increase the contrast.
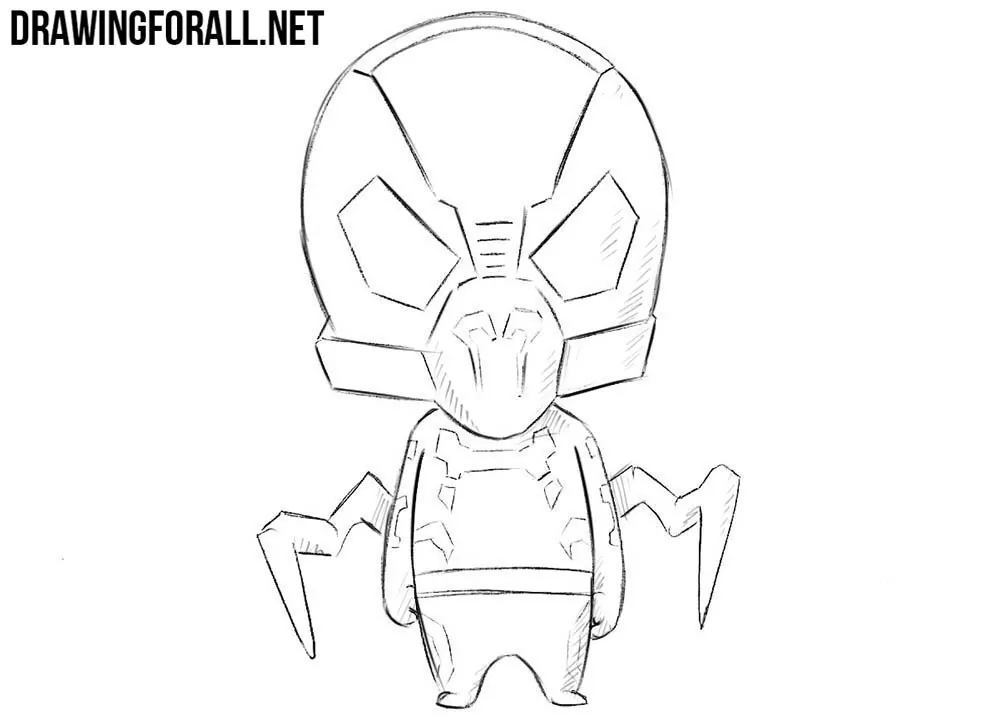
As you can see, even such a detailed character as Yellowjacket can be drawn in a very simple chibi style. You can make the costume more detailed or, on the contrary, simplify some of its elements even more.
To continue this subject, visit our tutorial on how to draw Ant-Man, the main opponent of Yellowjacket. And if you want to draw another armored character in the same style, try our tutorial on how to draw chibi Iron Man.