

How to Draw a Raspberry
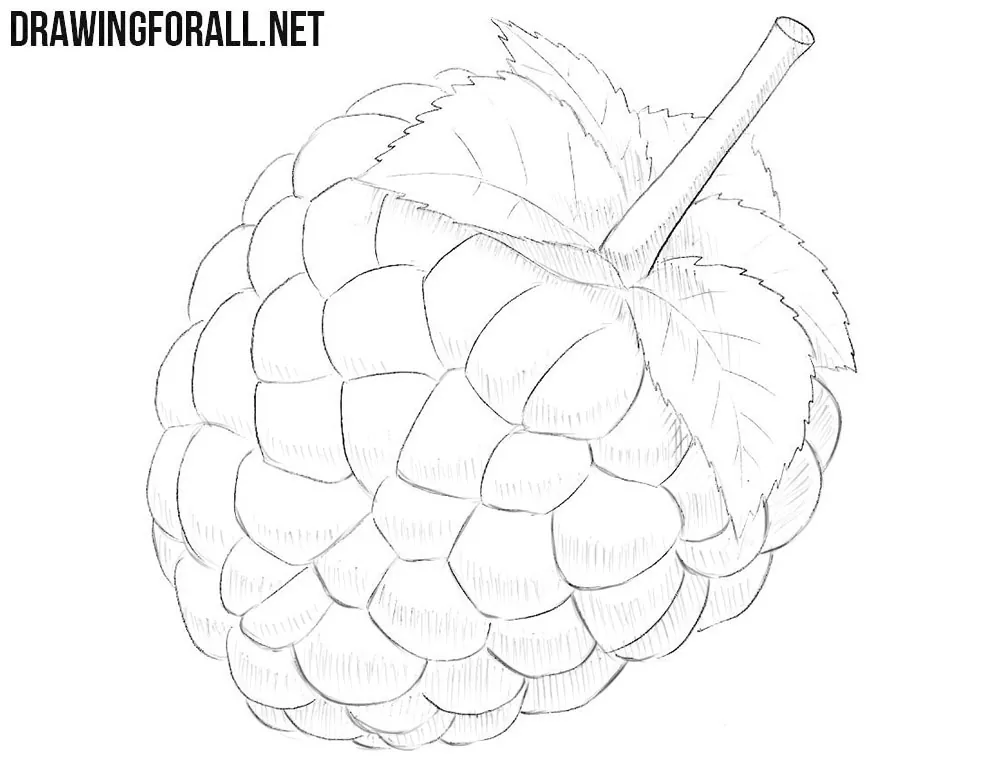
A raspberry is a fairly complex berry to draw, with many important nuances. In this step-by-step tutorial, we will show you how to draw a raspberry and explain the important aspects of constructing its form and depicting the details correctly.
The main thing to keep in mind throughout the entire drawing process is that the raspberry is covered with small bumps that should remain part of the overall mass and follow its volume.
How to draw a raspberry step by step
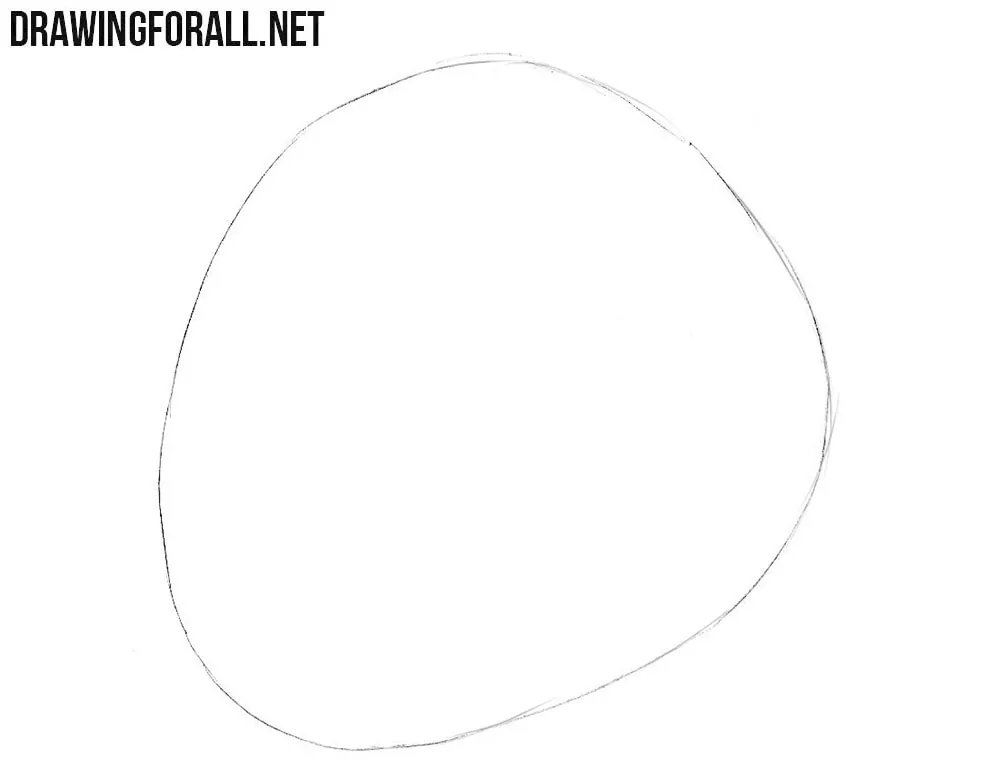
Step 1: Sketch the raspberry shape
Indicate the overall mass and shape of the berry. It should be slightly wider at the top than at the bottom. Use light lines and remember that this is a three-dimensional form that the smaller bumps we add later should follow.
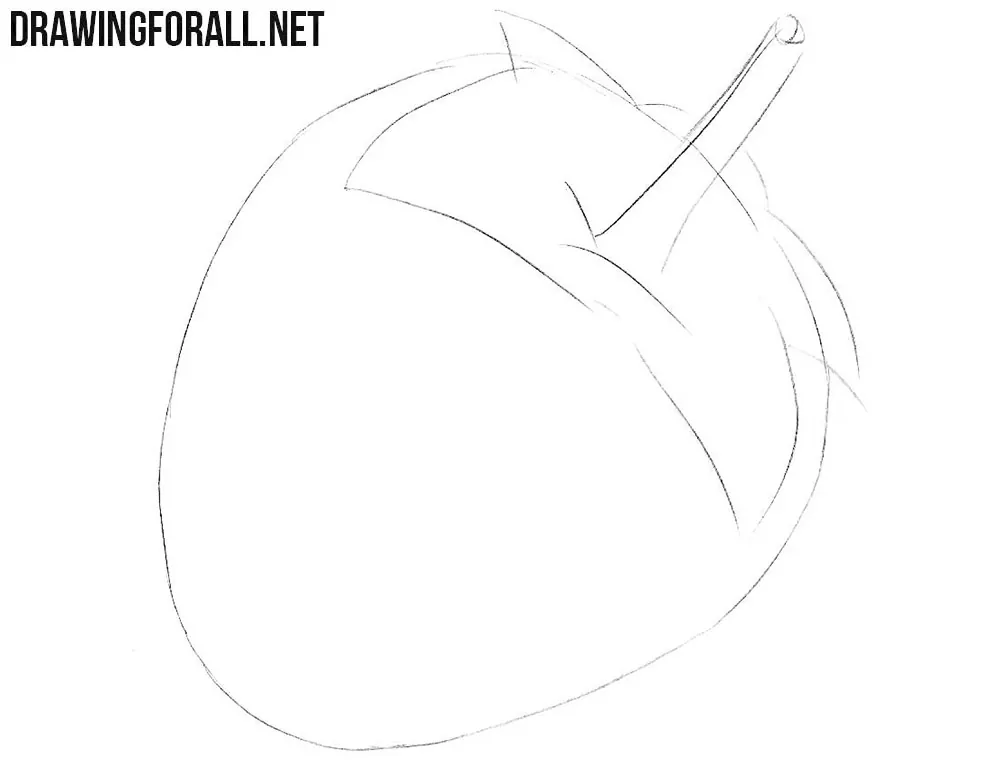
Step 2: Add the raspberry top
At the top, indicate the raspberry stem as an elongated cylindrical form. At the base of the stem, where it connects to the berry, draw the sepals spreading out in different directions. Spread the sepals across the upper part of the berry so that they partly cover its outline.
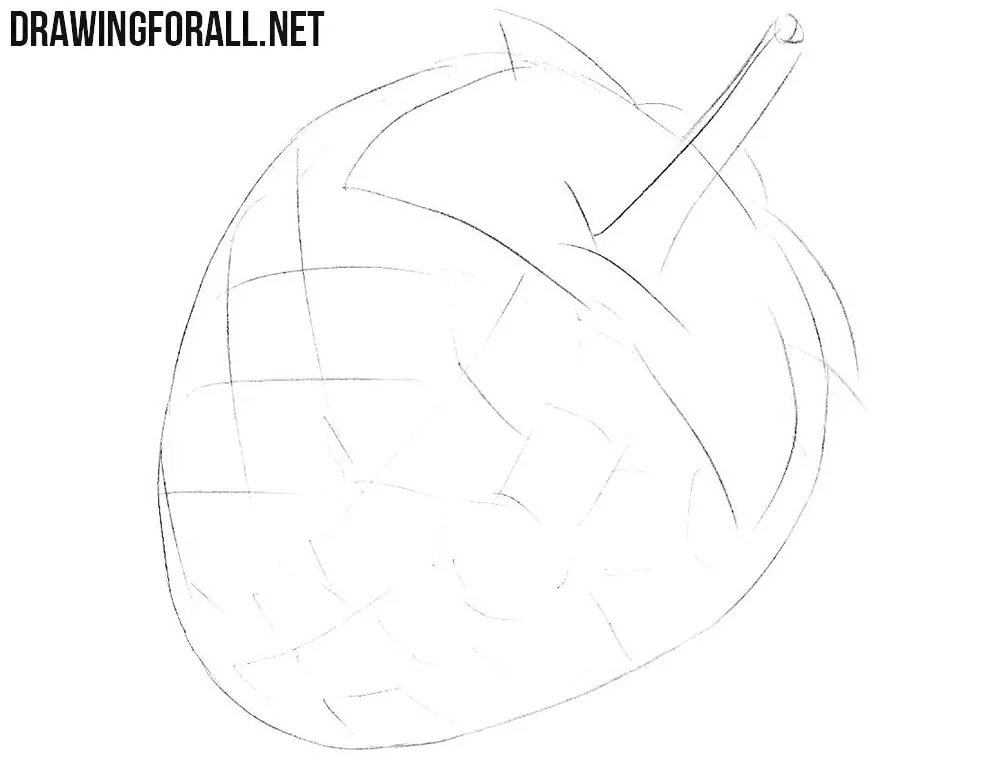
Step 3: Mark the raspberry segments
The body of the raspberry consists of many small segments, and in this step we will mark them with a lot of light intersecting lines. The sections in the middle can be wider, while those near the sides should become narrower as the surface of the raspberry turns away from us.
Step 4: Refine the stem and sepals
With the help of dark and clear lines, draw the sepals and the stem. Give the sepals pointed ends and small serrations along their edges. Show the cut end of the stem with a small oval. On the sepals, do not forget to draw the veins.
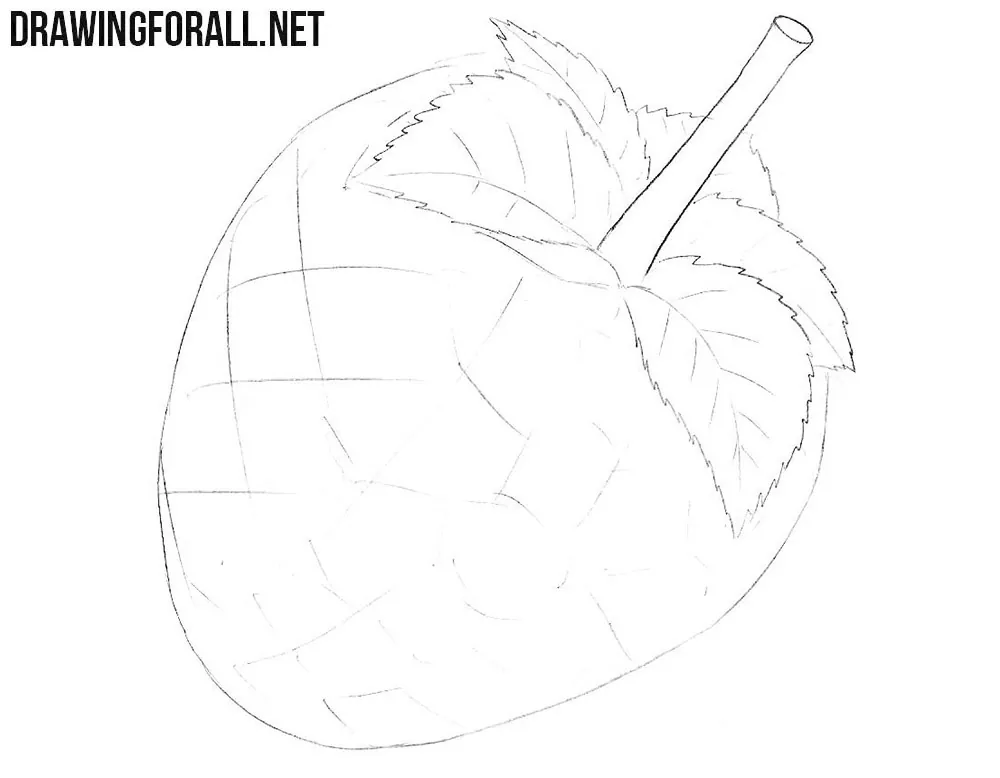
Step 5: Draw the raspberry segments
With the help of small curved lines, draw all the segments on the raspberry. Try to think of them as many small forms gathered into one berry. Draw each bump as a small three-dimensional form attached to the common mass of the raspberry. Make the segments in the central part more fully visible. Use the light lines from step three only as guides and erase them as you finish the individual segments.
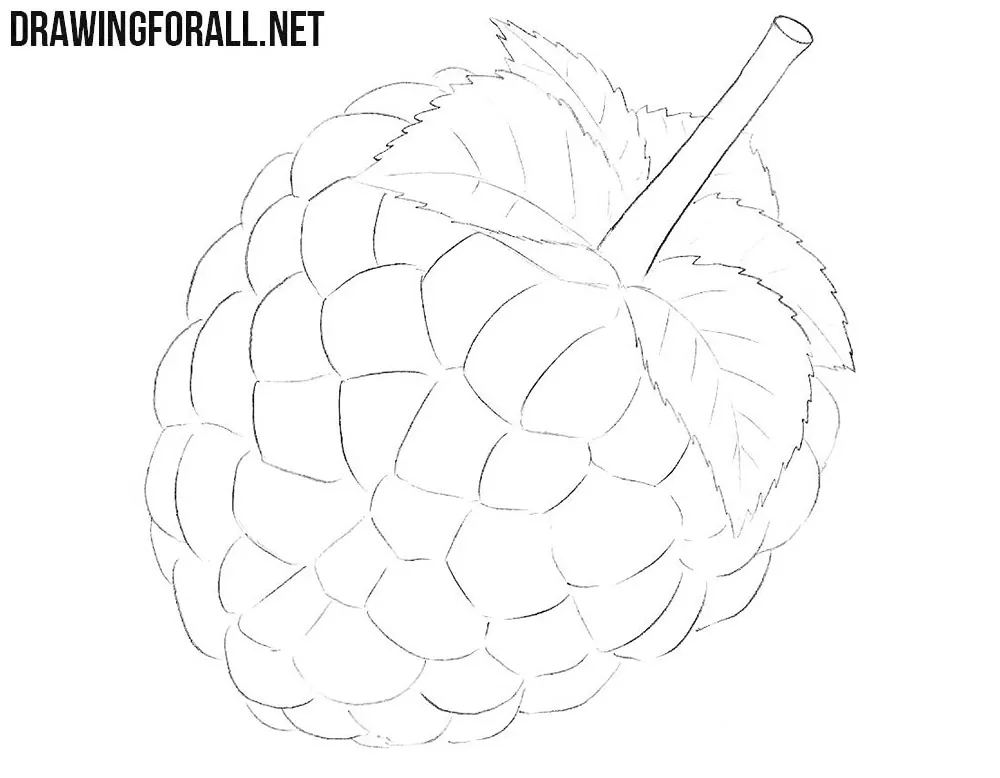
Step 6: Add shadows to the raspberry
Draw the shadows with the help of hatching. Pay particular attention to the shadows between the segments of the raspberry. Add short areas of hatching to the lower parts of individual segments and make the shadows deeper directly under the sepals. Add a little hatching to the sepals and stem as in our example.
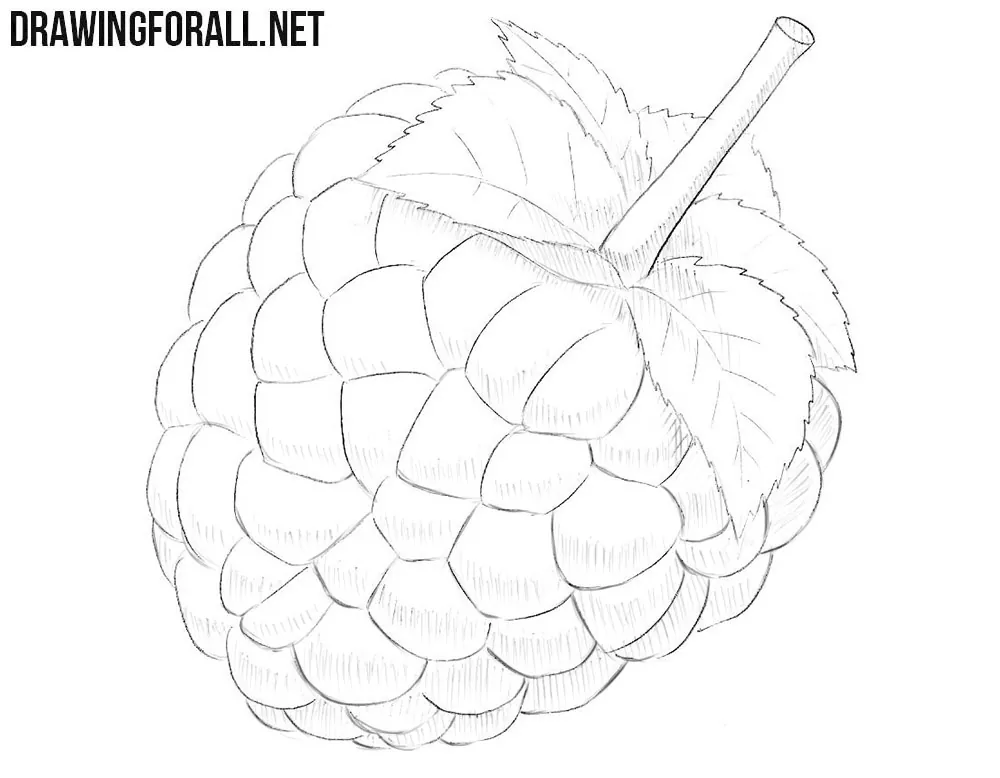
When drawing a raspberry, remember that visually it consists of many small bumps that make up the berry’s overall mass.
Each bump should come from an imaginary core and surround it on all sides. Imagine the core itself as a center, and the individual bumps as rays coming from this center and forming a spherical shape.
In this way, these bumps, directed outward from the imaginary center, slightly overlap one another. Small shadows help emphasize them.
Together, they create the berry’s overall mass. At the same time, remember the unity of the berry. Each individual bump is not a separate entity. It belongs to the berry’s overall mass.
The same principle is used when drawing a blueberry or when you draw corn. Small bumps radiating from the central core and forming the overall mass of the fruit.


