How to Draw a Zucchini

In today’s drawing lesson we will tell you how to draw a zucchini step by step. It will be a pretty simple lesson. But if you draw correctly in each step you can get a very good result.
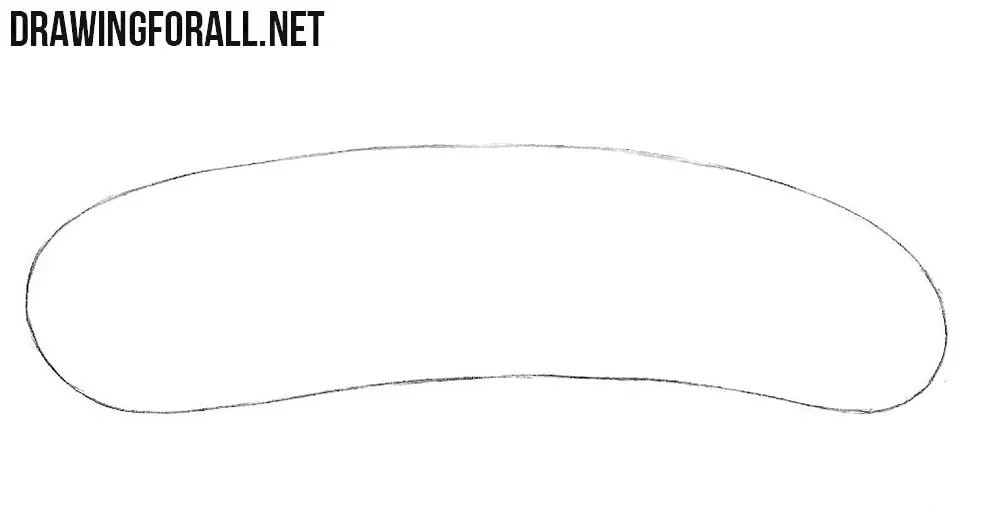
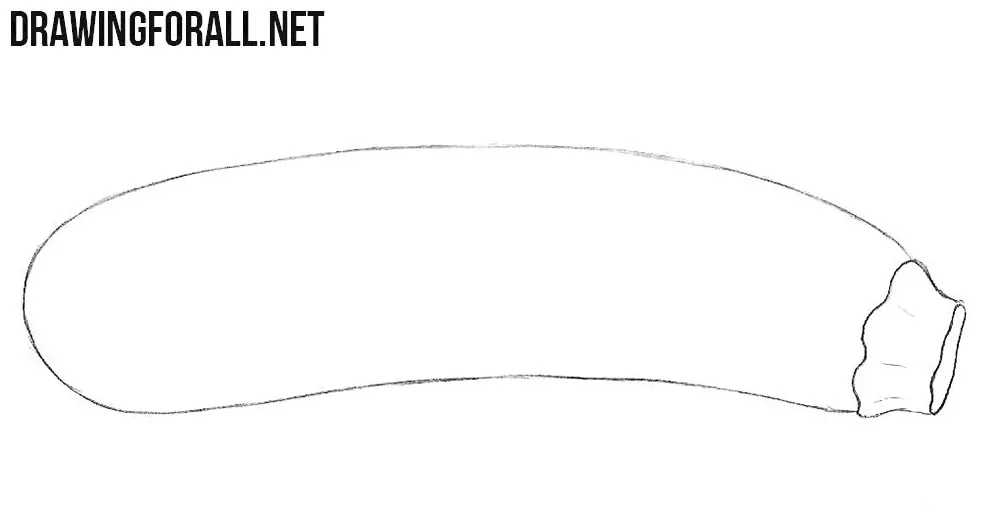
Step 1
We will start this by drawing an elongated round shape. One end of this figure must be larger than the other end. You can choose the size and angle of this shape to your taste.
Step 2
Find the smaller end and draw a small stalk there. In our case, it is on the right end of the zucchini. You should use wavy uneven lines in this step.

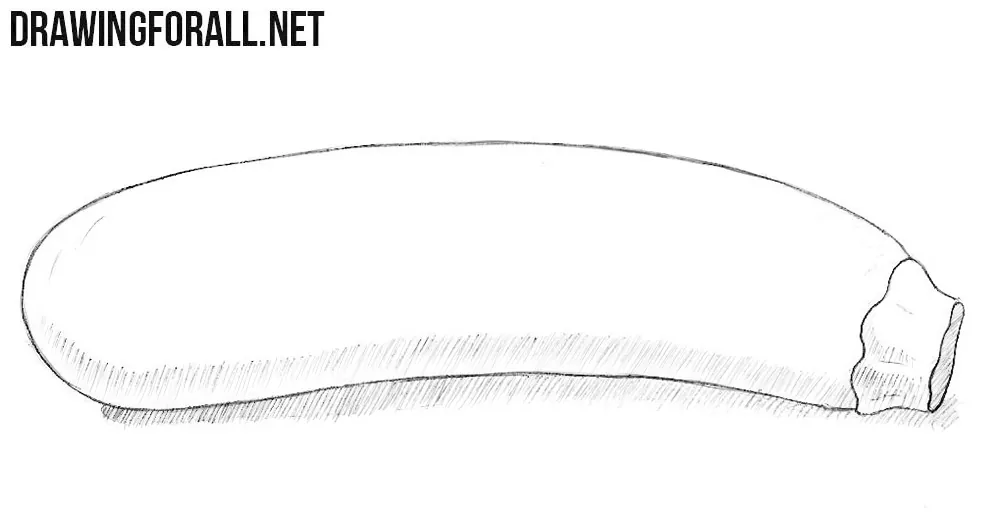
Step 3
We erase the extra lines from our zucchini. Depict a stalk in detail. You can see the cut plane and several horizontal lines on this stalk.
Step 4
Do you think shadows are very difficult? Not certainly in that way. In this drawing lesson, we only need to draw the shading on the bottom edge of the zucchini. Also shading should be placed on the ground.
How do you like this zucchini? It looks pretty good, right? We hope you get a great result. You may have noticed that they decided to choose a new mechanism for creating drawing lessons. Previously, we chose one topic and created many lessons about it. Now we are doing a lot of lessons on various topics. So if you have any suggestions for new themes for drawing lessons feel free to write them in the comments. We are waiting for your opinion!